Create a profile container with Azure NetApp Files and capacity pool
This unit shows you how to set up an Azure NetApp Files account and create FSLogix profile containers in Azure Virtual Desktop. It assumes you've already created a host pool and an application group.
It's recommended you use FSLogix profile containers as a user profile solution for the Azure Virtual Desktop service.
FSLogix profile containers store a complete user profile in a single container and are designed to roam profiles in non-persistent remote computing environments like Azure Virtual Desktop. When you sign in, the container dynamically attaches to the computing environment using a locally supported virtual hard disk (VHD) and Hyper-V virtual hard disk (VHDX).
Advanced filter-driver technologies allow the user profile to be immediately available and appear in the system exactly like a local user profile.
You can create FSLogix profile containers using Azure NetApp Files, an Azure native platform service that helps customers quickly setup enterprise-grade SMB volumes for their Azure Virtual Desktop environments.
Before you can create an FSLogix profile container for a host pool, you must:
- Set up and configure Azure Virtual Desktop.
- Set up an Azure Virtual Desktop host pool.
Set up your Azure NetApp Files account
To get started, you need to set up an Azure NetApp Files account.
Sign in to the Azure portal. Make sure your account has contributor or administrator permissions.
Select the Azure Cloud Shell icon to the right of the search bar to open Azure Cloud Shell.
Once Azure Cloud Shell is open, select PowerShell.
For your first time using Azure Cloud Shell, create a storage account in the same subscription you keep your Azure NetApp Files and Azure Virtual Desktop.
Once Azure Cloud Shell loads, run the following two cmdlets.
az account set --subscription <subscriptionID>
az provider register --namespace Microsoft.NetApp --wait
In the left side of the window, select All services. Enter Azure NetApp Files into the search box that appears at the top of the menu.
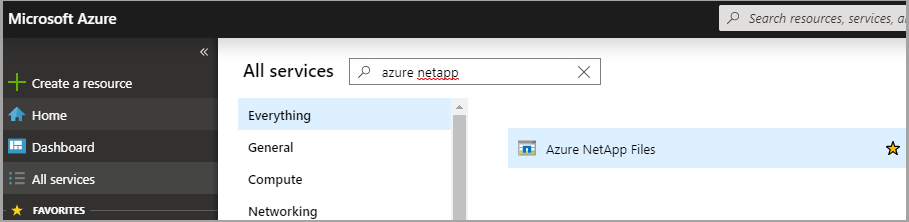
Select Azure NetApp Files in the search results, then select Create.
Select the Add button.
When the New NetApp account tab opens, enter the following values:
> [!NOTE] > For Name, enter your NetApp account name.- For Subscription, select the subscription for the storage account you set up in step 4 from the drop-down menu.
- For Resource group, either select an existing resource group from the drop-down menu or create a new one by selecting Create new.
- For Location, select the region for your NetApp account from the drop-down menu. This region must be the same region as your session host VMs.
When you're finished, select Create to create your NetApp account.
Create a capacity pool
Next, create a new capacity pool:
Go to the Azure NetApp Files menu and select your new account.
In your account menu, select Capacity pools under Storage service.
Select Add pool.
When the New capacity pool tab opens, enter the following values:
For Name, enter a name for the new capacity pool.
For Service level, select your desired value from the drop-down menu. We recommend Premium for most environments.
Note
The Premium setting provides the minimum throughput available for a Premium Service level, which is 256 MBps. You may need to adjust this throughput for a production environment.
For Size (TiB), enter the capacity pool size that best fits your needs. The minimum size is 4 TiB.
When you're finished, select OK.