Install the Coffee Shop Contoso invoice app (for lab scenario use)
This lab uses a coffee shop company business scenario to demonstrate how to automate manual invoice processing steps by using Power Automate desktop flow and cloud flows. This coffee shop company uses a Win32 application to manually manage their invoice system. Your first task is to download and install this application to prepare for the lab.
Note
To complete the exercises, you'll need to use a few files. Download the Automation in a Day files for use in this module. Extract the contents of this download to your local computer.
Download ContosoInvoicingSetup.exe and ContosoInvoicingSetup.msi from the Prerequisite Lab #1 Install Contoso Coffee Shop Invoicing management app folder from the downloaded files. Double-click the .exe file to install the ContosoInvoicingSetup application.
Note
You'll need to select More Information and Run it anyway during the installation of the Contoso app if Windows Defender prompts that the app is coming from an untrusted source.
After the installation is fully complete, launch the Contoso Invoicing app from the Start menu by using the search bar in the lower part of your Windows desktop. Within the search bar, type Contoso Invoicing.
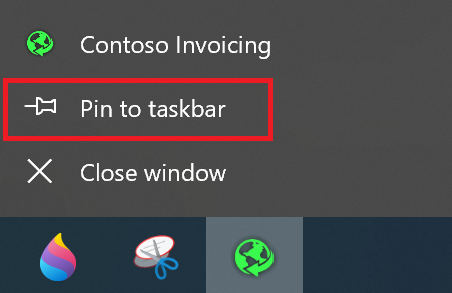
Right-click the app icon located in the lower task bar of your desktop and then select the option to pin the app icon to the task bar for quick launch. You use this app in subsequent labs, for the Process advisor and the robotic processing automation recordings.
Next, you spend time getting familiar with the Contoso Invoicing app. These steps explore how the Contoso Coffee shop employee manually enters a new invoice record into the company application system when a new invoice is received. This exercise helps you better prepare for the following lab exercises.
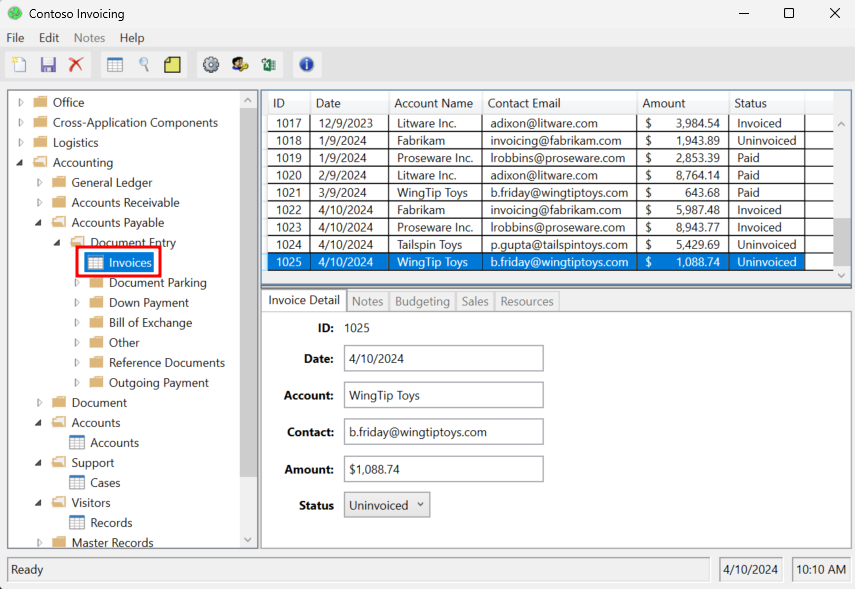
With the Contoso Invoicing App open, select Invoices from the left pane.
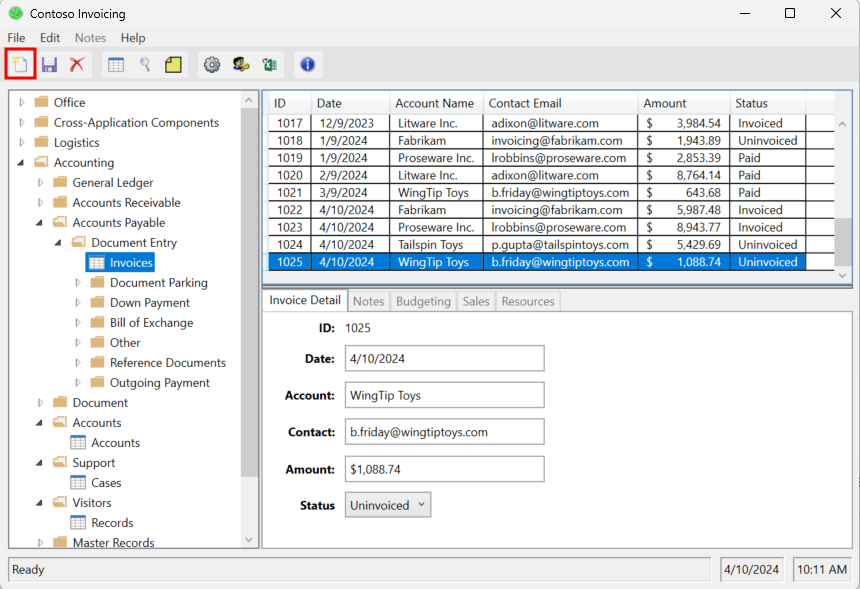
Select the New record icon from the ribbon in the upper-left corner of the screen to create a new invoice.
You can fill in any information for the new invoice in the text boxes that appear in the center of the screen. For this example, enter the following information:
Date - (Current date)
Account - Admin Account
Contact - (Email that you used to sign in to the accounts)
Amount - $100.00
Status - Paid
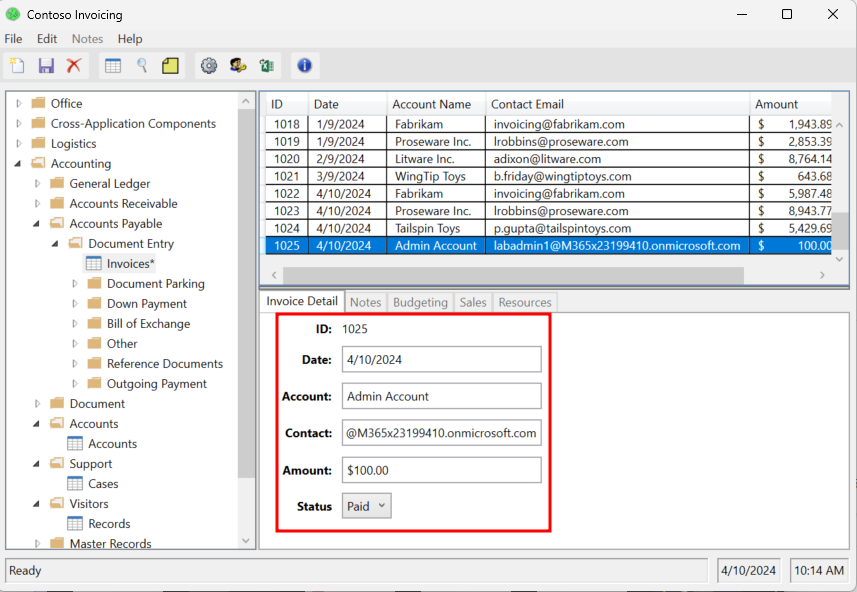
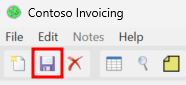
Select the Save icon from the ribbon in the upper-left corner of the screen to save your new invoice.