Import the solution (optional)
If you've already completed the module learn-bizapps.add-ai-model-process-invoice-online-workshop, skip to the next task.
To import the solution, follow these steps:
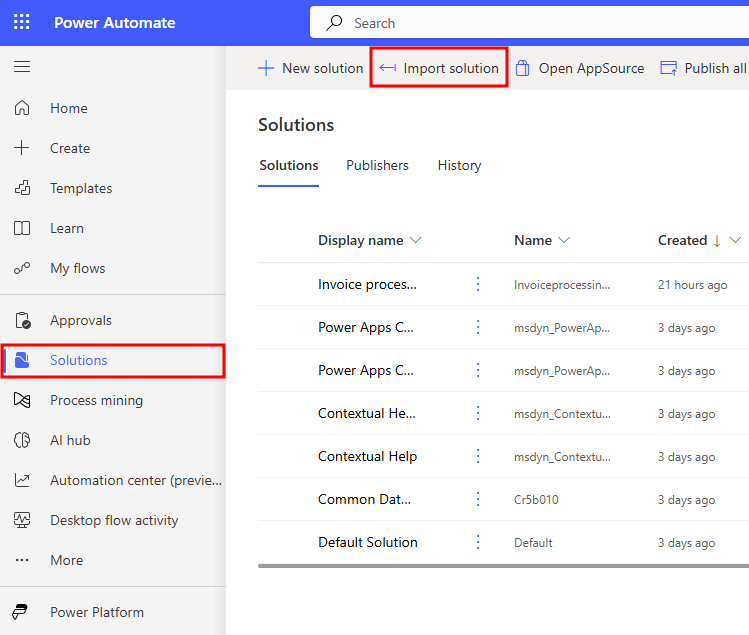
Go to Power Automate and select the correct environment.
Select Solutions and then select Import solution.
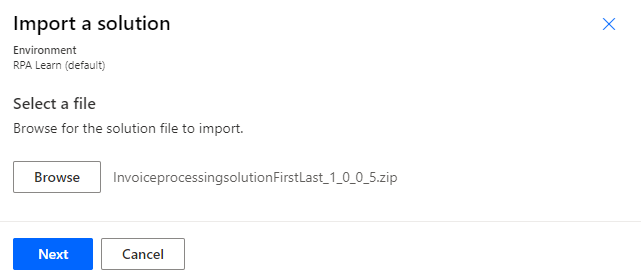
Select Browse.
Select the InvoiceprocessingsolutionFirstLast_1_0_0_5.zip solution file located in the resources folder and then select Open.
Select Next.
Select Next again.
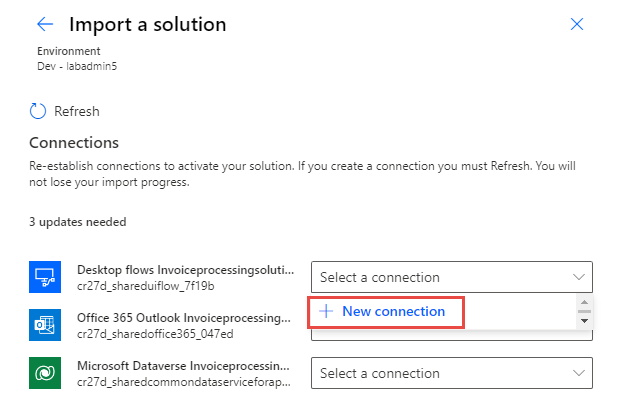
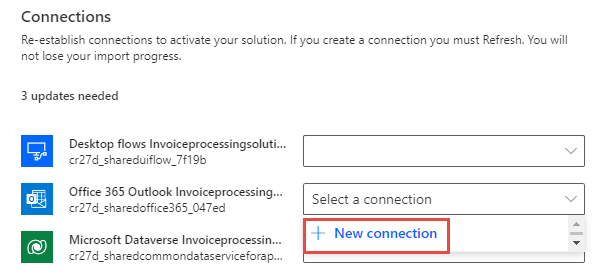
Select New connection for the desktop flow.
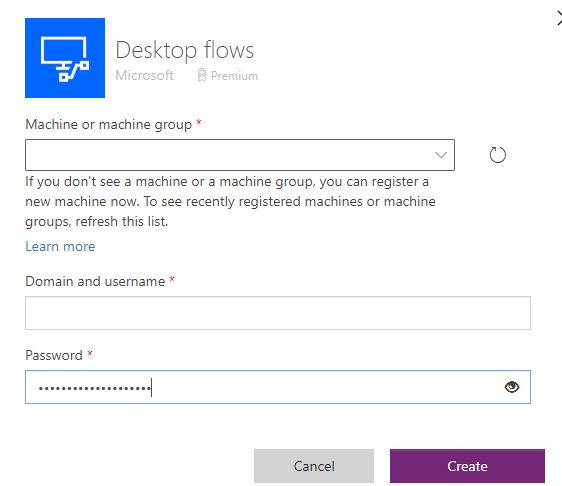
Select Direct to machine, select the machine that you registered in the module Install required software - Online workshop, provide your sign-in information, and then select Create.
Close the connections browser window or tab.
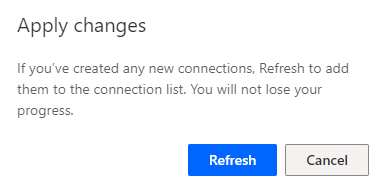
Select Refresh.
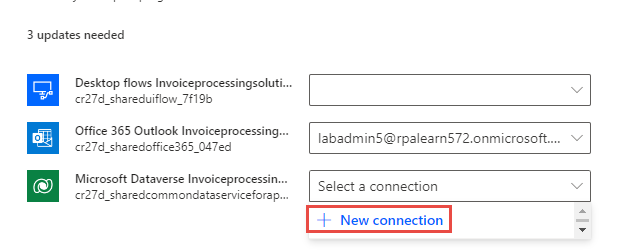
Select New connection for Office 365.
Select Create.
Provide your credentials.
Close the connections browser window or tab.
Select Refresh.
Select New connection for Microsoft Dataverse.
Select Create.
Provide your credentials.
Close the connections browser window or tab.
Select Refresh.
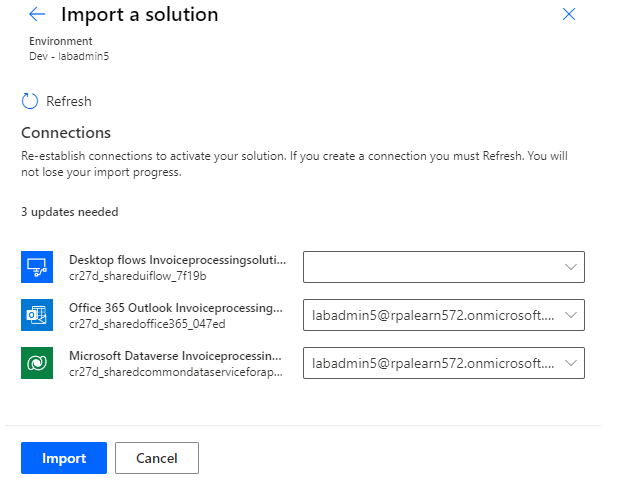
You should now have desktop flow, Office 365, and Microsoft Dataverse connections. Select Import.
Wait for the solution to import.
