Install the AL language extension in Visual Studio Code
When you develop applications for Microsoft Dynamics 365 Business Central with Visual Studio Code, you must install the application language extension. The easiest way to install the extension is through the Visual Studio Code Marketplace.
Select the Extensions tab, which is the fifth tab on the Activity Bar on the left side of the Visual Studio Code application, or you can use the Ctrl+Shift+X keyboard shortcut.
Enter AL Language in the Search Extensions in Marketplace field.
Select the green Install button to install the AL Language Extension.
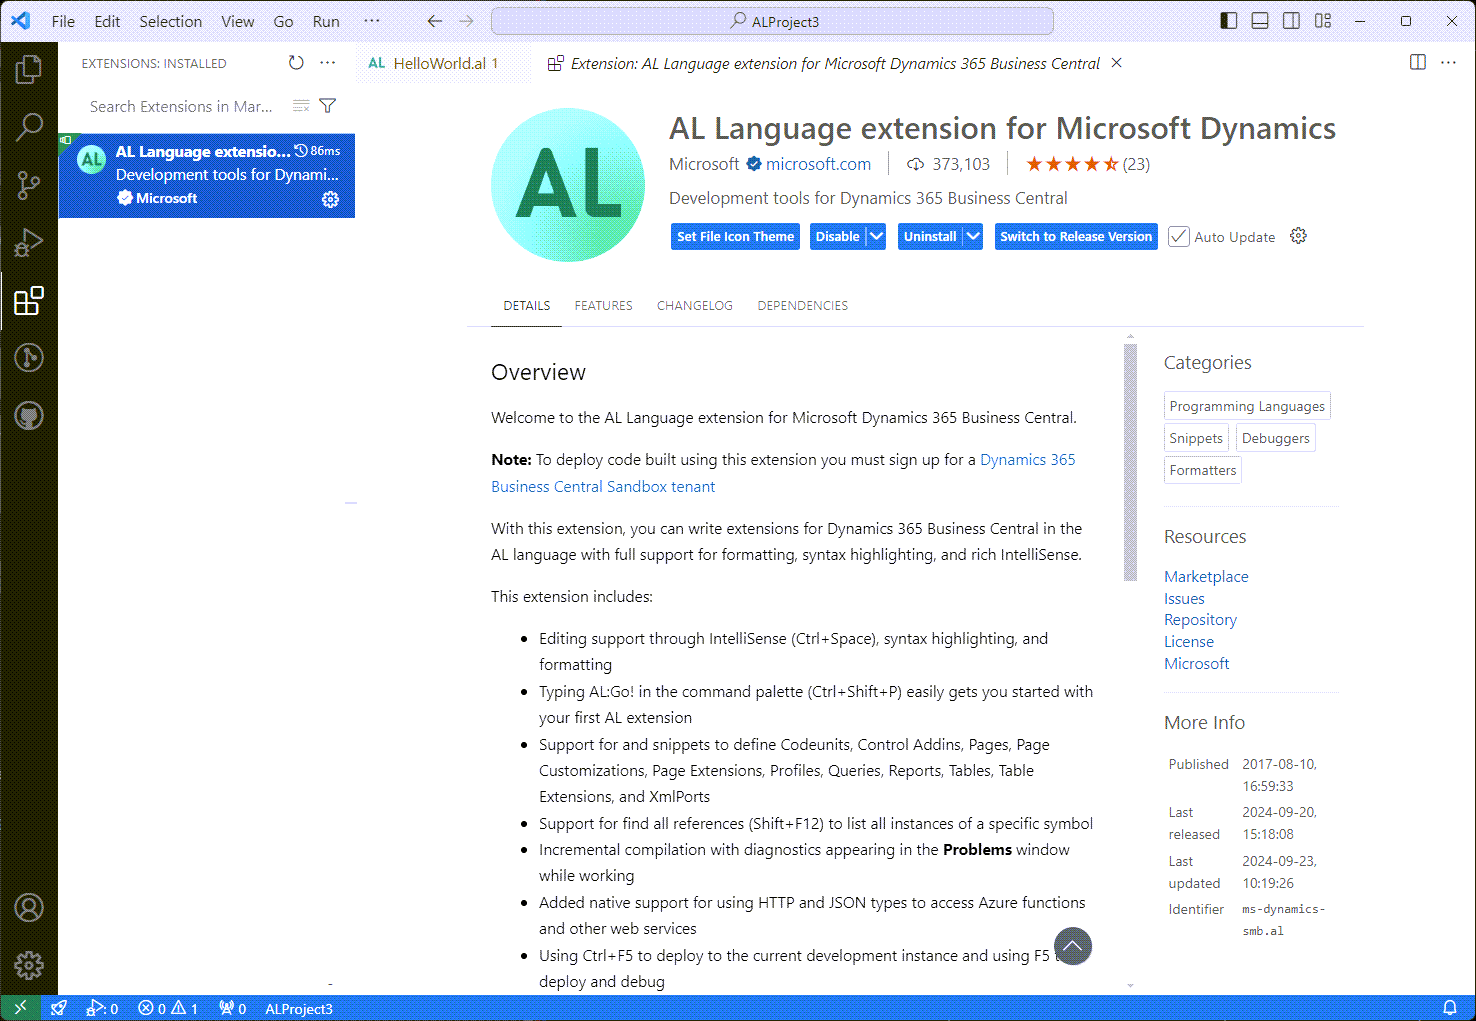

After installation, the AL Language Extension is activated. Now, you're ready to start developing extensions for Business Central.
Microsoft releases new versions of Microsoft Dynamics 365 Business Central often. When you're developing extensions, Microsoft provides three ways to test and debug your application:
Through an online cloud sandbox.
By using Docker images that are provided by Microsoft. You can get Docker images based on the versions that are deployed as a cloud sandbox, or Docker images based on the on-premises version of Business Central.
Through the on-premises version of Business Central.
The AL Language Extension, which you can install from the Visual Studio Code Marketplace, is linked to the version of the latest available online cloud sandbox. Next to the publicly available Docker images, Microsoft also provides Docker images of upcoming releases or beta releases. As a result, developers can test their extension on future Business Central versions. These Docker images can be downloaded through the Microsoft Collaborate program, and they come with an updated AL Language Extension, which contains new features that are linked to a specific version.
These updated extensions come as a VSIX file, which you can download after starting your Docker container. You need to disable the AL Language Extension from the Marketplace and install the VSIX file that comes with the Docker image.
To select another VSIX file, follow these steps:
Select Extensions, which is the fifth tab on the Activity Bar on the left side of the Visual Studio Code application, or you can use the Ctrl+Shift+X keyboard shortcut.
Select AL Language Extension and then select the Disable button.
Select the ellipsis (...) button above the Search Extensions in Marketplace field.
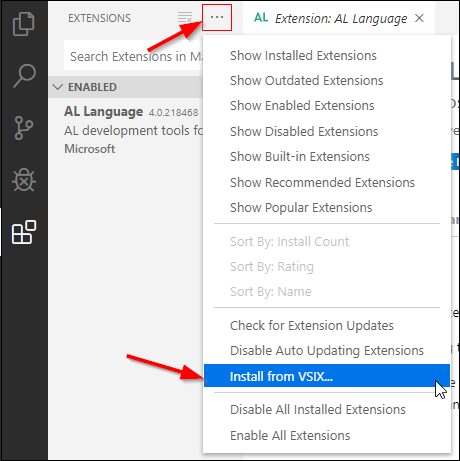
Select Install from VSIX... from the menu and browse to your downloaded VSIX file to install the extension.
AL Language extension Prerelease versions
The AL Language extension prerelease versions are available through the existing Visual Studio Code mechanism for getting notified about and installing prerelease versions. To learn more about this mechanism, visit Prerelease Extensions in the Visual Studio Code documentation.
To install the prerelease version, use the drop-down list to select Install Pre-Release Version, or if already installed, use the Switch to Pre-Release Version option in the Visual Studio Code extension management page for the AL Language extension.

When you switch to the prerelease version, the Visual Studio Code extension management page for the AL Language extension displays that the prerelease is used, and offer the option to switch back to the release version.