Exercise - Install and test StereoKit ink application
In the previous unit, you explored the contents and details of the StereoKit Ink application. In this unit, you'll learn how to build and test the StereoKit Ink application on HoloLens 2 and Desktop.
Important
Make sure you have installed StereoKit's Visual Studio template.
First, download the StereoKit Ink sample application from GitHub repository. Then click on the Code button & select Download ZIP. Once the file download completes, click on the folder & select the StereoKitInk.sln file. Then solution file will open in Visual Studio. On the right corner of the Visual Studio, you can find Solution Explorer, which contains the assets folder and three other program files such as the painting menu, palette menu, and main program, which operates the main logic.

Note
The program will contain errors, which will clear later during debugging.
Build StereoKit Ink application on HoloLens 2
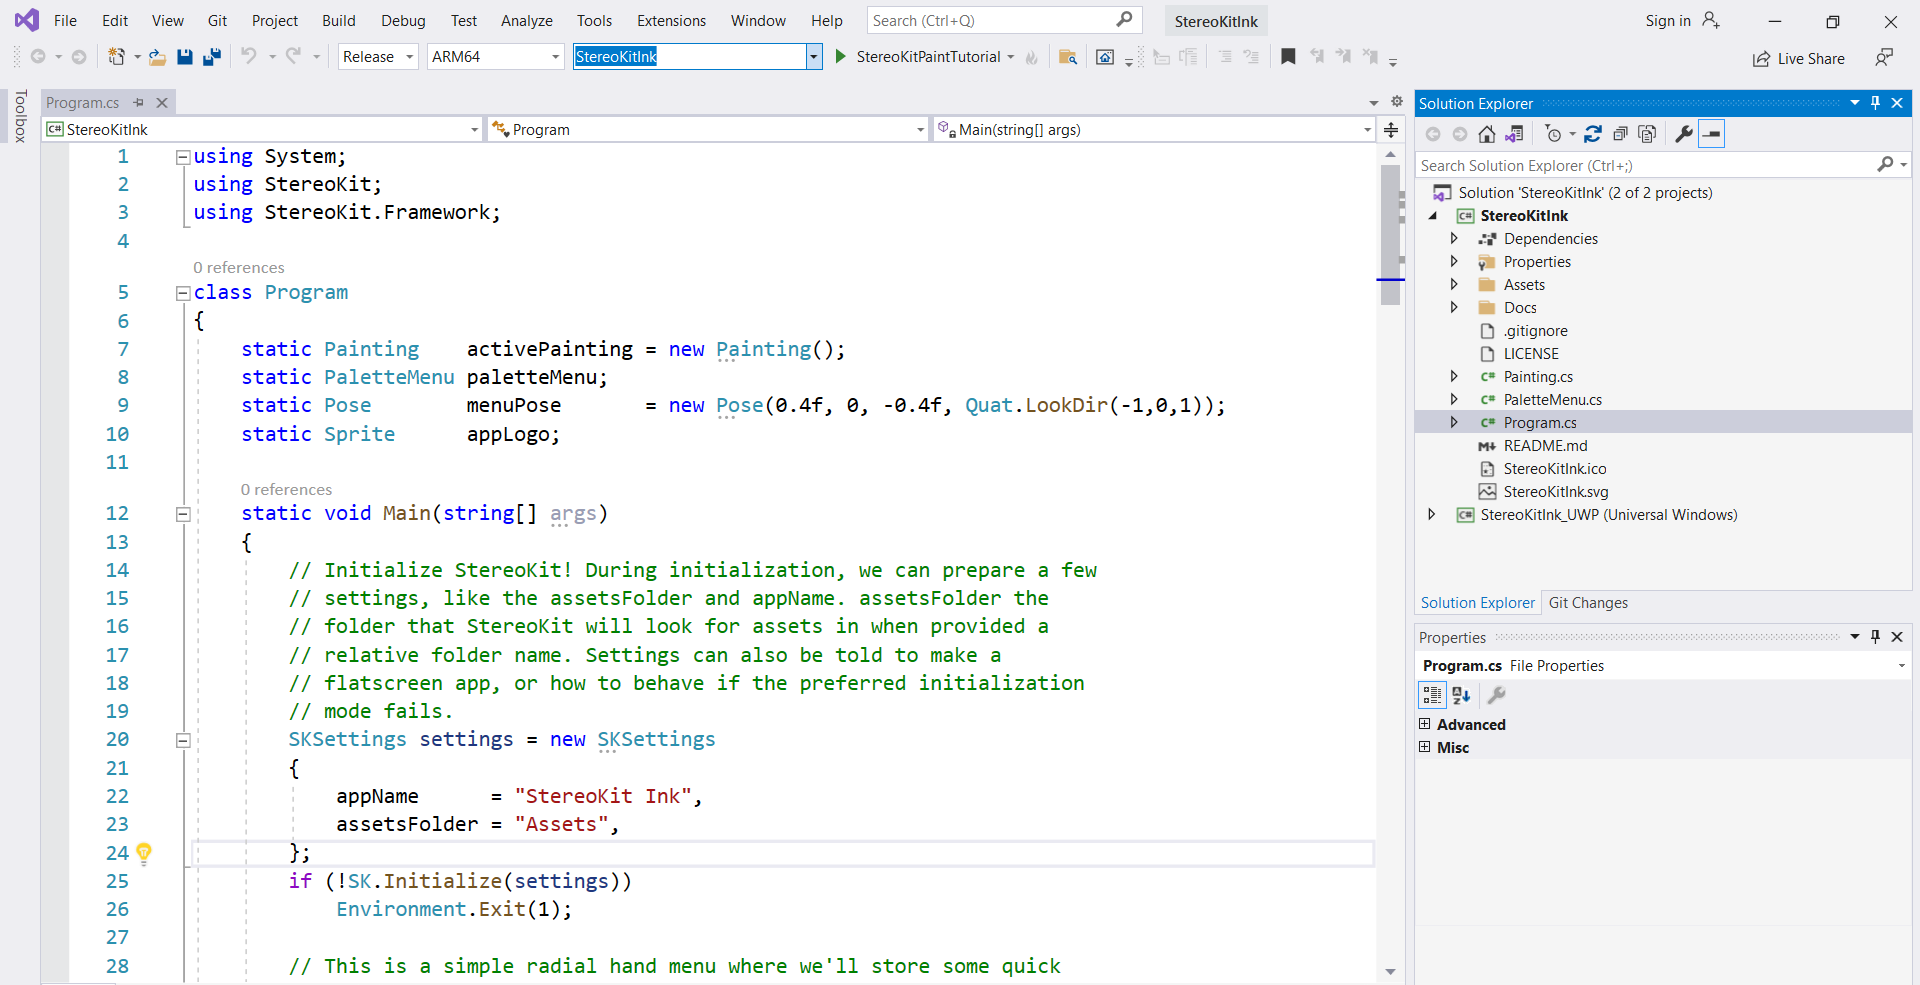
To build StereoKit Ink application to HoloLens 2, configure Visual Studio for HoloLens 2 by selecting the Release configuration on the "Solution Platform," the ARM64 architecture, and set StereoKitPaintTutorial as target:

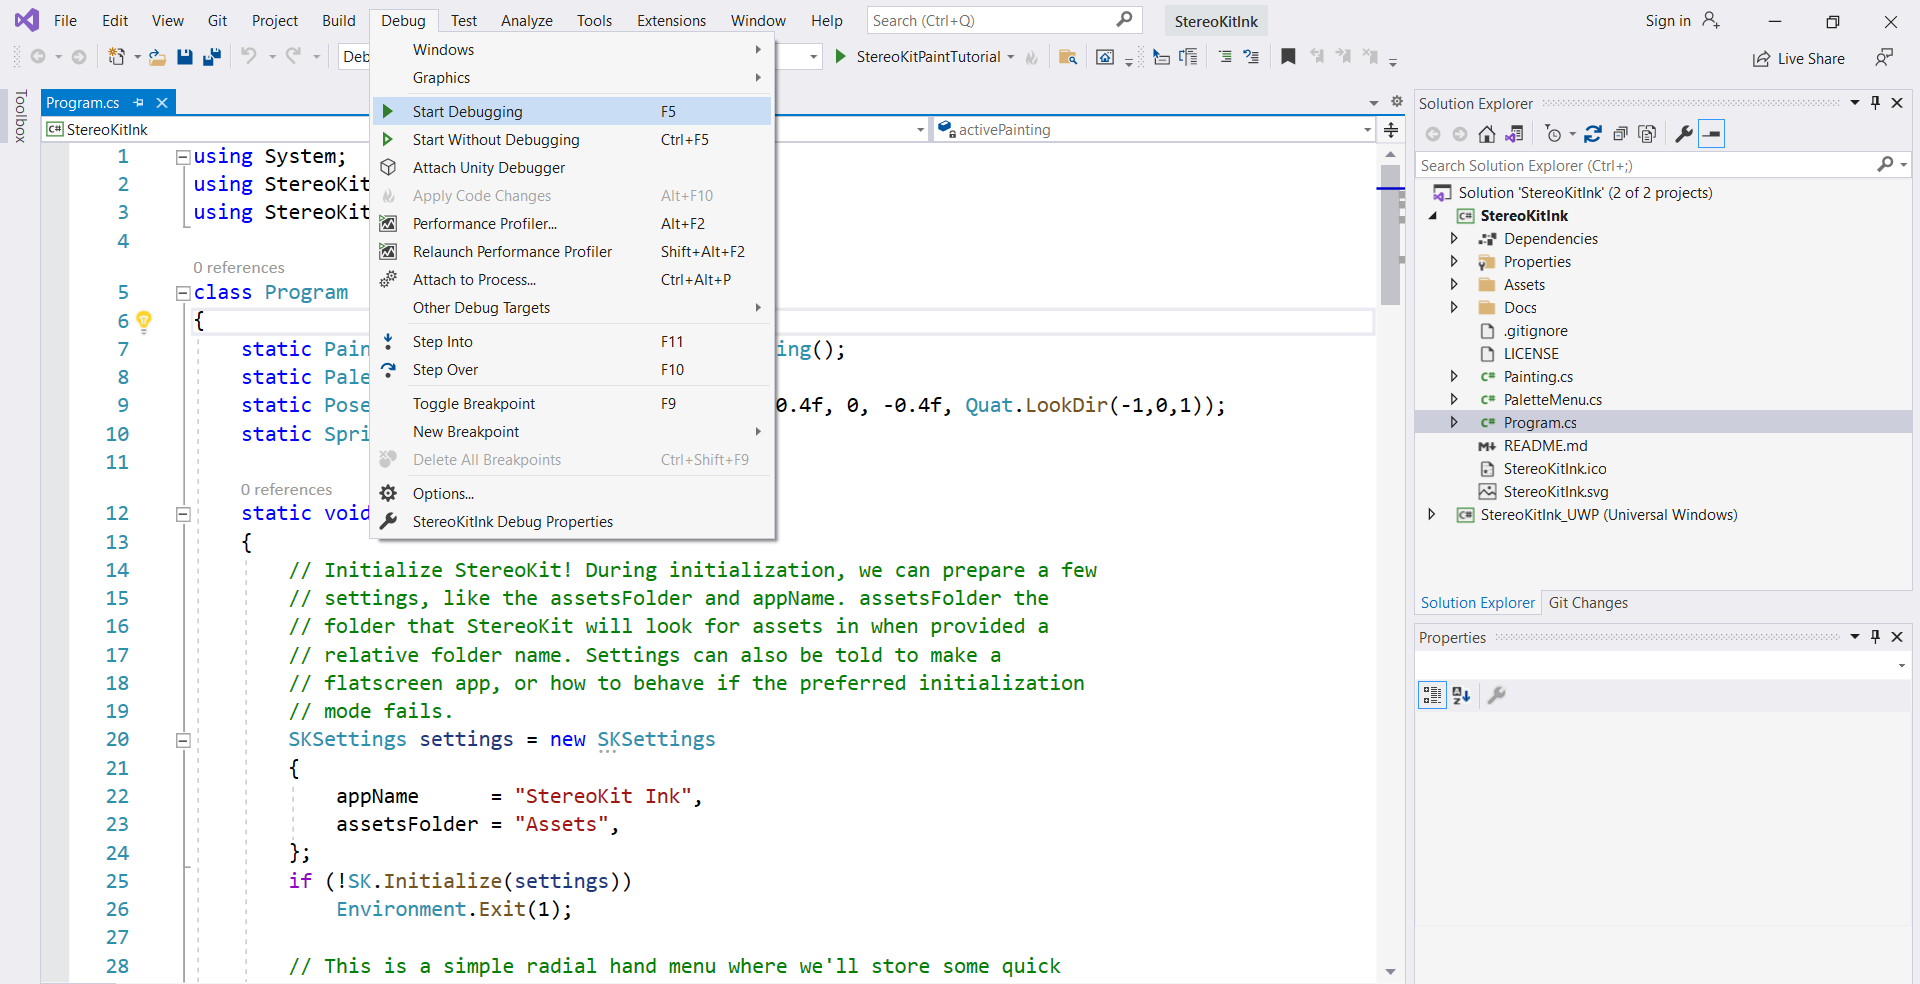
Connect your HoloLens 2 to your computer, then in the menu bar, click on the Debug > Start Debugging. Start Debugging will start the application on your device with the Visual Studio debugger attached.

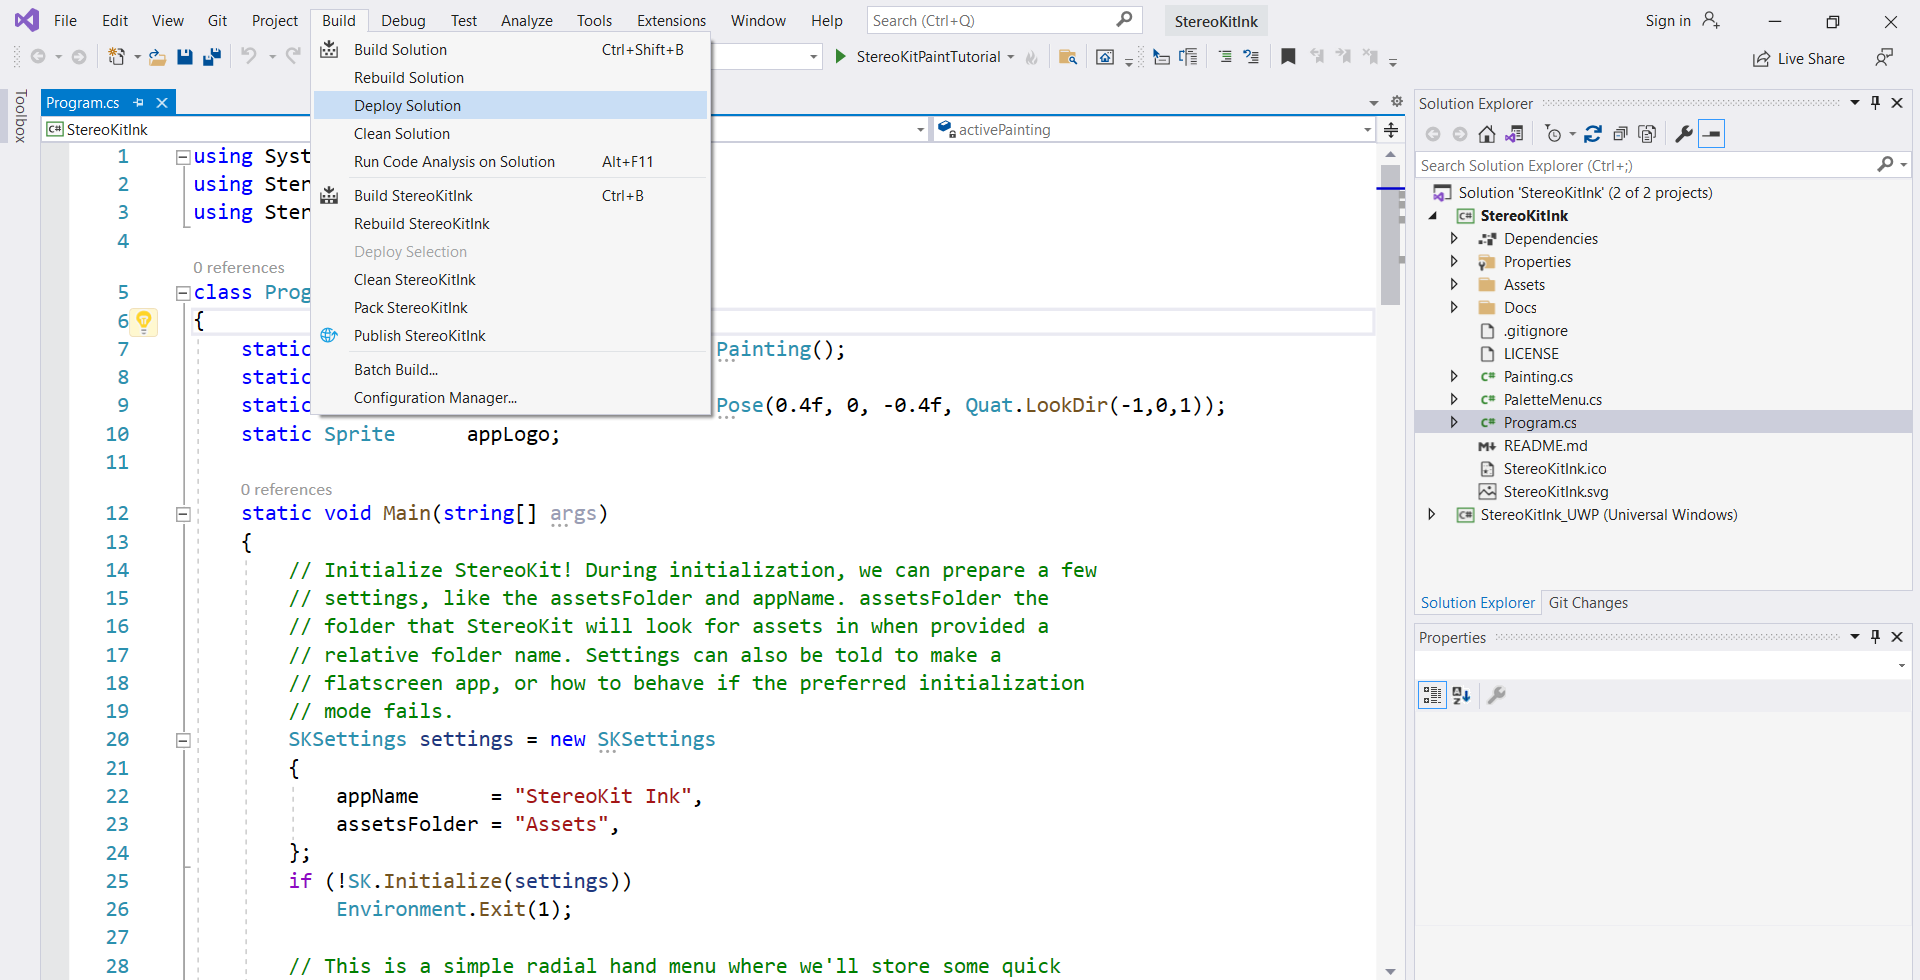
In the menu bar, click on the Build > Deploy Solution to deploy to your device without starting the app automatically.
As shown in the image below, the StereoKit Ink application is now available in HoloLens 2.


Build StereoKit Ink application on Desktop
To build the StereoKit Ink application to your desktop, configure Visual Studio for Desktop by clicking on "Solution Configuration" to ensure the Debug and Any CPU is selected.

Click on the Device dropdown and ensure the StereoKitInk is selected.
Then, click on the Debug > Start Debugging in the menu bar. Start Debugging will start the application on your device with the Visual Studio debugger attached.
When the debugging is complete, the application will open on your desktop, and you'll be ready to draw.


Test StereoKit Ink application
Once you deploy the solution, you can see the StereoKit Ink application window pop-up on your target device, like HoloLens 2 or desktop. You can see a UI with three operable components. The components present on the screen are the painting menu, palette menu, handle, and operating hand.
You may start interacting with the application using the fingertip of your right hand. First, choose a color of your choice from the available six colors. You can customize these colors by altering the Hue, Saturation, and Value properties. Next, modify the size of brushstrokes using the slider. The handle helps you to move around your painting.
You can use UI buttons in the painting menu to make changes to the drawing if necessary. Undo option removes the most recent to the painting, while the Redo option removes the most recent undo from the stack. Save the drawing in the system's preferred location by clicking the save button. The Load button lets you select any .skp file, while the clear button clears the painting stroke. Finally, the Quit button allows you to close the StereoKit Ink application window.