Exercise - Sign in to GitHub
In this exercise, you'll authenticate to GitHub using Visual Studio Code. You'll also learn how to control your signed-in status and which extensions in Visual Studio Code can use your authentication.
Step 1: Install extension and sign in to GitHub
Make sure you have the latest version of Visual Studio Code installed. From the Help menu, select Check for Updates, and then install the latest version, if necessary.
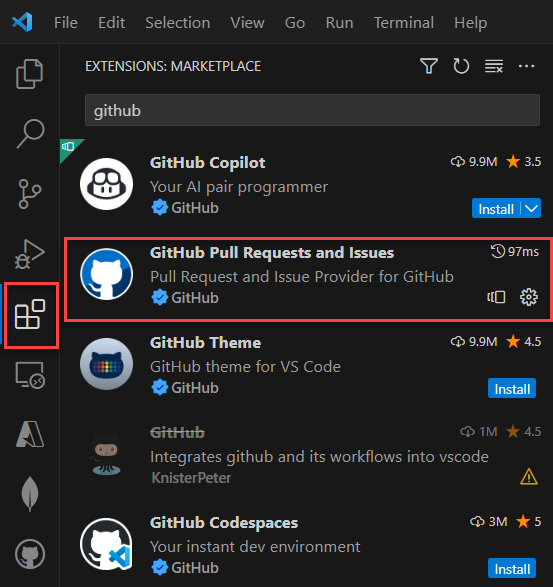
Select the extensions icon on the activity bar. Search for the GitHub Pull Requests and Issues extension and install it.
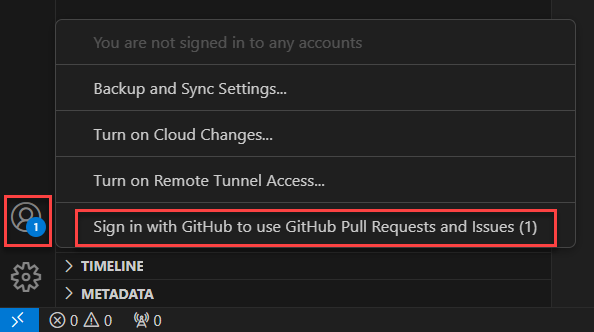
After you install the extension, you can select the Account icon at the bottom of the activity bar and select Sign in with GitHub to use GitHub Pull Requests and Issues.
A browser opens, and you're prompted to grant permission for Visual Studio Code to access GitHub.
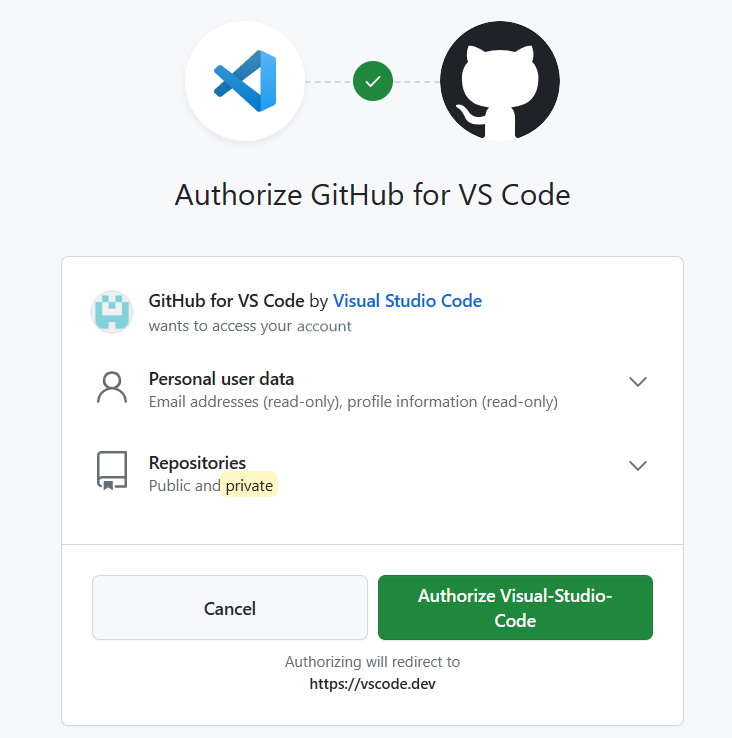
Select Authorize Visual-Studio-Code.
Tip
Depending on the browser you're using, you may be prompted to allow
https://vscode.devto open the application. Select Open to continue.
Your Visual Studio Code window reopens, and you're signed in. You can double check by selecting the account icon again and seeing your GitHub username.
Step 2: Manage trusted GitHub extensions
To see all the extensions that are using your GitHub account, select the account icon, select your GitHub username, and choose Manage Trusted Extensions.

Verify that the GitHub Pull Requests and Issues extension has access.

Tip
You can revoke or grant access to your GitHub extensions at any time. You also can sign out of your GitHub account in Visual Studio Code from the Account icon at the bottom of the activity bar.
Select Cancel to close the Manage Trusted Extensions window in the command palette.
What you just did
Let's recap what you did in this section:
- Installed the GitHub Pull Requests and Issues extension in Visual Studio Code
- Authenticated to GitHub using Visual Studio Code
- Learned how to check which trusted Visual Studio Extensions can access your GitHub account