Load and transform data with Dataflow Gen2
Dataflow Gen2 is the new generation of dataflows. It provides a comprehensive Power Query experience, guiding you through each step of importing data into your dataflow. The process of creating dataflows has been simplified, reducing the number of steps involved.
You can use dataflows in data pipelines to ingest data into a lakehouse or warehouse, or to define a dataset for a Power BI report.
Create a dataflow
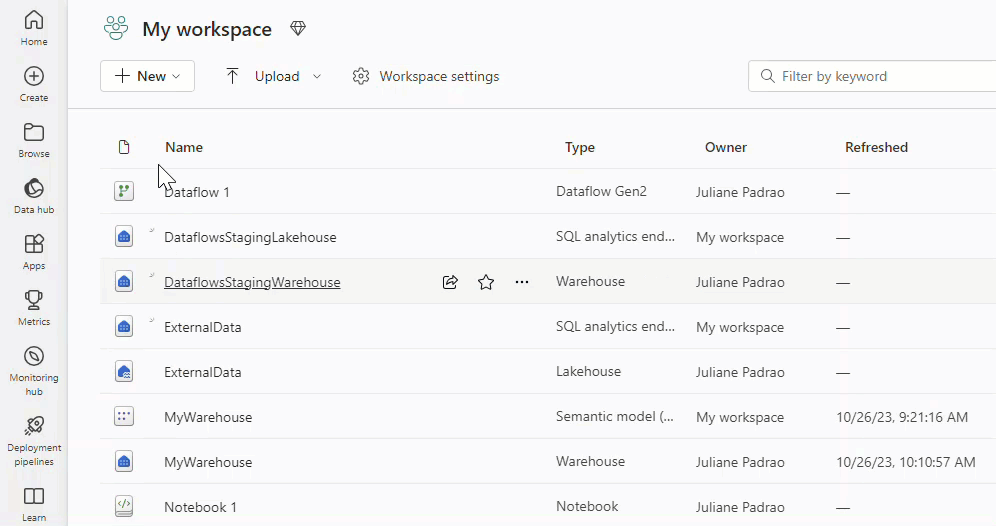
To create a new dataflow, navigate to your workspace, then select + New. If Dataflow Gen2 isn't visible in the list, select More options, then find Dataflow Gen2 under the Data Factory section.
Import data
Once the Dataflow Gen2 launches, there are many options to load your data available.
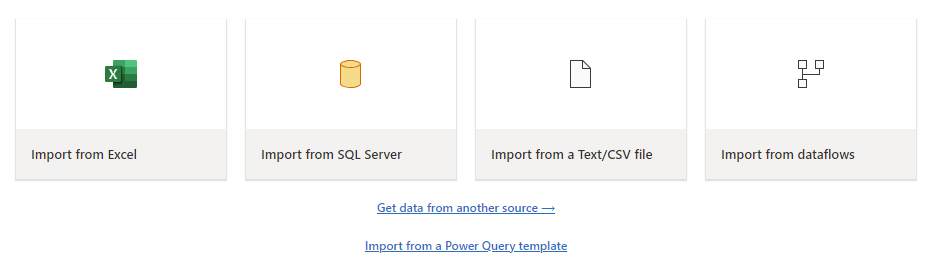
You can load different file types with just a few steps. For example, to load a text or CSV file from your local computer.

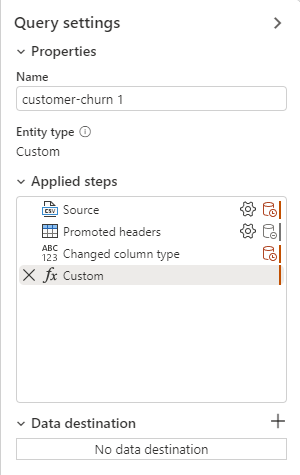
Once the data is imported you can start authoring your dataflow, you might decide to clean your data, reshape, remove columns, and create new ones. All the steps you perform are saved.
Transform data with Copilot
Copilot can be a valuable tool for assisting with dataflow transformations. Let's say we have a Gender column that contains 'Male' and 'Female' and we want to transform it.
The first step is to activate Copilot within your dataflow. Once that's done, you can then provide specific instructions on the transformation you want to perform.
For instance, you might input the following command: "Transform the Gender column. If Male 0, if Female 1. Then convert it to integer."
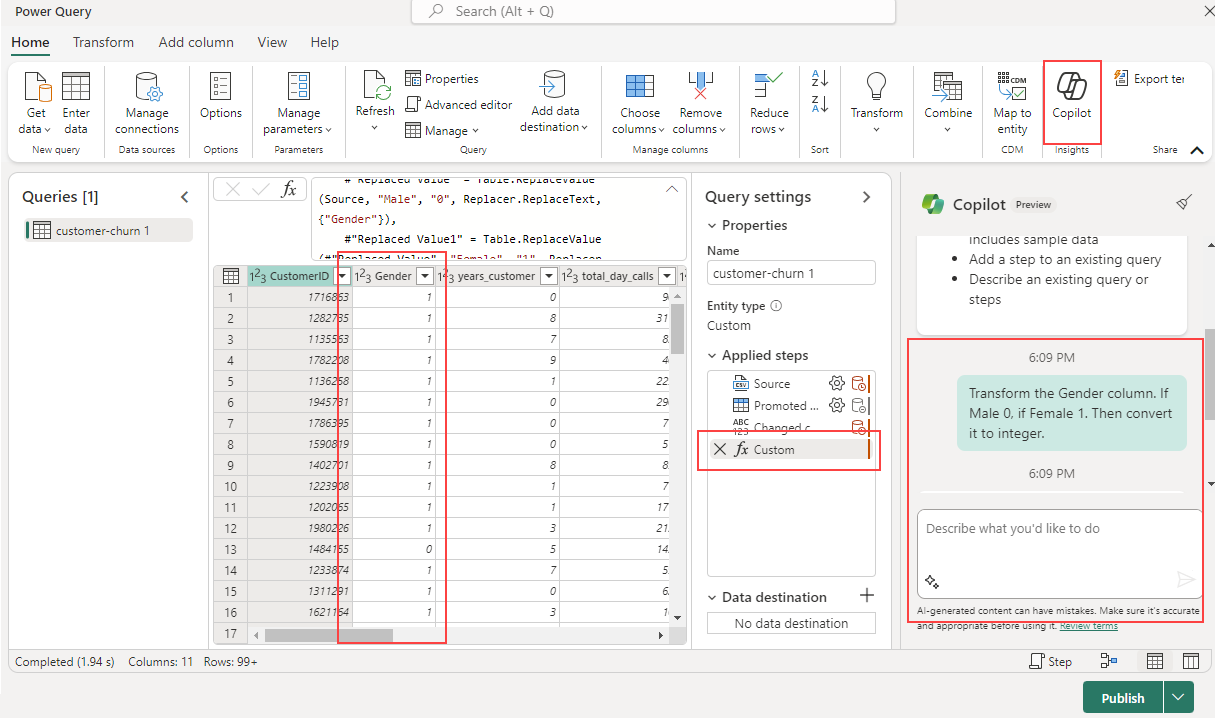
Copilot adds a new step automatically, and you can always revert it if you want, or continue to build on it for further transformations.
Add a data destination
With the Add data destination feature, you can separate your ETL logic and destination storage. This separation can lead to cleaner, more maintainable code and can make it easier to modify either the ETL process or the storage configuration without affecting the other.
Once the data is transformed, the next step is to add a destination step. On the Query settings tab, select + to add a destination step in your dataflow.
The following destination options are available.
- Azure SQL Database
- Lakehouse
- Azure Data Explorer (Kusto)
- Azure Synapse Analytics (SQL DW)
- Warehouse
Data that’s loaded into a destination like a warehouse can be easily accessed and analyzed using various tools. This improves the accessibility of your data and allows for more flexible and comprehensive data analysis.
When you select a warehouse as a destination, you can choose the following update methods.
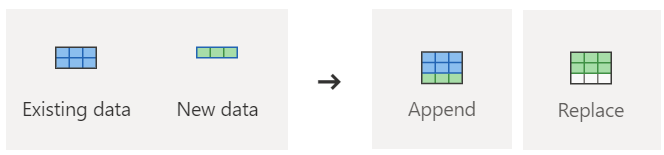
- Append: Add new rows to an existing table.
- Replace: Replace the entire content of a table with a new set of data.
Publish a dataflow
After you choose your update method, the final step is to publish your dataflow.
Publishing makes your transformations and data loading operations live, allowing the dataflow to be executed either manually or on a schedule. This process encapsulates your ETL operations into a single and reusable unit, streamlining your data management workflow.
Any changes made in the dataflow take effect when it’s published. So, always ensure to publish your dataflow after making any relevant modifications.