Configure retention labels
Microsoft Purview Data Lifecycle Management and Records Managements both use retention labels. You can create your own retention labels or edit the ones produced during the file plan import process. One additional step is added, and another is modified during the retention label configuration process in records management. The additional step provides the opportunity to add additional records management-specific metadata. The modified step enables the label to be used to declare records.
Navigate to Microsoft Purview compliance portal > Records management > File plan to configure retention labels for records management
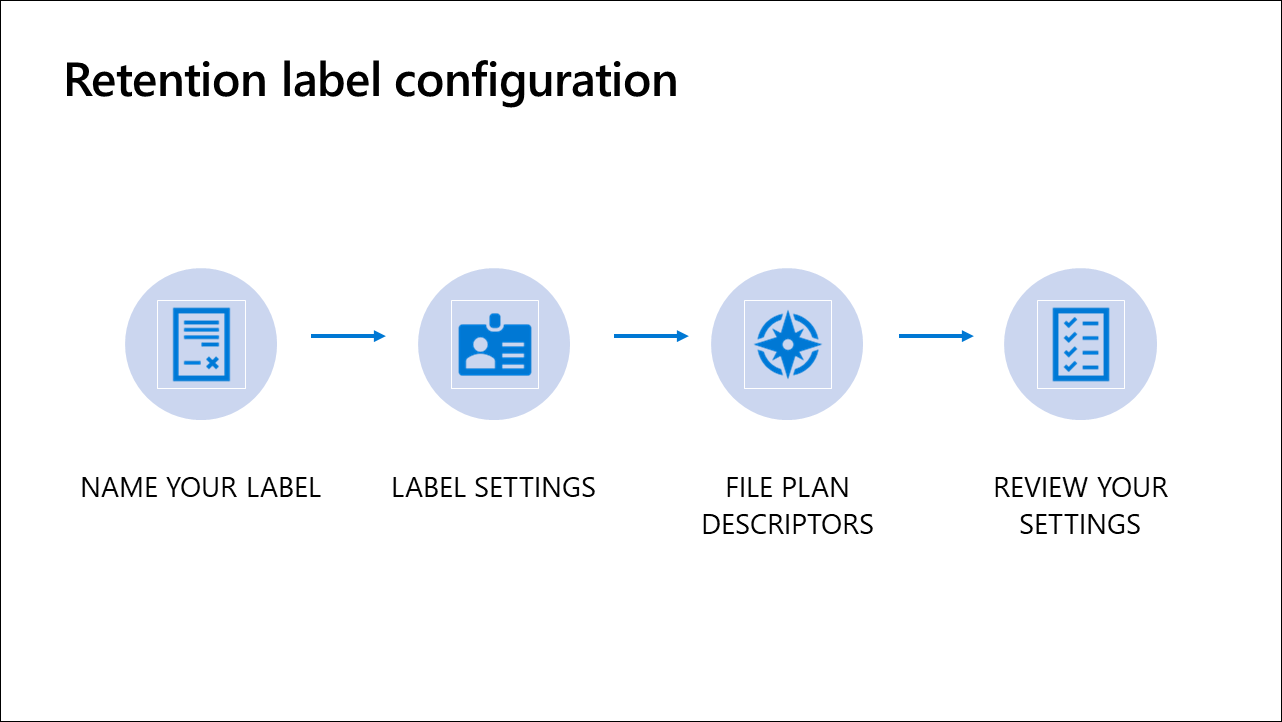
The process of creating a retention label consists of these steps:
- Name your label.
- Add file plan descriptors.
- Configure label setting.
- Review settings and create the label.
Step 1: Name your label
You provide the following information:
- Name
- Description for admin
- Description for users
Name
This is the name of the label users will see in the apps, if published (like Outlook, SharePoint, and OneDrive). It should help the user understand what it's used for, but not be too long.
Description for admins
This information is only visible to admins who will manage this label, so enter something helpful.
Description for users
This appears when users hover over the label in some apps. If left blank, a default label that shows its retention settings will be displayed.
Step 2: File plan descriptors
The file plan descriptors step is unique to Microsoft Purview Records Management. File plan descriptors are metadata common to many file plans, and help you to manage records. Most descriptors are prepopulated with common selections, but you can add your own. None of these fields are required. You can add your own values to the prepopulated choices. The following table provides more information about each descriptor.
| Name | Description | Example | Prepopulated? |
|---|---|---|---|
| Reference ID | Freeform unique field that could be used to refer to your formal file plan | 764X37-9087 | No |
| Business function/department | Common department names are supplied, but you can add your own; for example, select Accounting | Finance | Yes |
| Category | A list of categories is provided, but you can add your own | Financial statements | Yes |
| Subcategory | This lets you add a second level of categorization | Income statements | Yes |
| Authority type | The primary justification for the label | Regulatory | Yes |
| Provision/citation | The name of the specific regulatory or legal provision the label applies to | Sarbanes-Oxley Act of 2002 | Yes |
Step 3: Label settings
Retention
Turn on retention if you want to apply retention settings to this label. If you leave retention off, the label behaves like a text label. When you turn on the label, this results in additional settings relating to whether the content should be deleted or retained.
When the label is applied, the content is retained and/or deleted based on the settings you configure. If retained for some time, additional options are presented to configure what you should do after the retention period expires. You can also configure what triggers the retention period clock to start ticking.
When this label is applied to content...
Retain the content. If you select this option, the content will stay where it is for the time specified. For example, email will stay in mailboxes and documents remain in SharePoint or OneDrive. If users delete the content, a copy will be placed in a secure location. Next, you need to decide what to do after the retention period ends. Here are the options:
- Delete the content automatically. Content will be deleted without requiring additional action by users or admins.
- Trigger a disposition review. This is where a reviewer evaluates the items that reach the end of their retention period to decide if they can be safely deleted or disposed. When an item reaches the end of the retention period, reviewers receive an email notification, and go to the dispositions page to determine what happens to it.
- Do nothing. Leave the content as is. If you don't want to keep the content after the retention period expires, you must delete it.
Don't retain the content, just delete if it's older than... Users are free to permanently delete their email, documents, or other items at any time. But when content reaches the age specified, it will be deleted. For example, email messages will be deleted from users' mailboxes and documents removed from SharePoint or OneDrive.
Retain or delete the content based on... You decide when you want the clock to start the deletion or retention process. Here are your options:
- When it was created.
- When it was last modified.
- When it was labeled.
- An event.
If you choose when it was created, last modified, or labeled, content in email messages will be deleted based on when the message was sent or received. Documents will be removed based on when they were created or last modified, or when the label was applied.
Basing the label on an event means content will be retained forever until you create the event on the event page. When there's a specific occurrence of the event type, you create the actual event to start the process. Event-driven retention is covered in the next unit.
Label classification
This configuration option is unique to the Microsoft Purview Records Management solution. If selected, the label will be used to classify the content as a record. Users won't be able to edit or delete the content, or change or remove the label. However, they can still edit the content's metadata. If you classify content as a record, it becomes immutable.
Step 4: Review your settings
The final step in the process is to review your settings, make any needed updates, and create the label.