Create and share a desktop with users
To deploy Azure Virtual Desktop, we'll start by creating a host pool, specifying our session host VMs, and creating a workspace. This process creates a desktop application group. We'll then assign that application group to a user and verify they can see the virtual desktop in their workspace.
The following steps provide some initial values for you to use to test out Azure Virtual Desktop. Review the available options to plan and customize your deployment to match your organization's needs.
To complete the exercise, you'll need the Azure credentials for:
- A user account that's assigned to the Active Directory Domain administrator role
- A non-administrative user account that's in Active Directory
Create a host pool by using the Azure portal
Step 1: Basics
Sign in to the Azure portal.
Use the search box to find Azure Virtual Desktop.
Select Create a host pool.
Enter the appropriate information into the Basics tab.
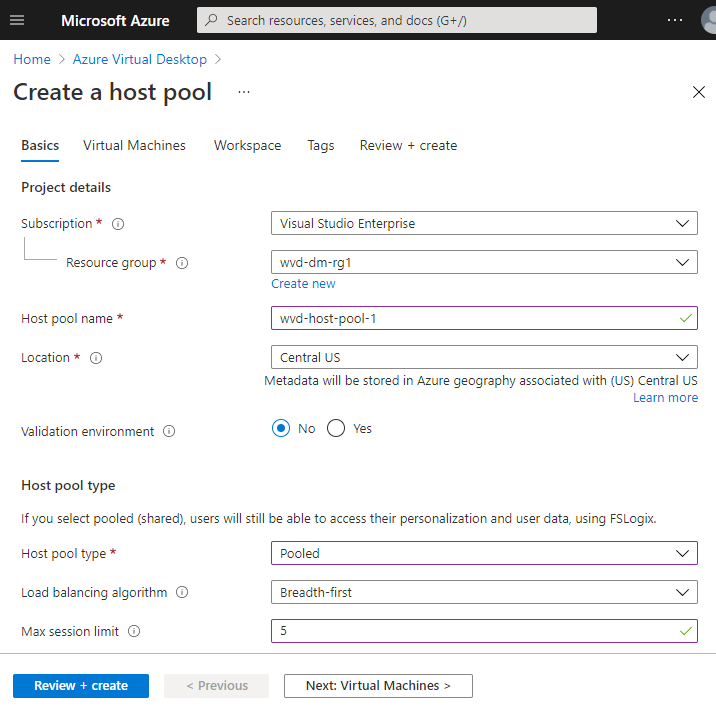
Field Value Subscription Subscription where you want Azure Virtual Desktop to run Resource group Resource group you've created for Azure Virtual Desktop resources Host pool name wvd-host-pool-1 Location Region where you want the metadata for your host pool stored. If you want to create your host pool in a supported region outside the US, you'll need to re-register the resource provider. Validation environment No Host pool type Pooled Load balancing algorithm Breadth-first Max session limit Maximum number of users you want load-balanced to a single session host Select Next: Virtual Machines.
Step 2: Virtual Machines
Select Yes to add virtual machines.
Use the information in the following table to fill out the virtual machine tab.
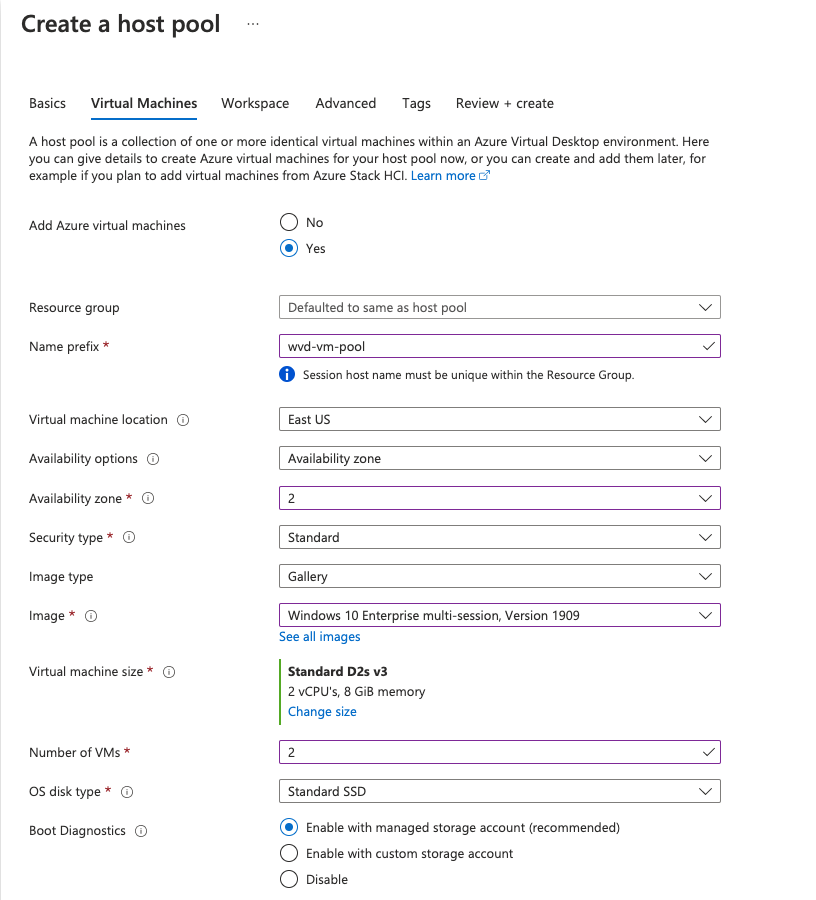
Field Value Add virtual machines Yes Resource group Resource group you've created for Azure Virtual Desktop resources Name prefix wvd-vm-pool Virtual machine location Region needs to be same location as your virtual network Availability options Availability zone Availability zone 2 Image type Gallery Image Windows 10 Enterprise multi-session, Version 1909 Virtual machine size Keep the default size Number of VMs 2 OS disk type Standard SSD Use managed disks Yes Boot diagnostics Enable with managed storage account 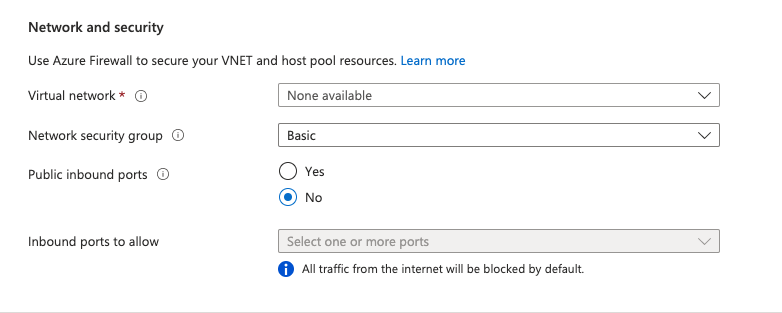
Field Value Virtual network Virtual network that can connect to the domain controller Network security group Basic Public inbound ports No 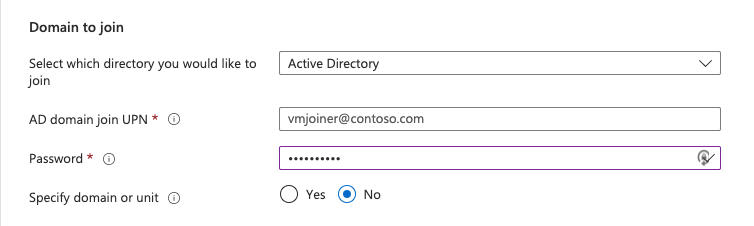
Field Value Select which directory you would like to join Active Directory AD domain join UPN User name for the user account that's assigned to the Active Directory Domain administrator role Specify domain or unit No 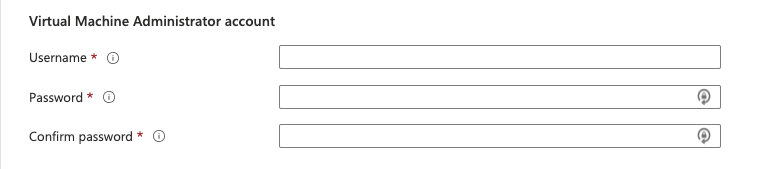
Field Value Username Select a username for your VM administrator Password Select a password for your VM administrator Confirm Confirm the password 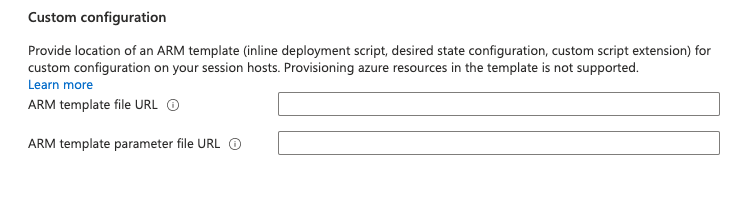
Field Value ARM template file URL Leave blank ARM template parameter file URL Leave blank Select Next: Workspace.
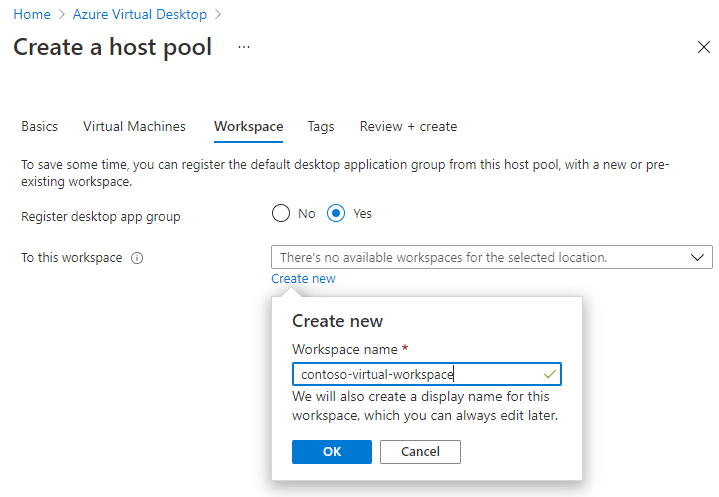
Step 3: Workspace
For Register desktop app group, select Yes.
For To this workspace, select Create new.
Enter a name for the workspace.
Select Review + create.
Review what you've entered and select Create.
Assign desktop application group to user
Assign the desktop application group to a non-administrative user account that's in Active Directory.
- Select Application groups.
- Select the desktop application group.
- Select Access control (IAM) > Add > Add role assignment.
- For Role, select Desktop Virtualization User and select Next.
- Beside Members, select + Select Members. Find and select the name of a non-administrative user account that's in Active Directory and select Select.
- Select Next.
- Select Review + Assign.
Verify access to desktop
- Go to the Azure Virtual Desktop web client.
- Sign in by using the user credentials for the user you assigned to the desktop application group.
- You should see a virtual desktop.