Manage assets exercise
In this exercise, we edit, certify, move, and delete some assets!
Edit assets
You can edit assets both individually and in bulk. We're going to do both in this example.
Individual
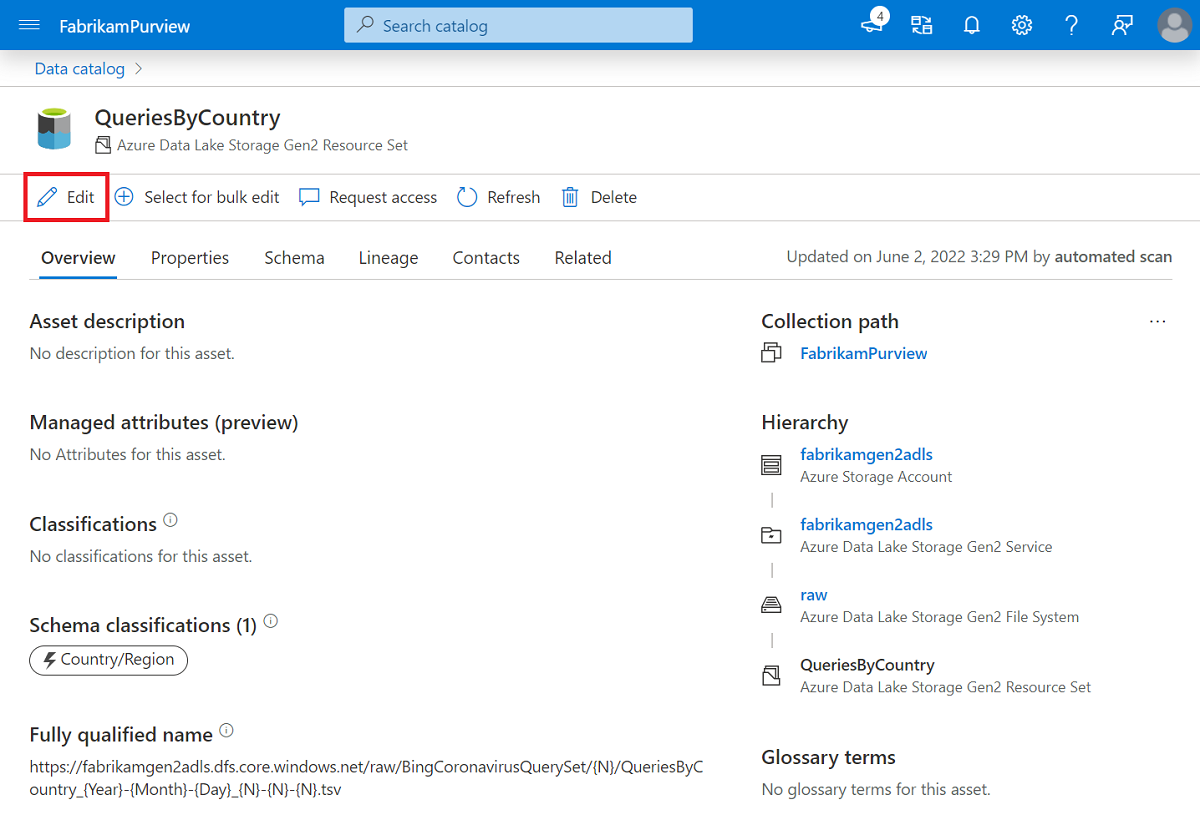
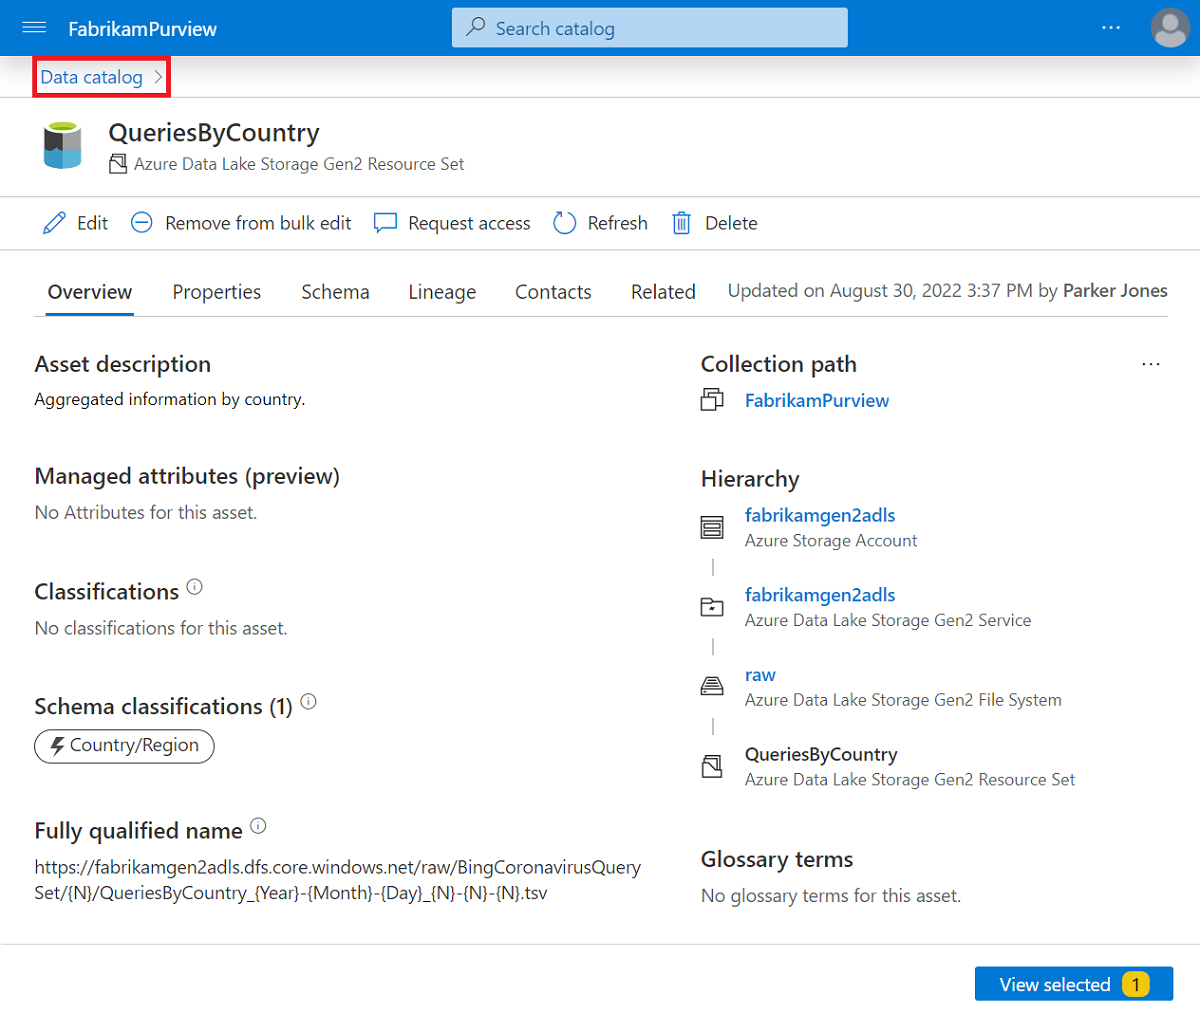
In the data catalog, search for one of your data assets. If you completed the exercise Deploy Microsoft Purview and Scan Azure Data Lake Storage (ADLS) Gen 2, and uploaded the dataset. You can use the same dataset we're using in our example. We searched for the keyword 'country' and selected the Queries by Country asset.
Once you open your data asset, select the Edit option in the asset action bar.
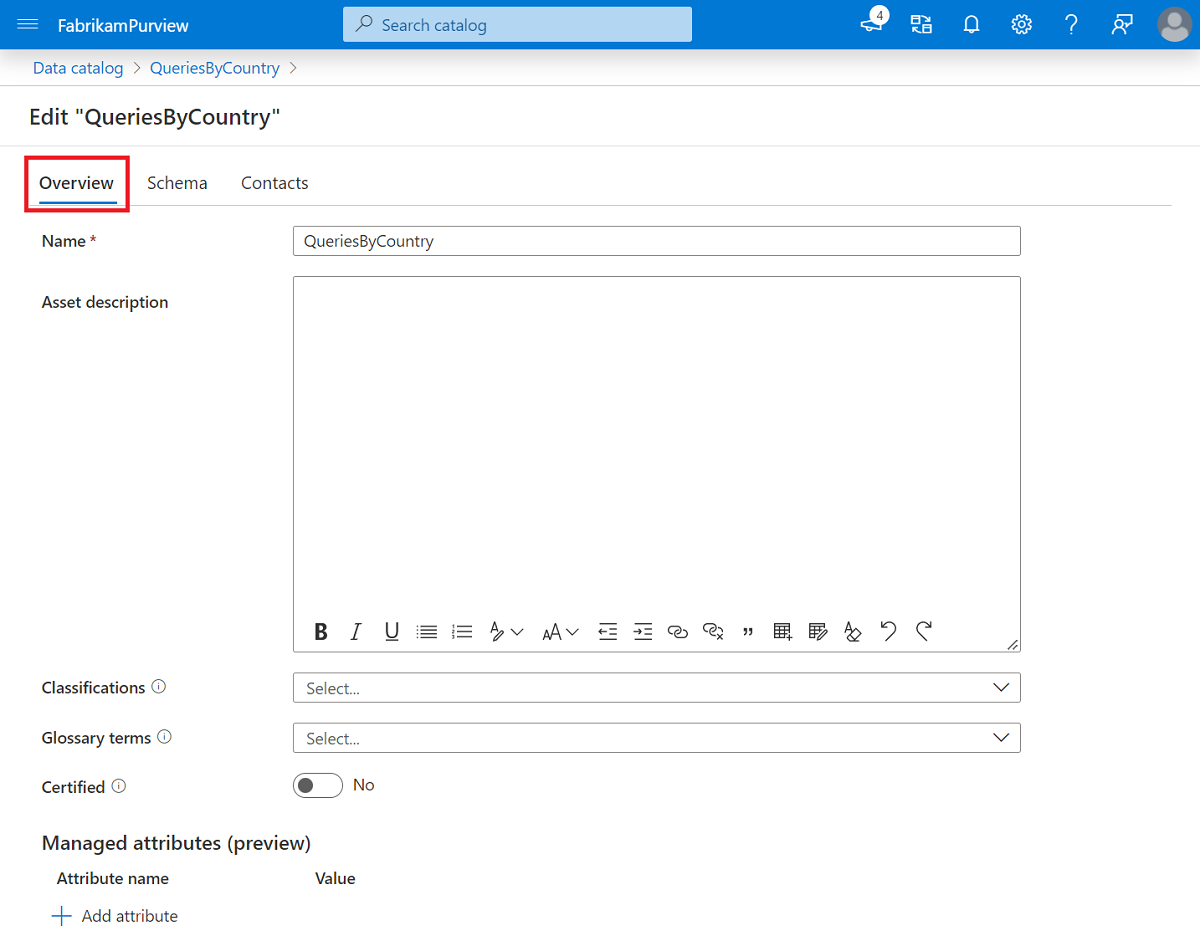
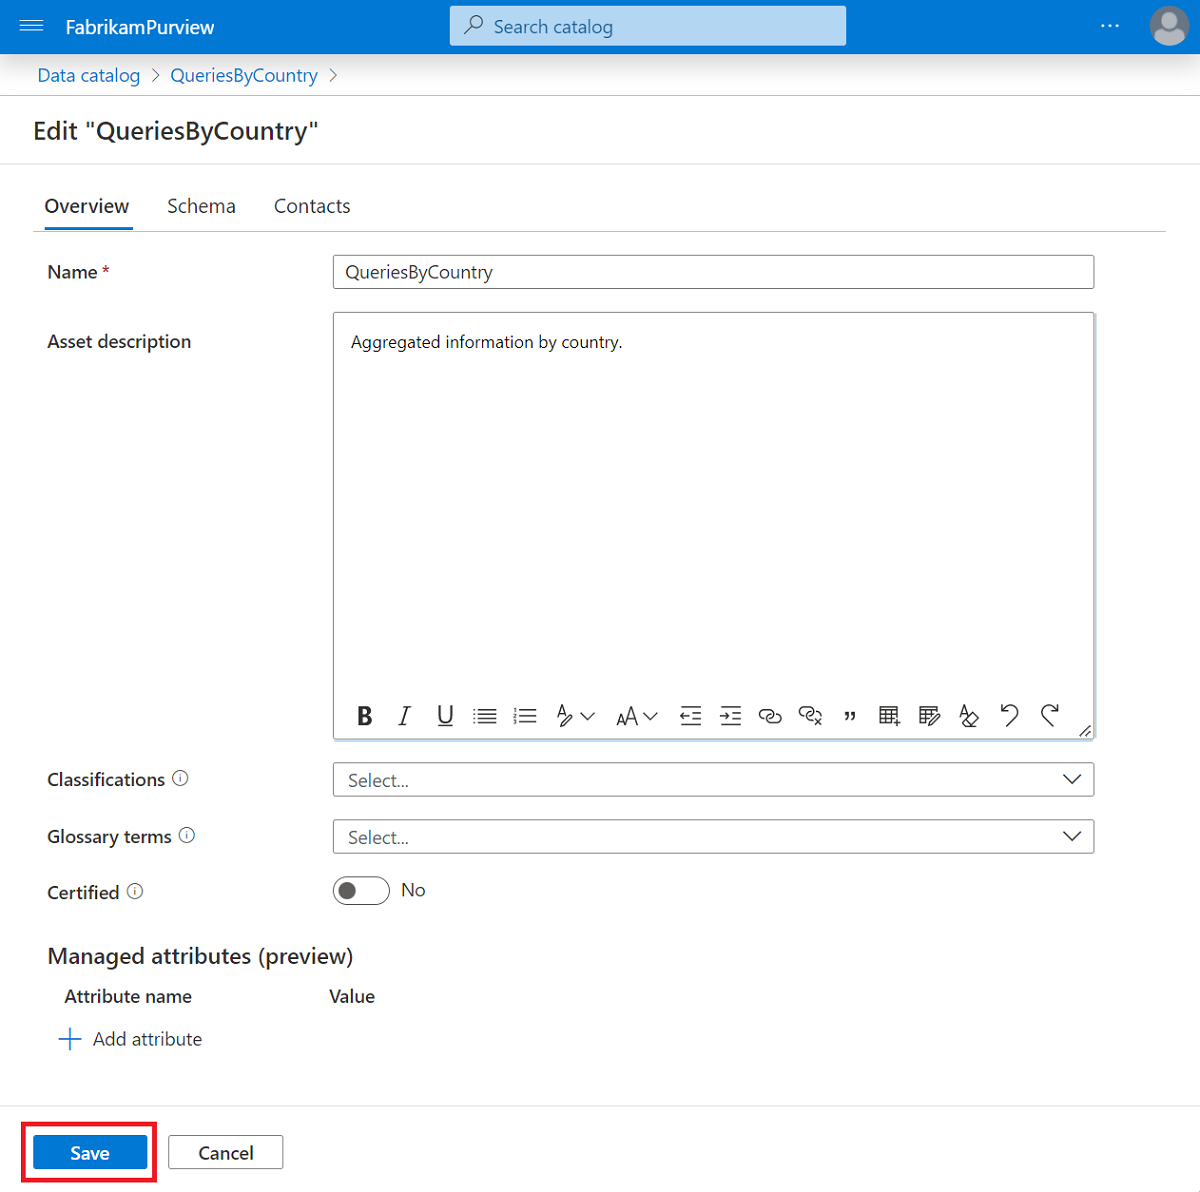
From the Edit menu, we're able to edit all the basic aspects of an asset. On the Overview page, you can:
- Update the name to a friendlier name.
- Add a description to your asset.
- Add classifications to the entire asset.
- Add glossary terms to the entire asset.
- Certify your data asset, if you're a data curator.
- Add managed attributes to your asset.
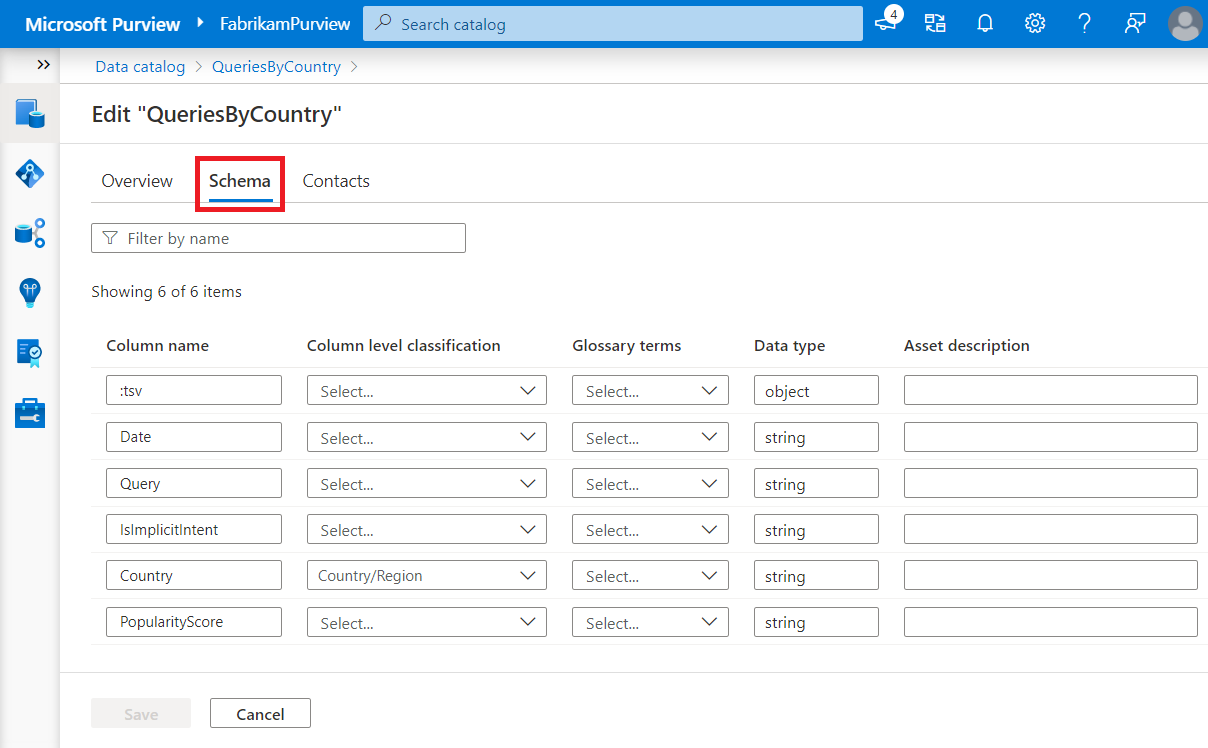
In the Schema tab, you can:
- Update the column names to friendly names
- Add column-level classifications
- Add column-level glossary terms
- Update the data type of a column
- Add descriptors to individual columns
In the Contacts tab, you can add experts who can answer questions for others about the data asset, or owners who can manage the life cycle of the data asset.
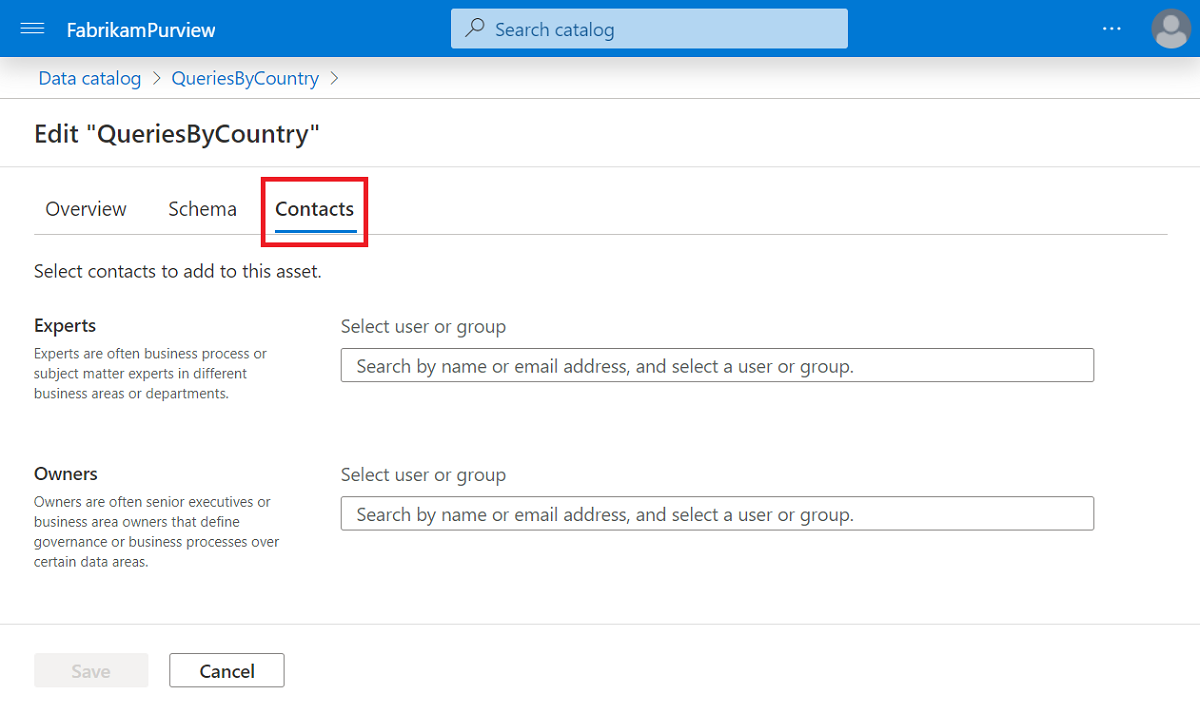
Once you make changes or updates, be sure to save them using the Save button at the bottom of the page.


Bulk
Now that we made an edit to an individual asset, let's add some information across multiple attributes. Let's add an owner to several attributes at once.
Open a data asset, and in th asset action bar, select Select for bulk edit
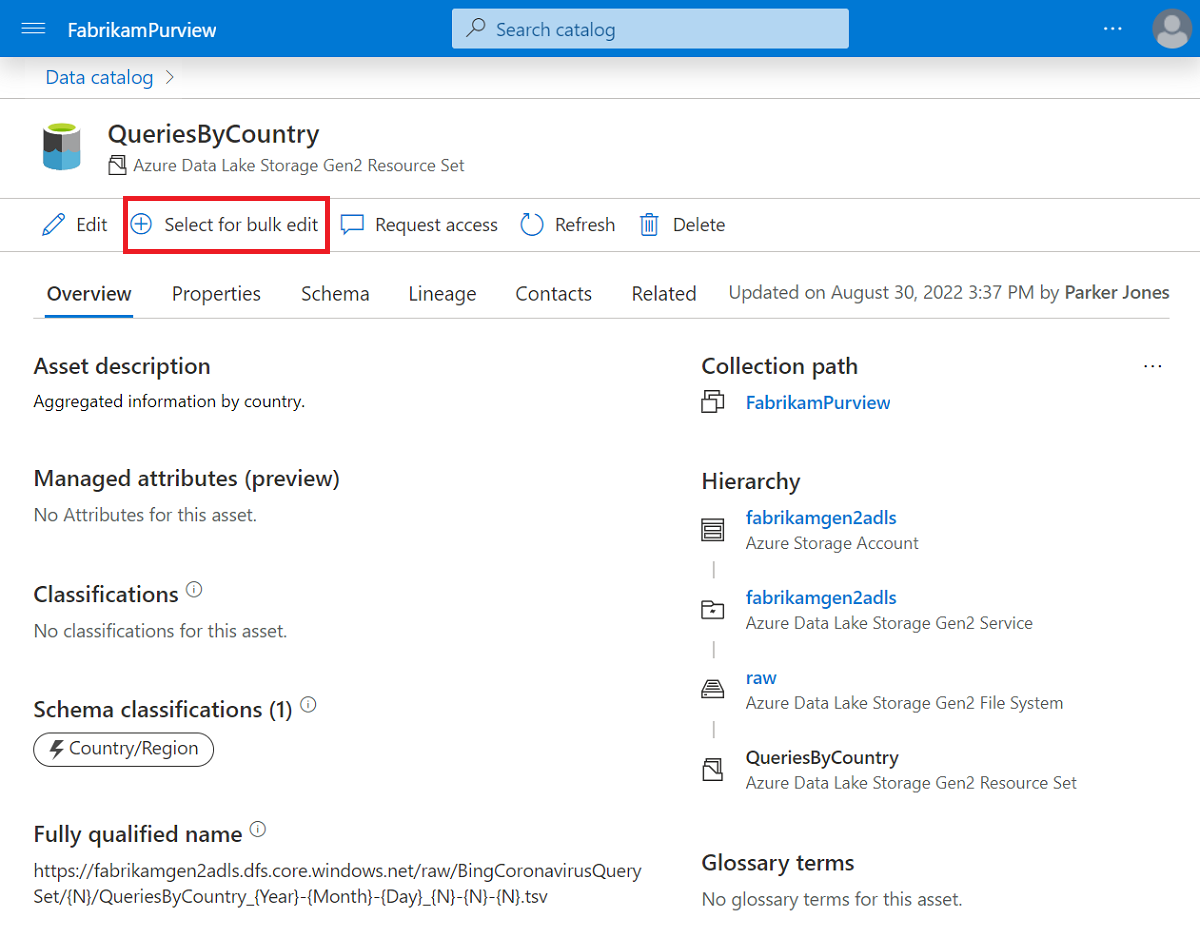
Now you can see new options are available:
- Remove from bulk edit - which you can use to deselect an asset from bulk editing
- View selected - which you can use to see a full list of all your selected assets.
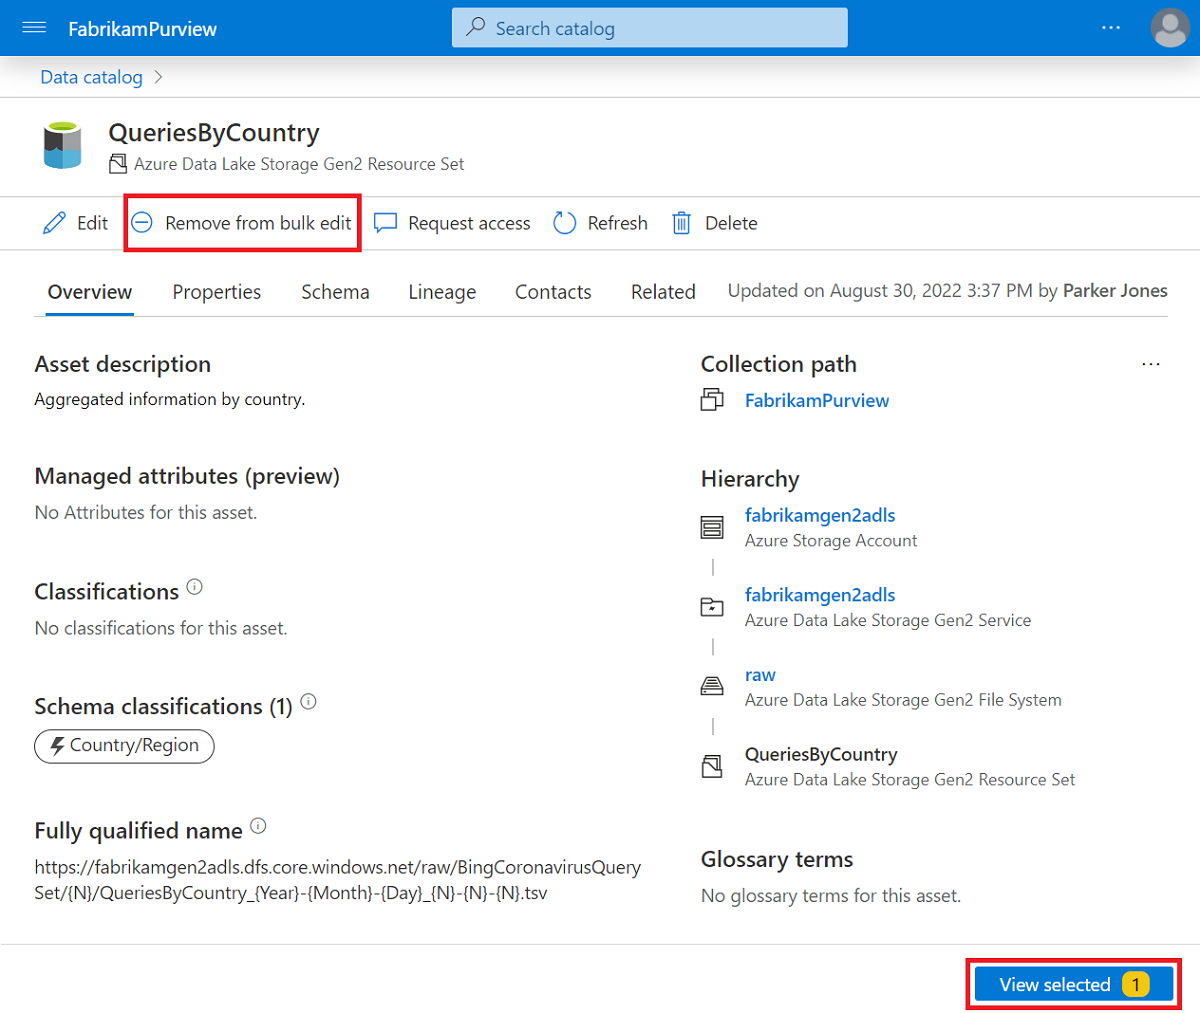
"Asset page with the Select for Bulk button is changed to 'Remove from bulk' and the view selected button highlighted at the bottom."
Return to the data catalog using the breadcrumb at the top of the asset page.
We search for "state", so we can find the QueriesByState asset. We can open this asset and select Select for bulk edit like we did before. We can also select an asset for bulk edit directly from the search menu by selecting the check box next to the asset's name.
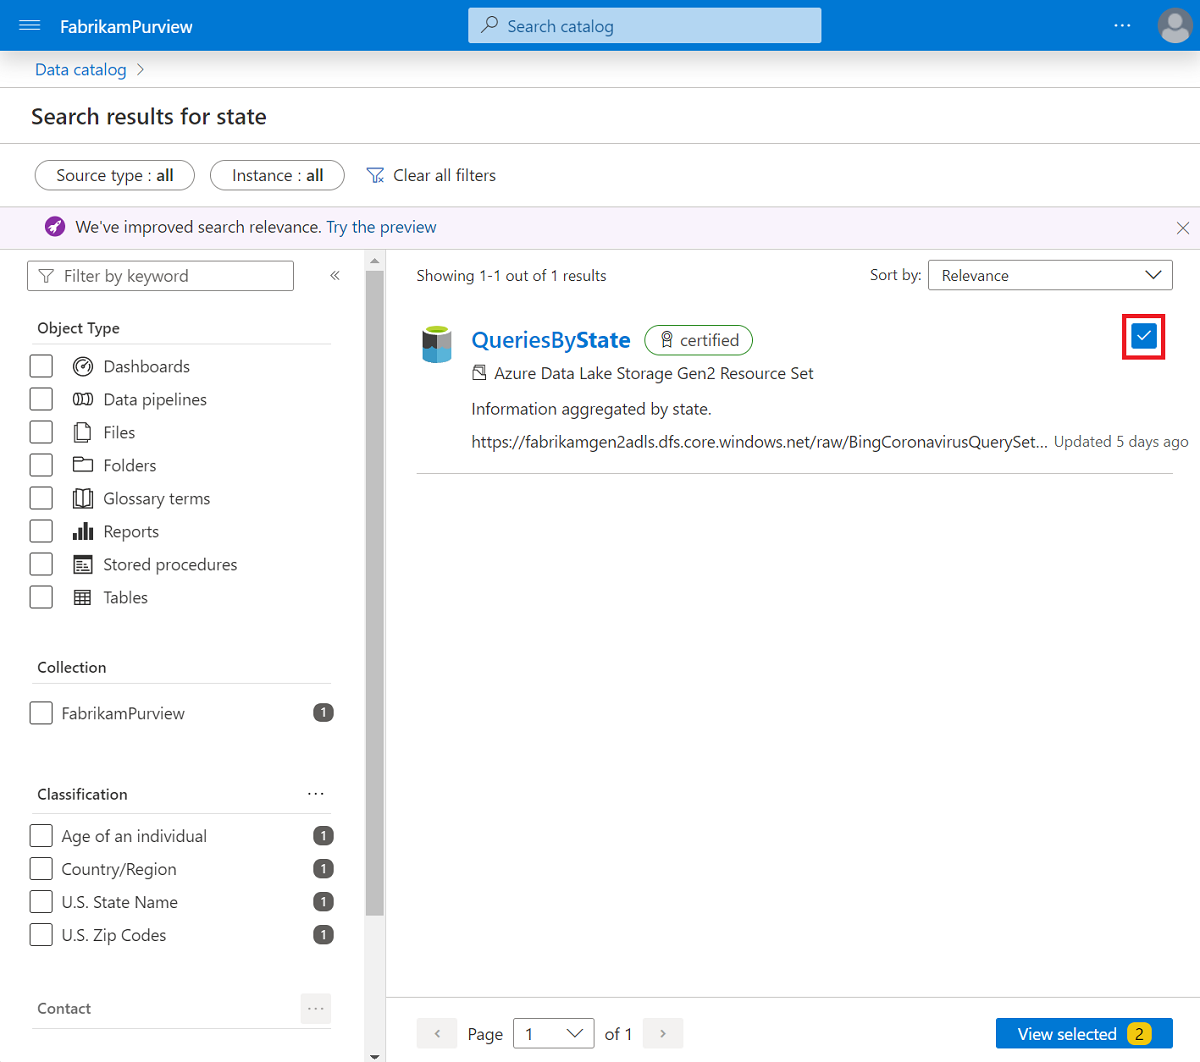
Now that we selected at least two assets, select the View selected button at the bottom of the page.
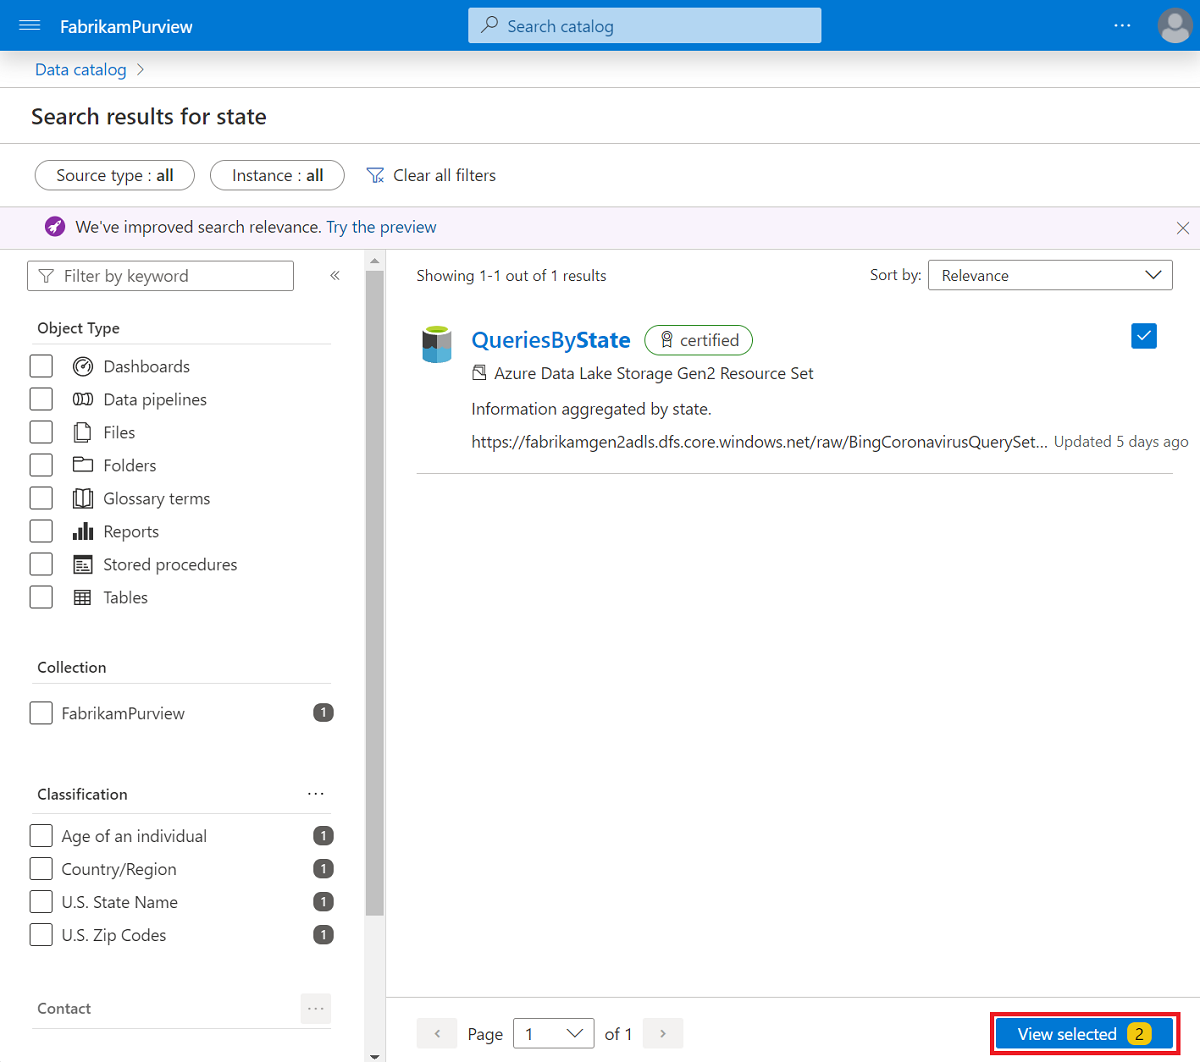
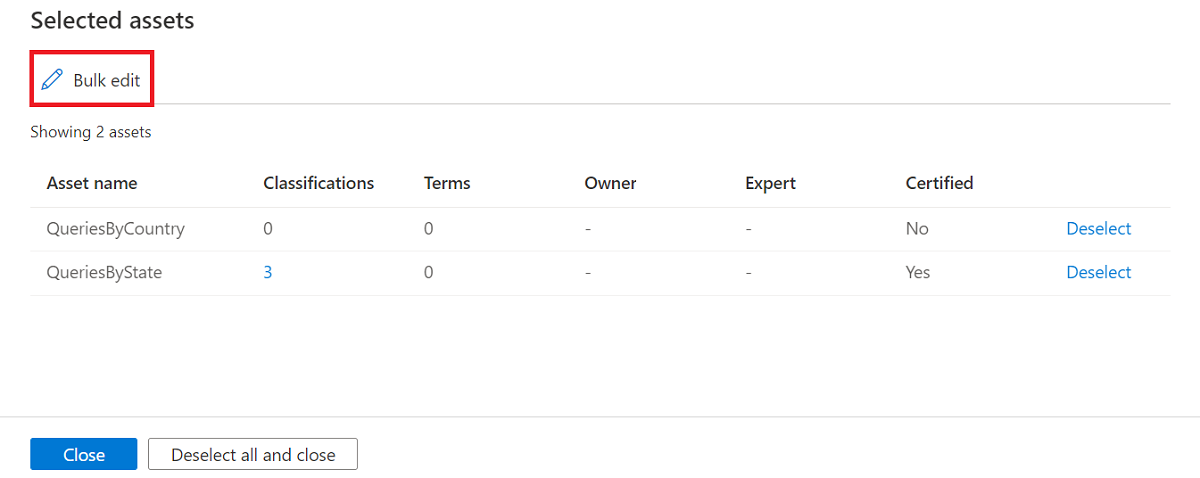
Here we can see all our selected assets listed with some other details about them. We can deselect any assets we don't want in the list. We can close the list to select more. We can close and deselect all these assets, or we can select Bulk edit at the top of the page. Let's select Bulk edit at the top of the page.
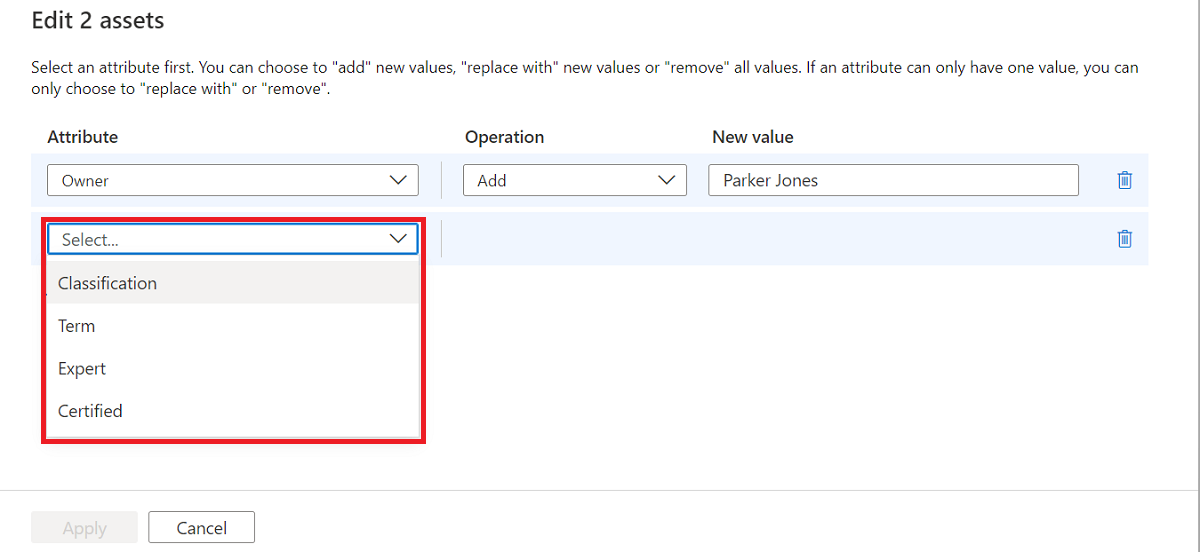
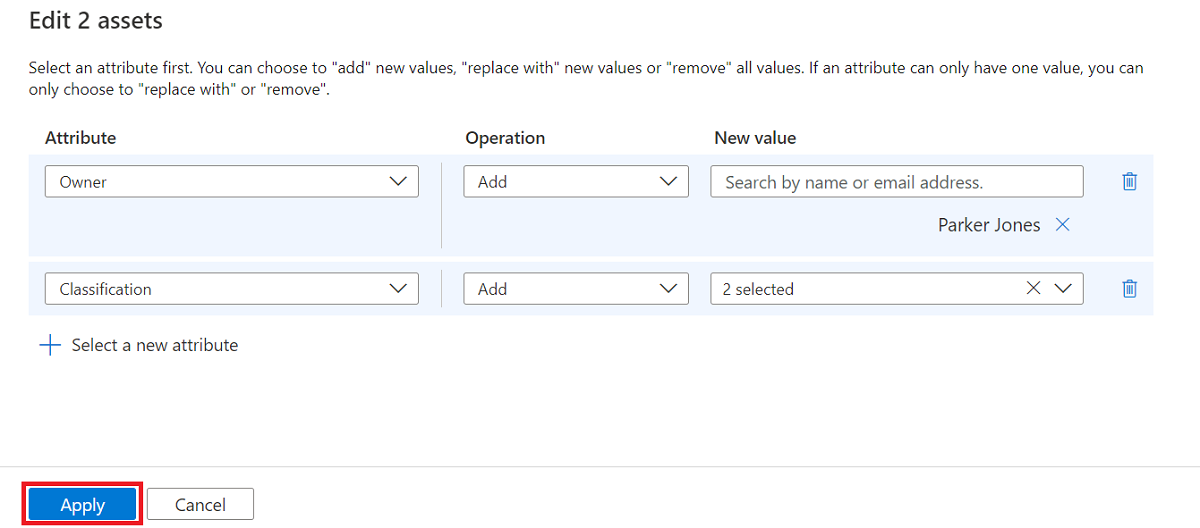
On the Bulk edit page, we can select multiple attributes to edit. In the following example, we made an update to Owner, so we can select Classification, Term, Expert, or Certified. We'll discuss terms in the next section, so let's select Classification.
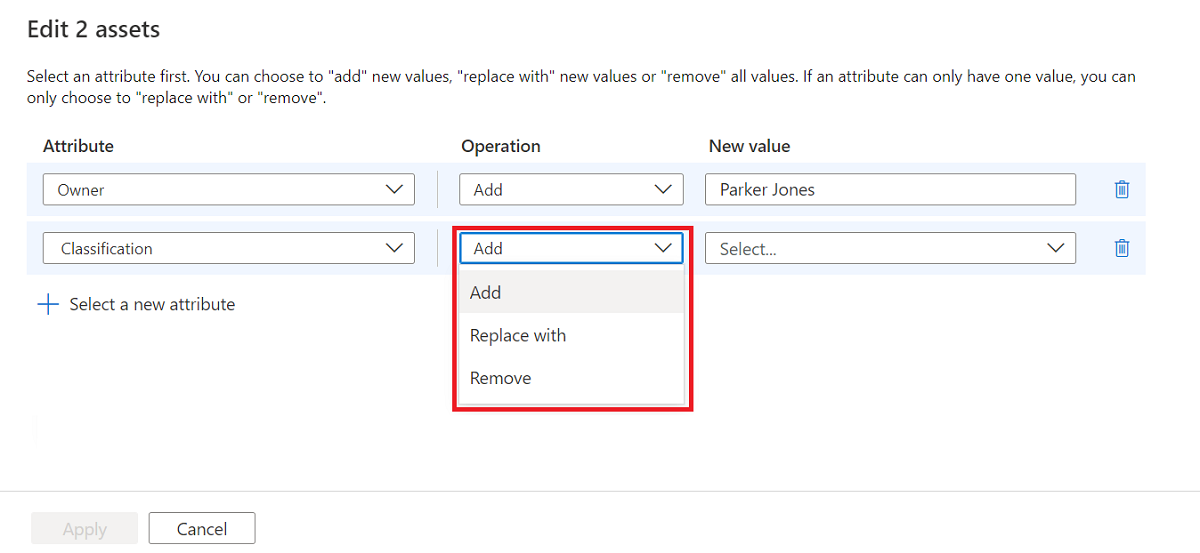
Next we can select the operation, so we can add, replace with, or remove. Let's select Add.
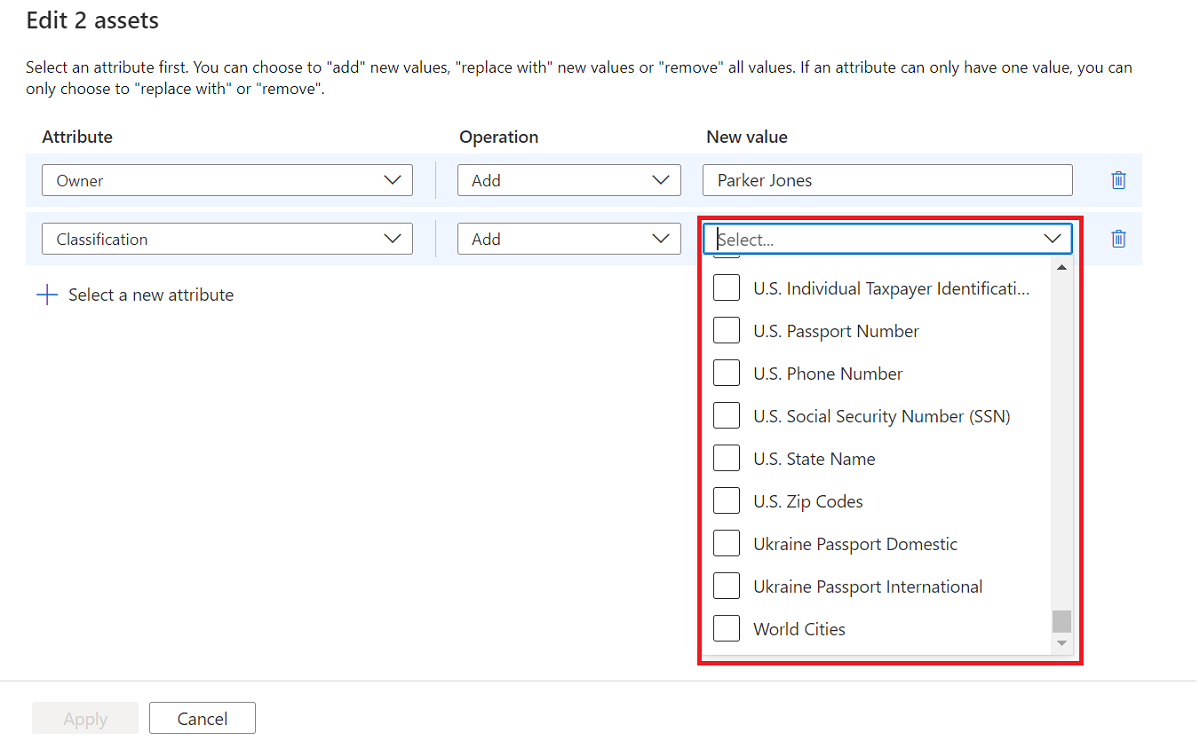
Lastly we choose the values, in this case, classification values. We can select multiple values to add at the same time. Let's select U.S. Zip Codes and World Cities
If you want to add any more attributes, you can select Select a new attribute.
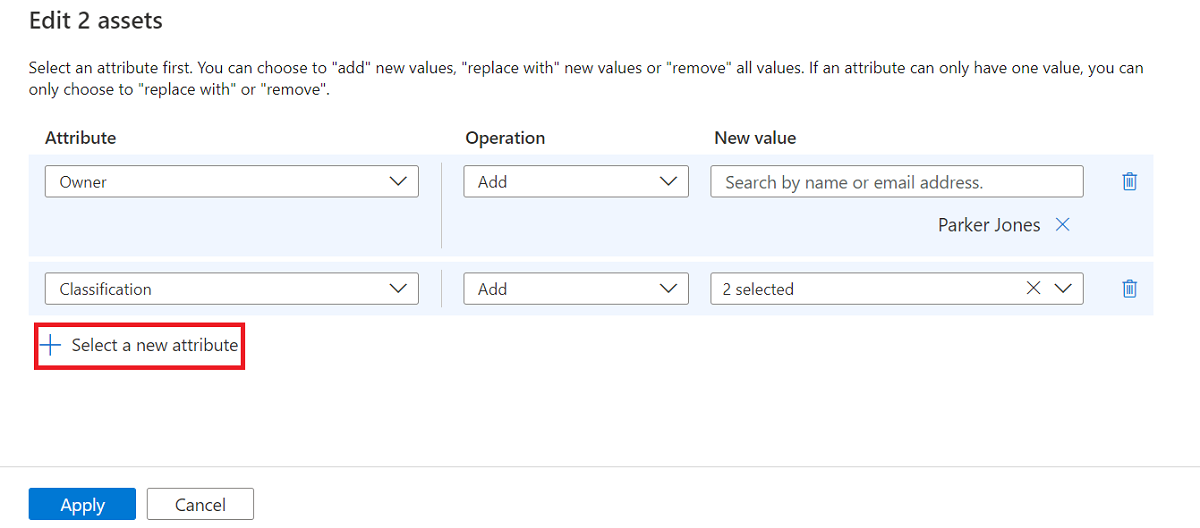
Once your updates are ready, select Apply to apply the changes to your attributes.
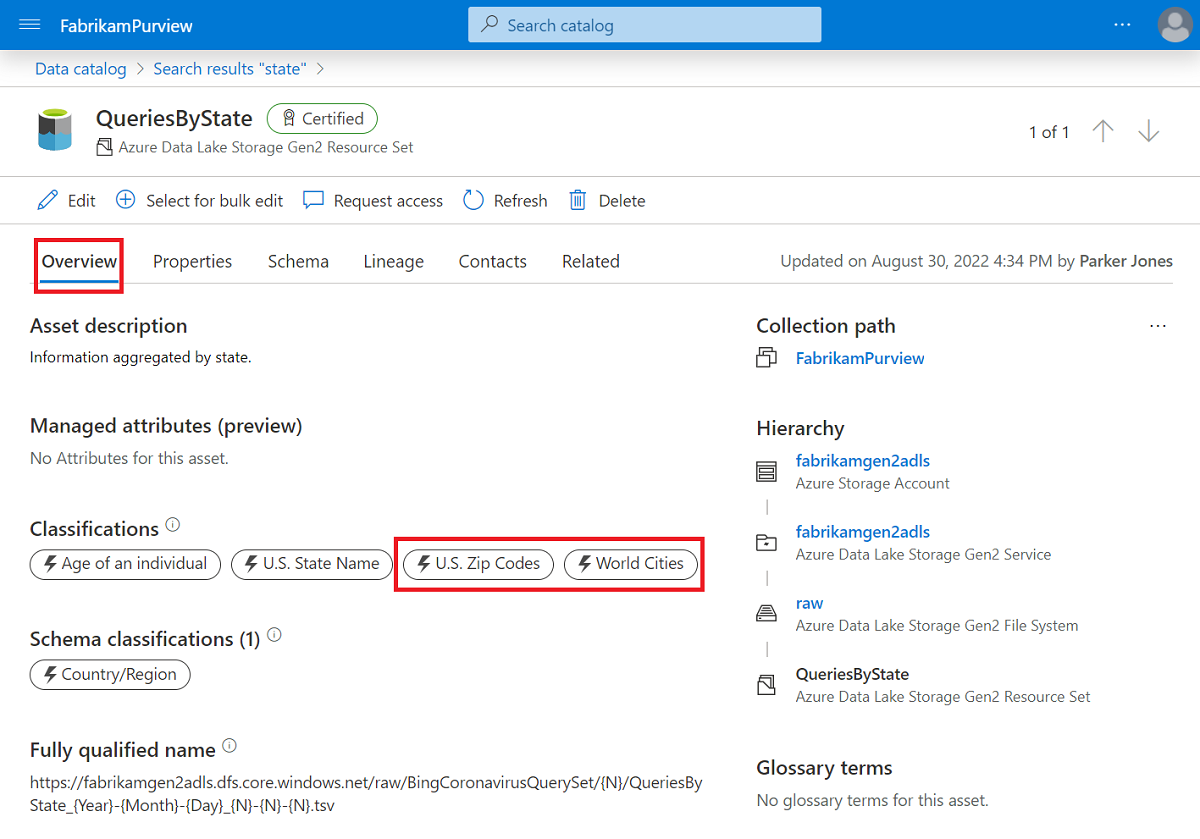
It might take a couple minutes for the changes to finish applying. Once they do, we can open one of our new attributes to verify our updates. In the Overview of QueriesByState, we can see our two new classifications U.S. Zip Codes and World Cities


Asset certification
Certifying an asset tells users it's trustworthy data that's ready to use, and boosts the asset in search results in the data catalog.
To certify an asset, you need to have the data curator role in the collection where the data asset lives.

An asset should be reviewed and have its description and other aspects updated and regularly maintained before certifying it. Though a review isn't required, it allows you to verify that it's a good data source for use.
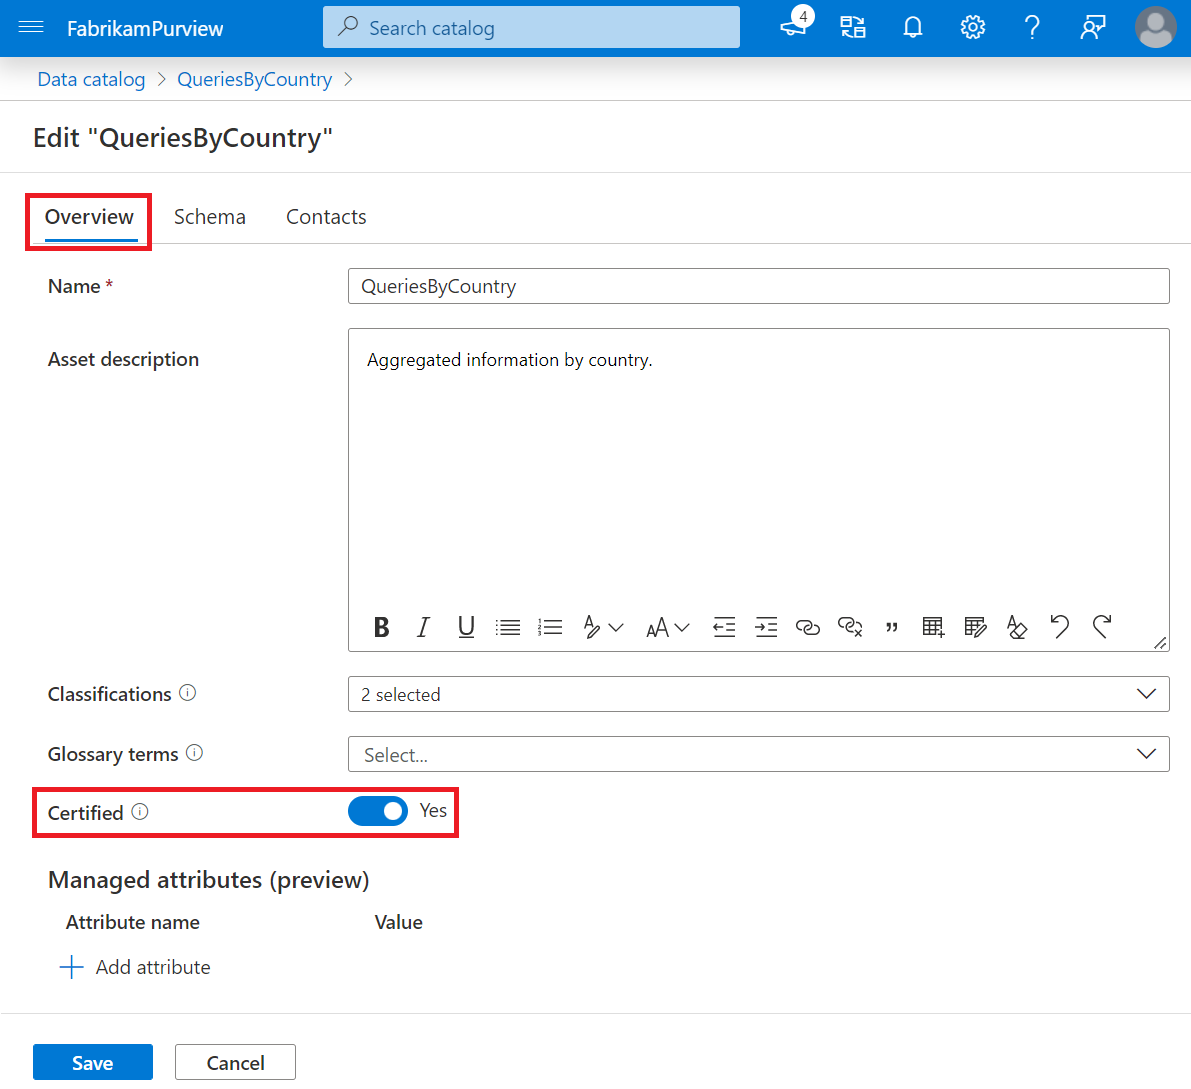
To mark an asset as certified, navigate to the asset details of your asset and select Edit.
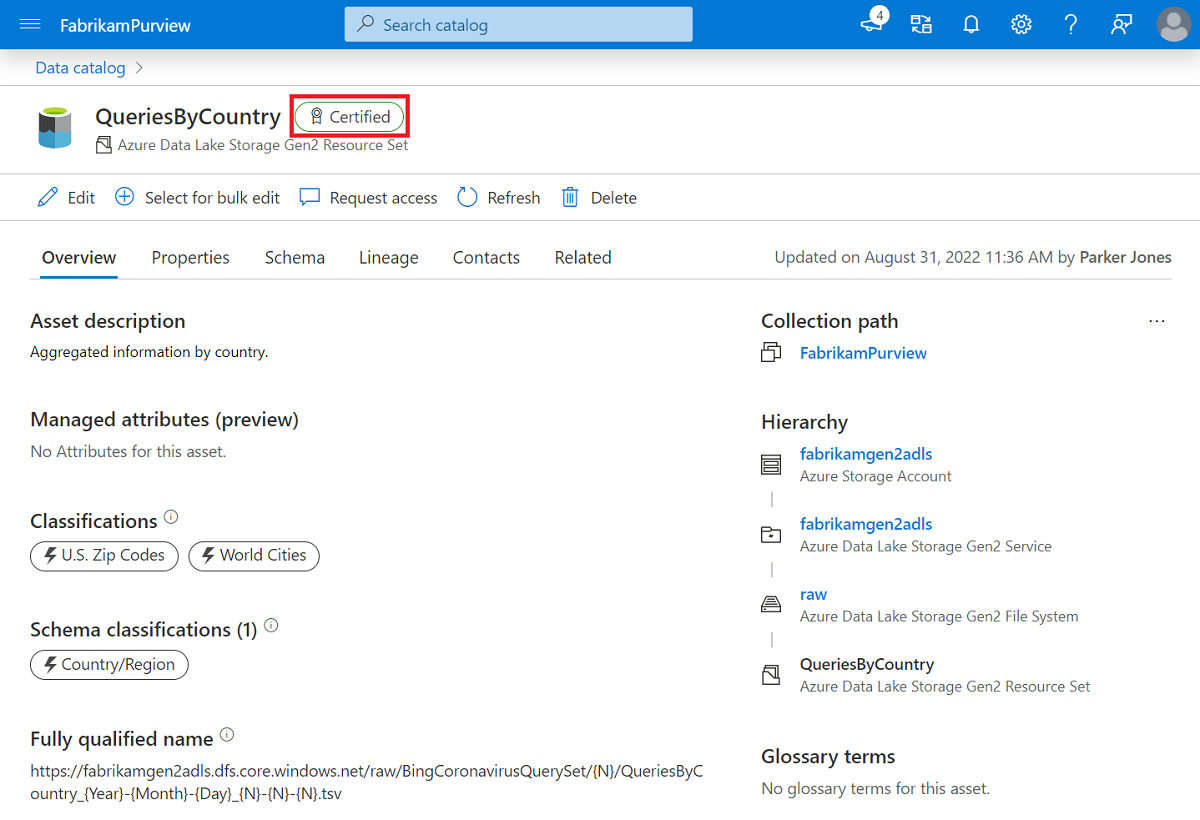
On the Overview page, toggle the Certified field to Yes.
Select Save to save your changes.
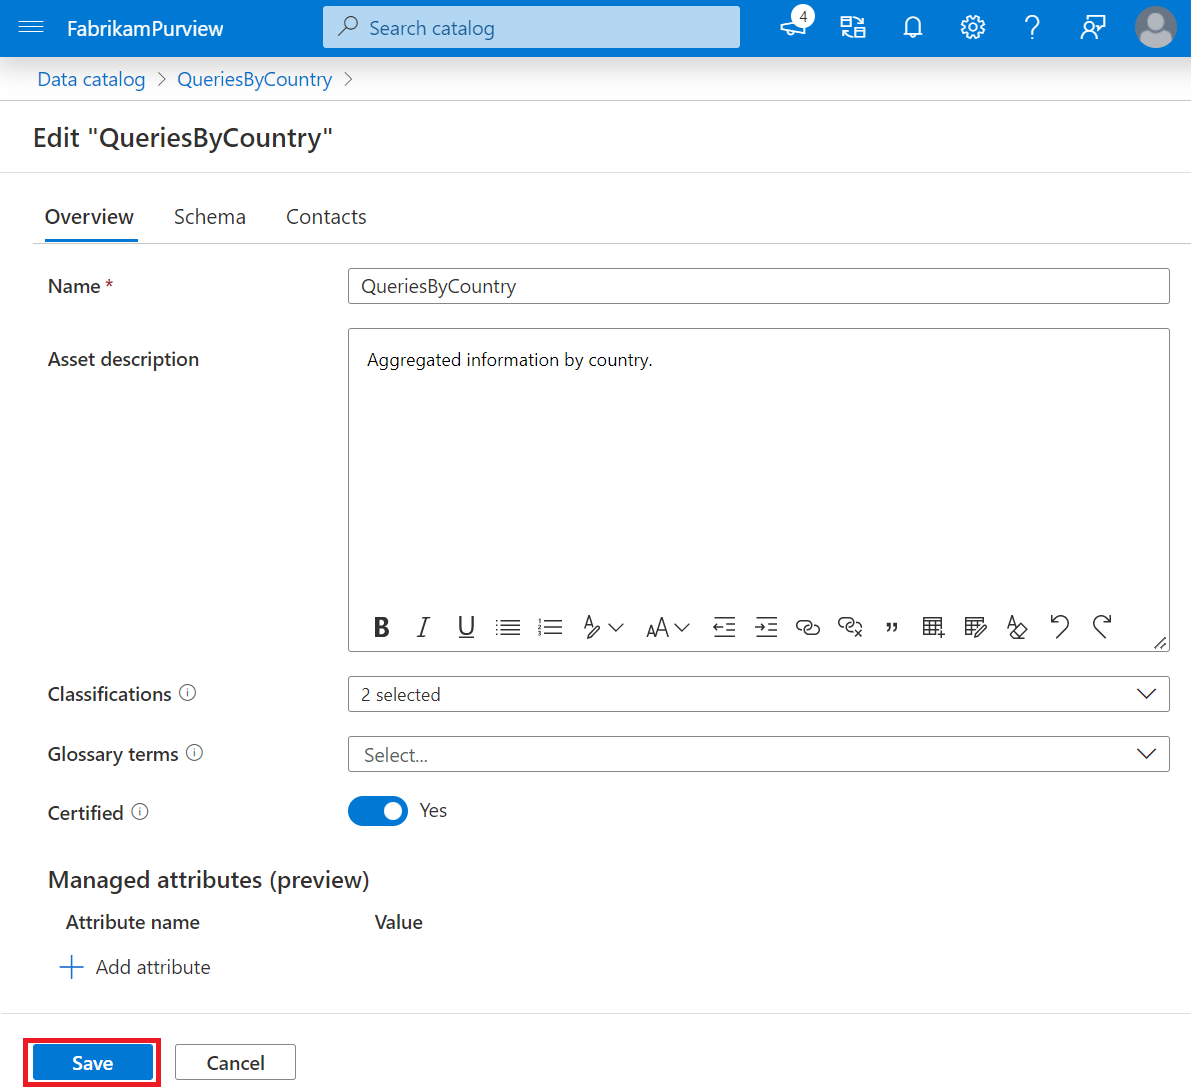
Your asset now has a Certified label visible to all users.

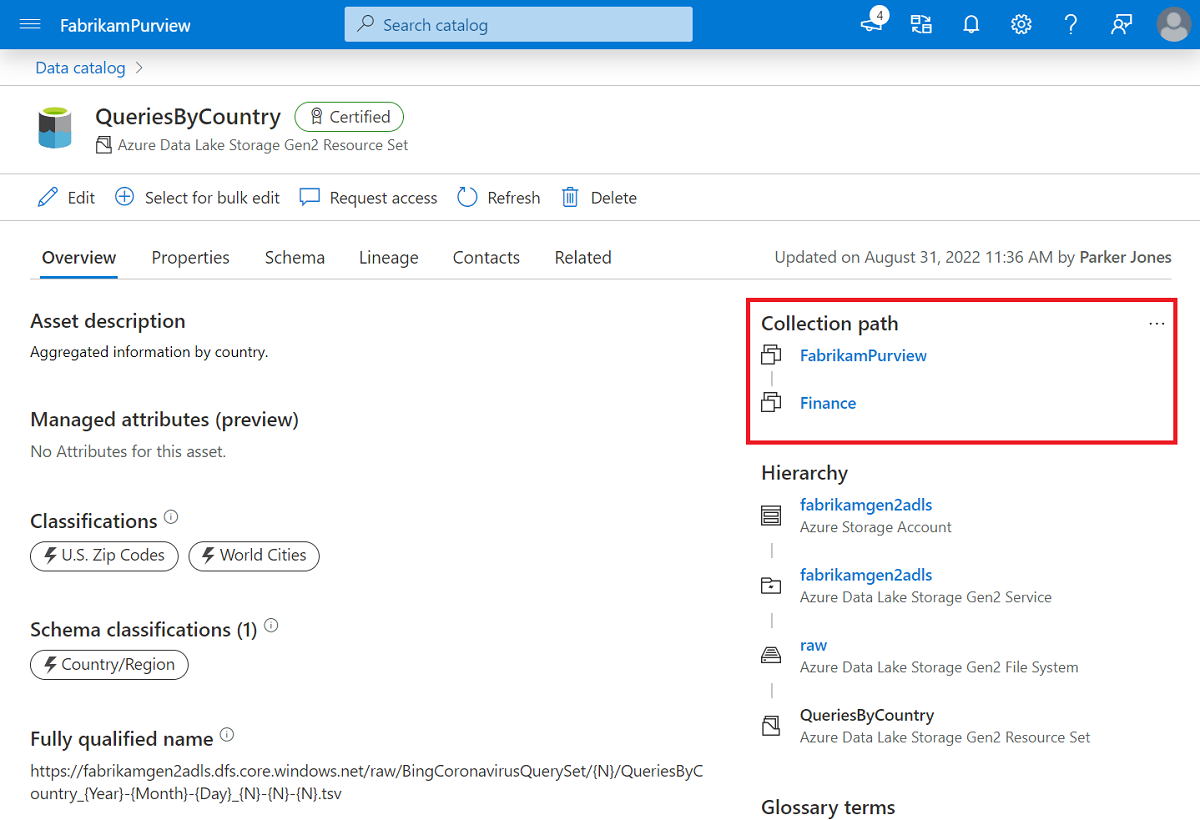
Moving an asset
You can also move an asset into any subcollections below the collection where it was originally scanned.
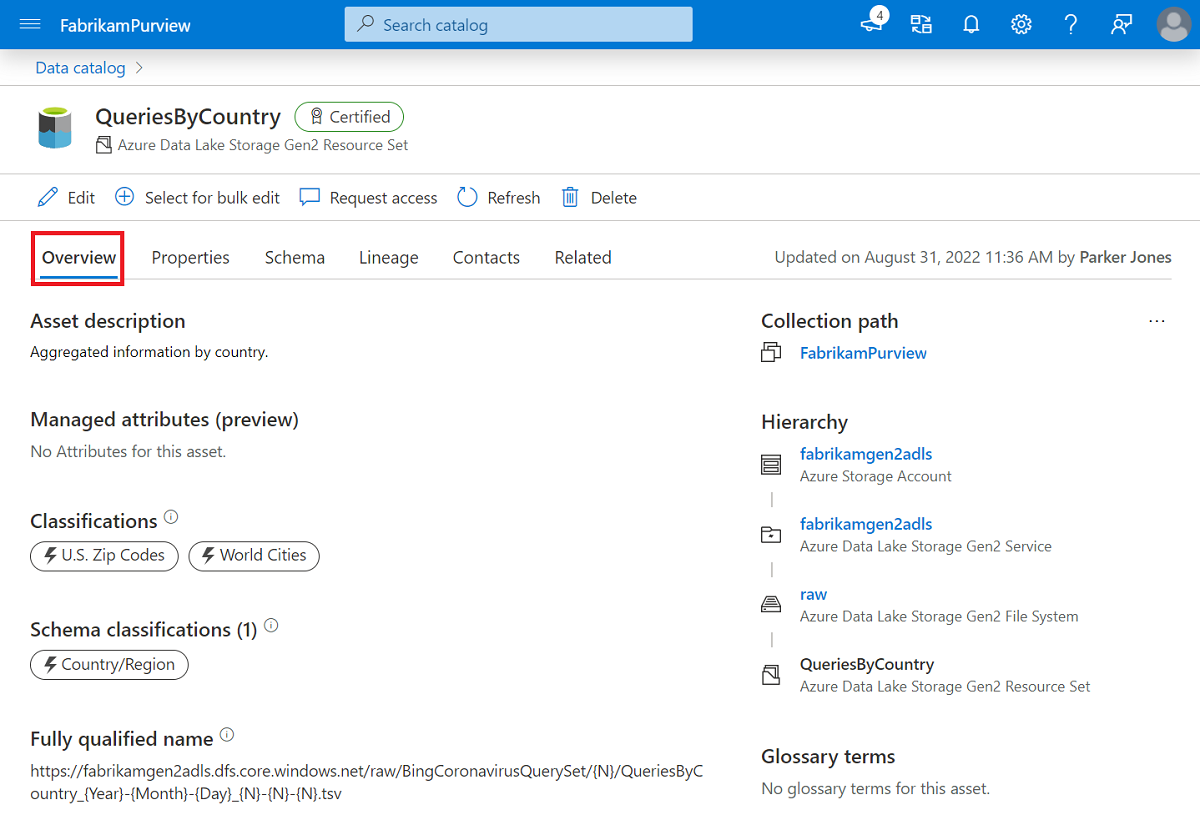
Open the details of your asset to the overview page.
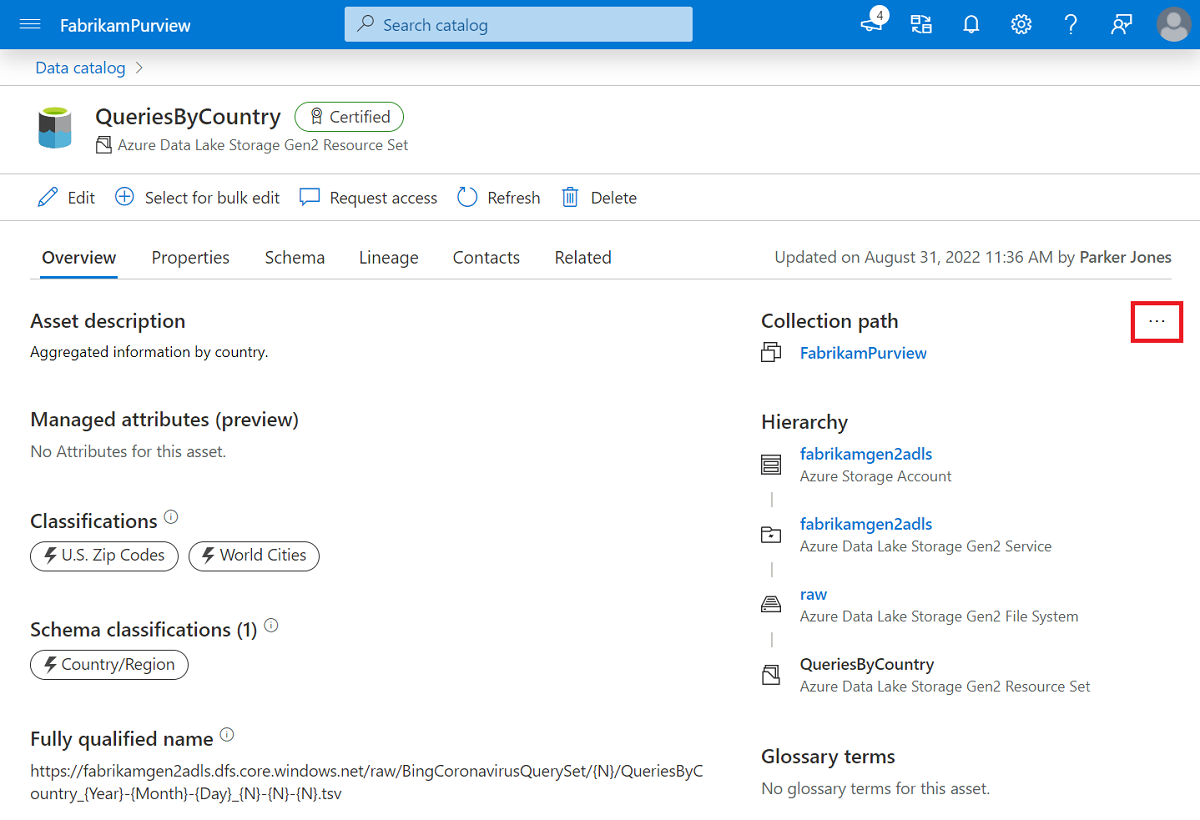
Select the ellipsis button next to the Collection path of the asset.
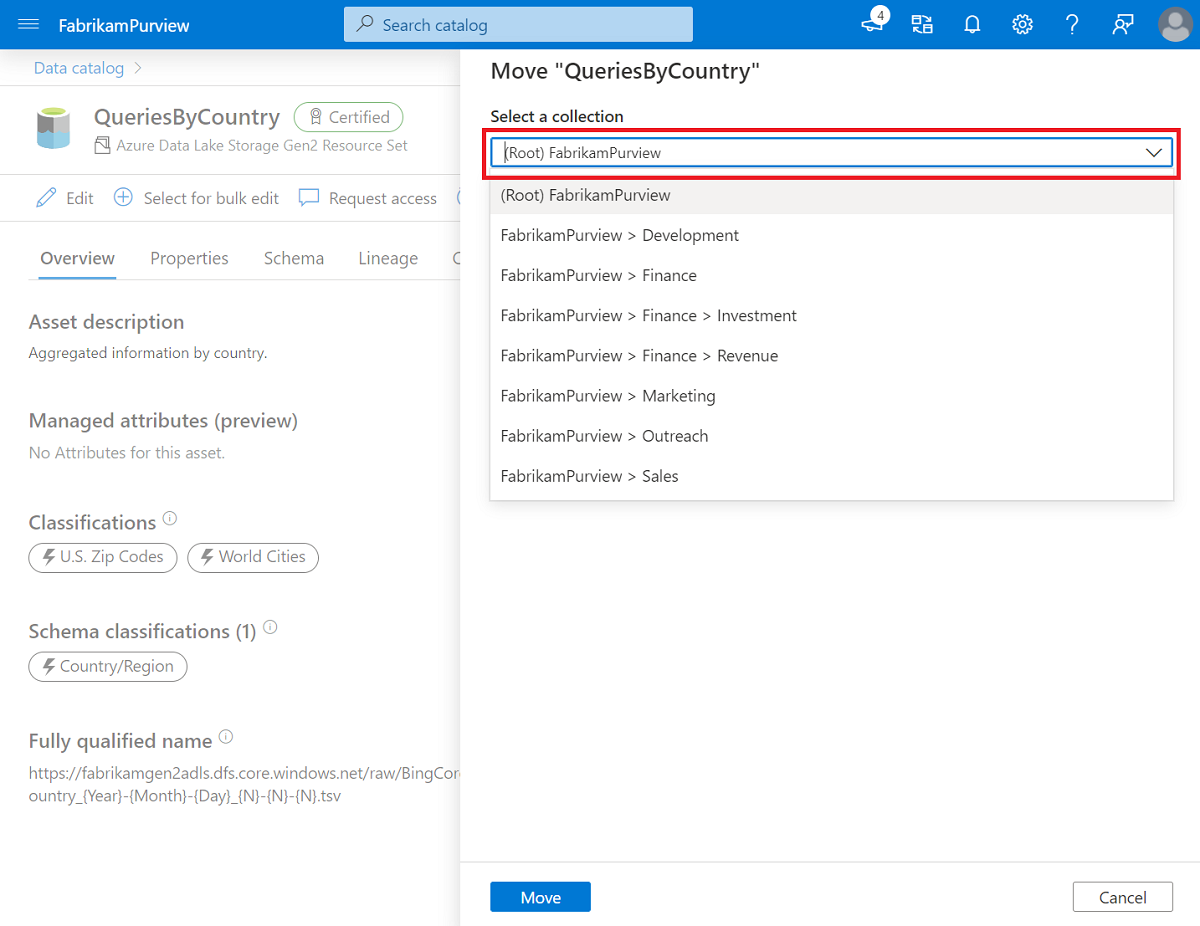
Select Move to another collection
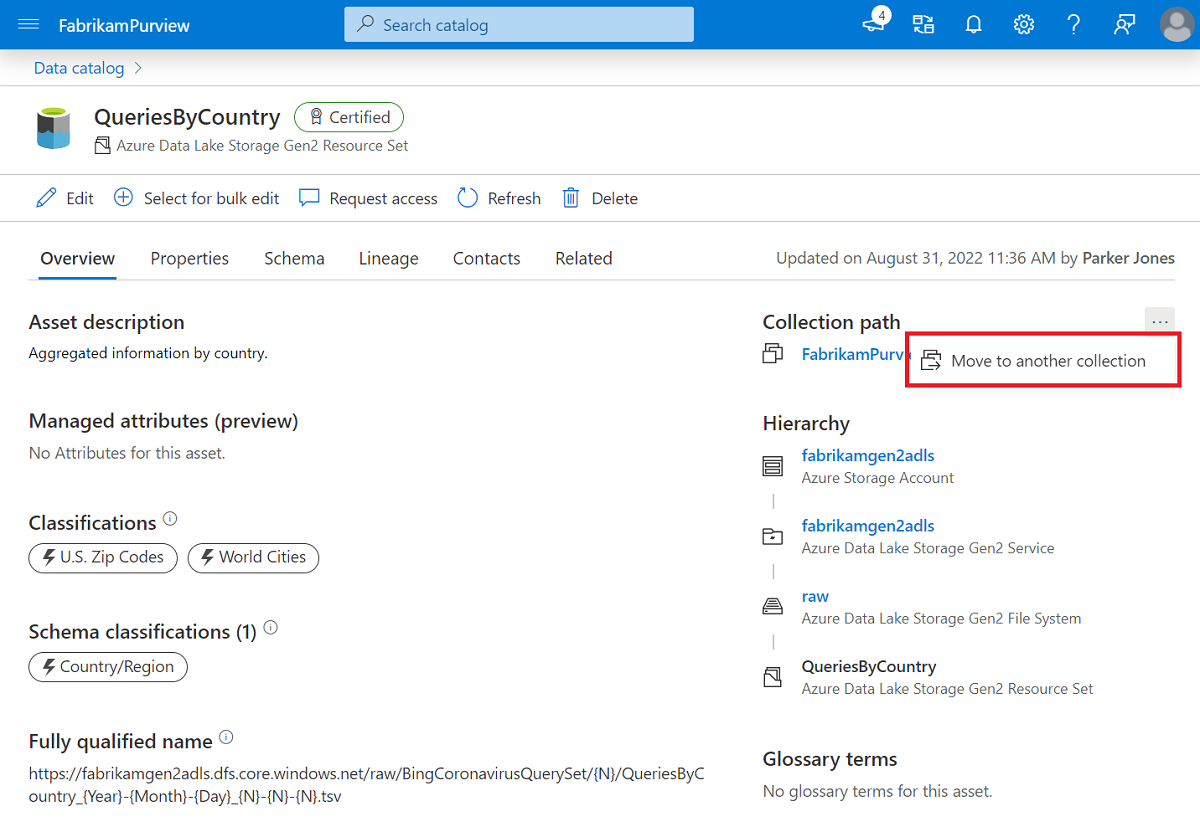
In the right side panel, choose the target collection you want to move to. You can only see collections where you have write permissions, and the asset can only be added to subcollections of the data source collection.
Select Move.
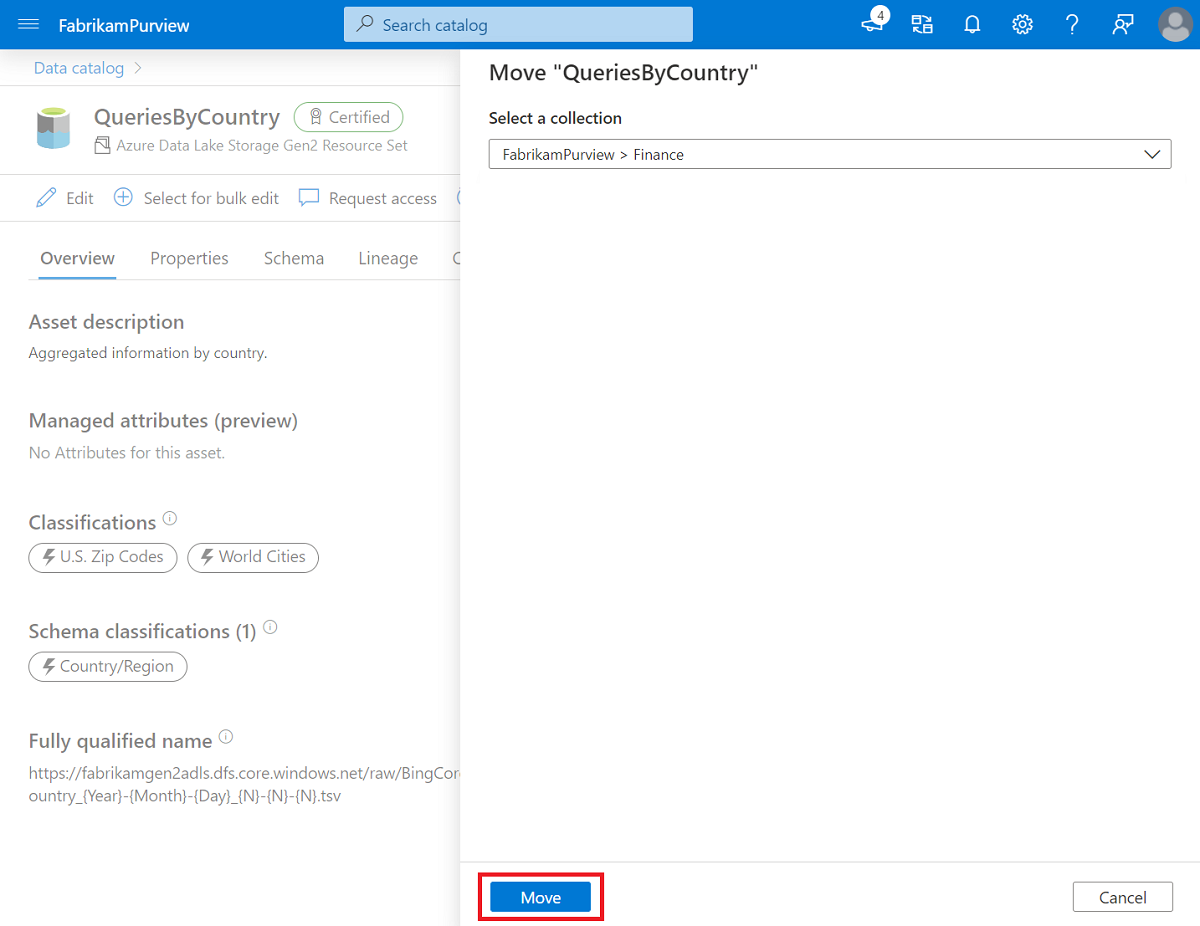
Now we can see our collection path is modified, and our resource is moved to the Finance subcollection.