Business glossary exercise
In this exercise we're going to create a term in the business glossary, update our term, add a term to an asset, and create a term template.
Create terms
You can create terms one at a time or in bulk! In this example, we do both.
Single
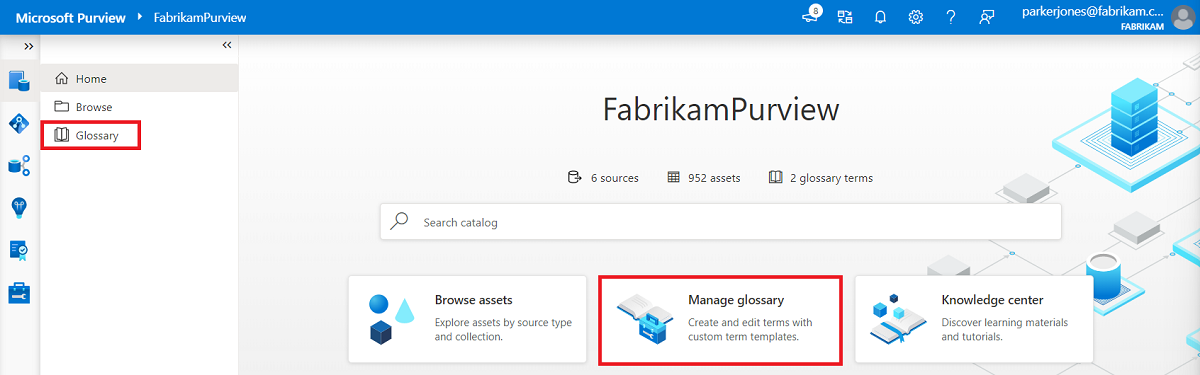
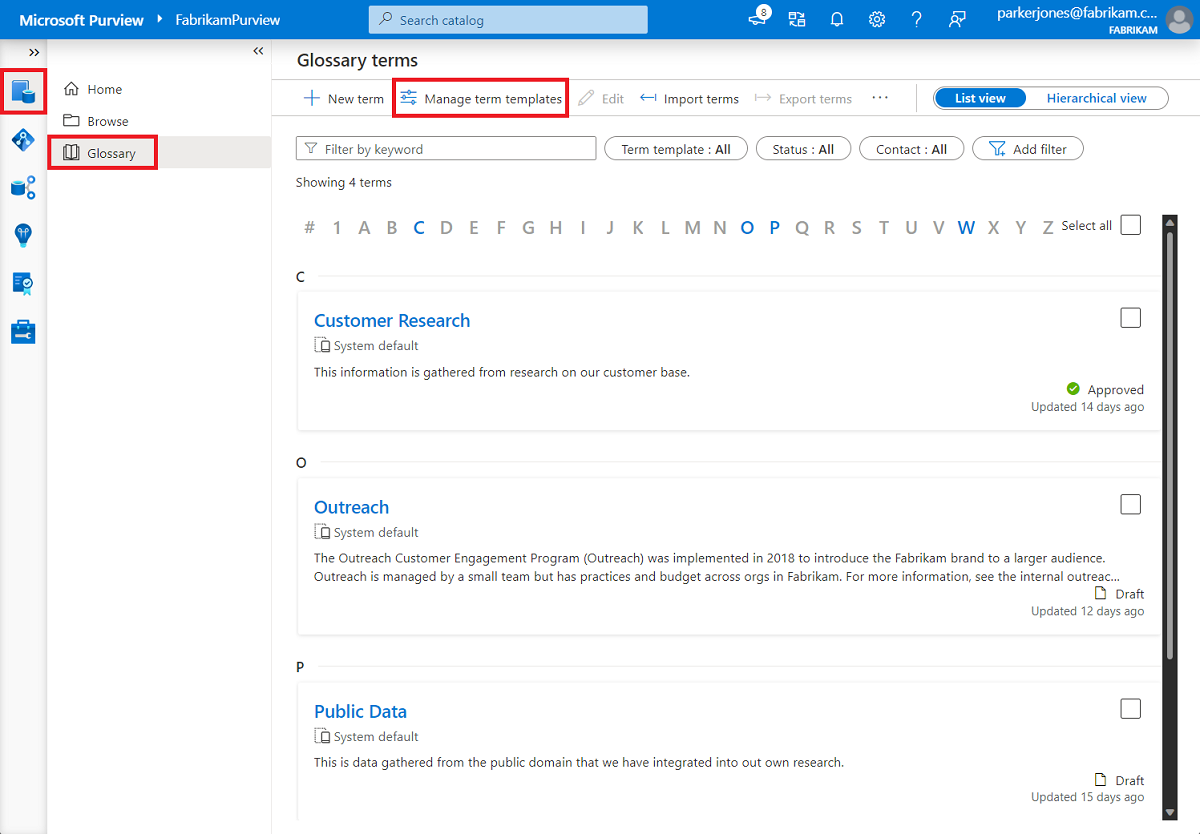
Open the data catalog and select Manage glossary on the home page menu. Or in the left menu when you're in the data catalog, select Glossary
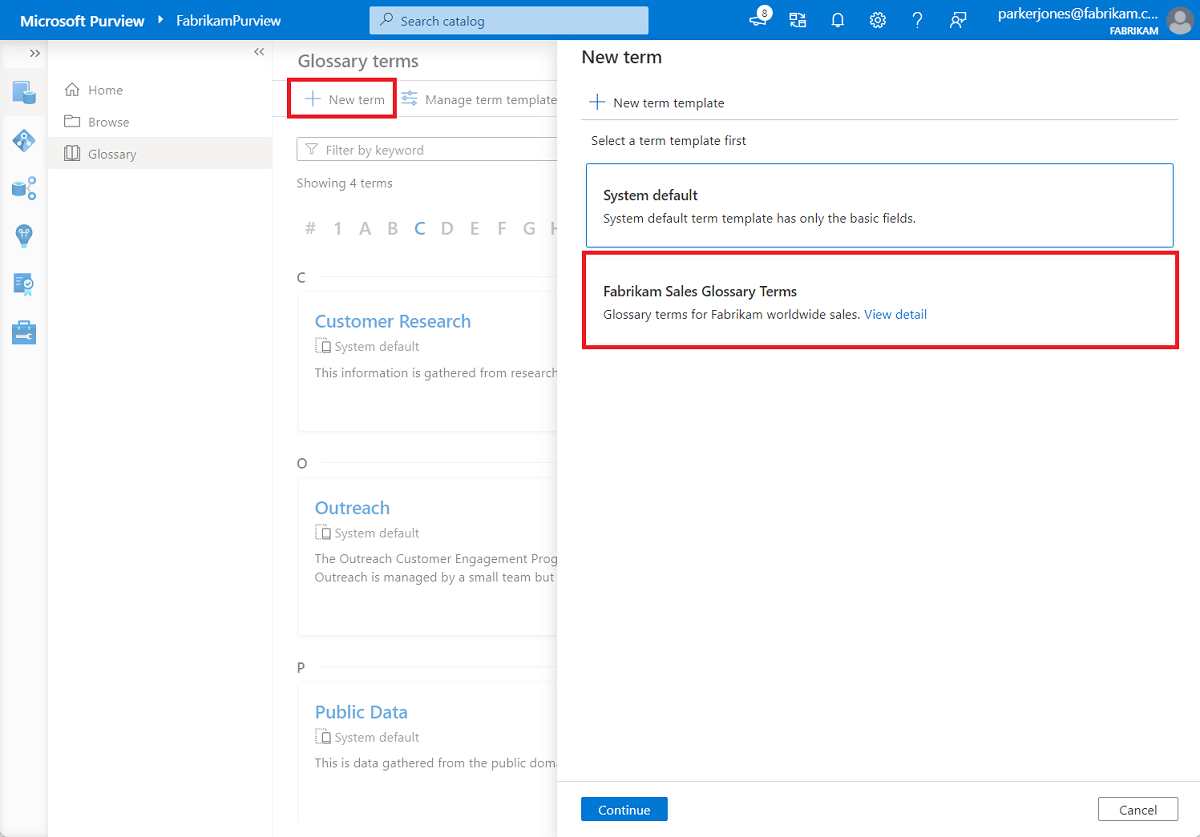
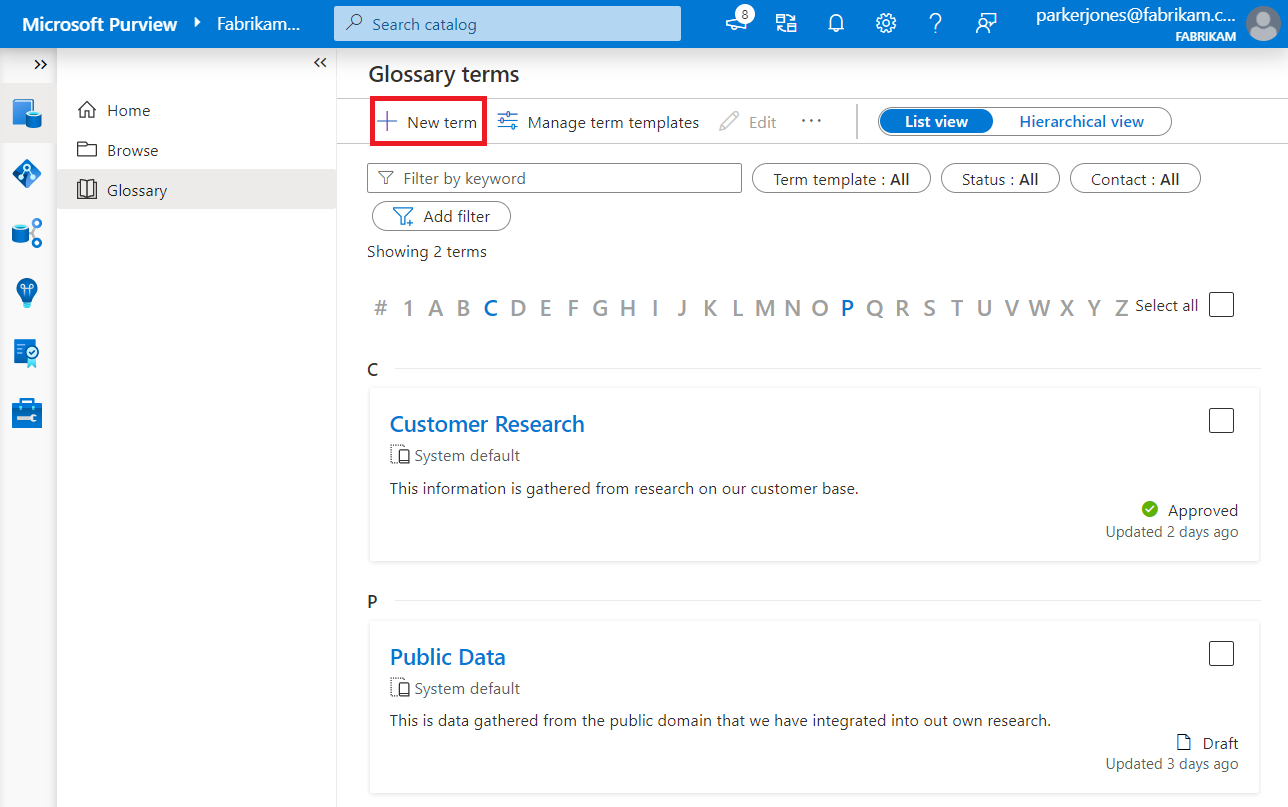
On the glossary terms page select + New term, and a page opens showing available templates.
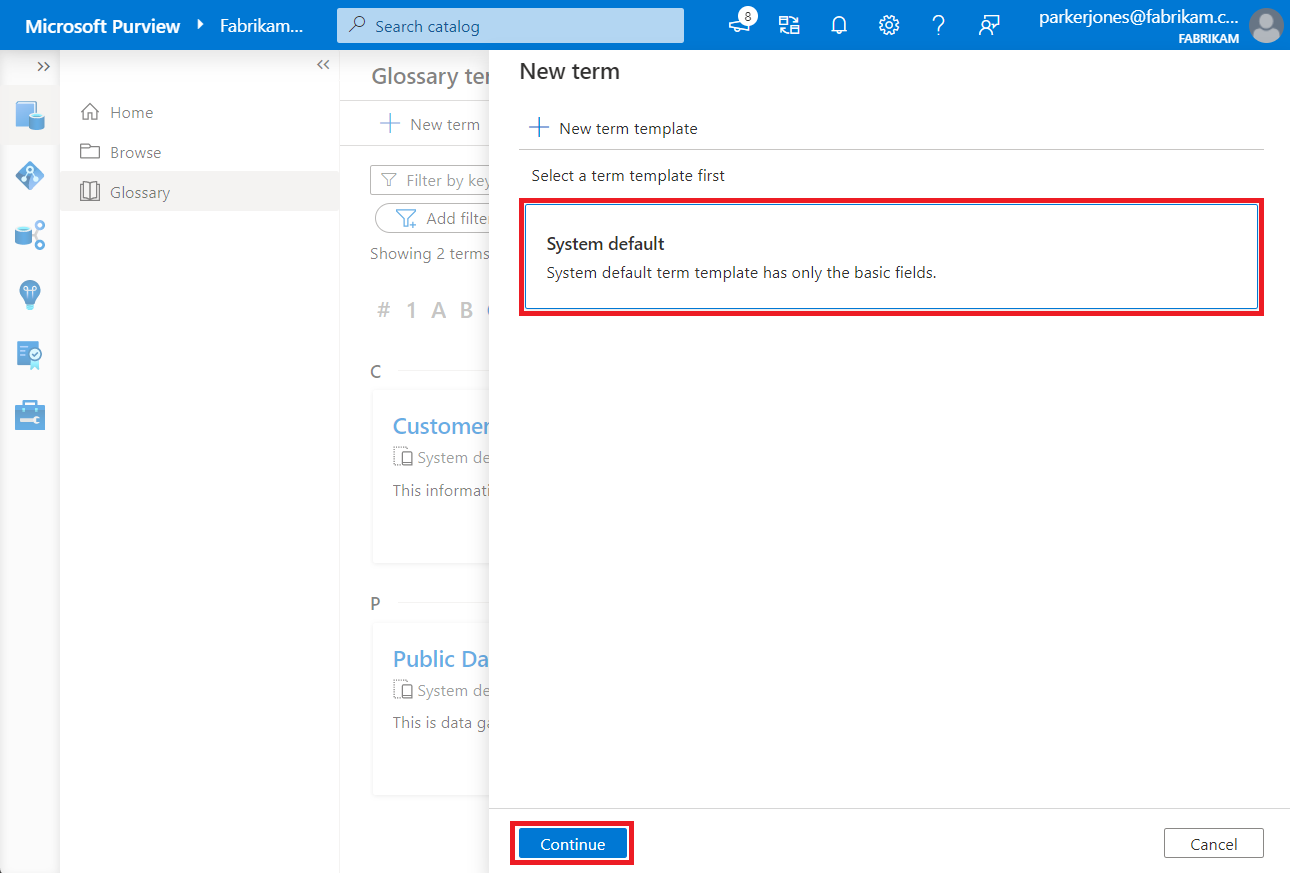
Later in this exercise, we talk about creating term templates. For now, let's choose the System default template and select Continue.
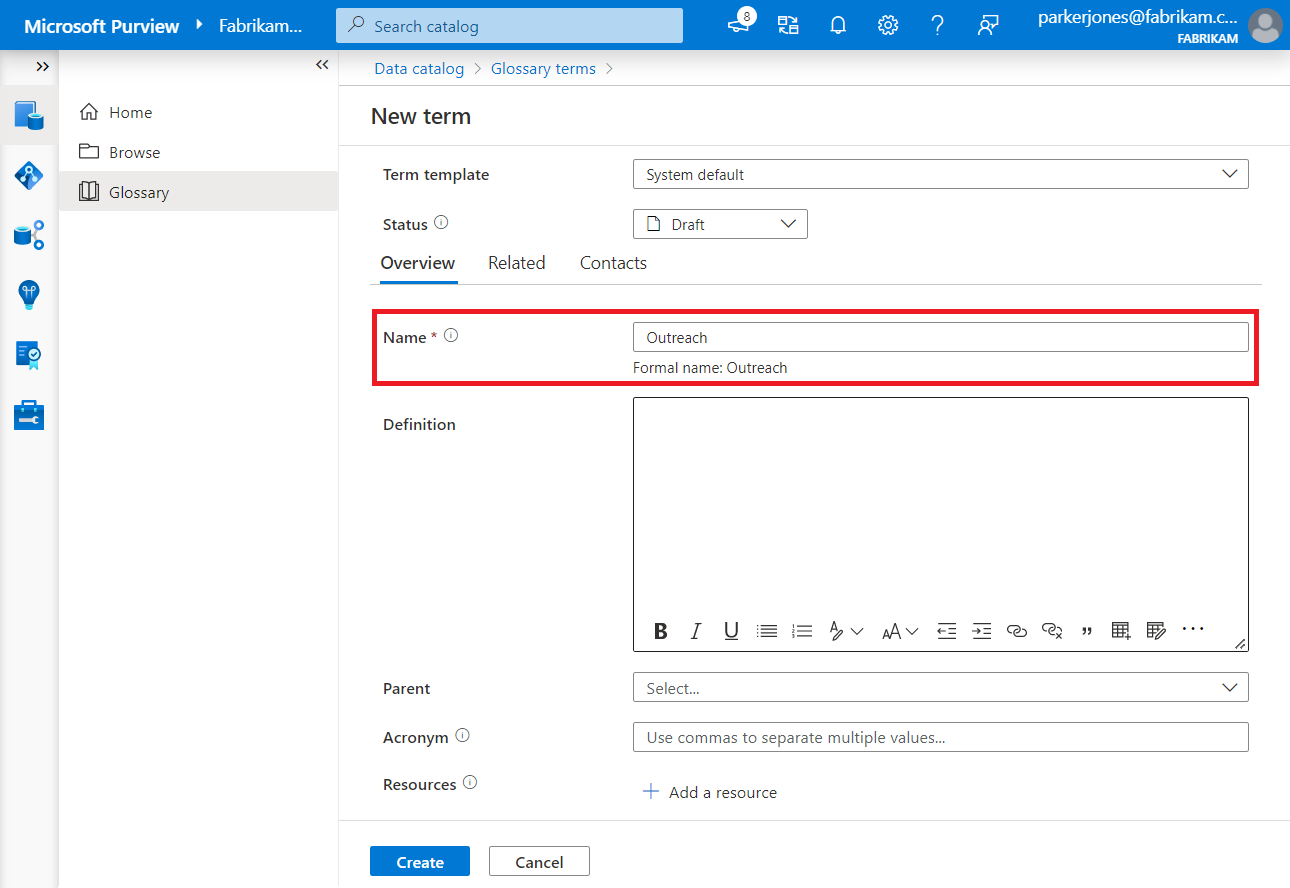
Give your new term a name, which must be unique in the catalog and is case sensitive.
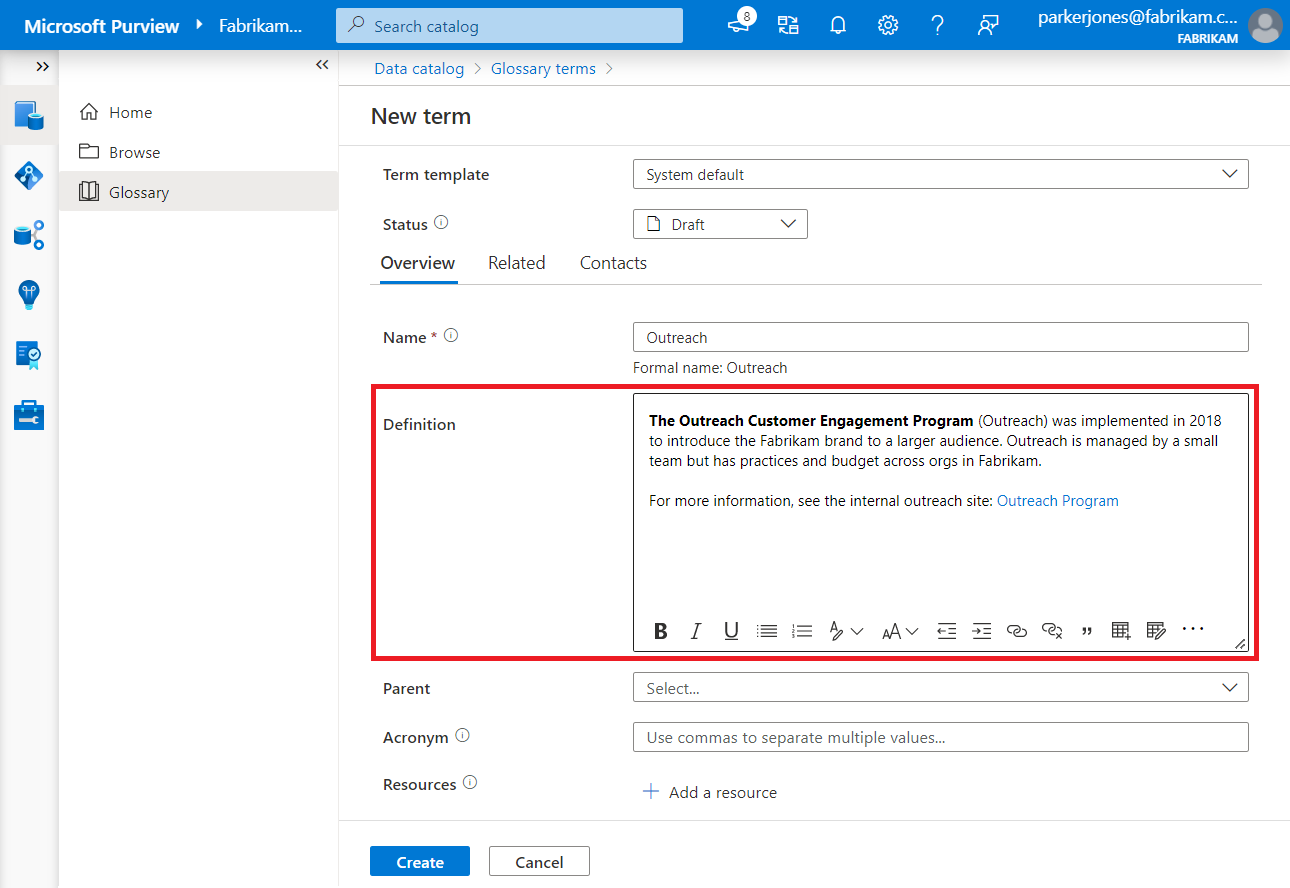
Add a definition. You can use rich text in the definition to include hyperlinks or even tables.
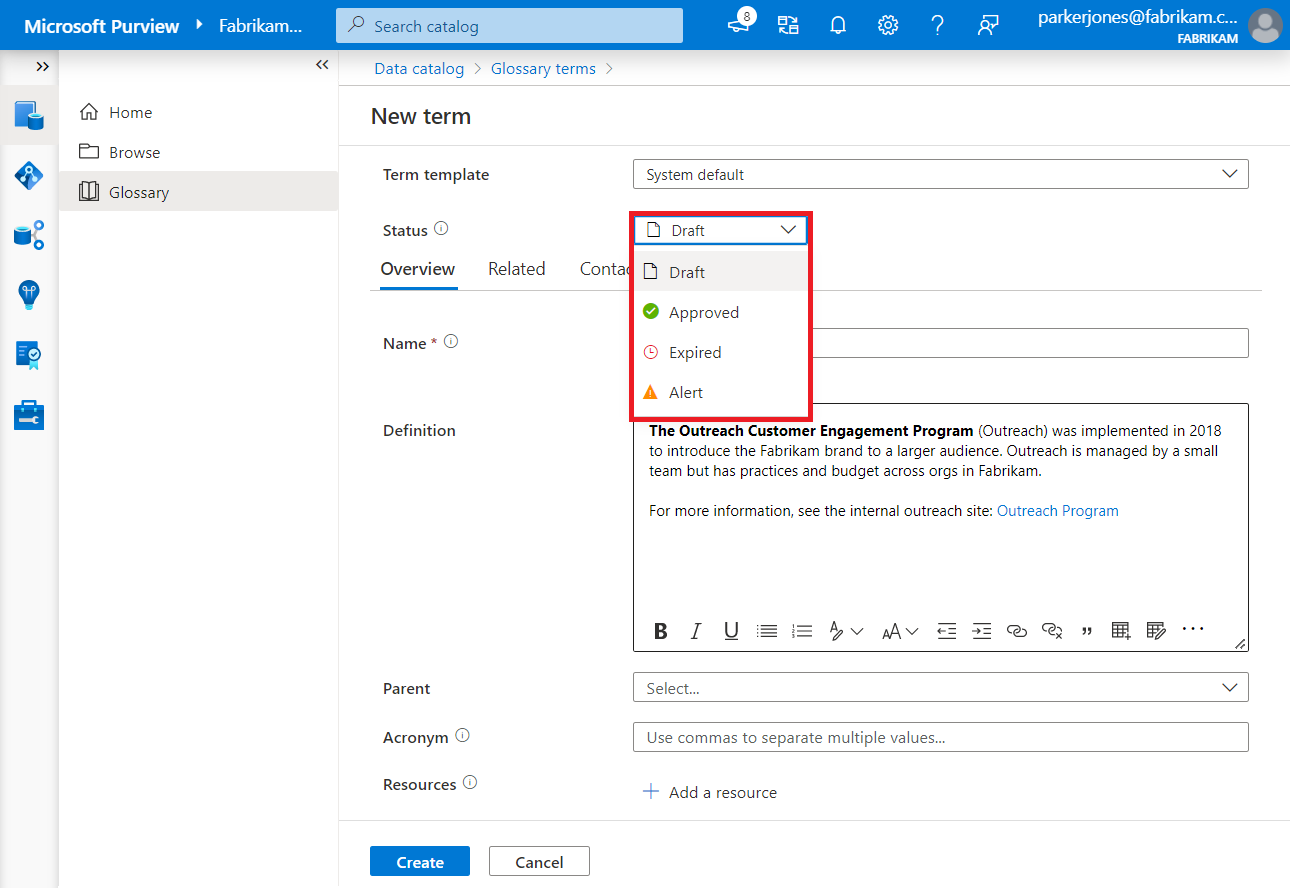
Set the status for the term. Set to Draft if you'd like to review the term before implementing it. Set the term to Approved if it's ready to implement.
Add resources, an approved Acronym, and a parent term, if applicable.

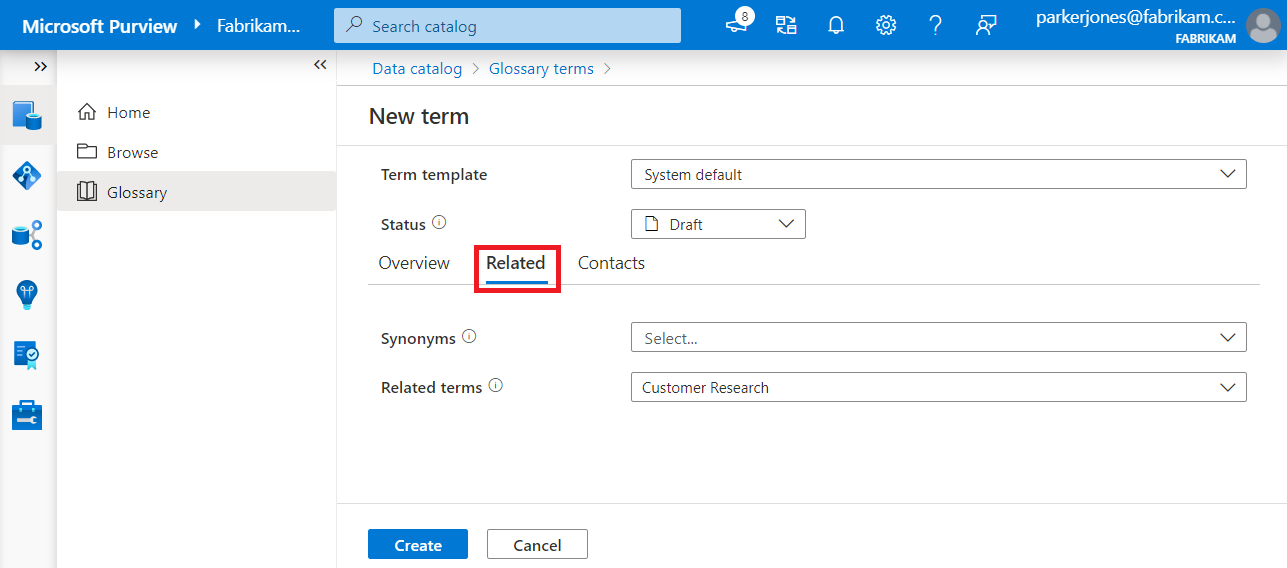
Open the Related tab, and add any related terms and synonyms.
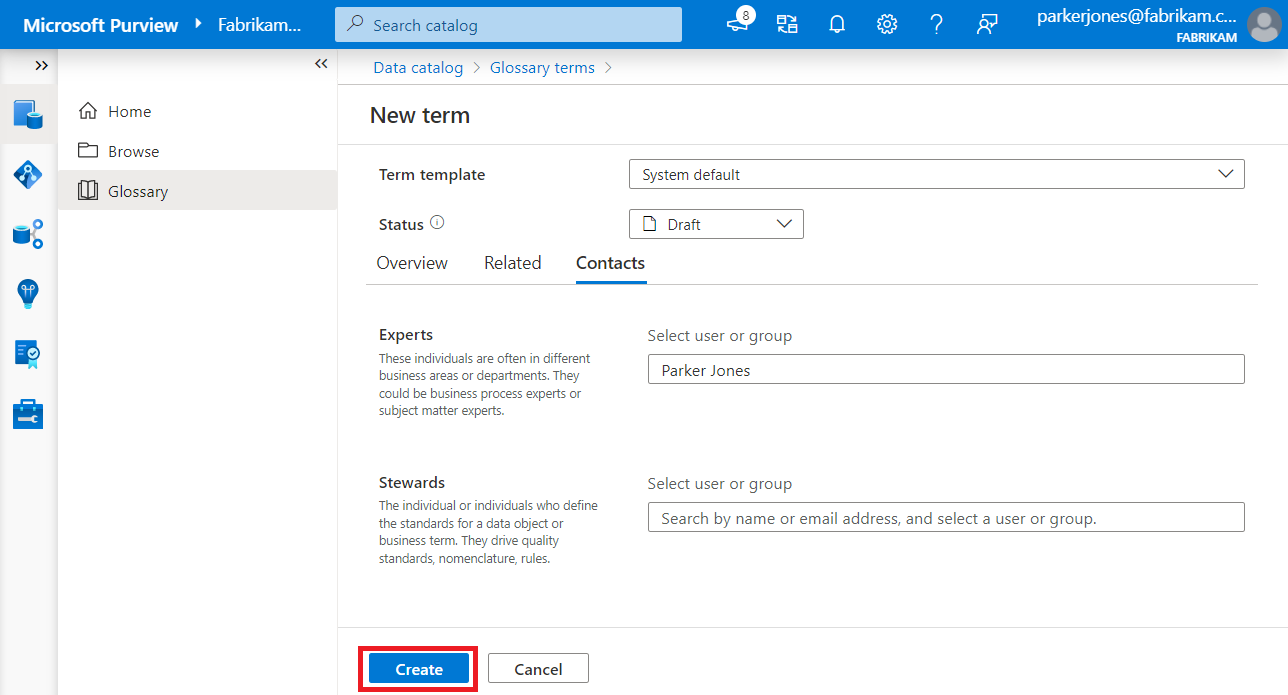
Open the Contacts tab to add experts and stewards to your term. These contacts are the users that manage the term, and other users can contact them if they have questions.
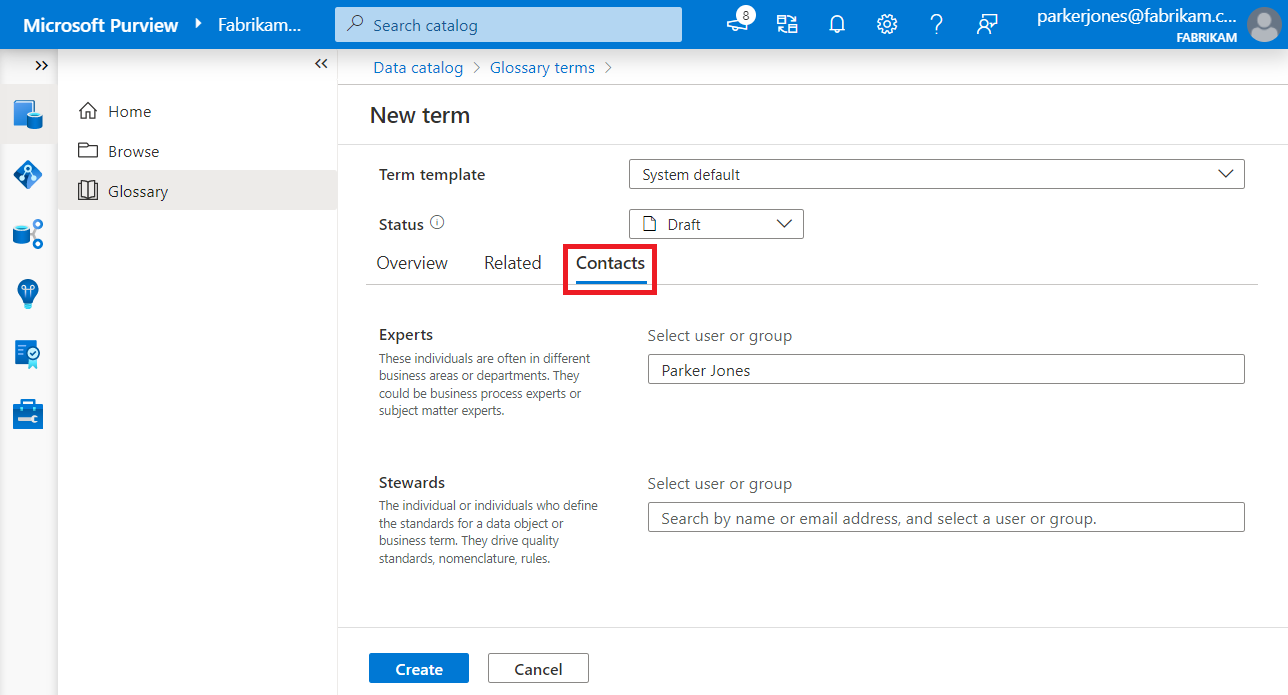
Select Create to create your term.
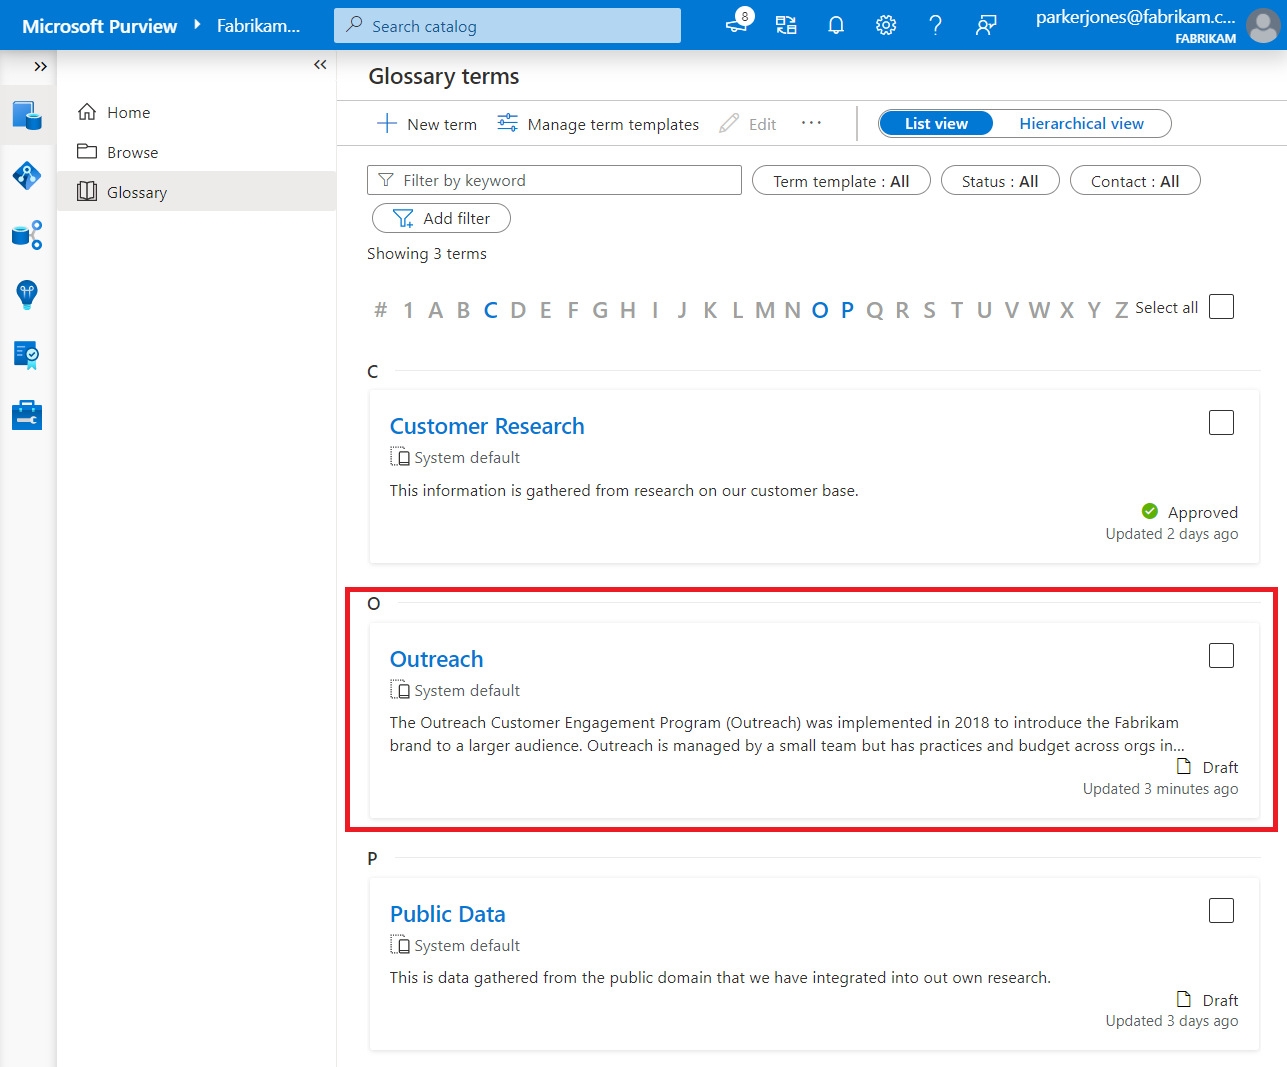
Now we can see our new term listed in the product glossary.

Bulk
You can also import many terms into the data catalog at one time using a .csv file. Entries to your csv should look like this:
"Name","Nick Name","Status","Definition","Acronym","Resources","Related Terms;Separated by semicolons","Synonyms","Stewards","Experts","Parent Term Name","IsDefinitionRichText(True/False)","Term Template Names"
A full sample CSV is provided in the following steps.
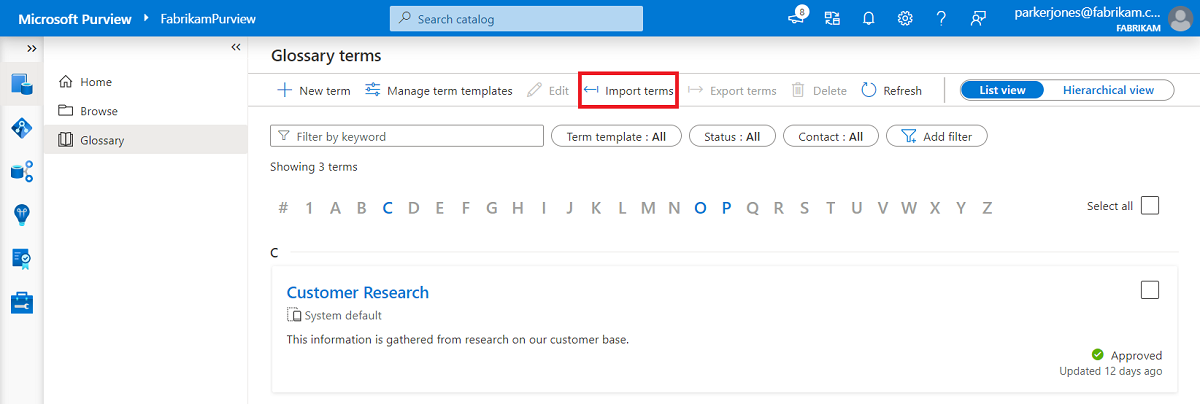
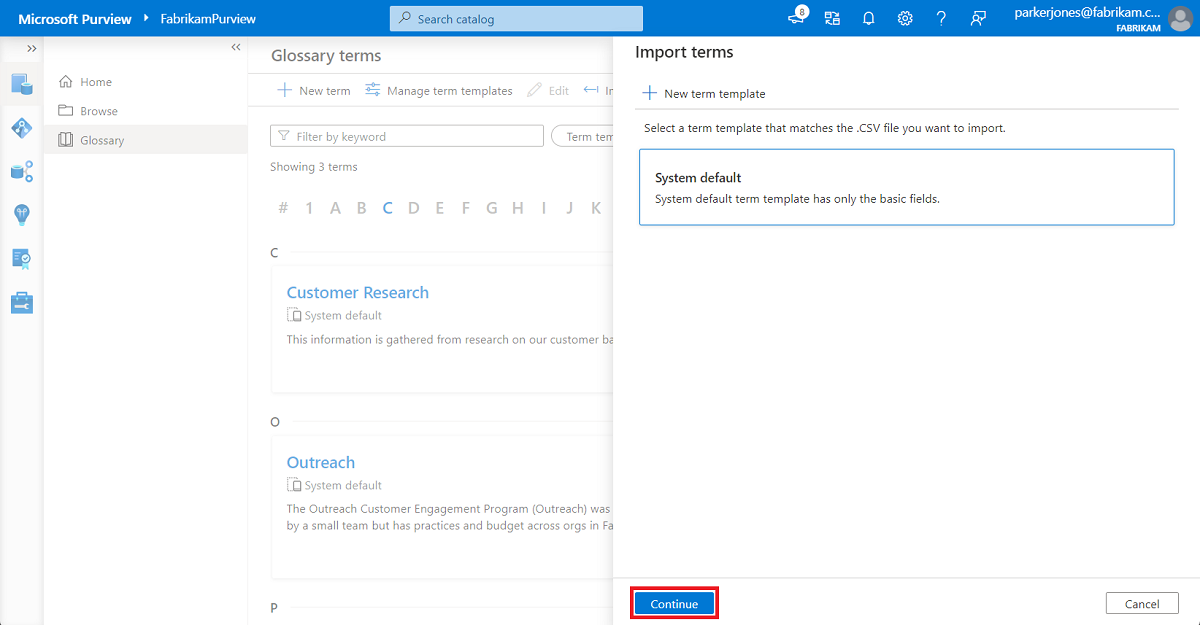
To import these terms to the glossary, open the data glossary and select Import terms in the top menu.
Select the term template you want to use. For now, let's choose System default.
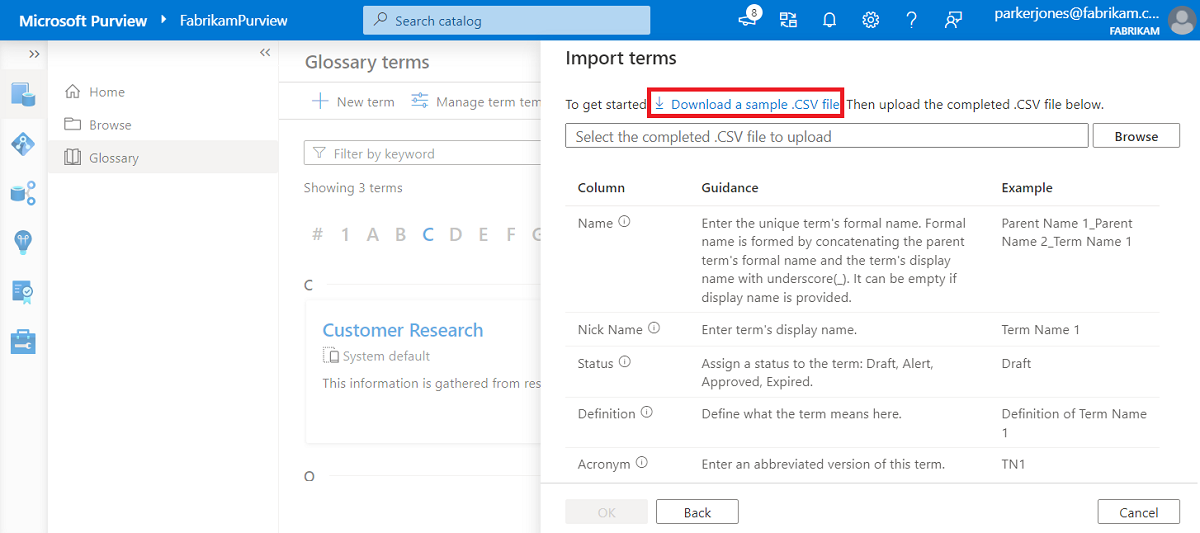
There's a sample .csv available for you to download and edit. To complete your terms, download the CSV and use it as a template.
Tip
When using the sample CSV, remember to remove the first example row before uploading your CSV.
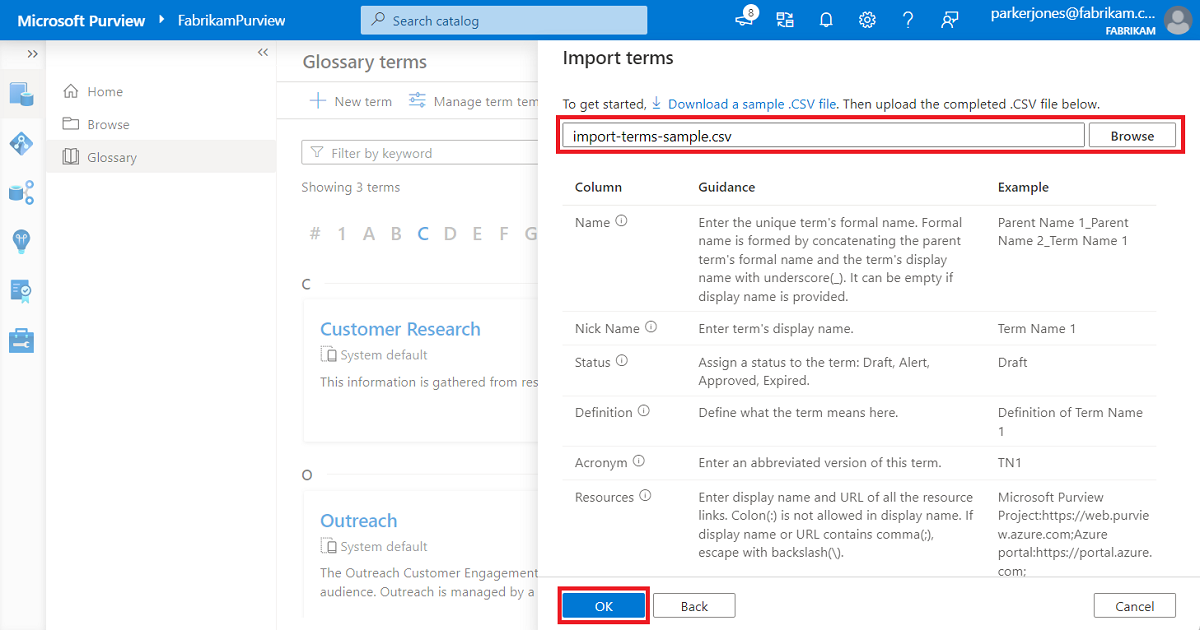
When you add your terms as shown, upload the completed file to the import terms window. Then select Ok.
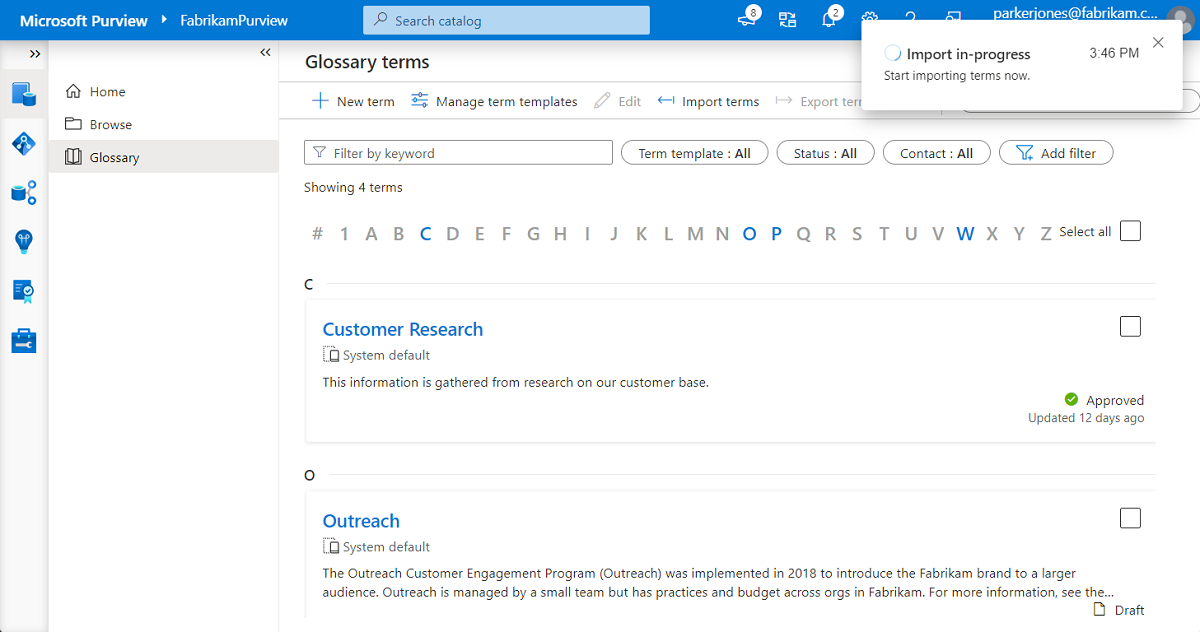
It might take a few minutes, but the system uploads the file and adds all the terms to your glossary.


Manage terms
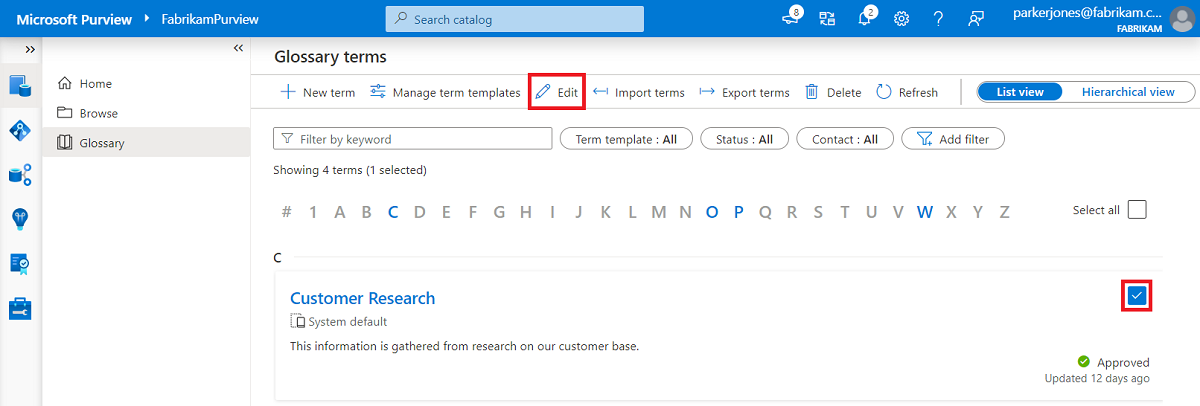
Open the glossary and search for a term you want to edit. You can select the check box to the right of the term name, and select the Edit button at the top of the page.
You can also open the term itself and select the Edit button inside the term.
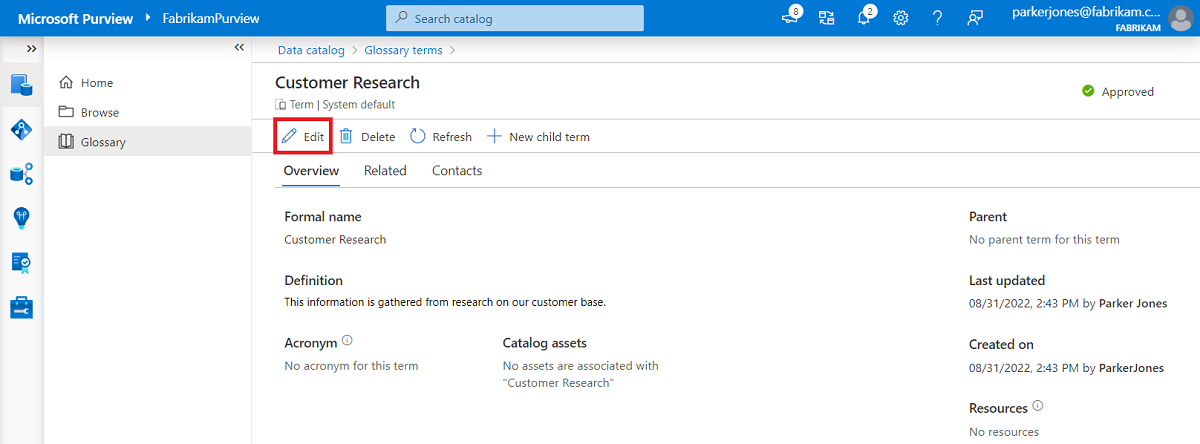
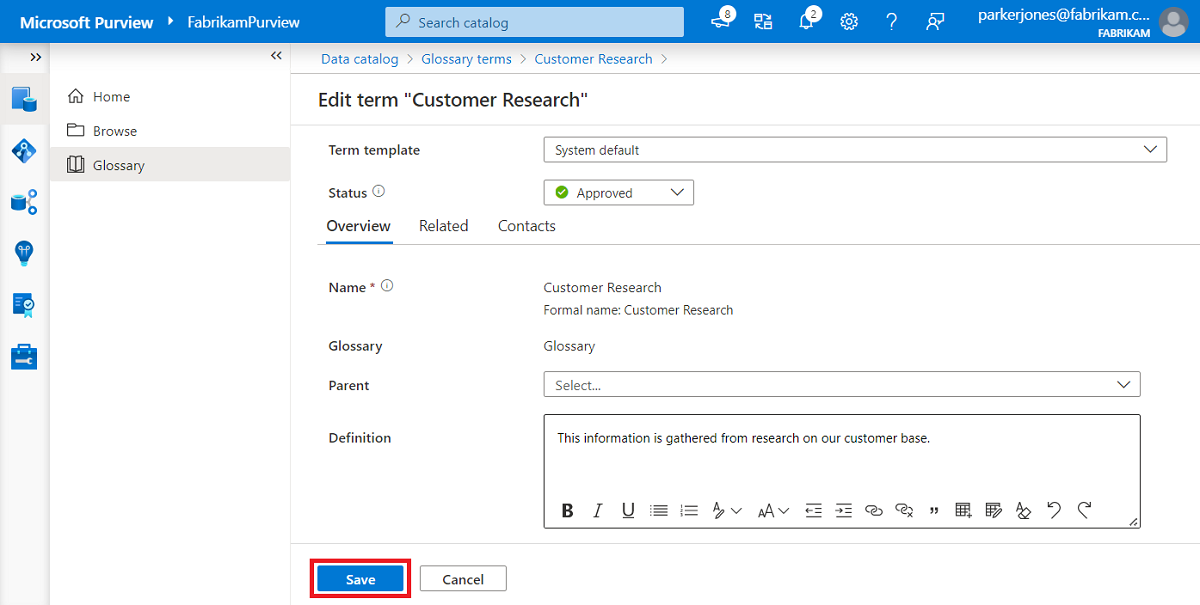
From this Edit screen, you can update any values to the term.
Select Save to make sure your edits persist.
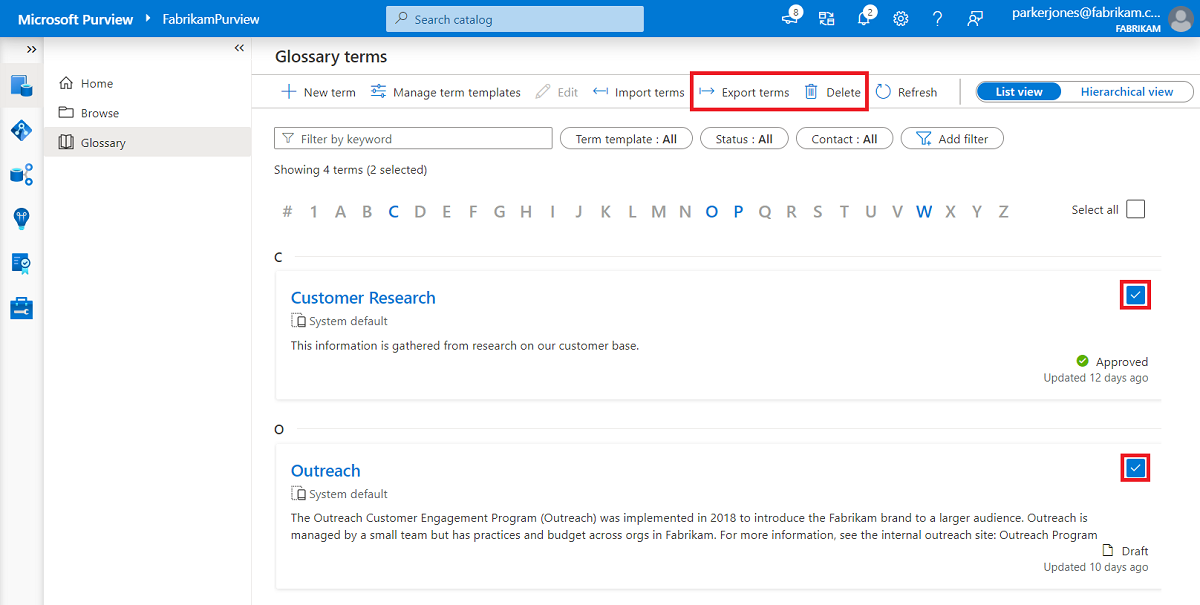
In the glossary menu, you can also select multiple terms and either delete these terms or export them, using the Delete or Export buttons at the top of the page.


Add term to an asset
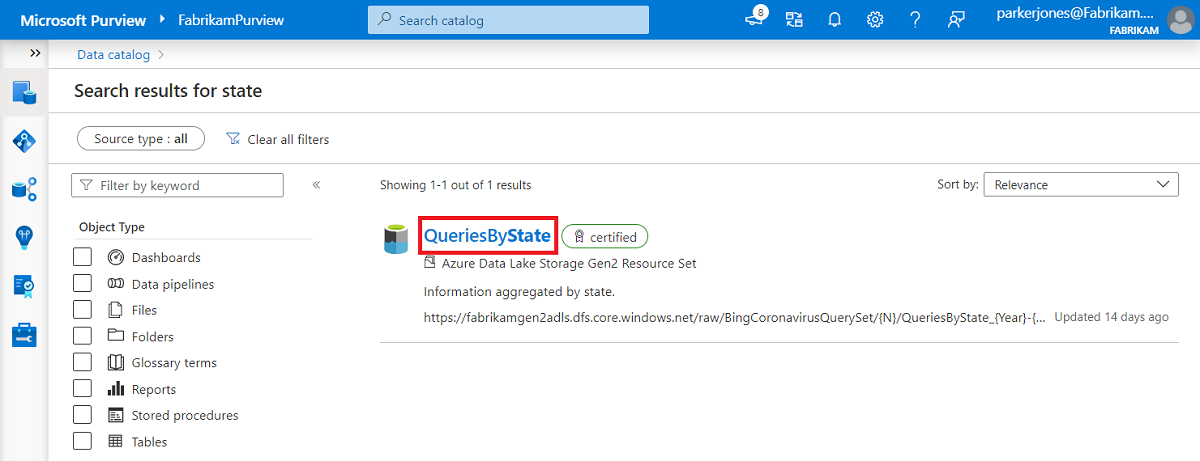
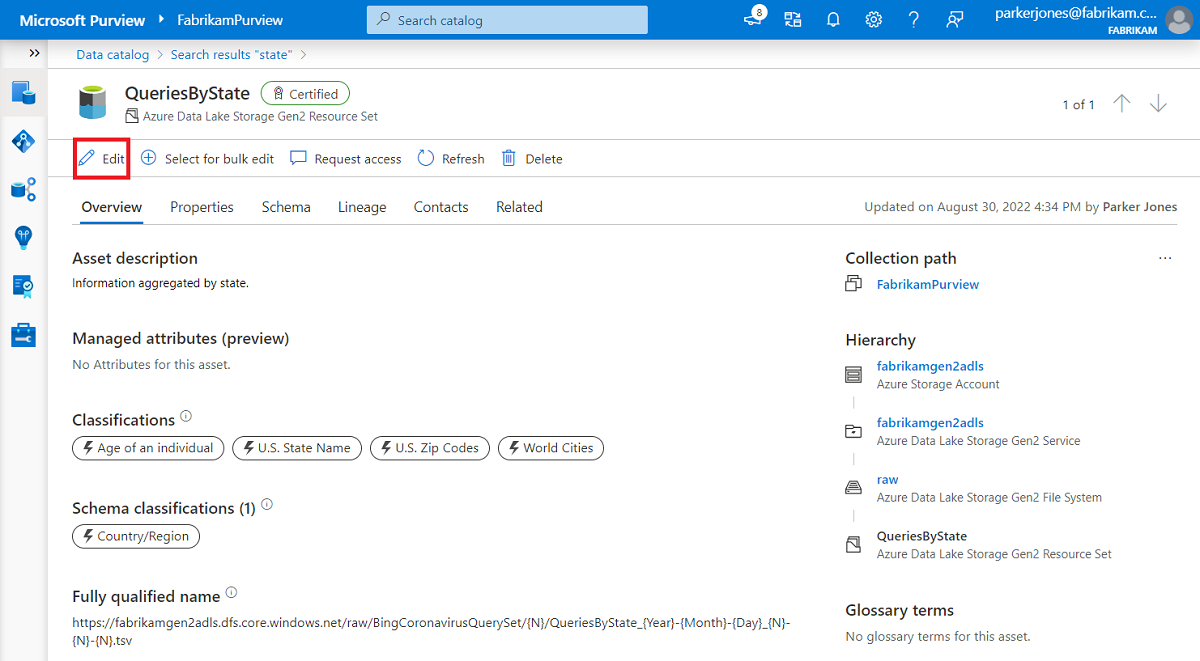
To add a term to a data asset, open the data catalog and search or browse for your asset.
Select your asset and select Edit
Tip
You can also add a glossary term to multiple assets using bulk editing, like we discussed in the last section.
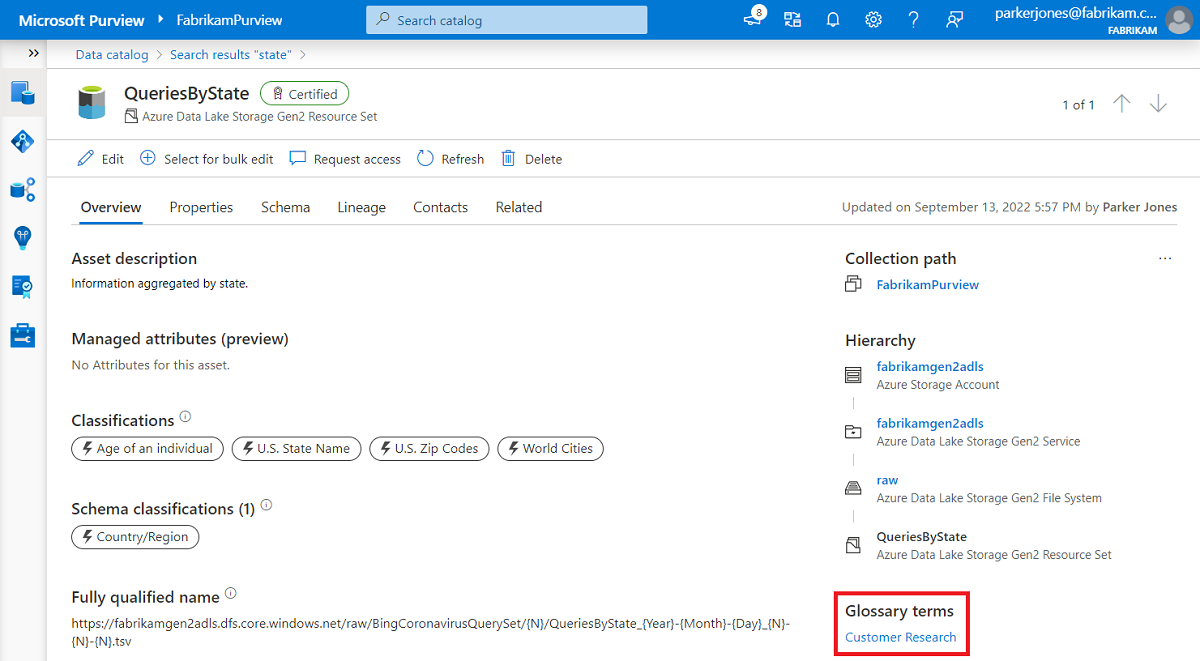
You can add your term to an entire data asset by selecting it under Glossary terms on the Overview page.
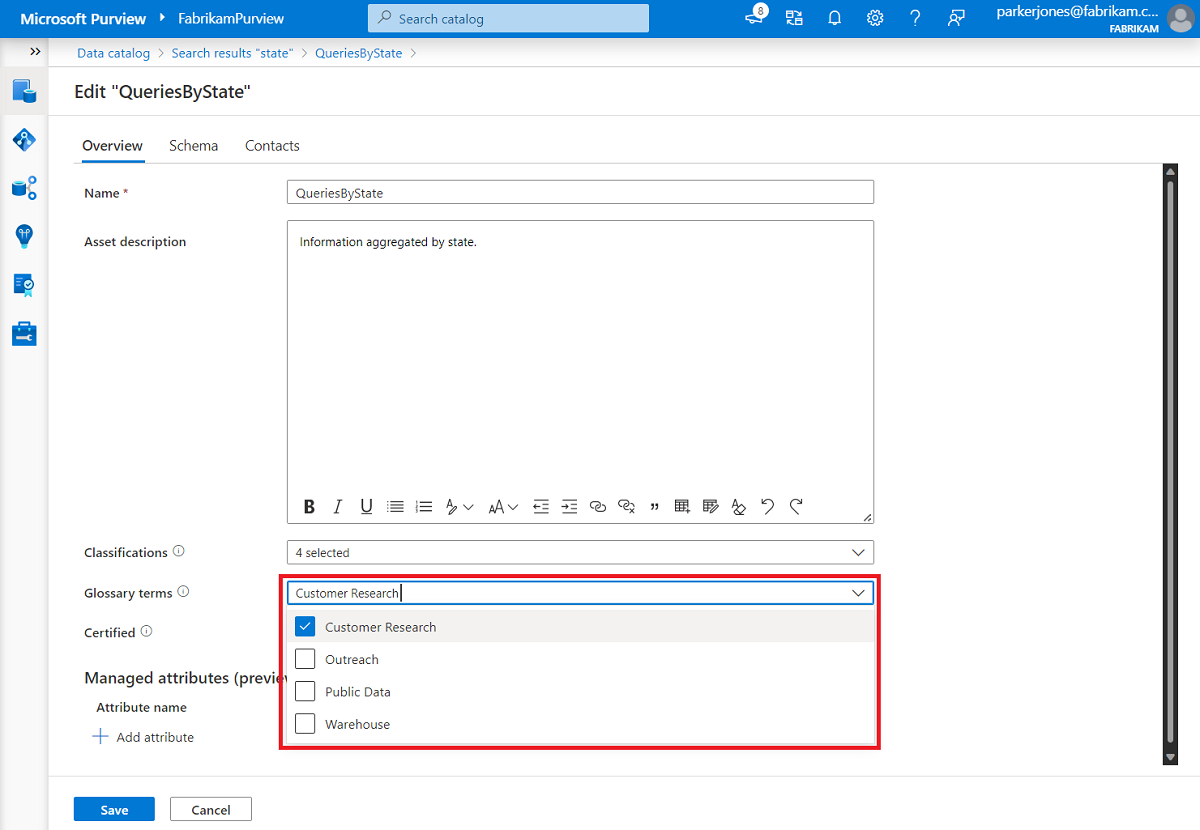
You can also add your term to a specific column in the data asset under Glossary terms for that column on the Schema page.
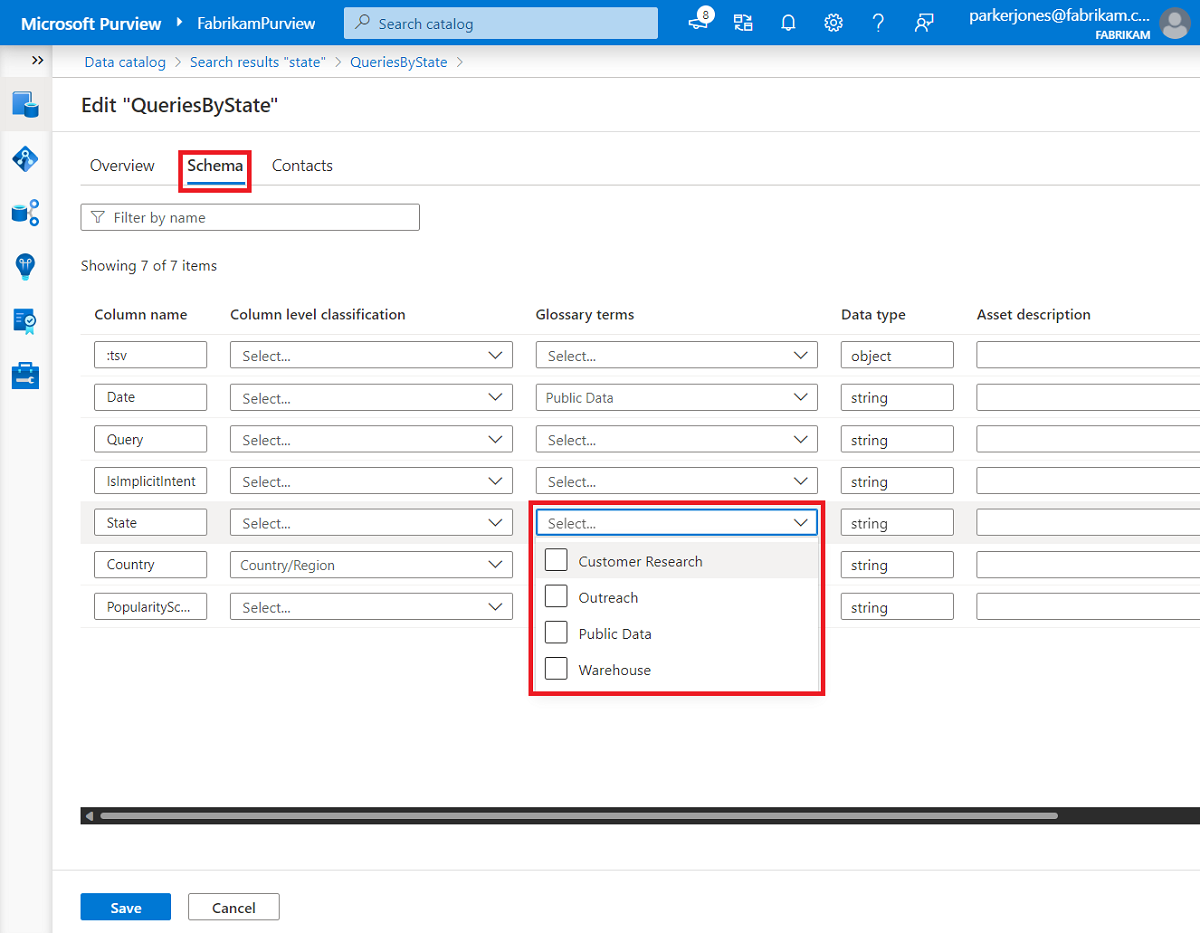
Select Save to save your changes.

Now you can see your term listed on the asset description.


Create a term template
Open the data catalog and select Manage term templates in the top menu.
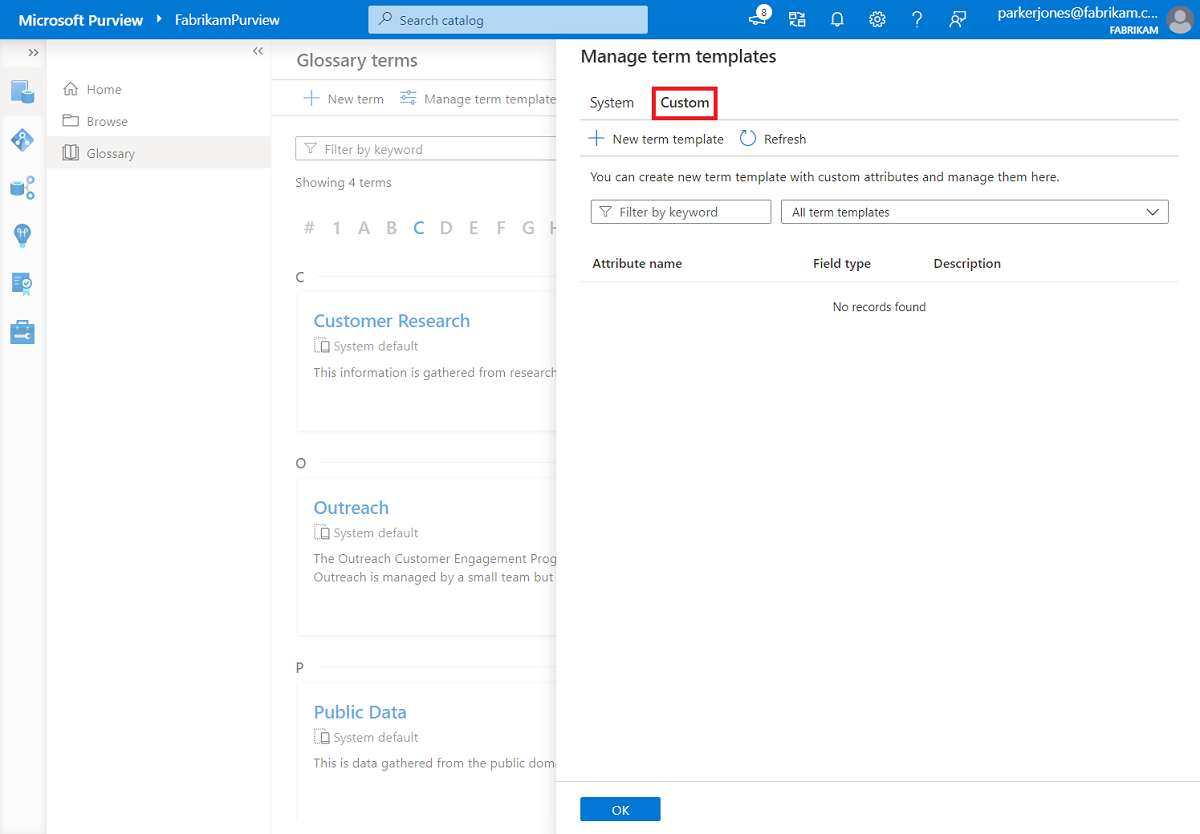
Select the Custom tab at the top of the Manage term templates window.
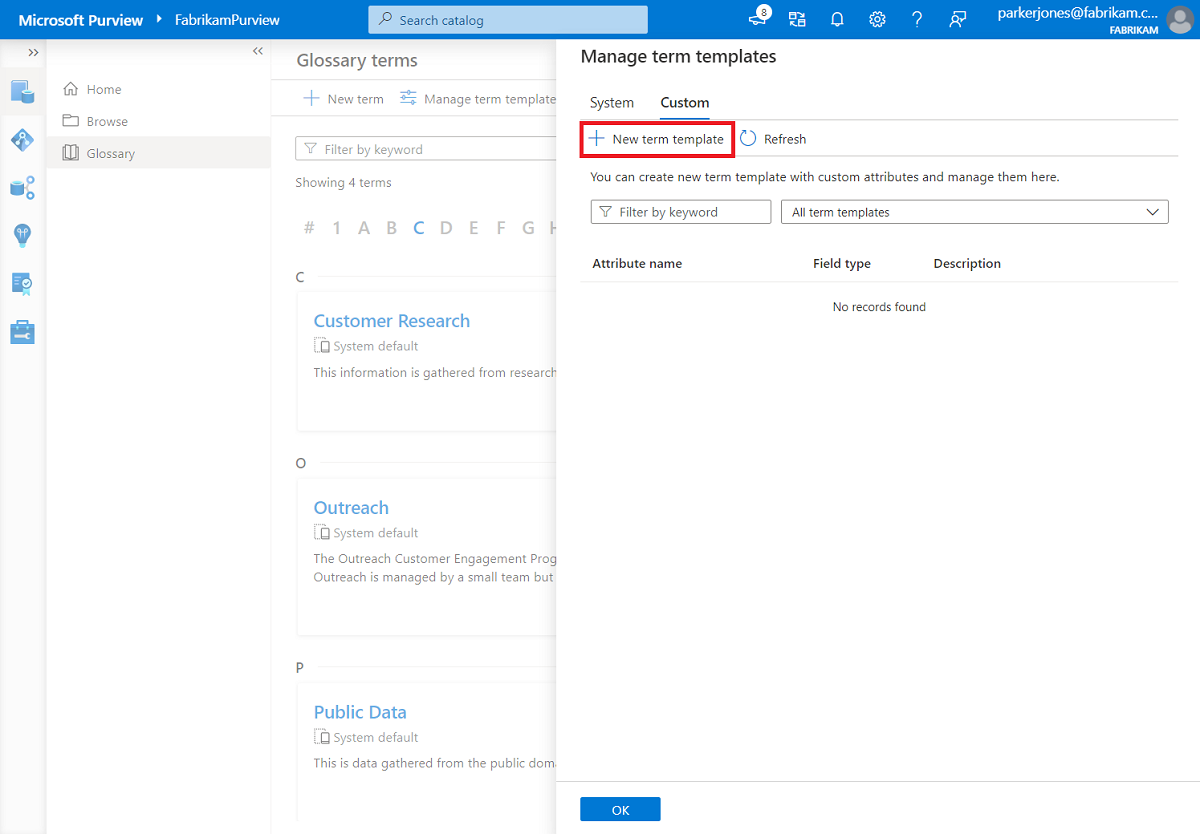
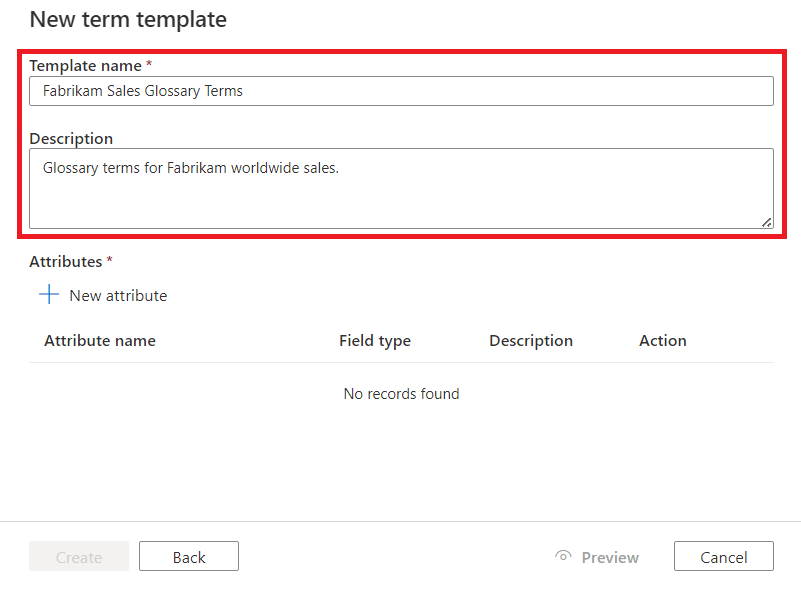
Select New term template.
Give your template a name and description that gives other users enough information about how to use the term template.
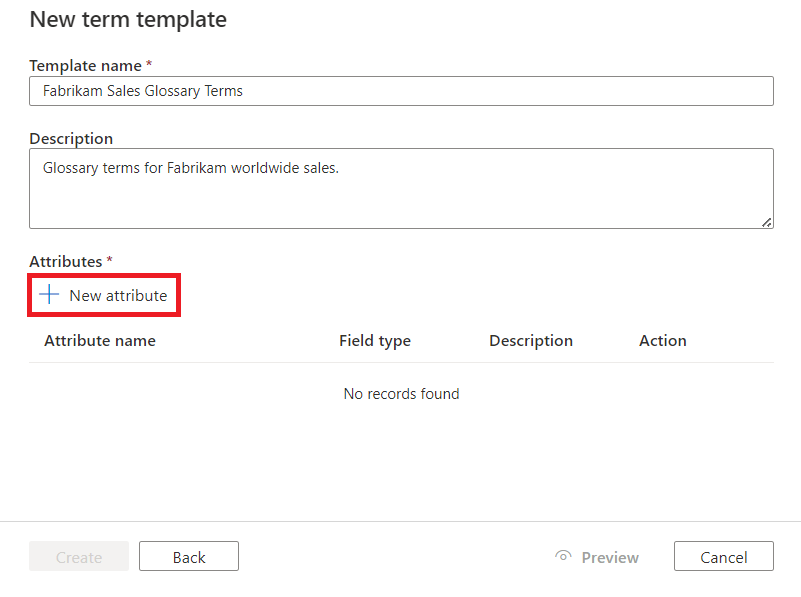
Select New attribute to add your first attribute to your term.
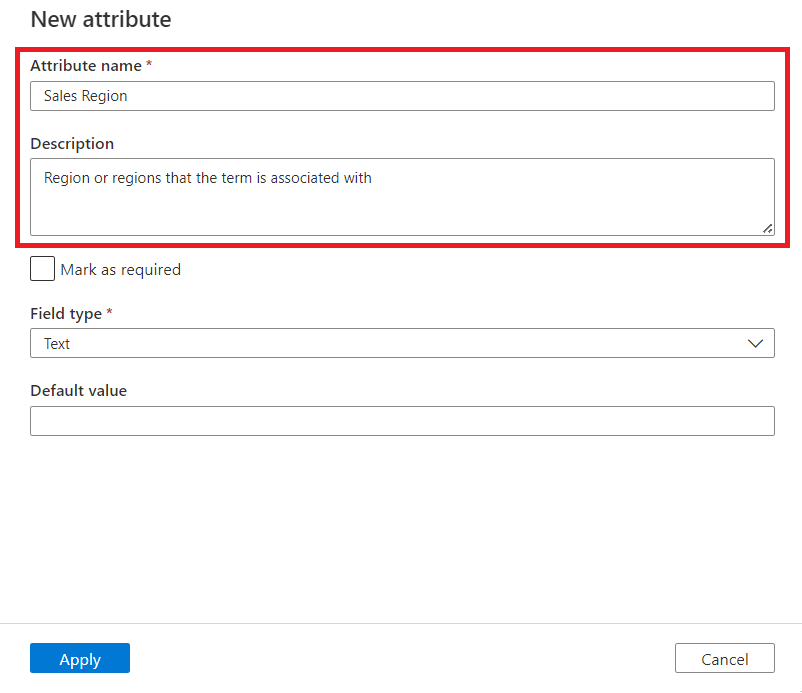
Give your new attribute a name and a description as well.
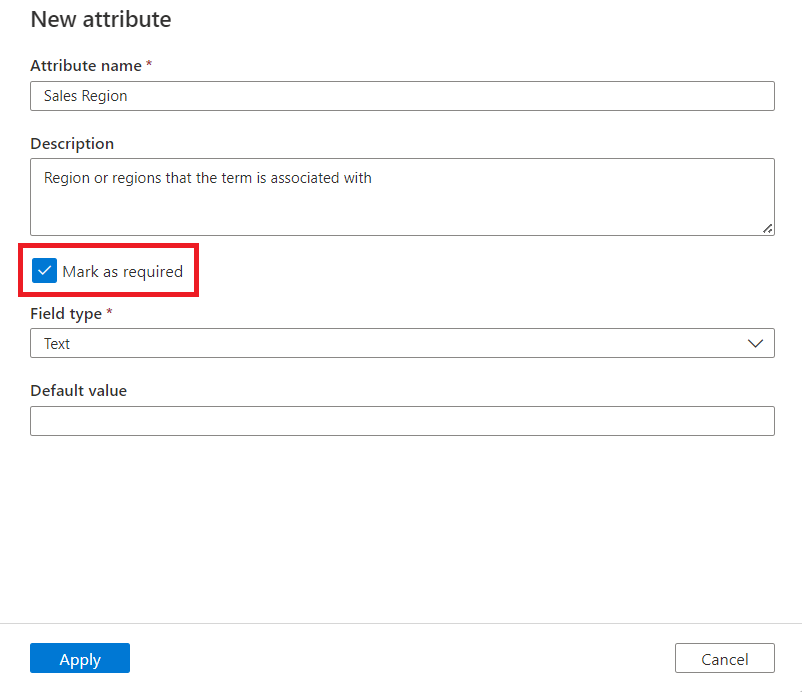
Choose whether or not you want the attribute to be required to create a term by selecting Mark as required.
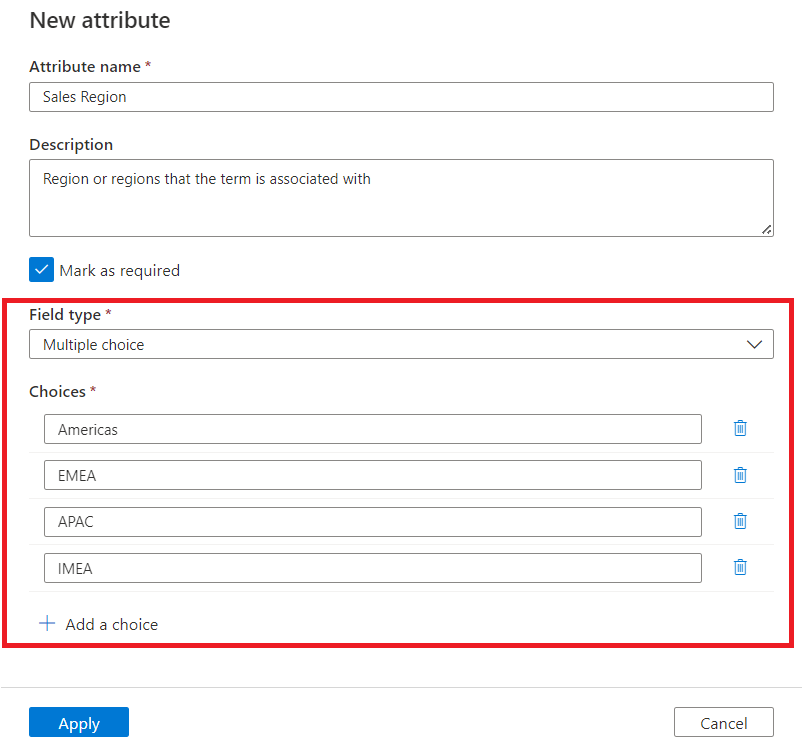
Choose your field type.
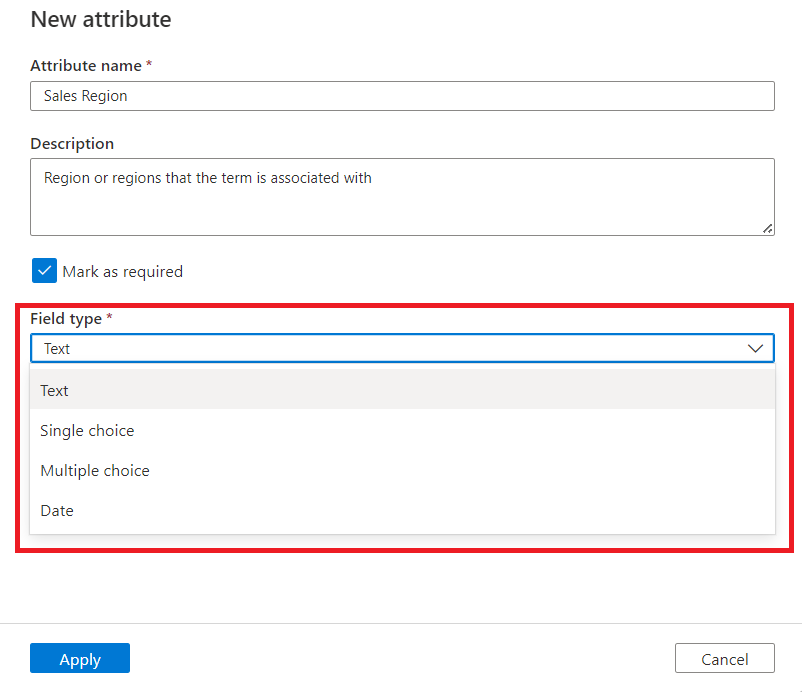
For Text, you can provide a default value. For single or multiple choice, provide values for all the choices you want.
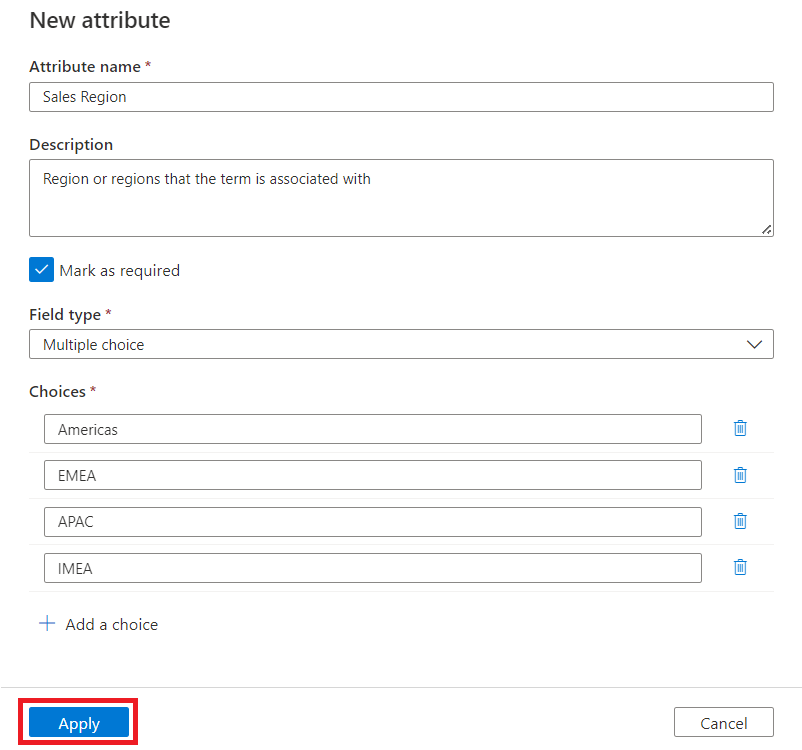
Select Apply
Add as many other attributes as you'd like your term to have, then select Create.
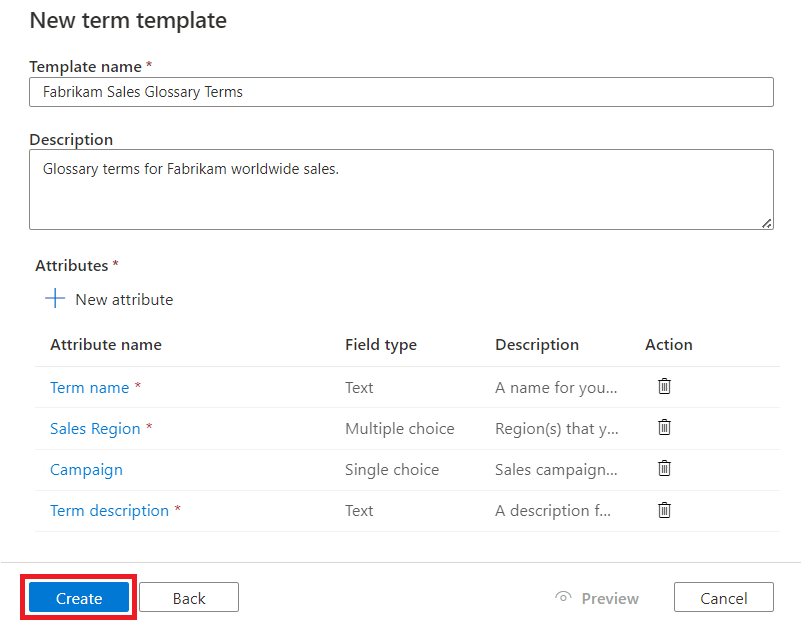
Now your new term template is available when others create terms in the business glossary. You can use these templates to define terms that provide the best information for your business.