Exercise - Set up your environment
Important
You need your own Azure subscription to run this exercise, and you might incur charges. If you don't already have an Azure subscription, create a free account before you begin.
Before you start to work on your toy company's website pipeline, you need to configure your environment. In this unit, you make sure that your Azure and Azure DevOps environments are set up to complete the rest of this module.
To meet these objectives, you'll:
- Set up an Azure DevOps project for this module.
- Clone the project's repository to your computer.
- Create two resource groups in Azure.
- Create two service connections and environments in Azure Pipelines.
- Remove the resources that you don't need in the pre-created Azure DevOps project.
Get the Azure DevOps project
Make sure that your Azure DevOps organization is set up to complete the rest of this module. You set it up by running a template that creates a project in Azure DevOps.
The modules in this learning path are part of a progression. For learning purposes, each module has an associated Azure DevOps project.
Tip
Even if you completed the previous module in the learning path, please follow these instructions to create a new project. Be sure to give it a new name.
Run the template
Run a template that sets up your Azure DevOps project.
On the Azure DevOps Demo Generator site, follow these steps:
Select Sign In and accept the usage terms.
On the Create New Project page, select your Azure DevOps organization. Then enter a project name, such as toy-website-environments.

Select Create Project.
The template takes a few moments to run. It automatically creates a pipeline and Bicep file for you to work with in the subsequent exercises.
Select Navigate to project to go to your project in Azure DevOps.
Important
The final exercise in this module contains important cleanup steps. Be sure to follow the cleanup steps even if you don't complete this module.
Clone the repository
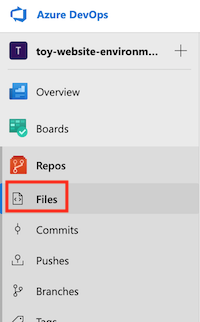
Select Repos > Files.
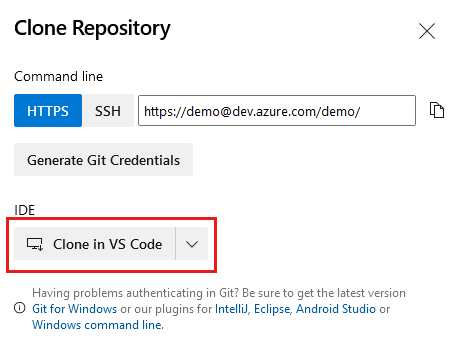
Select Clone.

If you're using macOS, you need a special password to clone the Git repository. Select Generate Git credentials and copy the displayed username and password to somewhere safe.
Select Clone in VS Code. If you're prompted to allow Visual Studio Code to open, select Open.
If a dialog box appears, prompting you to allow an extension to open the repository URI, select Open.
Create a folder to use for the repository, and then choose Select Repository Location.
You're using this repository for the first time, so you're prompted to sign in.
If you're using Windows, enter the same credentials that you used to sign in to Azure DevOps earlier in this exercise.
If you're using macOS, enter the Git username and password that you generated a few moments ago.
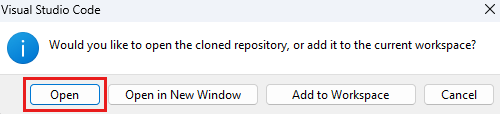
Visual Studio Code prompts you to open the repository. Select Open.
Sign in to Azure
To work with resource groups in Azure, sign in to your Azure account from the Visual Studio Code terminal. Be sure that you've installed the Azure CLI tools.
In the Terminal menu, select New Terminal. The terminal window usually opens in the lower half of your screen.
If the shell shown on the right side of the terminal window is bash, the correct shell is open and you can skip to the next section.

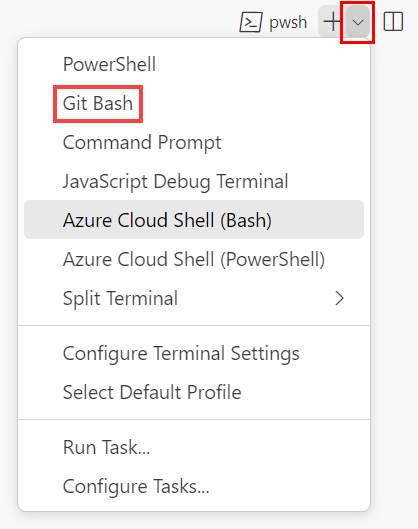
If a shell other than bash appears, select the shell dropdown, and then select Git Bash (Default).
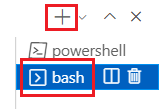
In the list of terminal shells, select bash, and then select the plus sign to open a new terminal that uses the bash shell.
Sign in to Azure by using the Azure CLI
In the Visual Studio Code terminal, run the following command to sign in to Azure:
az loginIn the browser that opens, sign in to your Azure account.
To work with resource groups in Azure, sign in to your Azure account from the Visual Studio Code terminal. Be sure that you've installed Azure PowerShell.
In the Terminal menu, select New Terminal. The terminal window usually opens in the lower half of your screen.
If the shell shown on the right side of the terminal window is powershell or pwsh, the correct shell is open and you can skip to the next section.

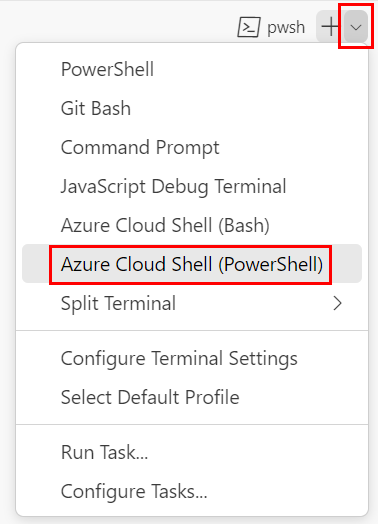
If a shell other than powershell or pwsh appears, select the shell dropdown, and then select PowerShell.
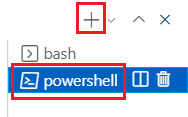
In the list of terminal shells, select powershell or pwsh, and then select the plus sign to open a new terminal that uses the powershell or pwsh shell.
Sign in to Azure by using Azure PowerShell
In the Visual Studio Code terminal, run the following command to sign in to Azure:
Connect-AzAccountIn the browser that opens, sign in to your Azure account.
Create two resource groups in Azure
To create the two new resource groups, run the following Azure CLI commands in the Visual Studio Code terminal:
az group create --name ToyWebsiteTest --location westus3
az group create --name ToyWebsiteProduction --location westus3
To create the two new resource groups, run the following Azure PowerShell commands in the Visual Studio Code terminal:
New-AzResourceGroup -Name ToyWebsiteTest -Location westus3
New-AzResourceGroup -Name ToyWebsiteProduction -Location westus3
Create service connections in Azure Pipelines
Next, create two service connections in Azure Pipelines: one for your test environment and another for your production environment. This process automatically creates a service principal in Azure. It also grants the service principal the Contributor role on your resource group, which allows your pipeline to deploy to the resource group.
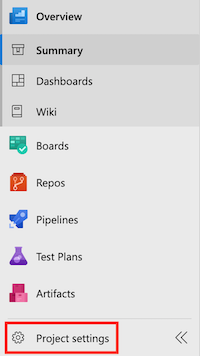
In your browser, select Project settings.
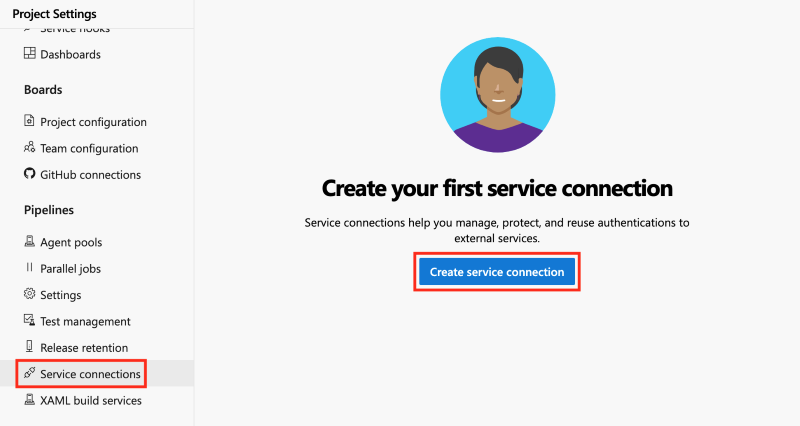
Select Service connections > Create service connection.
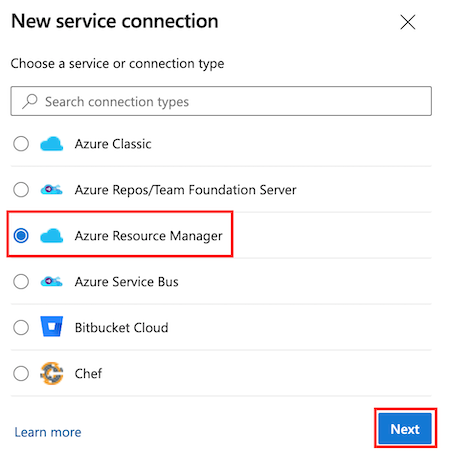
Select Azure Resource Manager > Next.
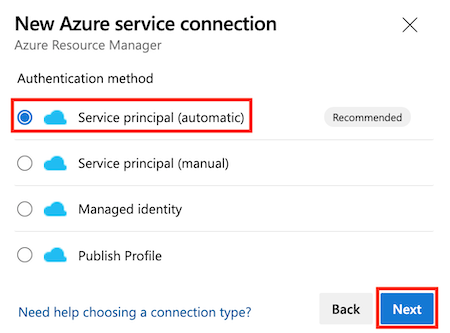
Select Service principal (automatic) > Next.
In the Subscription dropdown list, select your Azure subscription.
A popup window might appear, asking you to sign in to Azure. If it does, enter your credentials and sign in.
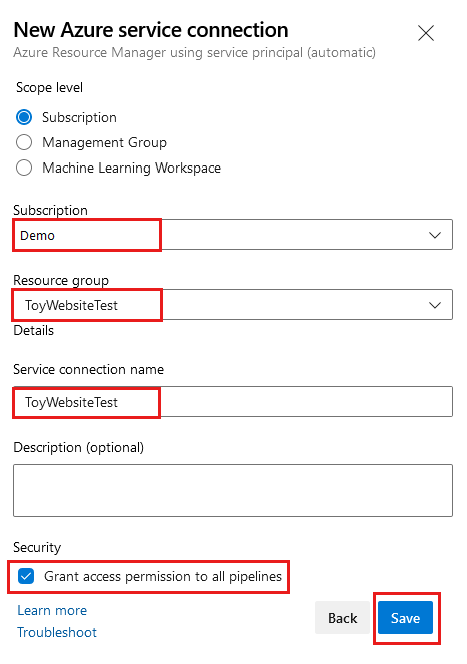
In the Resource group dropdown list, select ToyWebsiteTest.
In Service connection name, enter ToyWebsiteTest. Ensure that the Grant access permission to all pipelines checkbox is selected, and then select Save.
Tip
For simplicity, you're giving every pipeline access to your service connection. When you create real service connections that work with production resources, consider restricting access to only the pipelines that need them.
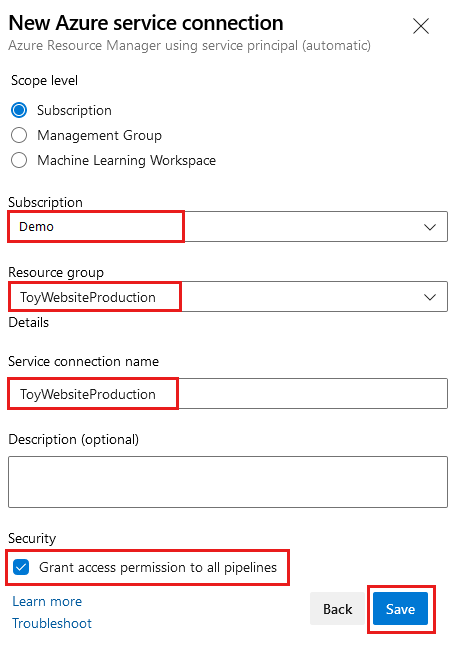
Repeat the preceding process to create another new service connection named ToyWebsiteProduction, which deploys to the resource group named ToyWebsiteProduction.
If the resource group list isn't updated, refresh the page in your browser and try again.
Create environments in Azure Pipelines
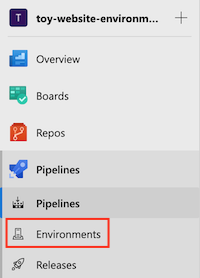
In your browser, go to Pipelines > Environments.
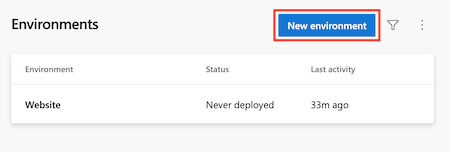
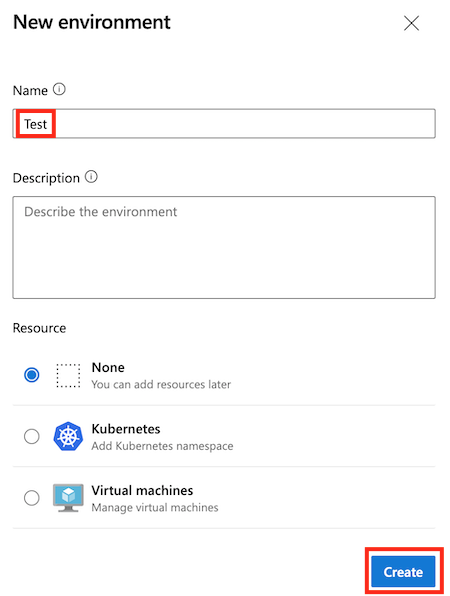
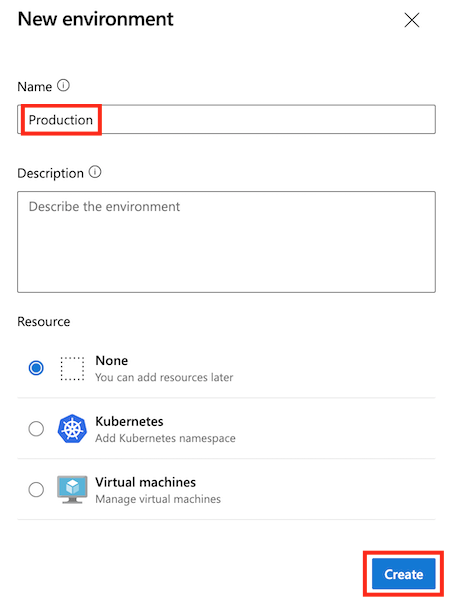
Select New environment.
Enter Test as the environment name.
Leave the description blank. For Resource, select None. Then select Create.
Note
In Azure Pipelines, environments are used to enable deployment features. Some of these features apply only when you're deploying to Kubernetes or to virtual machines. In this module, we don't use these features and you can ignore them.
Before a pipeline can use the environment, you must grant it permission. For simplicity, you allow all pipelines to access the environment. In your own pipelines, you should restrict access to environments to just the pipelines that require it.
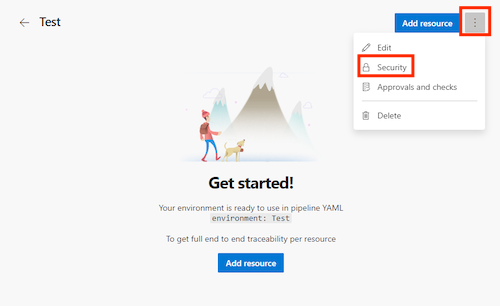
Select the button with three dots and select Security.
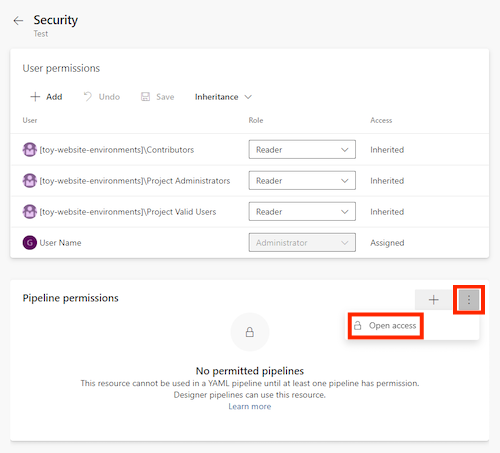
In the section named Pipeline permissions, if there's a button titled Restrict permission, select it.
Select the button with three dots. Select Open access.
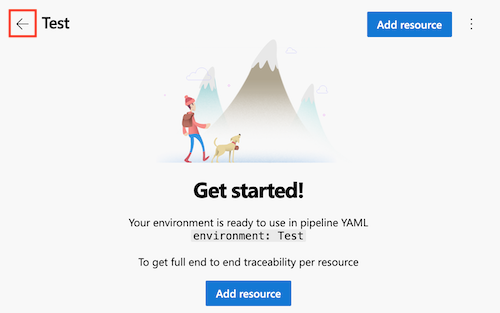
Select the left arrow twice to return to the environments list.
Repeat the process to create another environment named Production. Remember to set it to open access.
Leave the production environment page open.
Add an approval check to the production environment
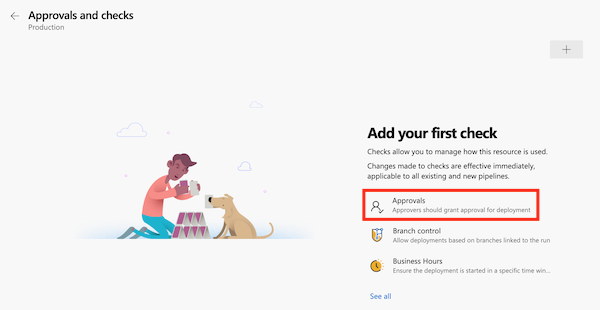
Near the upper right of the page, select the button with three dots and select Approvals and checks from the pop-up menu.

Select Approvals.
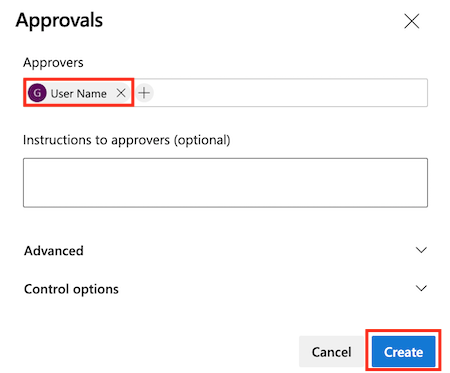
In the Approvers text box, type your own name and select yourself.
Select the arrow button next to Advanced.
Notice that, by default, approvers are allowed to approve the runs that they've triggered. Because you're the only person using this pipeline, leave this checkbox selected. In other organizations, you might need to specify a different approver to meet compliance requirements.
Select Create.
Delete the old environment
In the previous versions of the pipeline, you used a single environment named Website. Now that you've created pipeline environments that represent your new environments, you can delete the old pipeline environment.
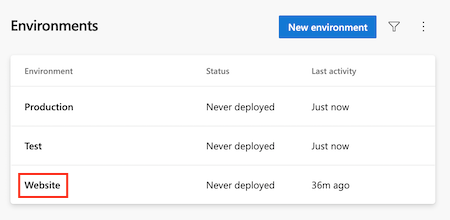
Go to Pipelines > Environments.
Select the Website environment.
Near the upper right of the page, select the button with three dots and select Delete from the pop-up menu.
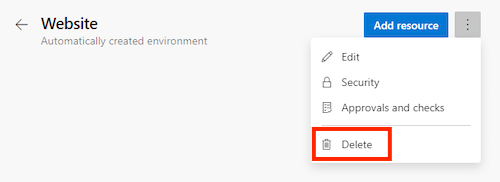
Select Delete to confirm the deletion.
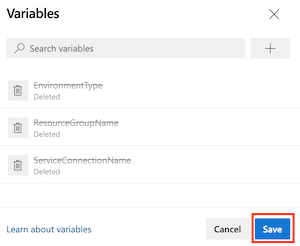
Delete the old variables
In the previous versions of the pipeline, you used a single set of variables to define the parameters and deployment configuration. Now that you're deploying to multiple environments, you can delete those variables and replace them with environment-specific sets of variables soon.
Go to Pipelines > Pipelines.
Select the toy-website-environments pipeline.
Select the Edit button.

Select the Variables button.

Select the Delete variable button for each of the three variables.
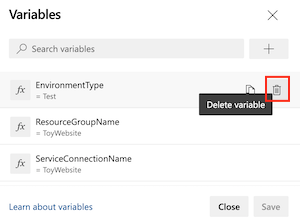
Select Save.