Exercise - Upgrade app to ASP.NET Core
In this unit, you'll upgrade an ASP.NET MVC 5 application to ASP.NET Core using the Upgrade Assistant.
Upgrade .NET Framework ASP.NET MVC apps
This section demonstrates running the .NET Upgrade Assistant against an existing ASP.NET MVC app targeting .NET Framework.
Verify the tools are installed
You could install the .NET Upgrade Assistant extension from the extension manager in Visual Studio, but for this exercise, you're going to use the Visual Studio Installer. This way, you can also double-check that you have the required components to build the sample app.
- Launch the Visual Studio Installer and select Modify on the Visual Studio 2022 installation.
- On the Workloads tab, ensure the ASP.NET and web development workload is selected.
- On the Individual components tab, search for the following components and ensure they are selected:
- .NET Framework 4.8.1 targeting pack
- .NET Upgrade Assistant
- Select the Modify button (if present) to apply any changes. If no changes were made, select Close.
Obtain the sample code
Let's obtain the sample app, which is just a standard boilerplate app generated from the ASP.NET MVC template.
Open Visual Studio 2022.
Using either the Clone a repository button on the quick start window or the Git > Clone command on the menu bar, download and open the sample repository from
https://github.com/MicrosoftDocs/mslearn-modernize-aspnet-framework-to-core.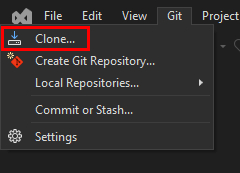
Once the project opens, review the files in Solution Explorer. The app is an ASP.NET project built in .NET Framework 4.8.1. Press F5 to run the app. After verifying it works, stop the app.
Run the Upgrade Assistant
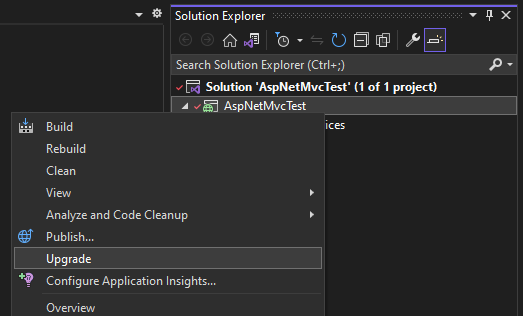
In Solution Explorer, right-click the AspNetMvcTest project and select Upgrade.
The Upgrade Assistant tab opens. Select Upgrade project to a newer .NET version. Because the app to be upgraded is an ASP.NET MVC app, the only option available is Side-by-side incremental project upgrade.
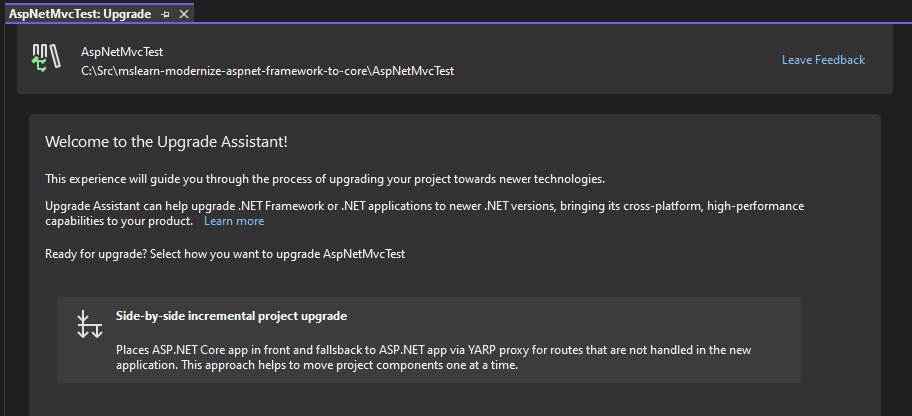
This upgrade approach is great for web apps. It generates a new .NET project that implements YARP (Yet Another Reverse Proxy). If a resource URL is requested but not found in the new project, the request is forwarded to the old project. This way, you can incrementally migrate to the new app without losing any functionality.
Select Side-by-side incremental project upgrade.
Select Next and select New project.
Select Next.
Select a name for the new project. The assistant has suggested the name AspNetMvcTestCore. That's descriptive enough, so leave it alone. Verify that the Project template is set to ASP.NET Core MVC and select Next.
Choose your target framework. Select .NET 7.0 and select Next.
Review the tasks to be performed:

The Upgrade Assistant will:
- Create a new ASP.NET Core project.
- Set a new Start action (Don't open a page).
- Set both projects as the solution's Startup projects.
- Add YARP and
System.Webadapter packages to the new project. - Add YARP settings to appsettings.json. The settings will be configured to forward requests to the old project.
Select Finish. The upgrade assistant will complete the initial migration.
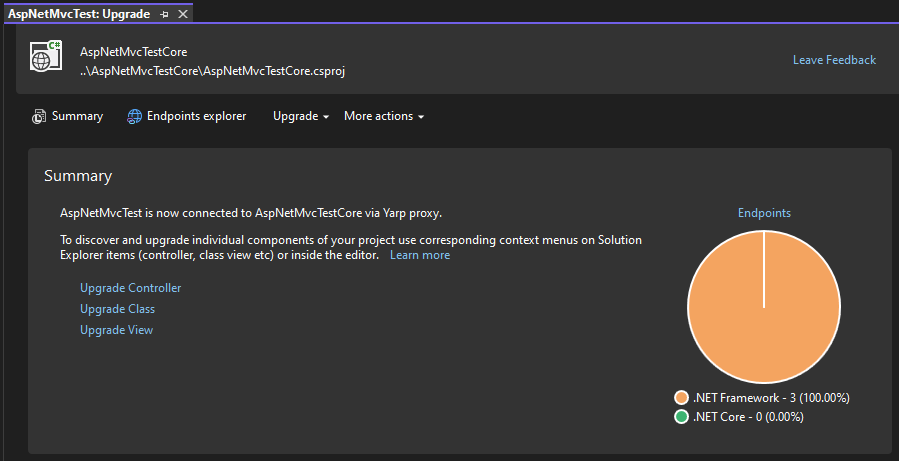
Select Done to view the upgrade summary.
Incrementally upgrade controllers
From here, you can move classes and controllers incrementally to the new project.
Select the Endpoints explorer button and review the endpoints.
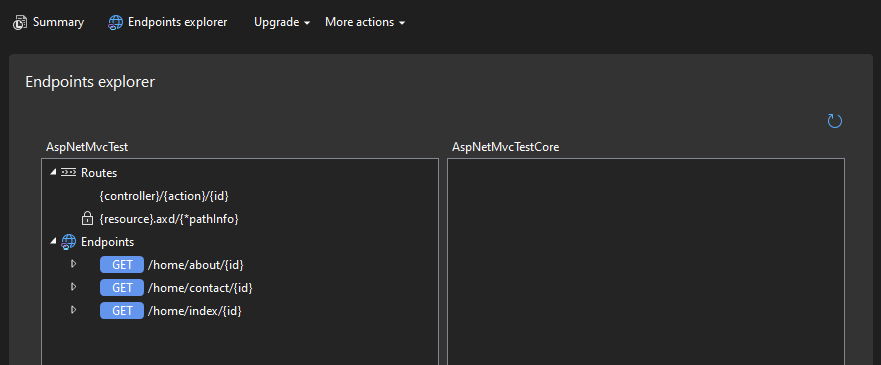
The detected routes and endpoints are displayed. Note that the endpoints are all actions on the Home controller.
Select the Upgrade drop-down and select Controller.
In the Select controller to upgrade dialog, select AspNewMvcTest.Controllers.HomeController and select Upgrade.
On the Select components dialog, expand all the nodes on the tree view.
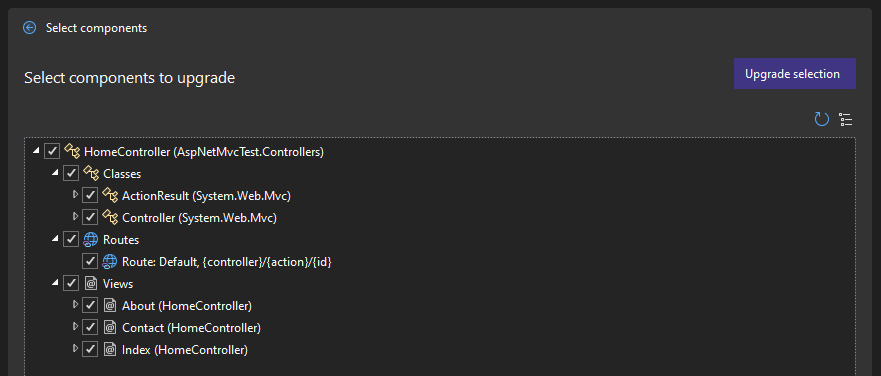
The Upgrade Assistant has detected the routes, classes, and views that need to be migrated to support the Home controller.
Select Upgrade selection to upgrade the selected components.
Select Endpoints explorer and note the endpoints and routes are now present in the new project.
Complete manual upgrade steps
After completing the steps in the Upgrade Assistant, you'll need to complete some manual steps to complete the upgrade. The static .js and .css files aren't part of the automated upgrade, so you'll need to take an alternative approach. For this app, we'll move those by hand.
Move static files to wwwroot
Static files that the web server should serve should be moved to an appropriate folder within a root level folder named wwwroot. See Static files in ASP.NET Core for details.
Create a new
wwwrootdirectory in the root of the AspNewMvcTextCore project.Create a subdirectory to
wwwrootnamedcss.Create another subdirectory to
wwwrootnamedjs.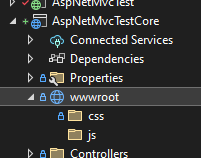
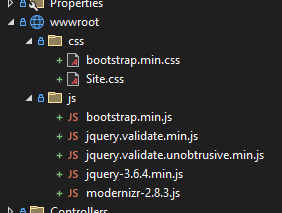
Copy the following files from the
Contentdirectory in the old AspNetMvcTest project towwwroot/cssin the new AspNetMvcTestCore project:- bootstrap.min.css
- Site.css
Copy the following files from the
Scriptsdirectory in the old AspNetMvcTest project towwwroot/jsin the new AspNetMvcTestCore project:- bootstrap.min.js
- jquery-3.6.4.min.js
- jquery.validate.min.js
- jquery.validate.unobtrusive.min.js
- modernizr-2.8.3.js
The required static files have been moved.
Update static file references in the Layout page
The static files are where they need to be, so now we can update the Razor layout to reflect their new location.
In the new AspNetMvcTestCore project, Open
Views/Shared/_Layout.cshtml.Find the following lines in the
<head>element:@*@Styles.Render("~/Content/css")*@ @*@Scripts.Render("~/bundles/modernizr")*@Replace the preceding lines with:
<link rel="stylesheet" href="~/css/bootstrap.min.css" />
<link rel="stylesheet" href="~/css/site.css" />
Find the following lines from the bottom of the
<body>element:@*@Scripts.Render("~/bundles/jquery")*@ @*@Scripts.Render("~/bundles/bootstrap")*@Replace the preceding lines with:
<script src="~/js/jquery-3.6.4.min.js"></script>
<script src="~/js/jquery.validate.min.js"></script>
<script src="~/js/jquery.validate.unobtrusive.min.js"></script>
<script src="~/js/modernizr-2.8.3.js"></script>
<script src="~/js/bootstrap.min.js"></script>
Run the application
Return to the Summary dialog and note that no non-upgraded endpoints remain in the old .NET Framework app. You might need to build the app to update the assistant.
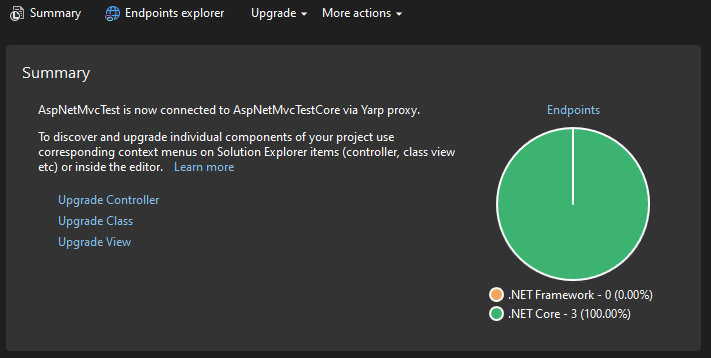
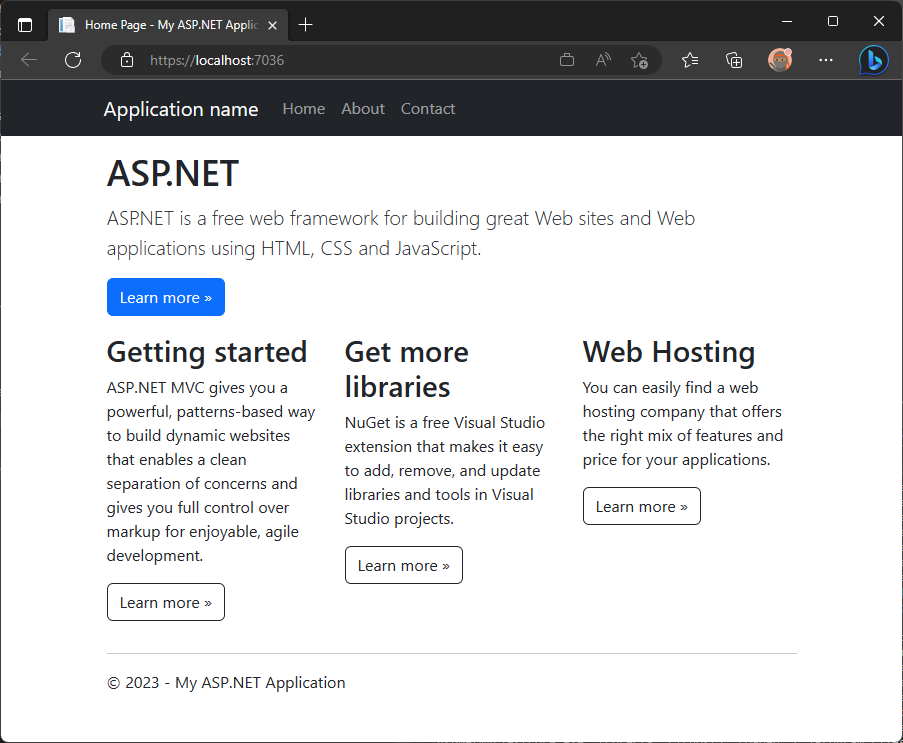
When you press F5, the application should build and run successfully. Congratulations!
If this app had more controllers, you'd repeat this process for the additional controllers until the entire app is upgraded.
Remove YARP
Now that all the endpoints have been migrated, there's no need for a reverse proxy mapping to the old project anymore.
In the new app, complete the following steps to remove YARP:
- In Program.cs, remove the line that calls
builder.Services.AddReverseProxy().LoadFromConfig(). - In that same file, remove the line
app.MapReverseProxy();. - In appsettings.json, remove the
ReverseProxyconfiguration object.
You can now build and deploy the new app independently from the original app.
Note
In this simple scenario, you were able to complete the modernization in one step. In many real-world applications, modernization requires a longer period of time. In this case, the YARP proxy remains in place to allow you to allow you to incrementally update your application.
Summary
In this section, you completed an upgrade for a simple, specific test scenario: a default ASP.NET MVC 5 app with no authentication, data access, additional NuGet packages, or custom code. In a more complex scenario, you'd need to complete additional migration steps as detailed in the ASP.NET Core Migration Guide.