Exercise - Configure a Microsoft Entra app to connect to Microsoft 365
In this module, you'll show a user’s events retrieved from Microsoft 365 using Microsoft Graph. Before you can do that, they need to sign in to your app with their Microsoft 365 account. Then using OAuth, you'll retrieve an access token for your app. With this access token, you can call Microsoft Graph and retrieve data from Microsoft 365 for the user.
To start, you need to register your Microsoft 365 application. You can do that by creating an application registration in Microsoft Entra ID. For this module, you'll need an application with the following settings:
- Name: ASP.NET Core MS Graph App
- Platform: Web
- Supported account types: Accounts in any organizational directory (Any Microsoft Entra directory - Multitenant)
- Redirect URIs:
https://localhost:5001andhttps://localhost:5001/signin-oidc - Logout URL:
https://localhost:5001/signout-oidc - API permissions: Microsoft Graph User.Read (delegated)
Create a new Microsoft Entra application registration by following these steps:
In the web browser, go to the Microsoft Entra admin center (https://aad.portal.azure.com) and sign-in using your Microsoft 365 developer account.
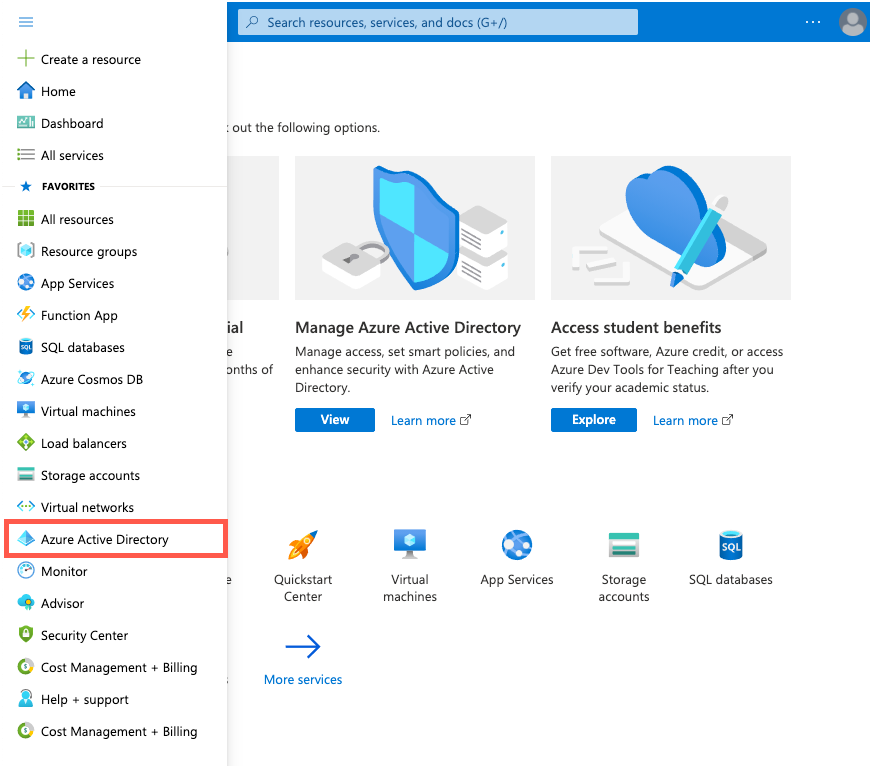
On the menu, select Microsoft Entra ID.
Select App registrations from the left menu.
Create a new app registration by selecting New registration in the toolbar.

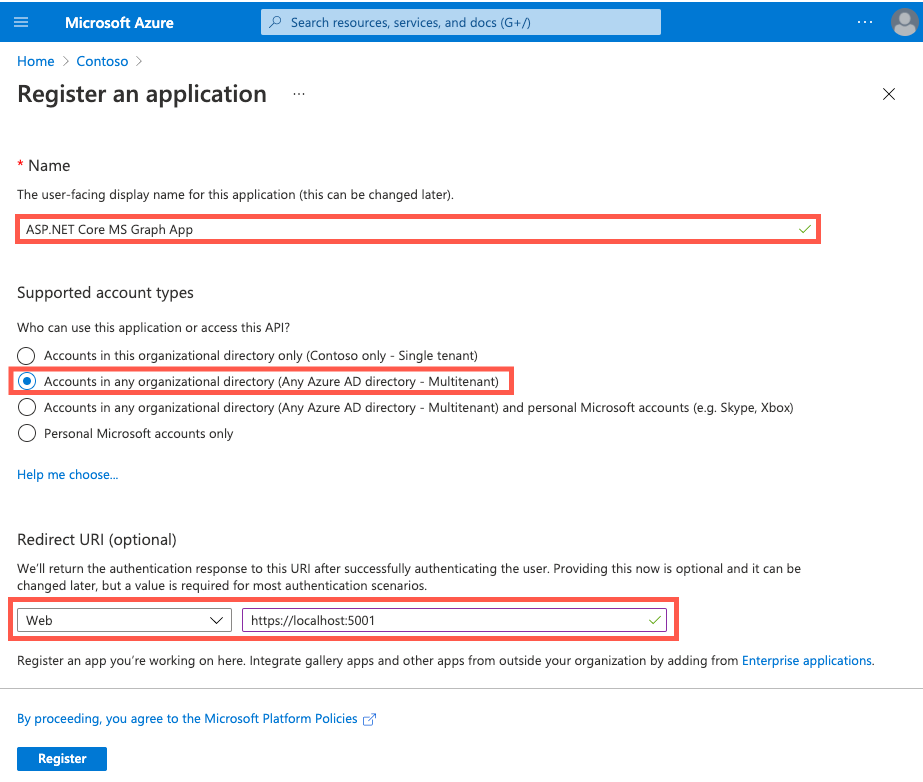
On the Register an application screen, enter the following values:
Name: enter a name for your application.
Supported account types: select Accounts in any organizational directory (Any Microsoft Entra directory - Multitenant).
Redirect URI (optional): select Web and enter
https://localhost:5001.Select Register.
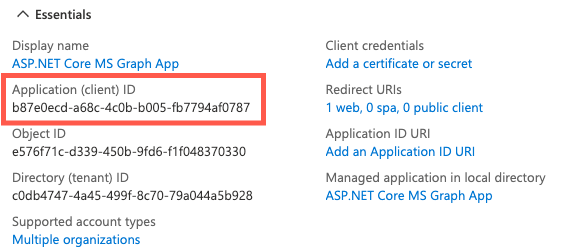
Once the app is created, copy the Application (client) ID value and save it. You'll need the value later. This value can be found on the Overview screen.
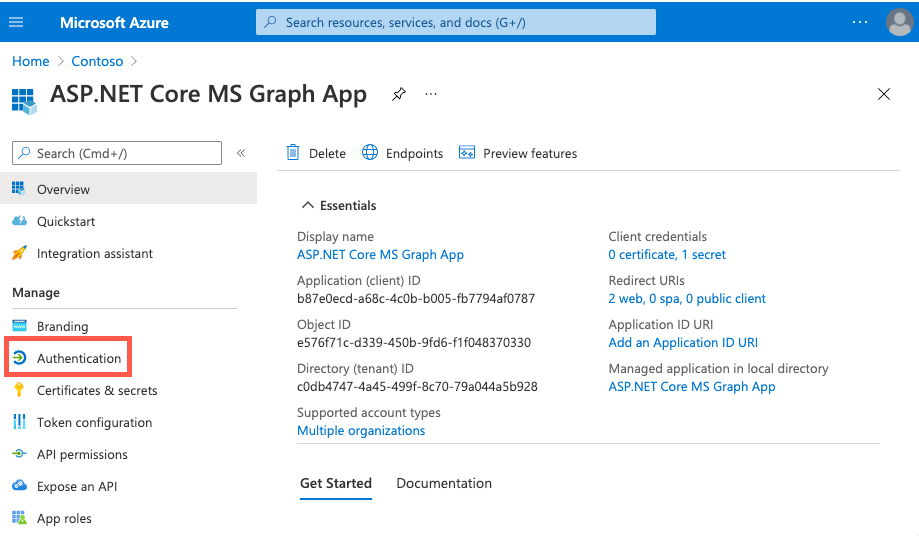
Select Authentication under Manage.
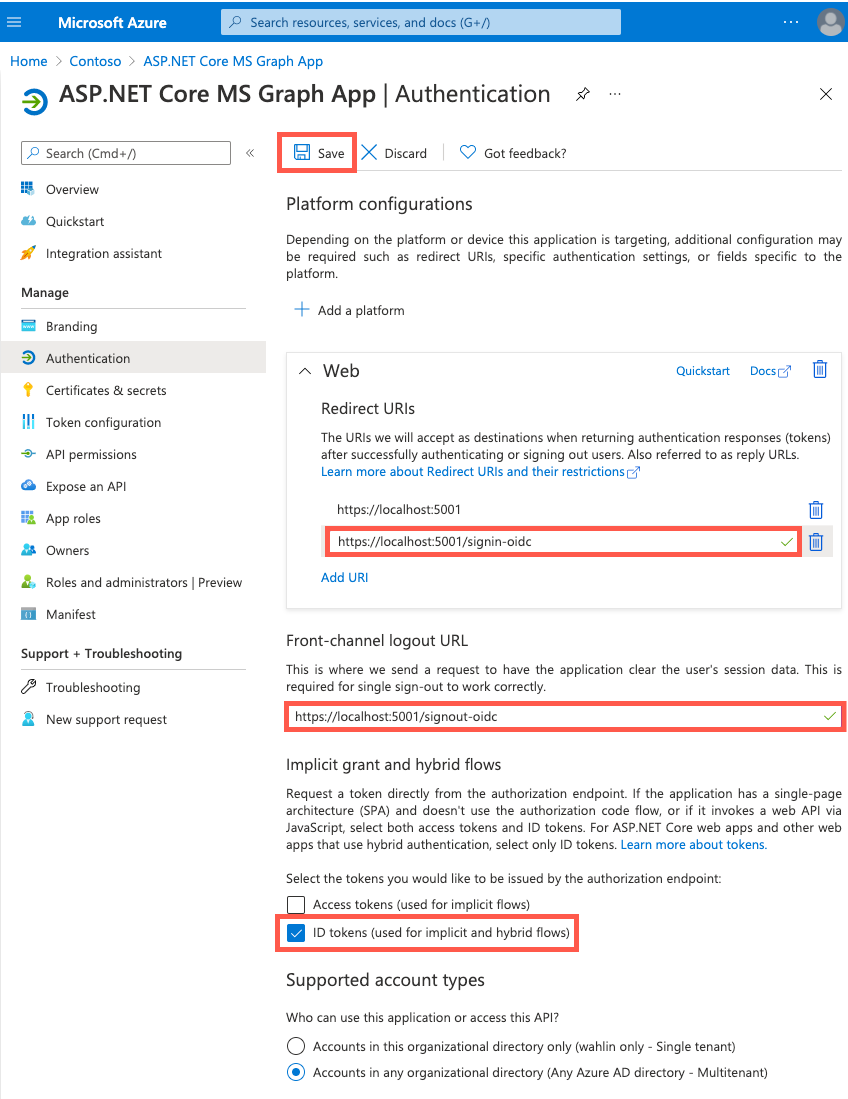
On the app's Authentication screen, enter the following values:
Web / Redirect URIs: select Add URI and enter a value of
https://localhost:5001/signin-oidc.Front-channel logout URL: enter
https://localhost:5001/signout-oidc.Implicit grant and hybrid flows: select ID tokens.
Select Save on the toolbar.
Select Certificates & secrets under Manage.
Select New client secret. Enter a value of App Client Secret in the Description and select any of the options for Expires. Select Add to create the secret.

Copy the client secret Value before you leave this page. You'll need it later.


Next unit: Connect an ASP.NET Core app to Microsoft 365
Having an issue? We can help!
- For issues related to this module, explore existing questions using the #ASP.NET Core Training tag or Ask a question on Microsoft Q&A.
- For issues related to Certifications and Exams, post on Certifications Support Forums or visit our Credentials Help.