Exercise - Use an Outlook email to trigger a desktop flow and pass input
In this exercise, you'll use an Outlook email to trigger a desktop flow and pass input from a cloud flow.
Go to https://make.powerautomate.com and make sure that you're in the correct environment.
Select Create from the navigation pane and then select Automated cloud flow.

Enter
Use Outlook email to trigger Desktop flowin the Flow name field. Search for and select When a new email arrives (V3) - Office 365 Outlook as the trigger event and then select the Create button.
Sign in if prompted.
In the When a new email arrives (V3) trigger card, select the card to show the advanced options. Stay on the Parameters tab within the advanced options.
Note
You can check your connection by selecting the ellipsis (...) in the upper-right corner of the box.

Select Show all next to the Advanced parameters dropdown box. Then select Yes from the Include Attachments dropdown and select Yes from the Has Attachment dropdown menu (your menu might read Only with Attachments, depending on the version of Outlook connector).

Enter
new invoicein the Subject Filter field.
Select the + button below the When a new email arrives (V3) trigger card. Then select Add an action.
Search for
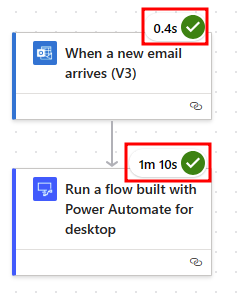
Desktop flowin the search bar and then select Run a flow built with Power Automate for desktop.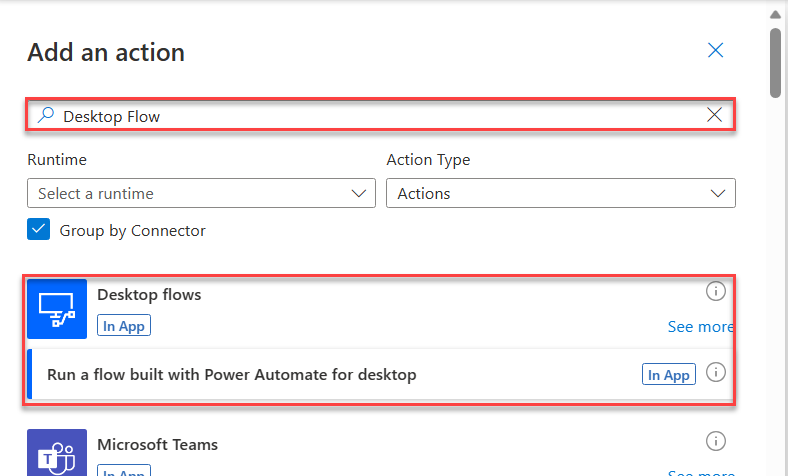
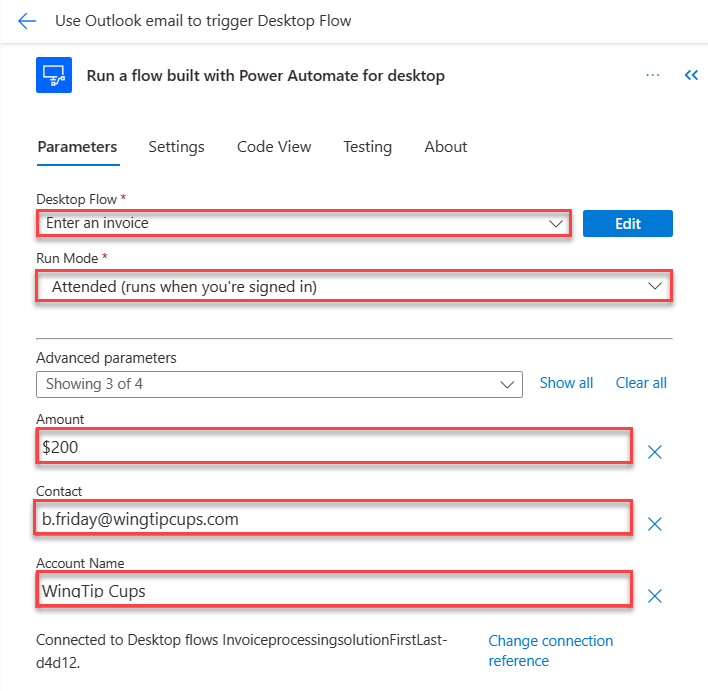
Select Enter an invoice from the Desktop flow dropdown menu and then select Attended from the Run Mode dropdown menu.
Fill in the Amount, Contact, and Account Name boxes by using the following values. You'll switch these values later in future labs to use Microsoft Dynamics 365 input values. For now, you'll use static values.
Amount -
$200Contact -
b.friday@wingtipcups.comAccount Name -
WingTip Cups
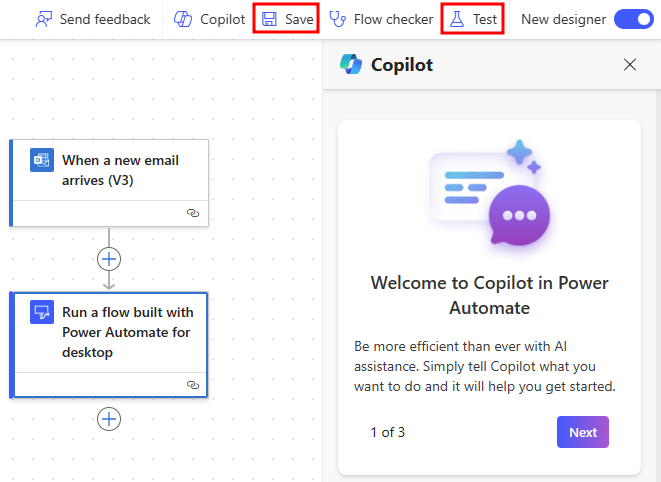
Save the flow by selecting the Save button and then wait for the flow to be saved. A green success message will show at the top after it has been saved.
Test the flow by selecting the Test button in the upper-right corner of the screen.
From the Test Flow pane, select the Manually option and then select Test.
An empty flow run history page will display. Because this flow has a trigger, the flow will run automatically if that trigger condition happens (when a new email arrives).

Open an email app to draft an email. You'll send the email to the inbox of the account that your trigger action is monitoring (which is the account that you used to sign in when creating the trigger connection).
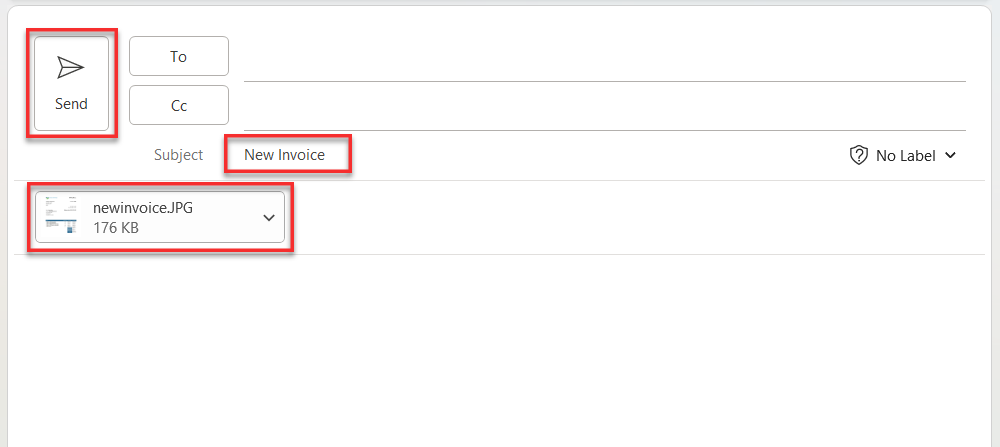
In the email body, add newinvoice.jpg file as an attachment (you can find this .jpg file under the lab data package folder).
Enter New invoice in the subject line. Then, select Send to test this flow.
After the email has been received by the inbox that your flow trigger is monitoring, it will trigger the flow run automatically. Return to the flow run history page, where you can observe that your flow has run successfully and has launched the desktop flow on your computer as well.
Note
Occasionally, in the test account tenant, emails might be blocked due to spam concerns. If you receive an error while sending an email, try sending it from another account and then be sure to include the attachment and correct subject line.
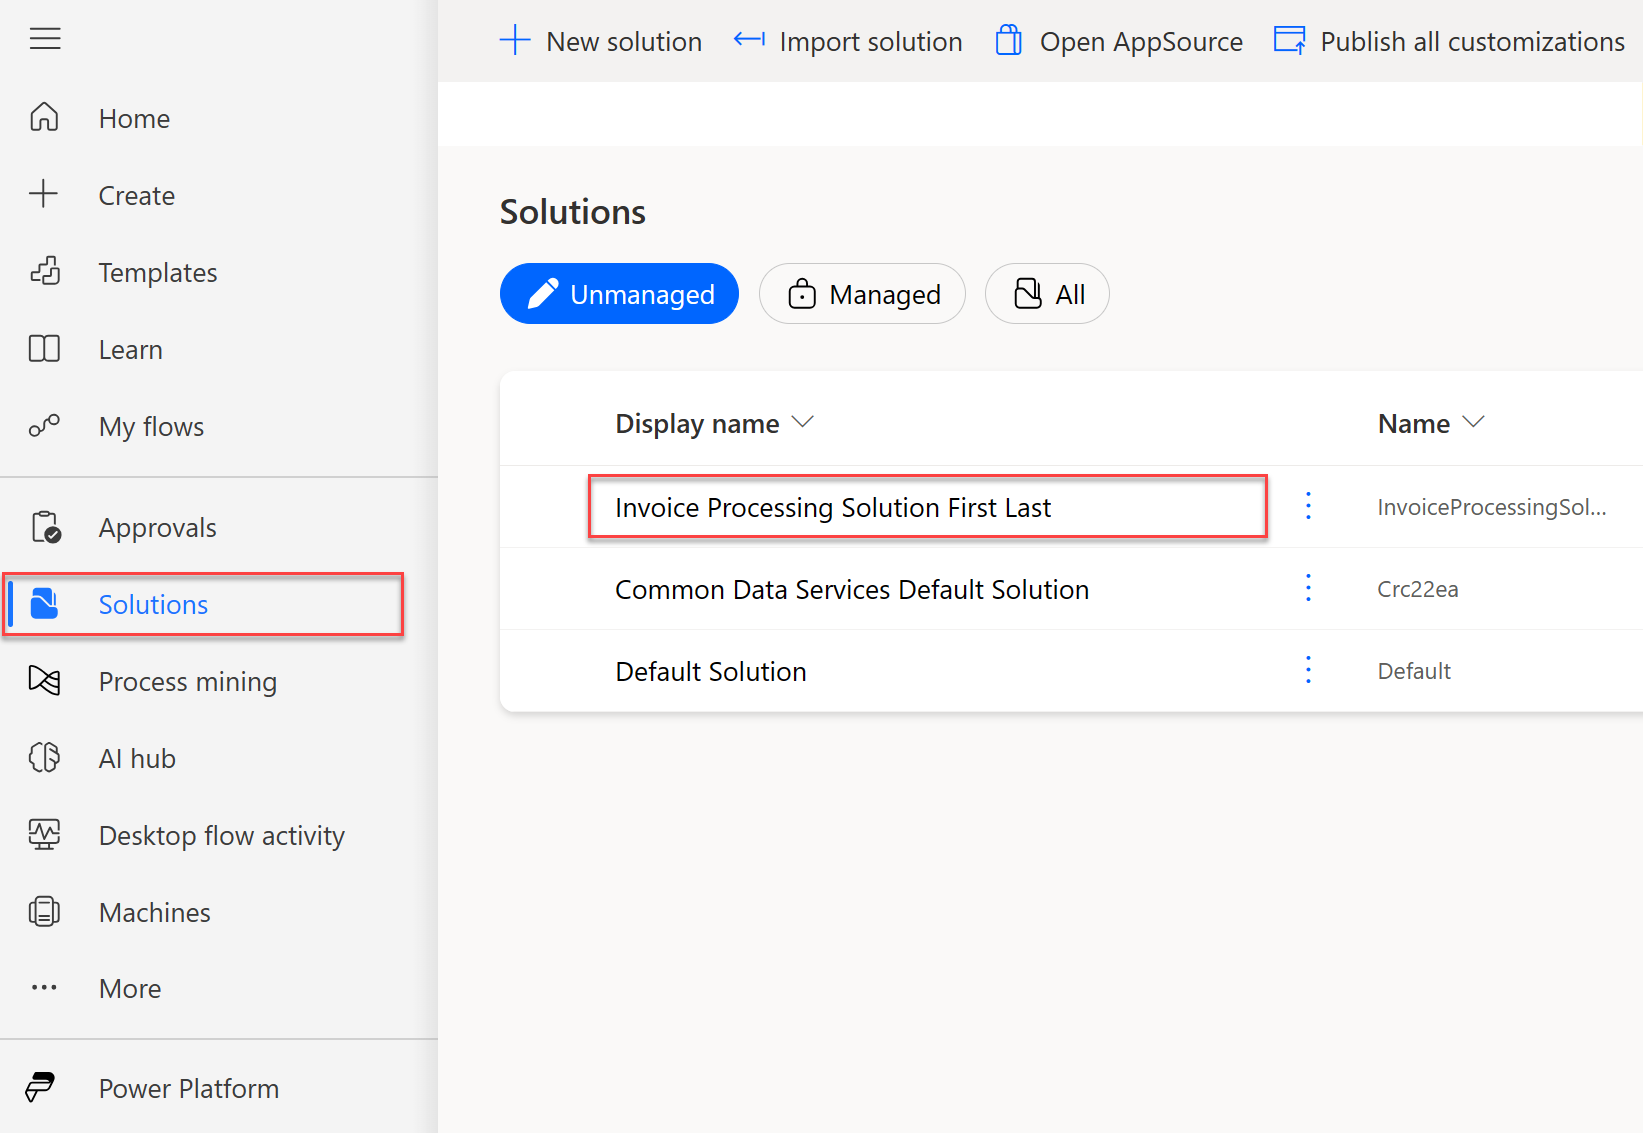
It's best practice to add the flow inside of the solution. To begin this connection process, make sure you have the Invoice processing solution First Last solution selected by clicking on Solutions in the navigation pane and selecting it from the list.
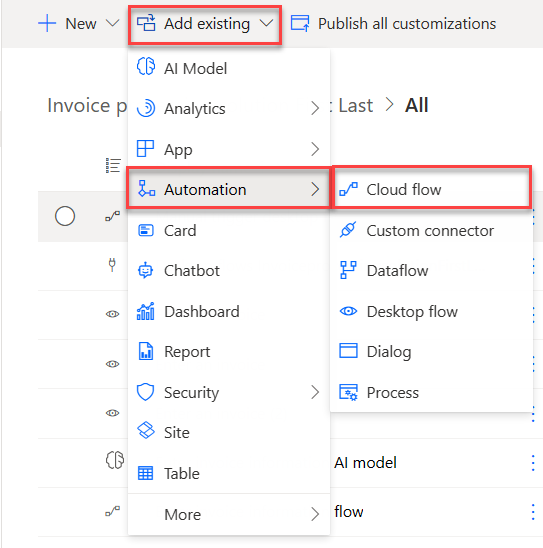
After selecting the correct solution, you'll be brought to a page that shows all of the flows inside of that selected solution. On this page, select Add existing then Automation and then Cloud Flow.


This causes the Add existing cloud flows dialogue box to show on the right side of the screen. Select the Outside Dataverse tab. Then select the flow Use Outlook email to trigger Desktop flow and select Add.

Now the flow is connected to the correct solution.