Exercise - Set up and navigate the Patient Access portal
In this exercise, you complete the following tasks:
Set up an external website to display the Lamna Healthcare Patient Portal template.
Modify Lamna Healthcare Patient Portal to display the proper company name.
Create a registration code and invite a patient to create an account for the website.
Sign in as the patient to navigate the features of the healthcare portal.
Healthcare Patient Portal is a template that is installed in your environment by the Patient Access module in Microsoft Cloud Solution Center when Microsoft Cloud for Healthcare is deployed.
Microsoft Power Pages (previously Microsoft Power Apps portal) is an external website that allows communication between a company and its users. In this case, Lamna Healthcare Company wants an external website for their patients to access their medical histories and communicate effectively with the institution. The Healthcare Patient Portal template tailors the website's user interface (UI) for a healthcare company. It focuses on providing more secure communication, information access, and an overall improved patient experience.
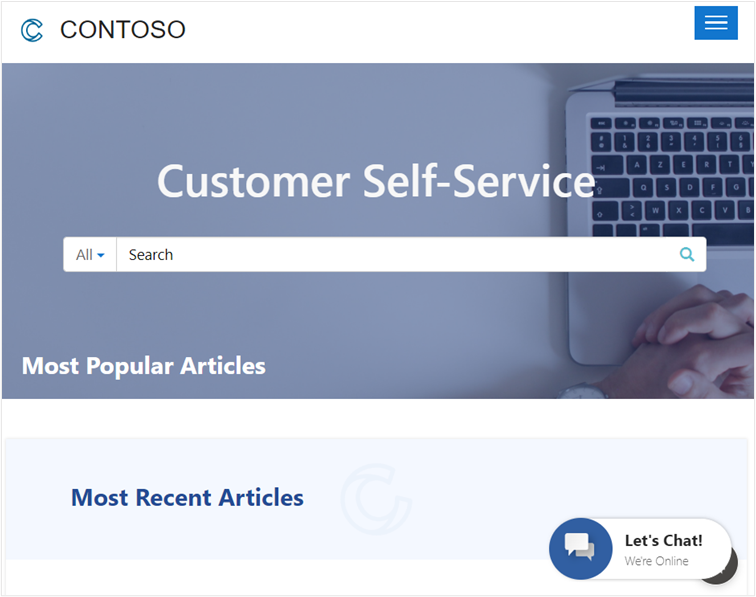
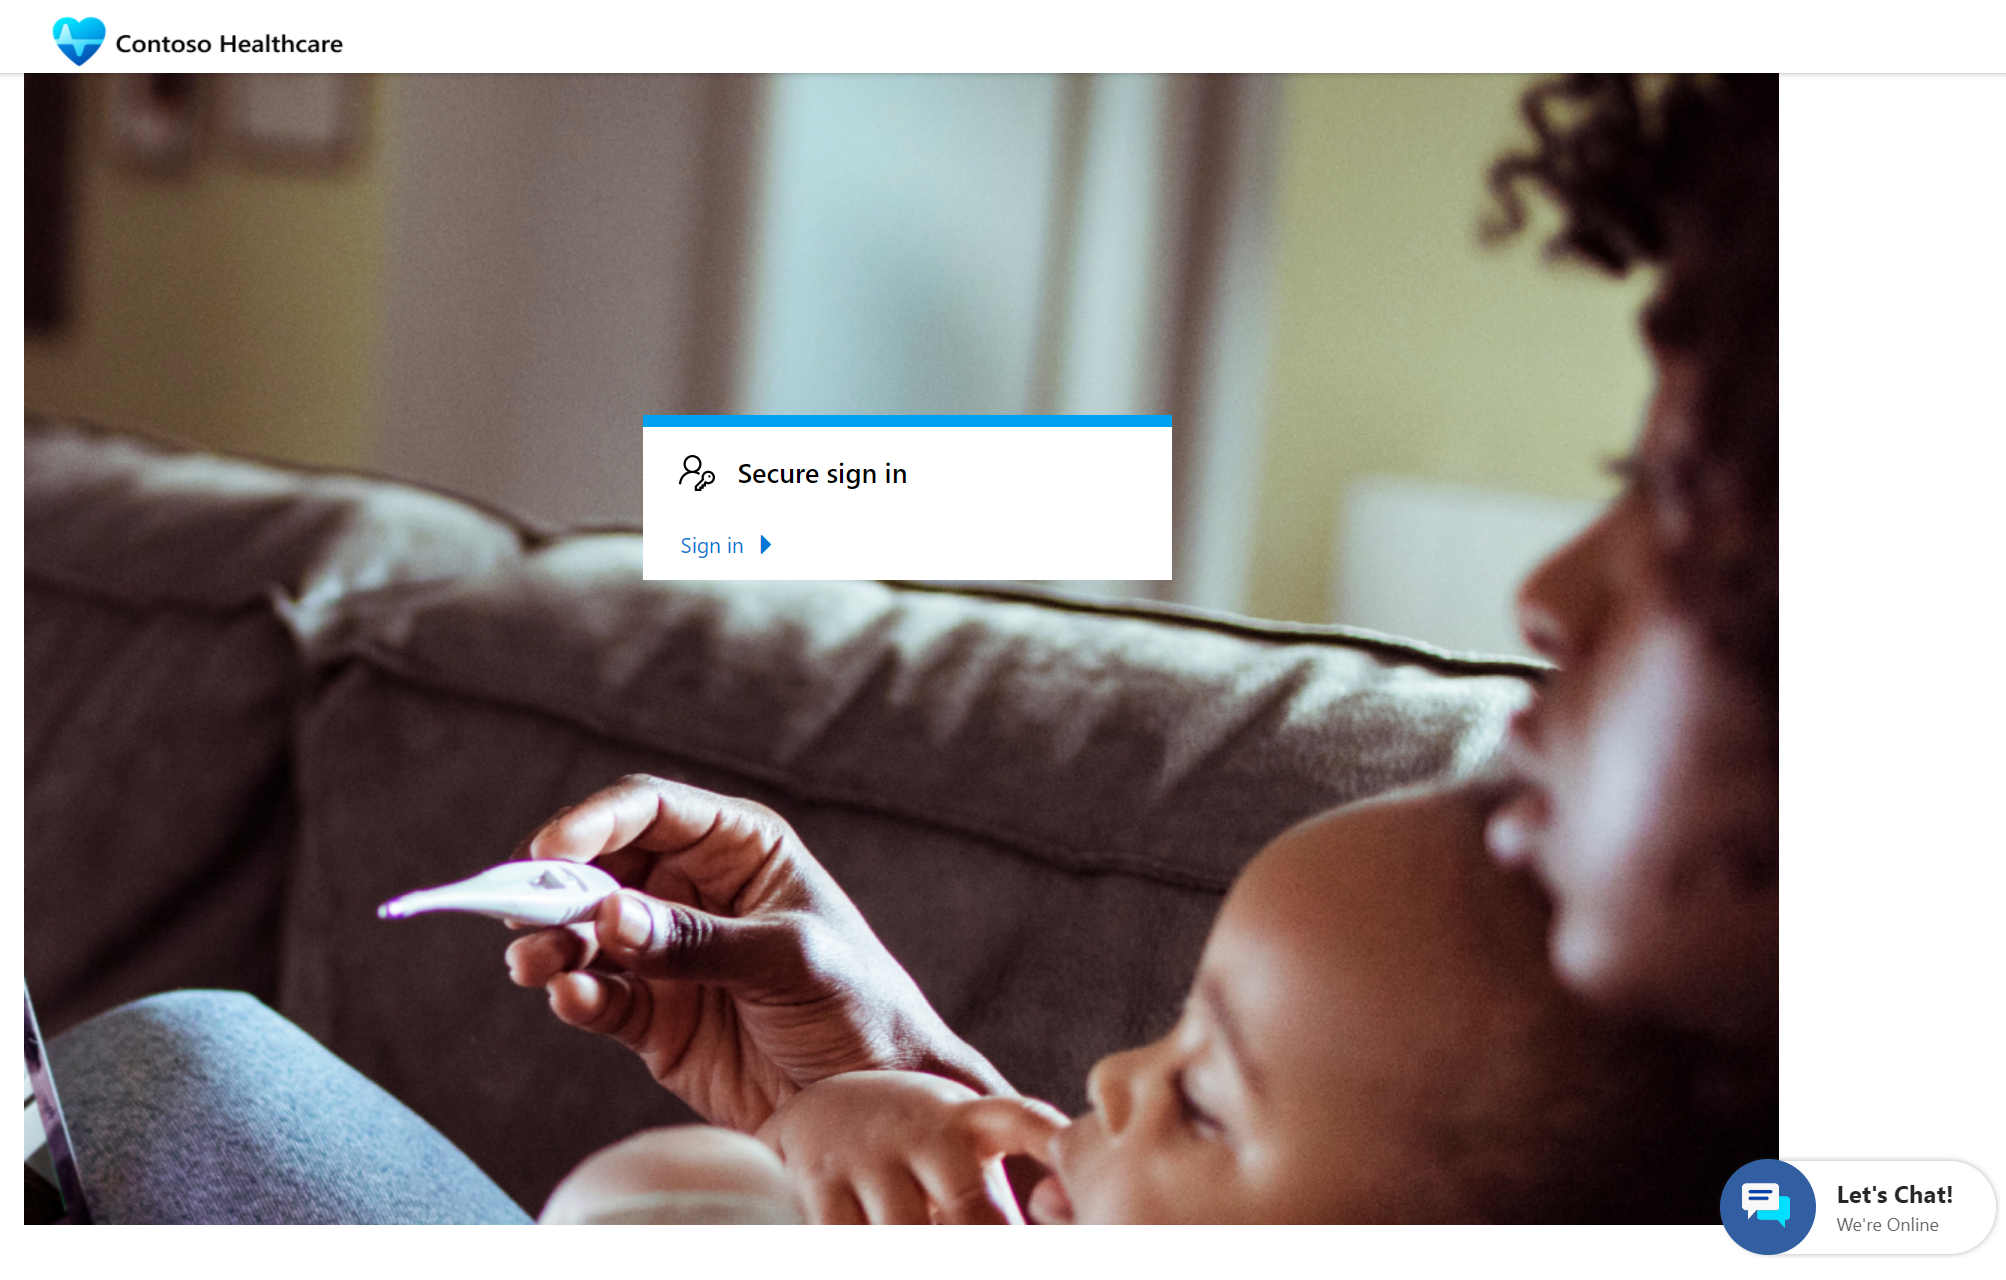
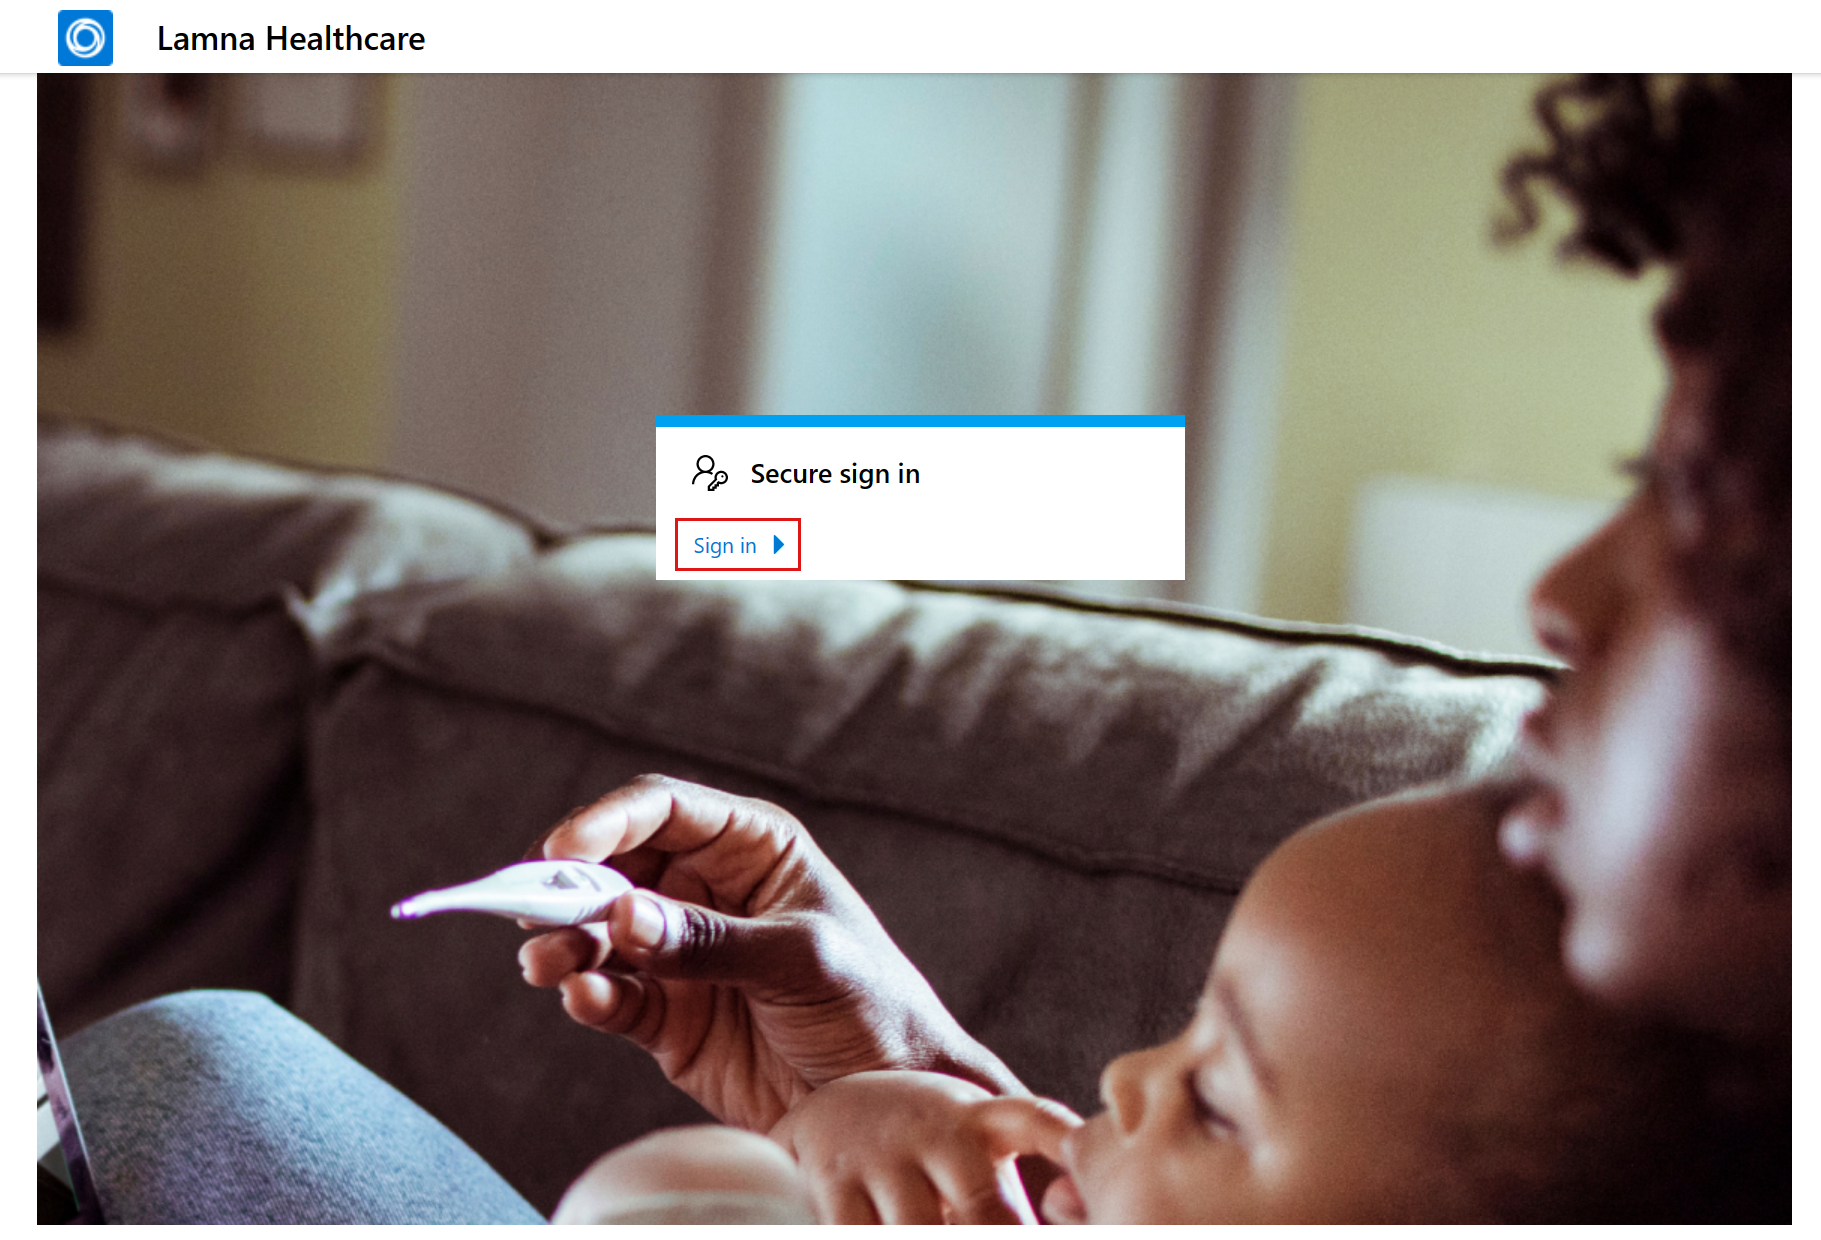
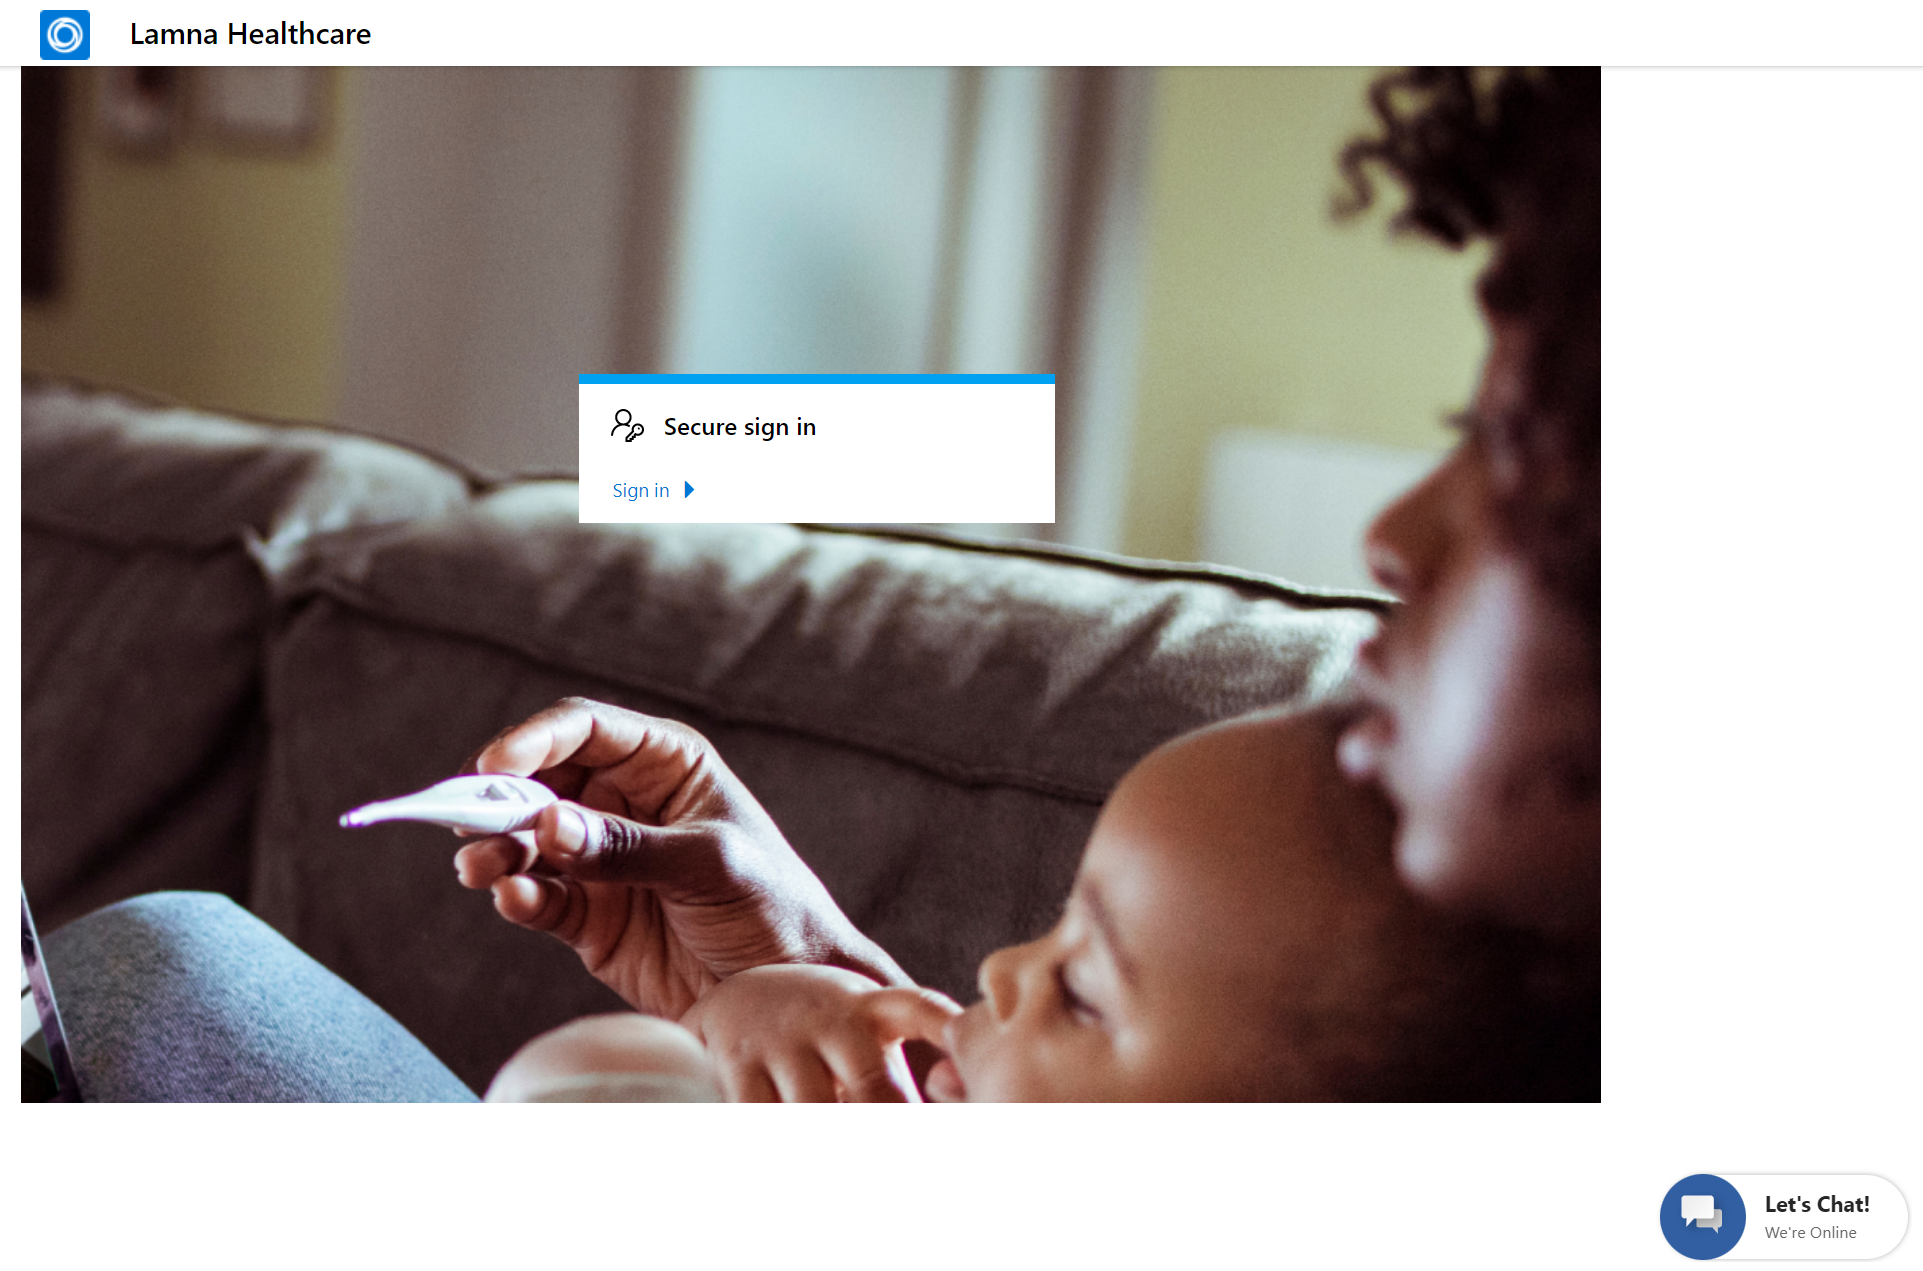
The following image shows an example of the welcome page that displays after you set up and signed in to the Lamna Healthcare Patient Portal.

For more information, see Microsoft Power Apps portals documentation.
Task: Set up the Lamna Healthcare Patient Portal
Prior to deploying Microsoft Cloud for Healthcare, you created a portal in your environment by using the Customer Self-Service template. Creating this portal was a prerequisite for deploying the Patient Access module.
Lamna Healthcare wants to associate the previously installed Customer self-service template with the Healthcare Patient Portal template so that the correct website is displayed to the user. The following steps guide you through the process of binding your website to the proper template and restarting the portal for changes to apply.
First, open the portal to view the Customer Self-Service template that is currently bound. After you complete the configuration steps in this task, the new Lamna Healthcare Patient Portal UI will display.
While using an InPrivate or Incognito window, go to Power Pages portal.
From the Active Sites page, select Lamna Healthcare Patient Portal and then Preview > Desktop.
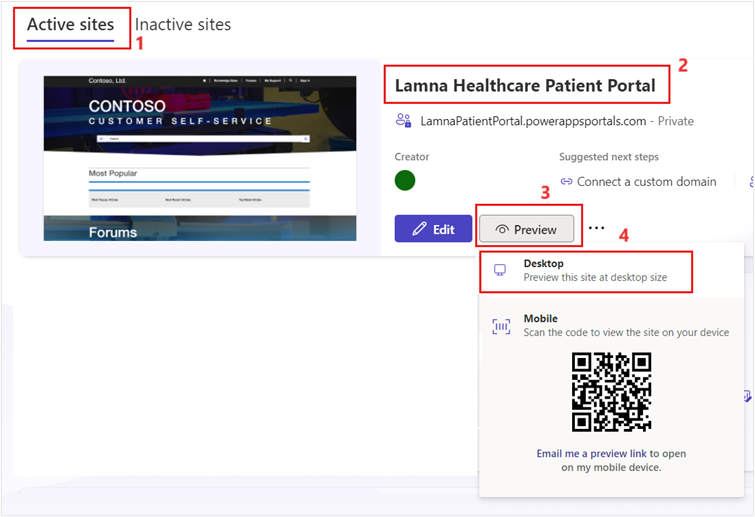
The Customer Self-Service website template is displayed in the Lamna Healthcare Patient Portal. Close the website. You need to set it to the Healthcare Patient Portal template.
Go back to Power Pages portal.
Select the three horizontal dots and then Admin center.
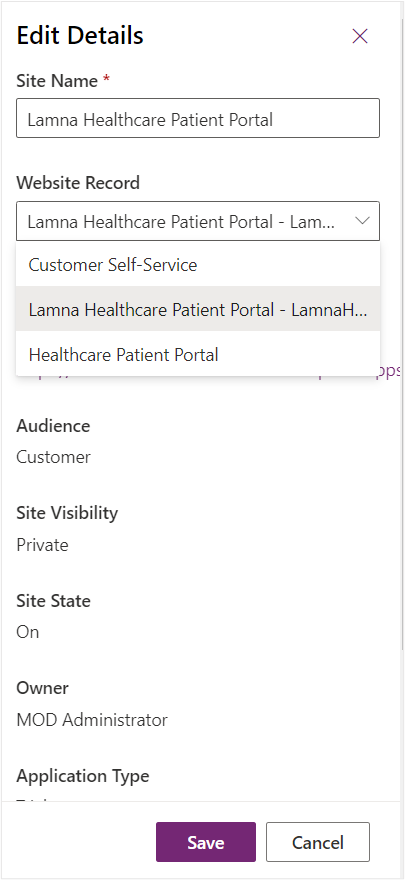
Select Site Details > Edit.
Select Healthcare Patient Portal under Website Record. Select Save.
Select Site Actions and then Restart Site.
Select Restart.
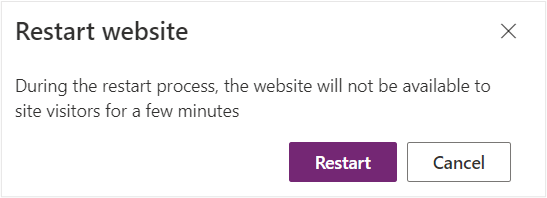
Wait for 1 to 5 minutes for the portal to restart and then return to the website. The website should show the Healthcare Patient Portal template.


You completed the post deployment step to set up the Healthcare Patient Portal template that is deployed from Patient Access. After you updated the bindings and restarted the portal, the website will display as Healthcare Patient Portal template rather than Customer Self-Service.
Task: Modify the company name in Lamna Healthcare Patient Portal
In this task, you edit the Lamna Healthcare Patient Portal website to align the name with Lamna Healthcare Company because the template uses a generic company name.
Go to Power Pages where you have your Lamna Health care Patient Portal.
Select Edit.

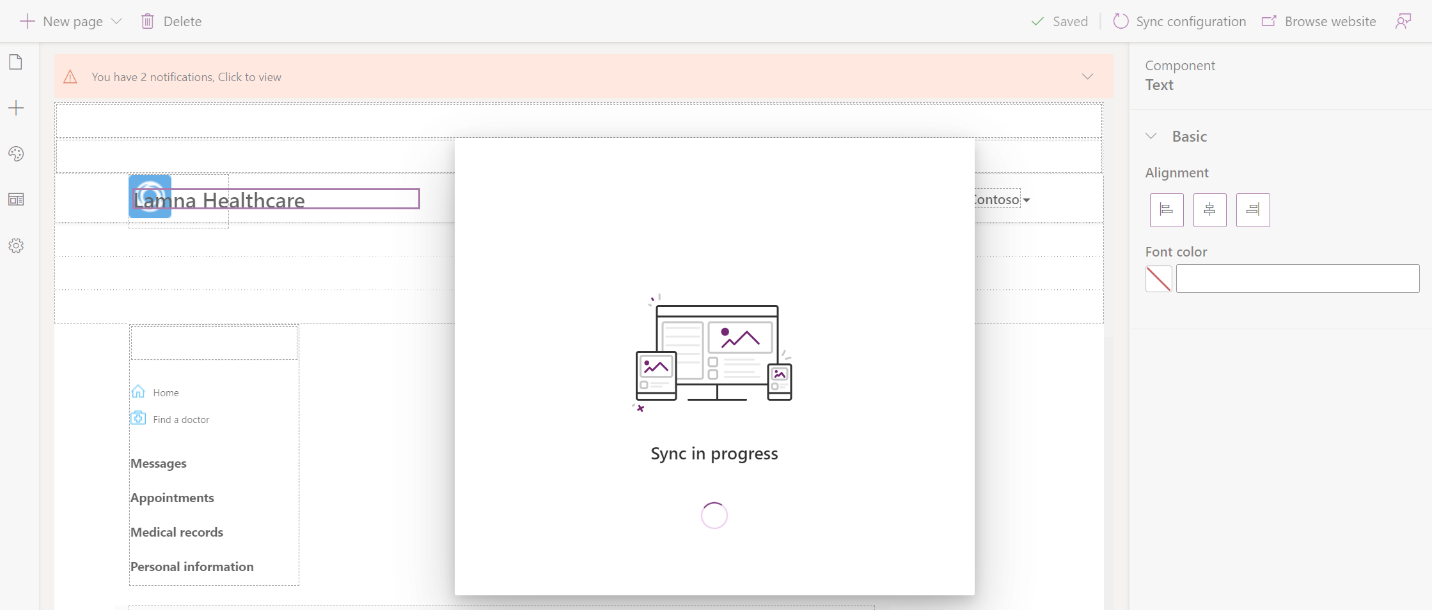
After the page is loaded, Contoso Healthcare should show in the upper-left corner of the design screen. The name might overlap the logo, but it displays properly on the website.
Select the text box that reads Contoso Healthcare and then change it to Lamna Healthcare.
The page should automatically save the changes. Verify in the command bar that it says Saved and includes the green check mark. Then, hover the mouse cursor over Saved to ensure that it shows the correct saved time.

Select Sync configuration in the command bar to sync data to Microsoft Dataverse. It might take a moment to load the preview.
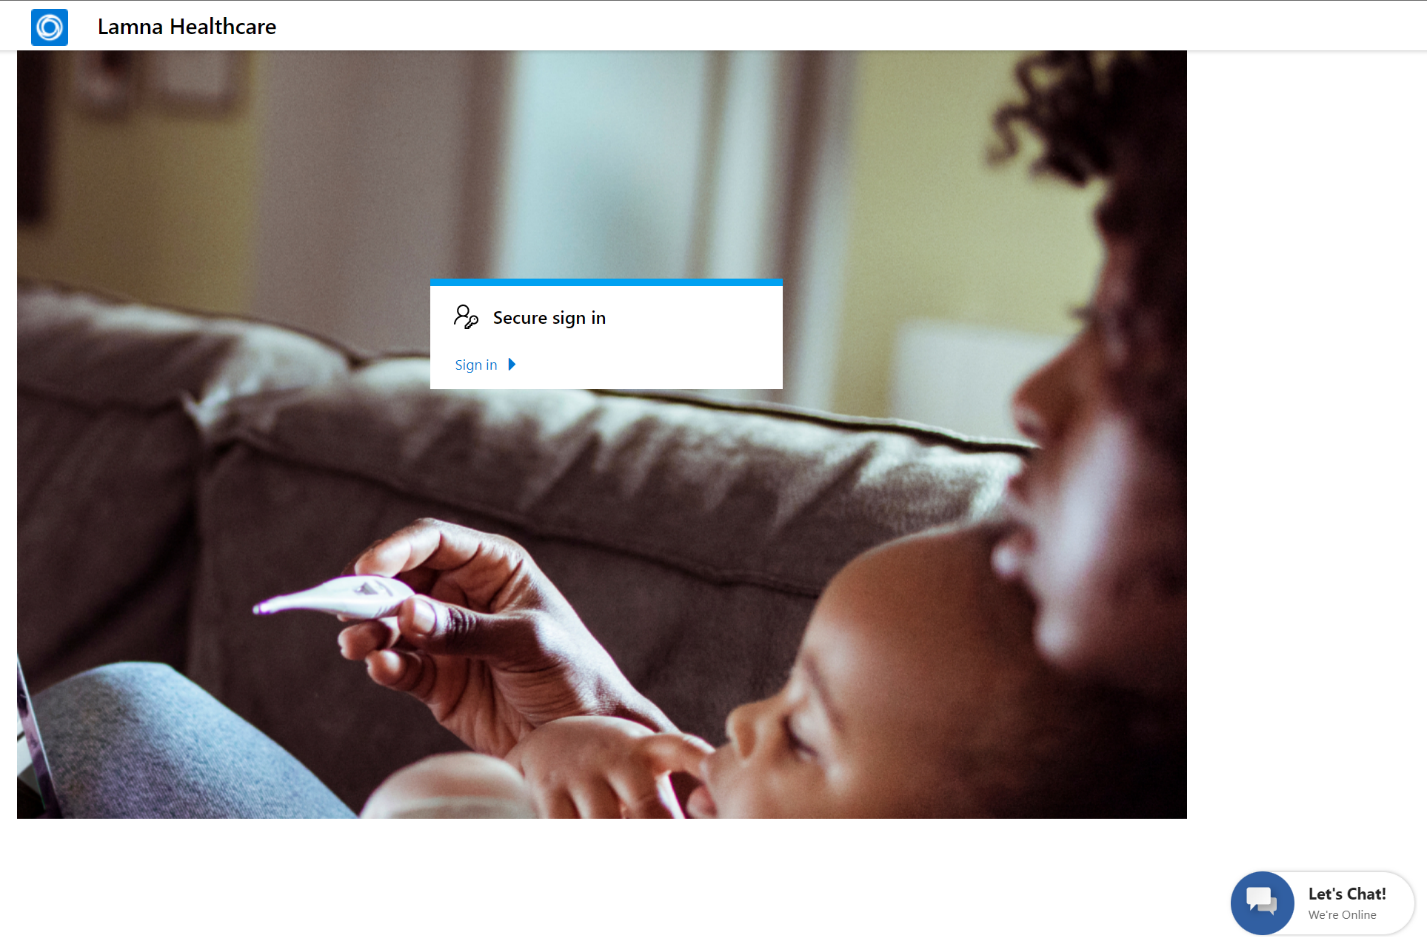
After the changes are completed syncing, select Browse website on the command bar.

The Lamna Healthcare Patient Portal should open, showing the Lamna Healthcare company name in the upper-left corner.


You now completed modifying the Lamna Healthcare Patient Portal to display the correct company name.
Task: Invite a patient to the portal
Now that the Lamna Healthcare Patient Portal is ready, you can allow Lamna Healthcare patients to create accounts.
In this task, you create an invitation code for patients to sign up and use the Lamna Healthcare Patient Portal. Additionally, you create an account for Casey Jensen, who will access the patient portal to refill medication in this lab.
Open the Healthcare Administration app in Power Apps.
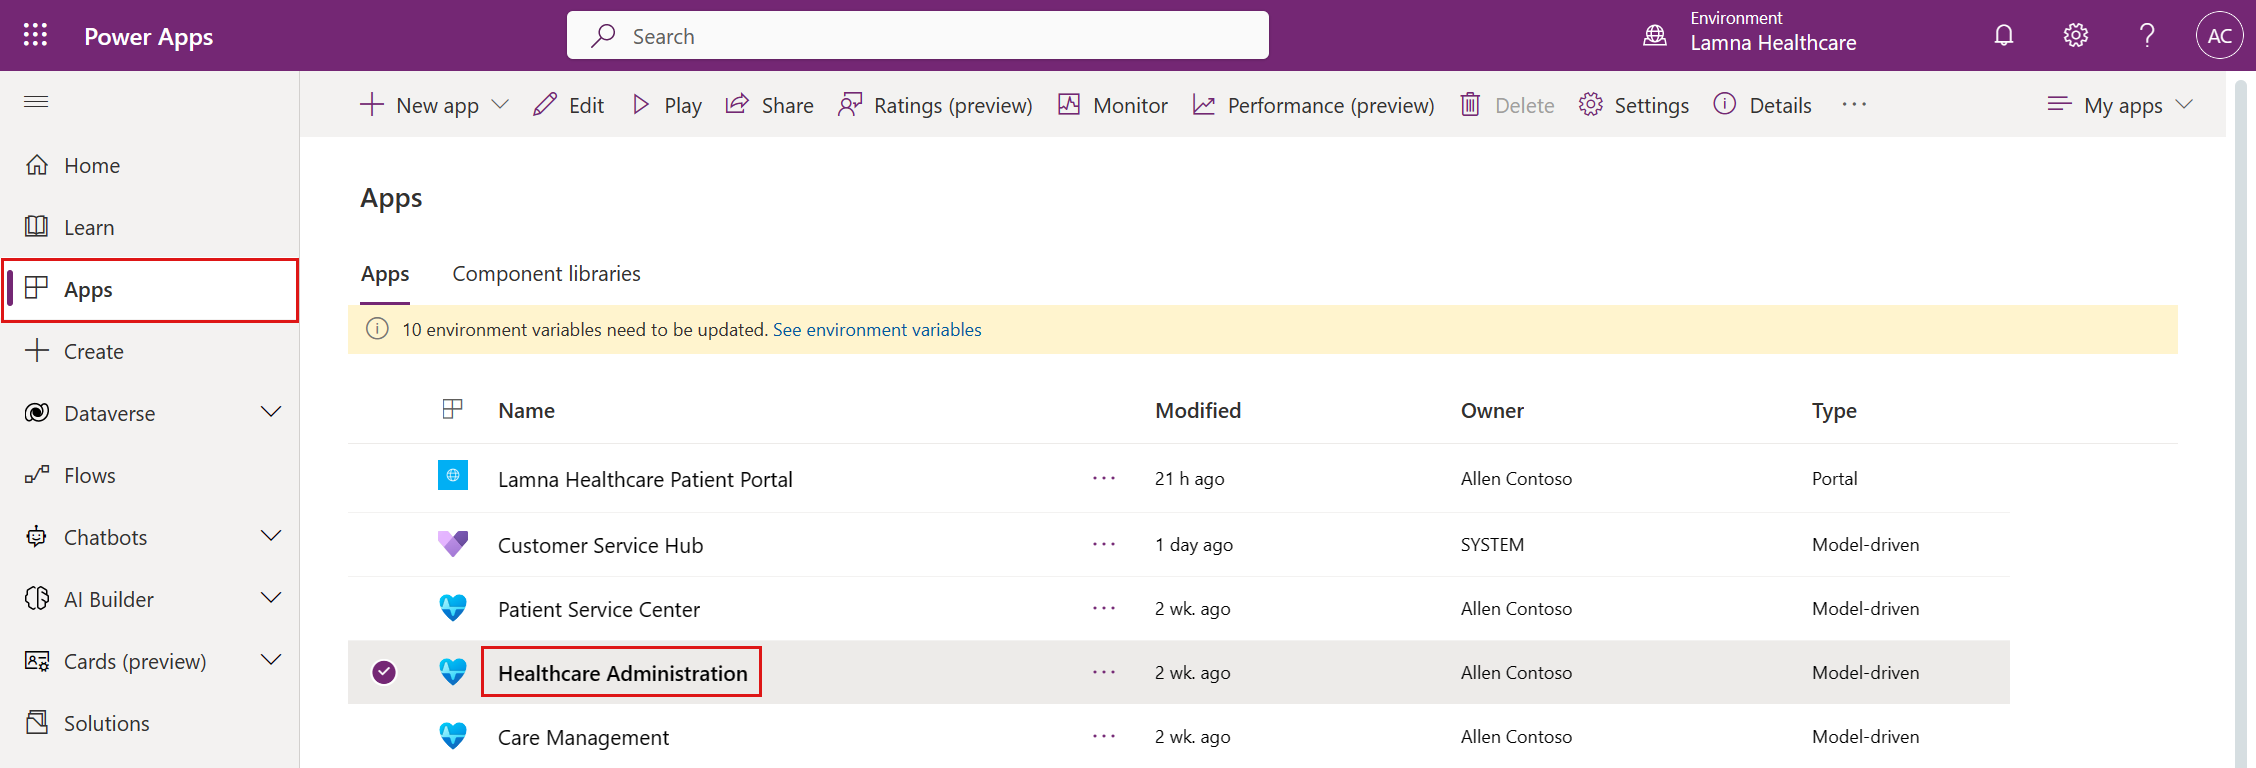
In the Lamna Healthcare environment, on the left navigation pane, under Apps, select the play button.
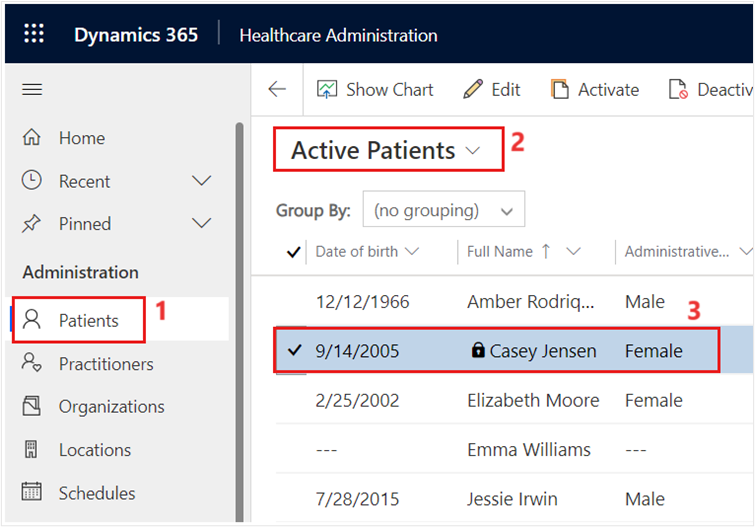
In the Administration section on the left navigation pane, select Patients, which displays the Active Patients grid view. Open the Casey Jensen patient record so that you can obtain an invitation code for Casey to use.
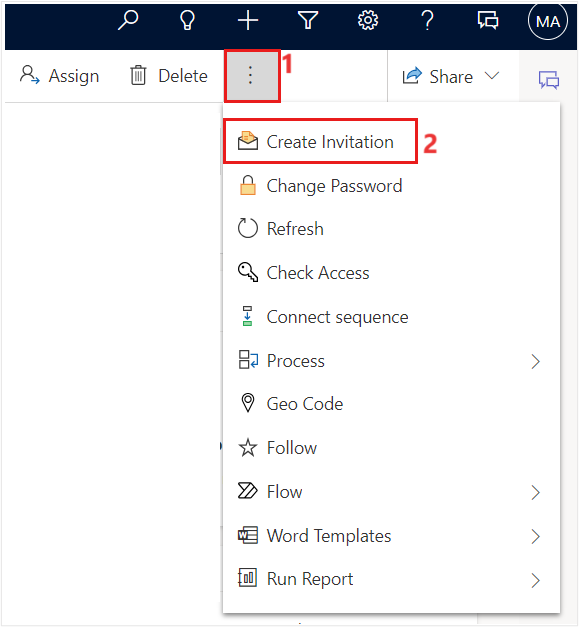
On the Casey Jensen patient record, select the vertical ellipsis (...) on the command bar and then select Create Invitation.
A New Invitation form is displayed. Don't change anything; select Save. An invitation code is created for the patient.
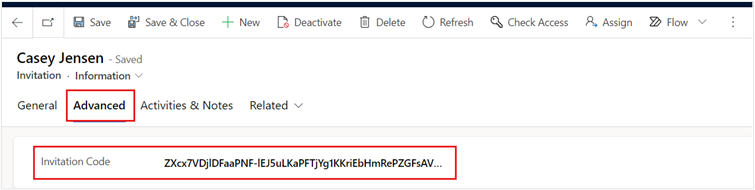
To retrieve the patient code, go to the Advanced tab on the Invitation record. Copy and store the Invitation Code for accessing the Lamna Healthcare Patient Portal in the next task.


You successfully created an invitation code for Casey to register an account in the Lamna Healthcare Patient Portal.
Task: Redeem the invitation code and sign in to Patient Portal
In this task, you transition personas and act as Casey, a patient who recently received an invitation code to the Lamna Healthcare Patient Portal. You use the code to register for the website and then navigate its features.
Return to Power Pages and open the Lamna Healthcare Patient Portal.
In the Lamna Healthcare Patient Portal, select Sign in.
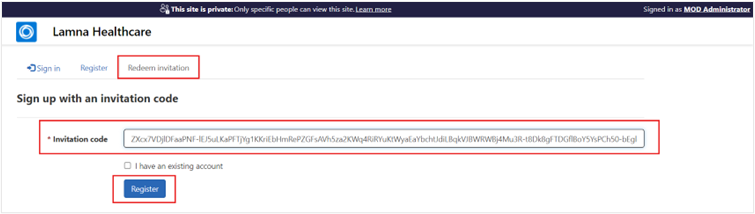
After the sign-in page loads, select the Redeem invitation tab.
Paste the invitation code that you stored for Casey Jensen. Select Register.
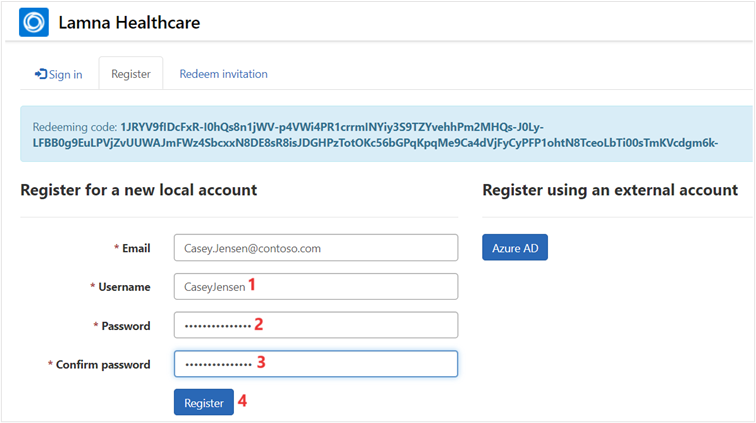
Register a new local account for Casey Jensen with the following recommended details:
Email - Casey.Jensen@contoso.com (should autofill)
Username - CaseyJensen
Password - Make up your own. Note the password to use for sign-in later.
Select Register and then you should be signed in to the Lamna Healthcare Patient Portal.


You successfully redeemed an invitation to register an account for Casey Jensen and you also signed in.
Task: Navigate the Patient Access portal
In this task, you continue as Casey and navigate the features of the Lamna Healthcare Patient Portal.
You should be directed to the Lamna Healthcare Patient Portal home page. If not, select the logo in the upper-left corner to go to the home page anytime.
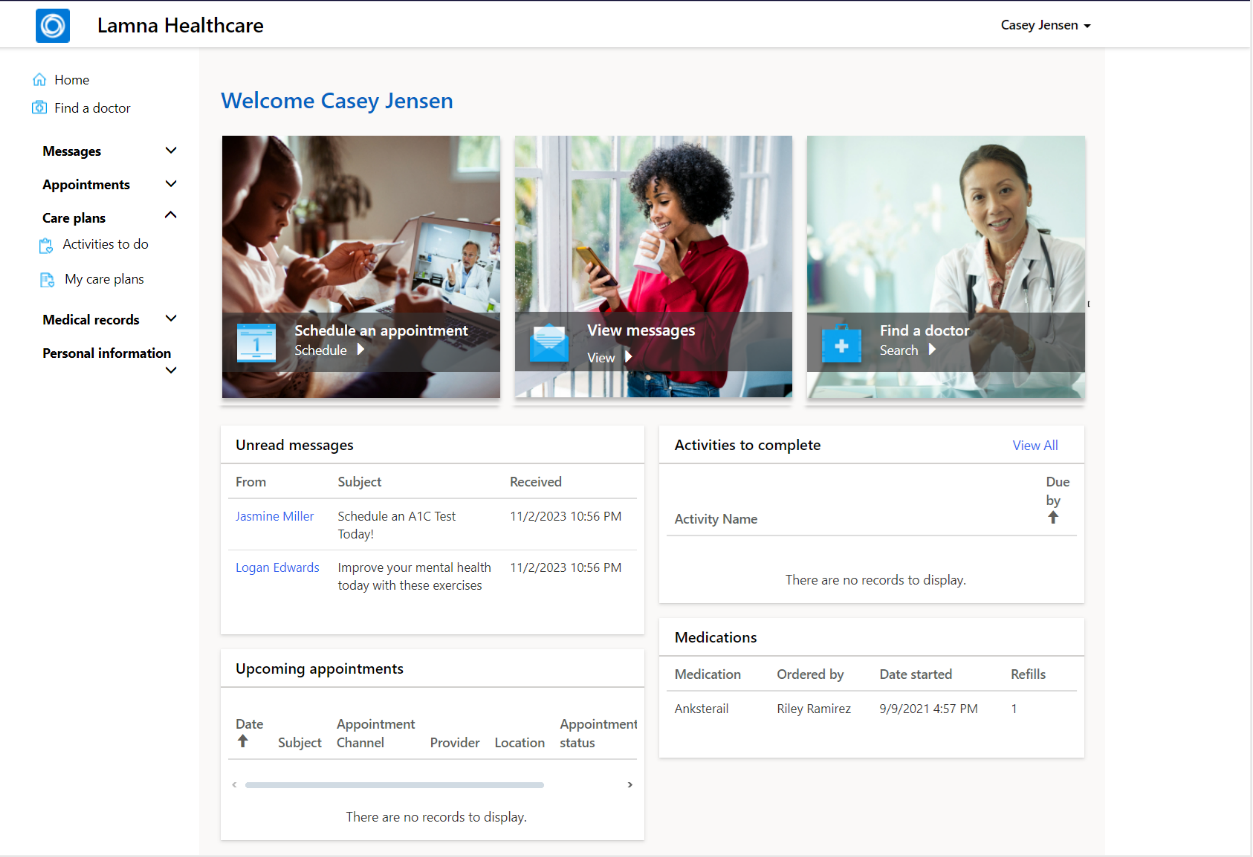
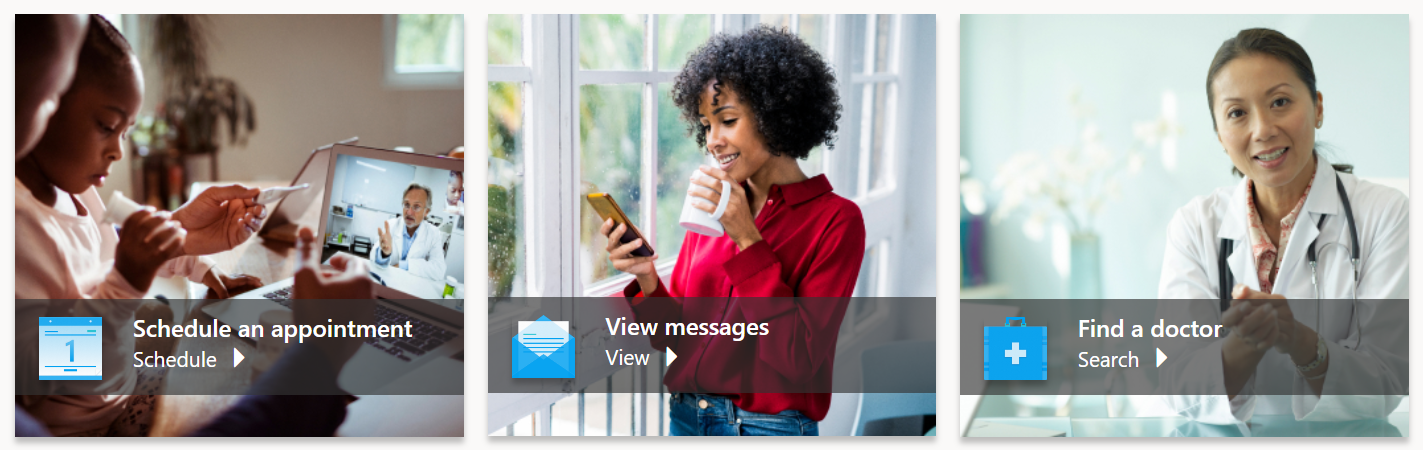
The center of the home page shows shortcuts to Schedule an appointment, View messages, or Find a doctor.
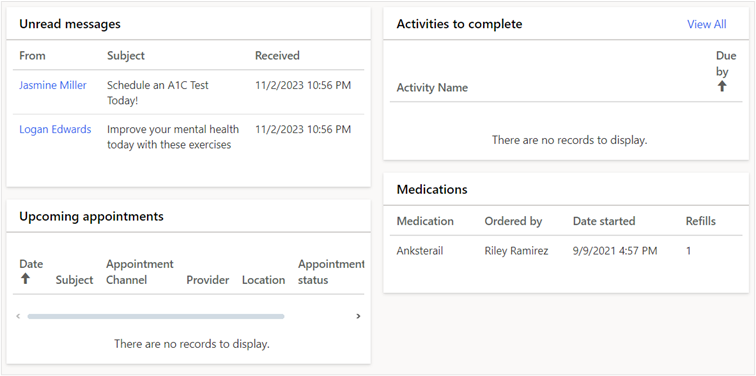
Under the shortcuts, a section shows current patient information, including Unread messages, Upcoming appointments, and Medications.
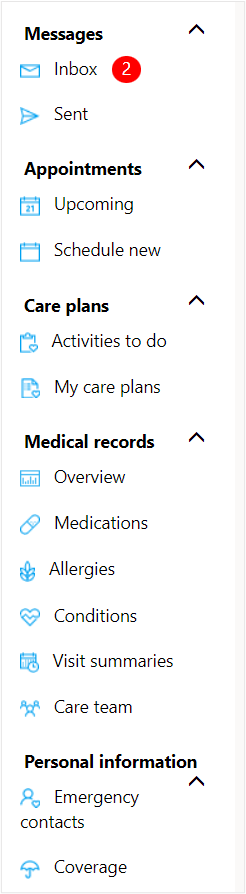
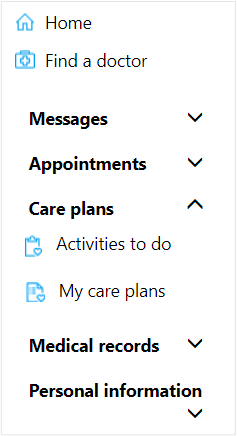
The left navigation pane contains all available options for navigation in the Lamna Healthcare Patient Portal. Select each option to discover what's available and to view each associated screen.
Select Home to return to the home page.
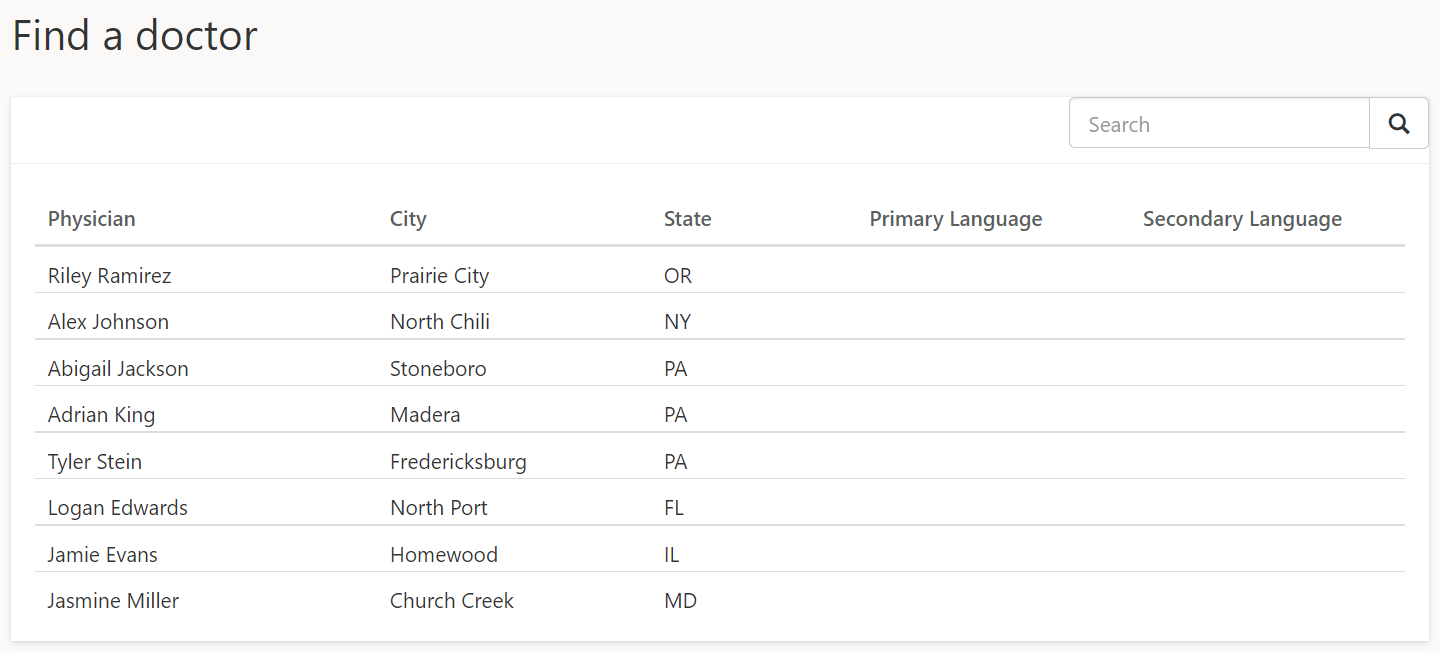
Select Find a doctor to view a list of practitioners with associated information.
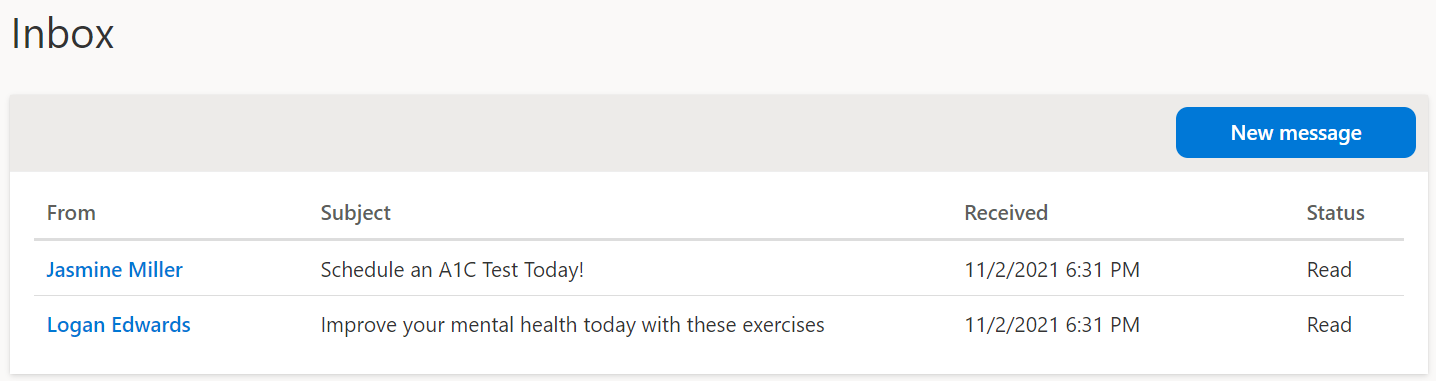
Selecting Messages allows for a more secure method to send and receive messages to healthcare professionals. Expand Messages on the navigation bar to view the Inbox and Sent messages.
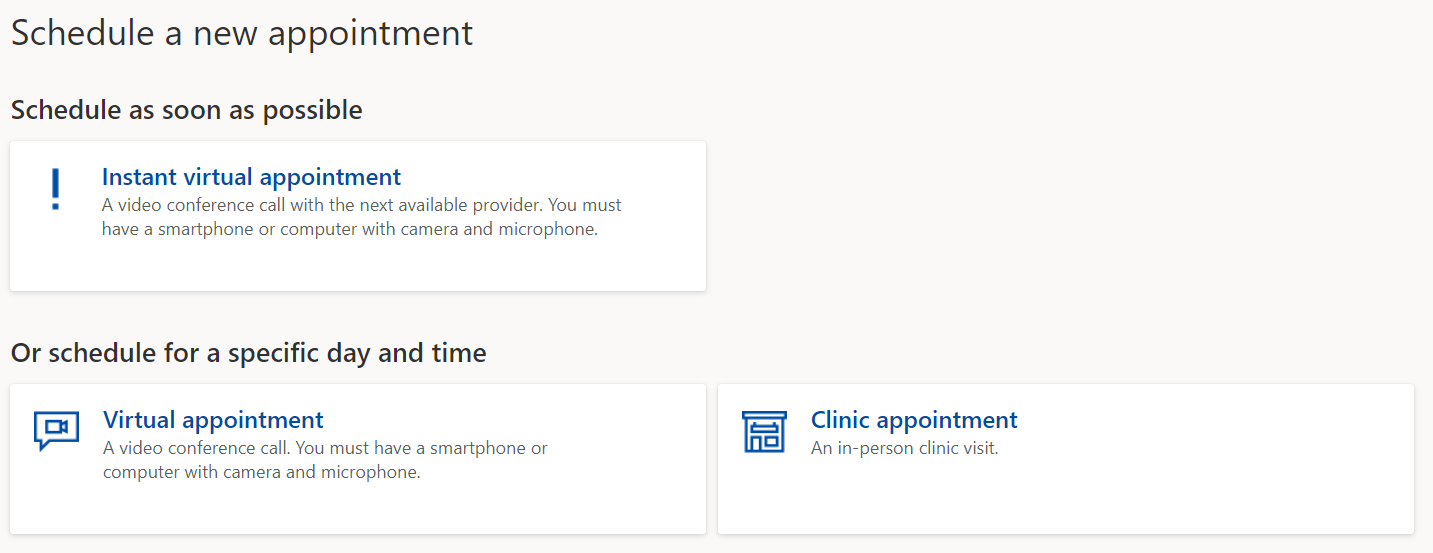
Expand Appointments to check upcoming appointments and to schedule new appointments. Scheduling new appointments allows for clinic or virtual appointments, including instant virtual appointments. The Schedule a virtual visit exercise goes through the process of booking an instant virtual appointment.
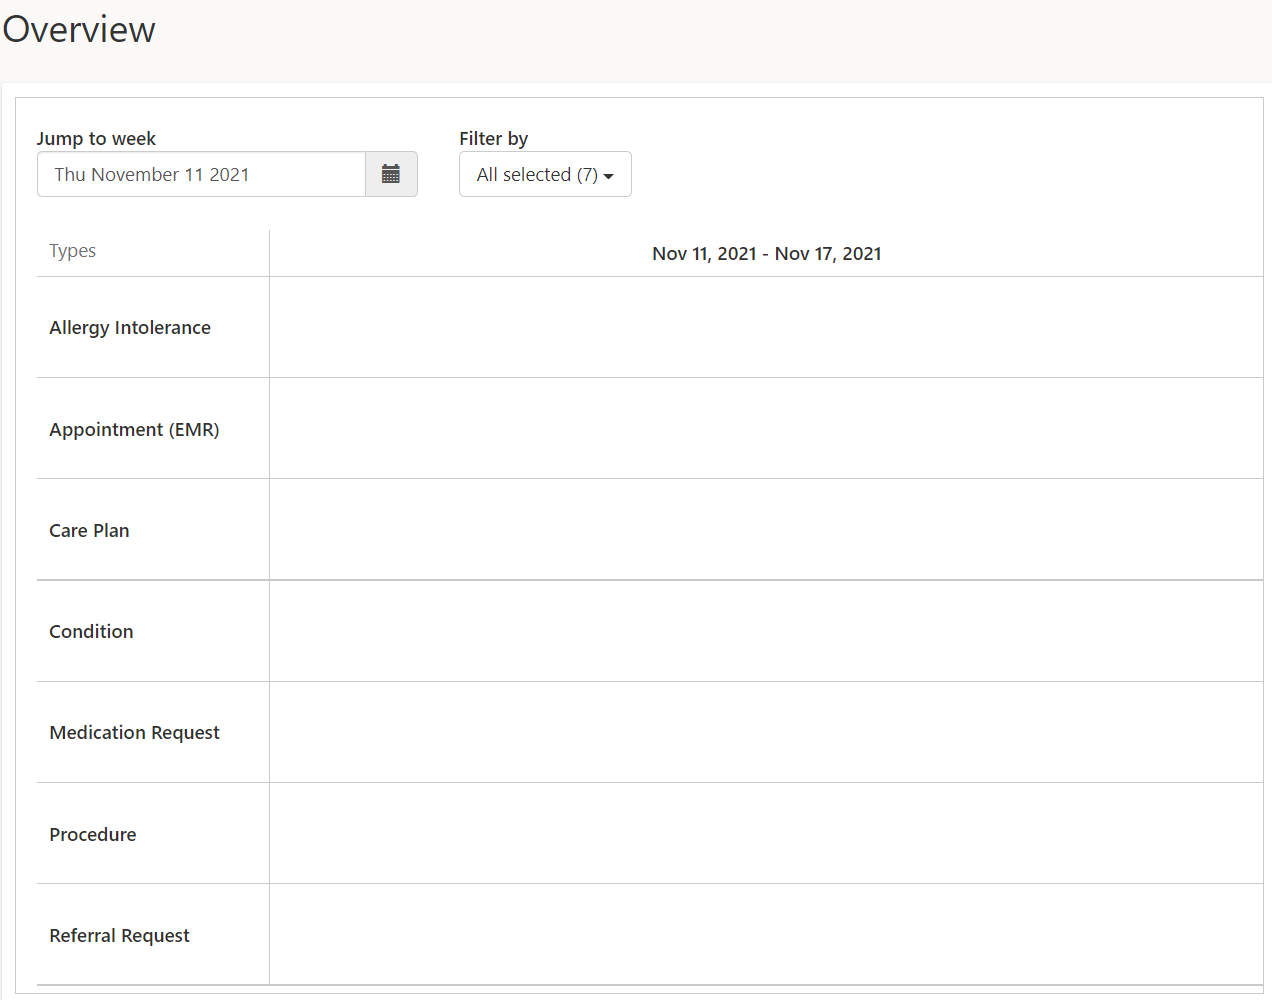
Expand the Medical records section in the Overview section, review the medical records, including medications, allergies, conditions, visit summaries, care plans, and care team. You can view a full overview and filter by date and type.
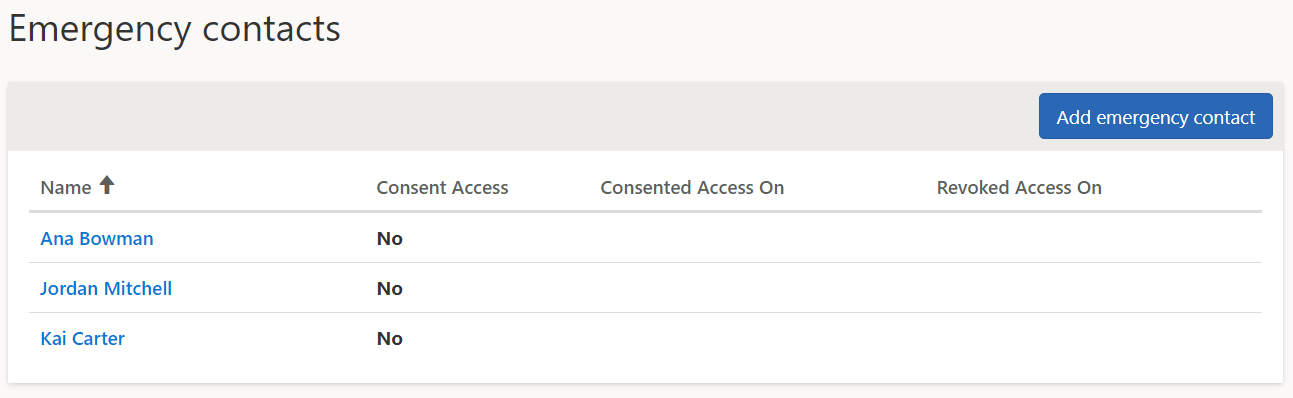
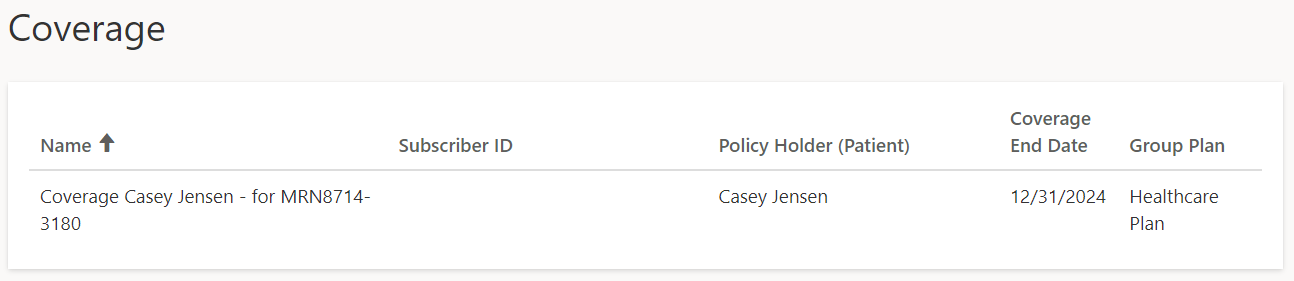
In the Personal information section, review the emergency contacts and insurance coverages.
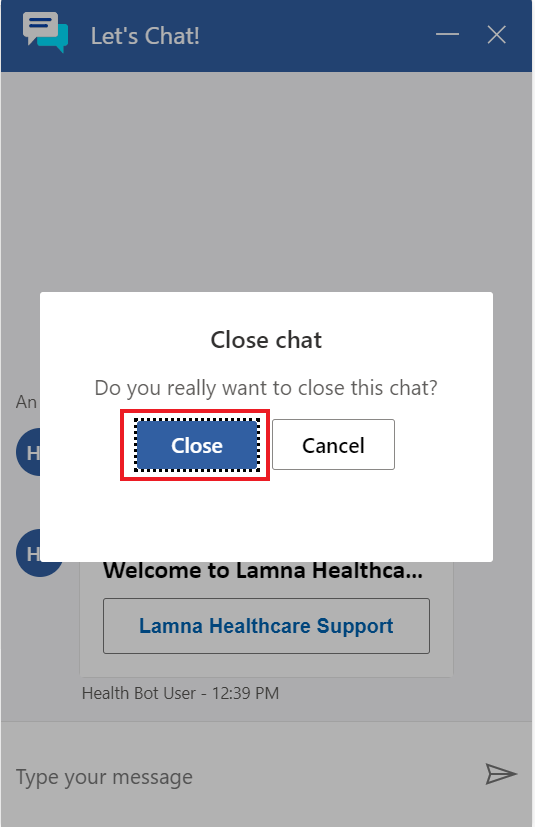
Locate the Azure Health Bot icon in the lower-right corner of the screen. You can start a conversation by selecting the Let's Chat button to open the virtual assistant.

In the final exercise, you have a full conversation with the bot; for now, you can select Close and then continue with this exercise.
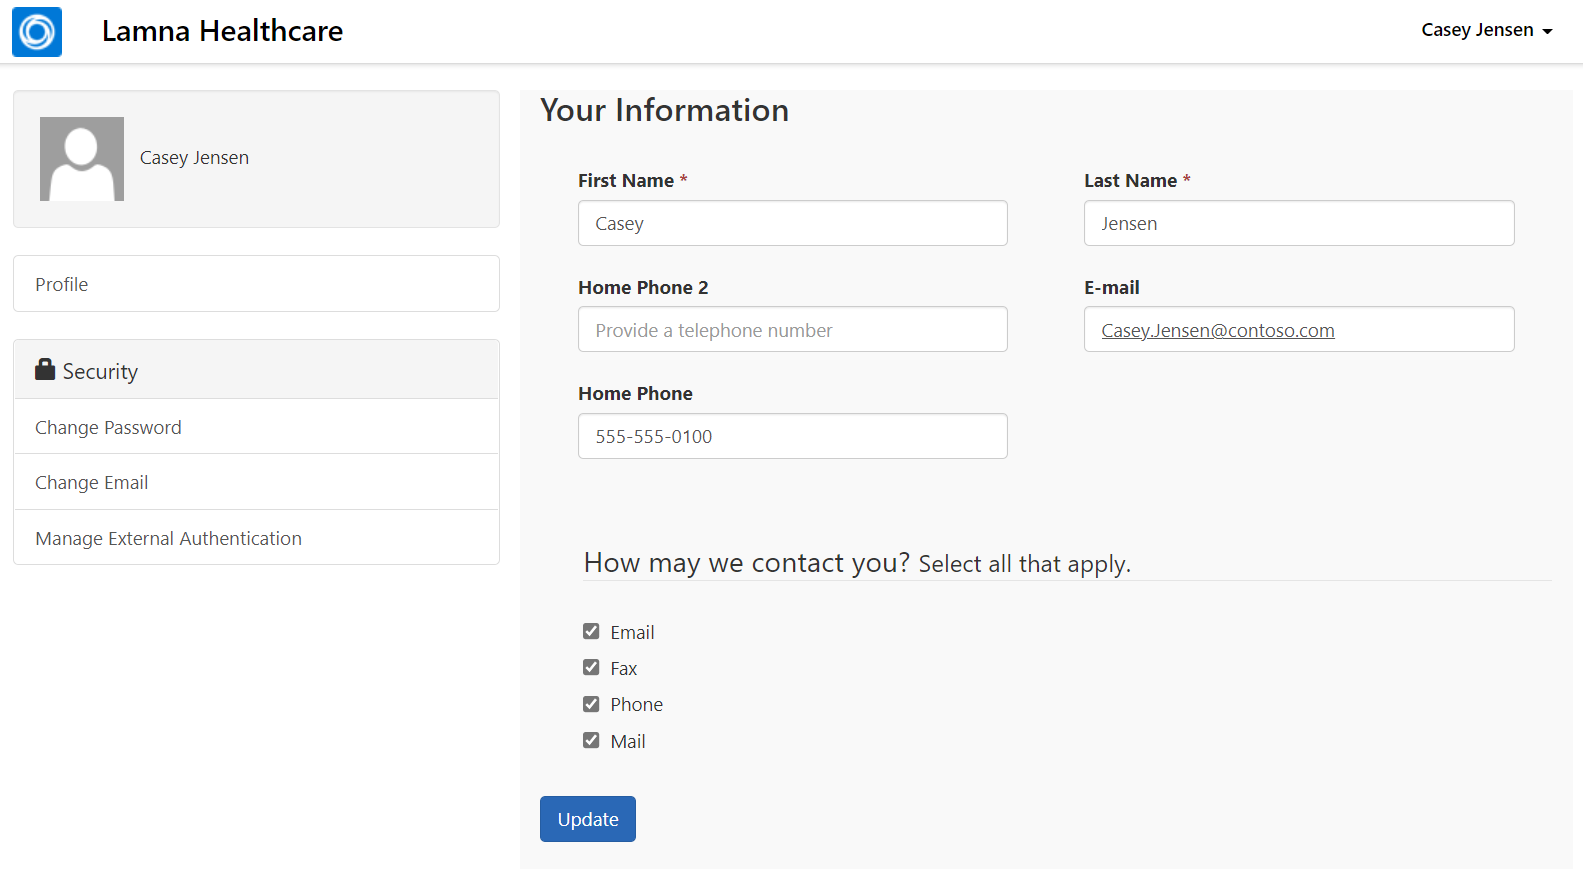
Access the patient profile page by selecting the patient's name in the dropdown menu in the upper-right corner and then selecting Profile.
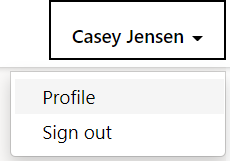
On the patient profile page, you can customize the patient profile as needed. For now, keep it the same.
Sign out of the Lamna Healthcare Patient Portal by selecting the patient's name in the dropdown menu in the upper-right corner and then selecting Sign out.
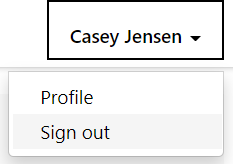
You should be redirected to the sign-in page.


Task - Update the care plan activities in the Patient portal
On the home page, in the left navigation pane, under Care plans, select Activities to do.
On Activities to do page, select the Overdue tab. You view a list of tasks that are overdue and require to be completed.
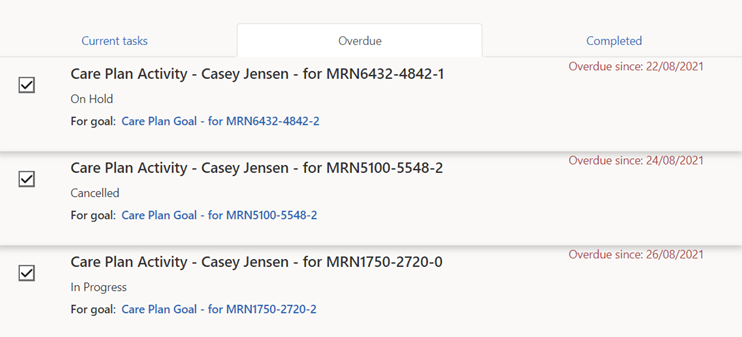
Select the checkbox for these overdue tasks. The confirmation message appears that the tasks are marked as completed.


You now navigated the Lamna Healthcare Patient Portal to discover the information and communication that are available to the patient.
In this exercise, you completed the following tasks of:
Setting up the Patient Access portal to display as the Healthcare Patient Portal template.
Modifying the portal to display the company name.
Inviting a patient to register for the website.
Navigating the Healthcare Patient Portal features.
Updating the care plan activities as completed.