Configure GitHub Projects
Create a project
To start working with GitHub Projects, you first need to create an organization or user project.
To create an organization project:
- On GitHub, navigate to the main page of your organization.
- Click Projects.
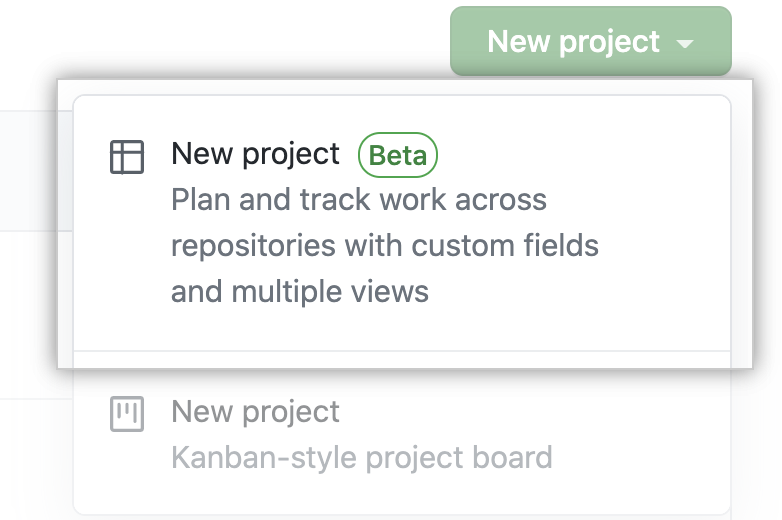
- Select the New project drop-down menu and click New project.
To create a user project:
- On any GitHub page, click on your avatar, then select Your projects.
- Select the New project drop-down menu and click New project.
Create a project description or a README file:
- Navigate to your project.
- In the top-right, click to open the menu.
- In the menu, click Settings.
- Under Add a description, type your description in the text box and click Save.
- To update your project's README, type your content in the text box under README.
- Click Save.
Adding issues
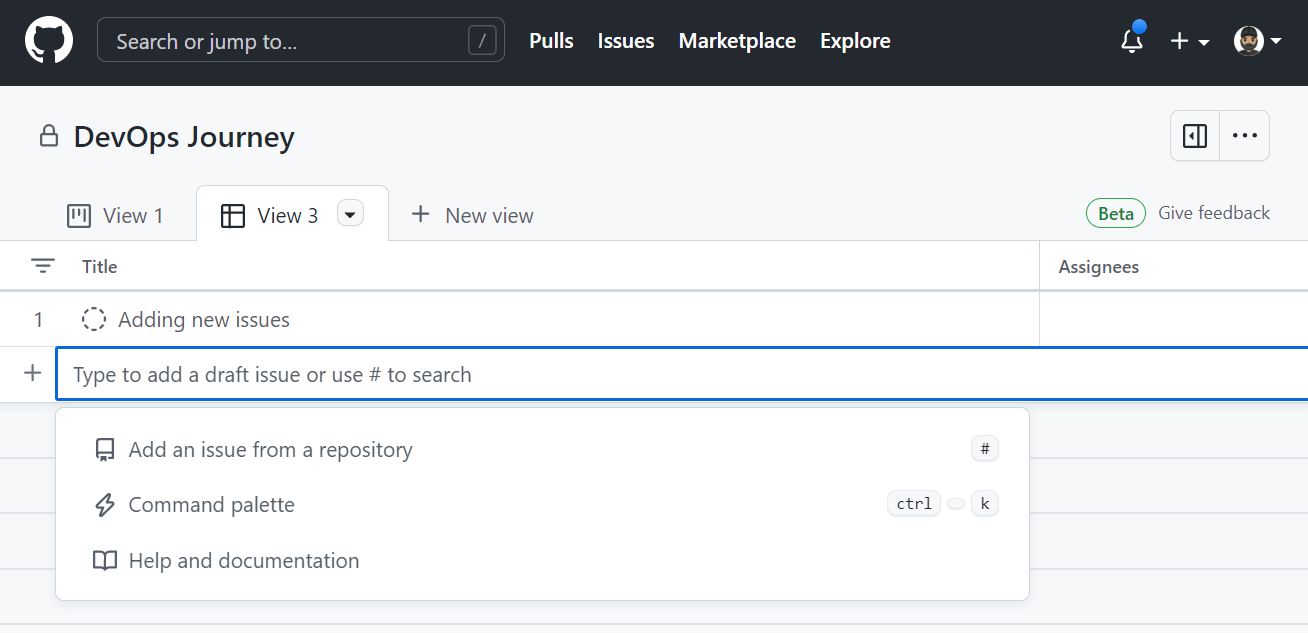
When your new project initializes, it prompts you to add items.
Click on the plus (+) sign to add more issues.
Project settings and permissions
You can view and make quick changes to your project description and README by navigating to your project and clicking on the top right.
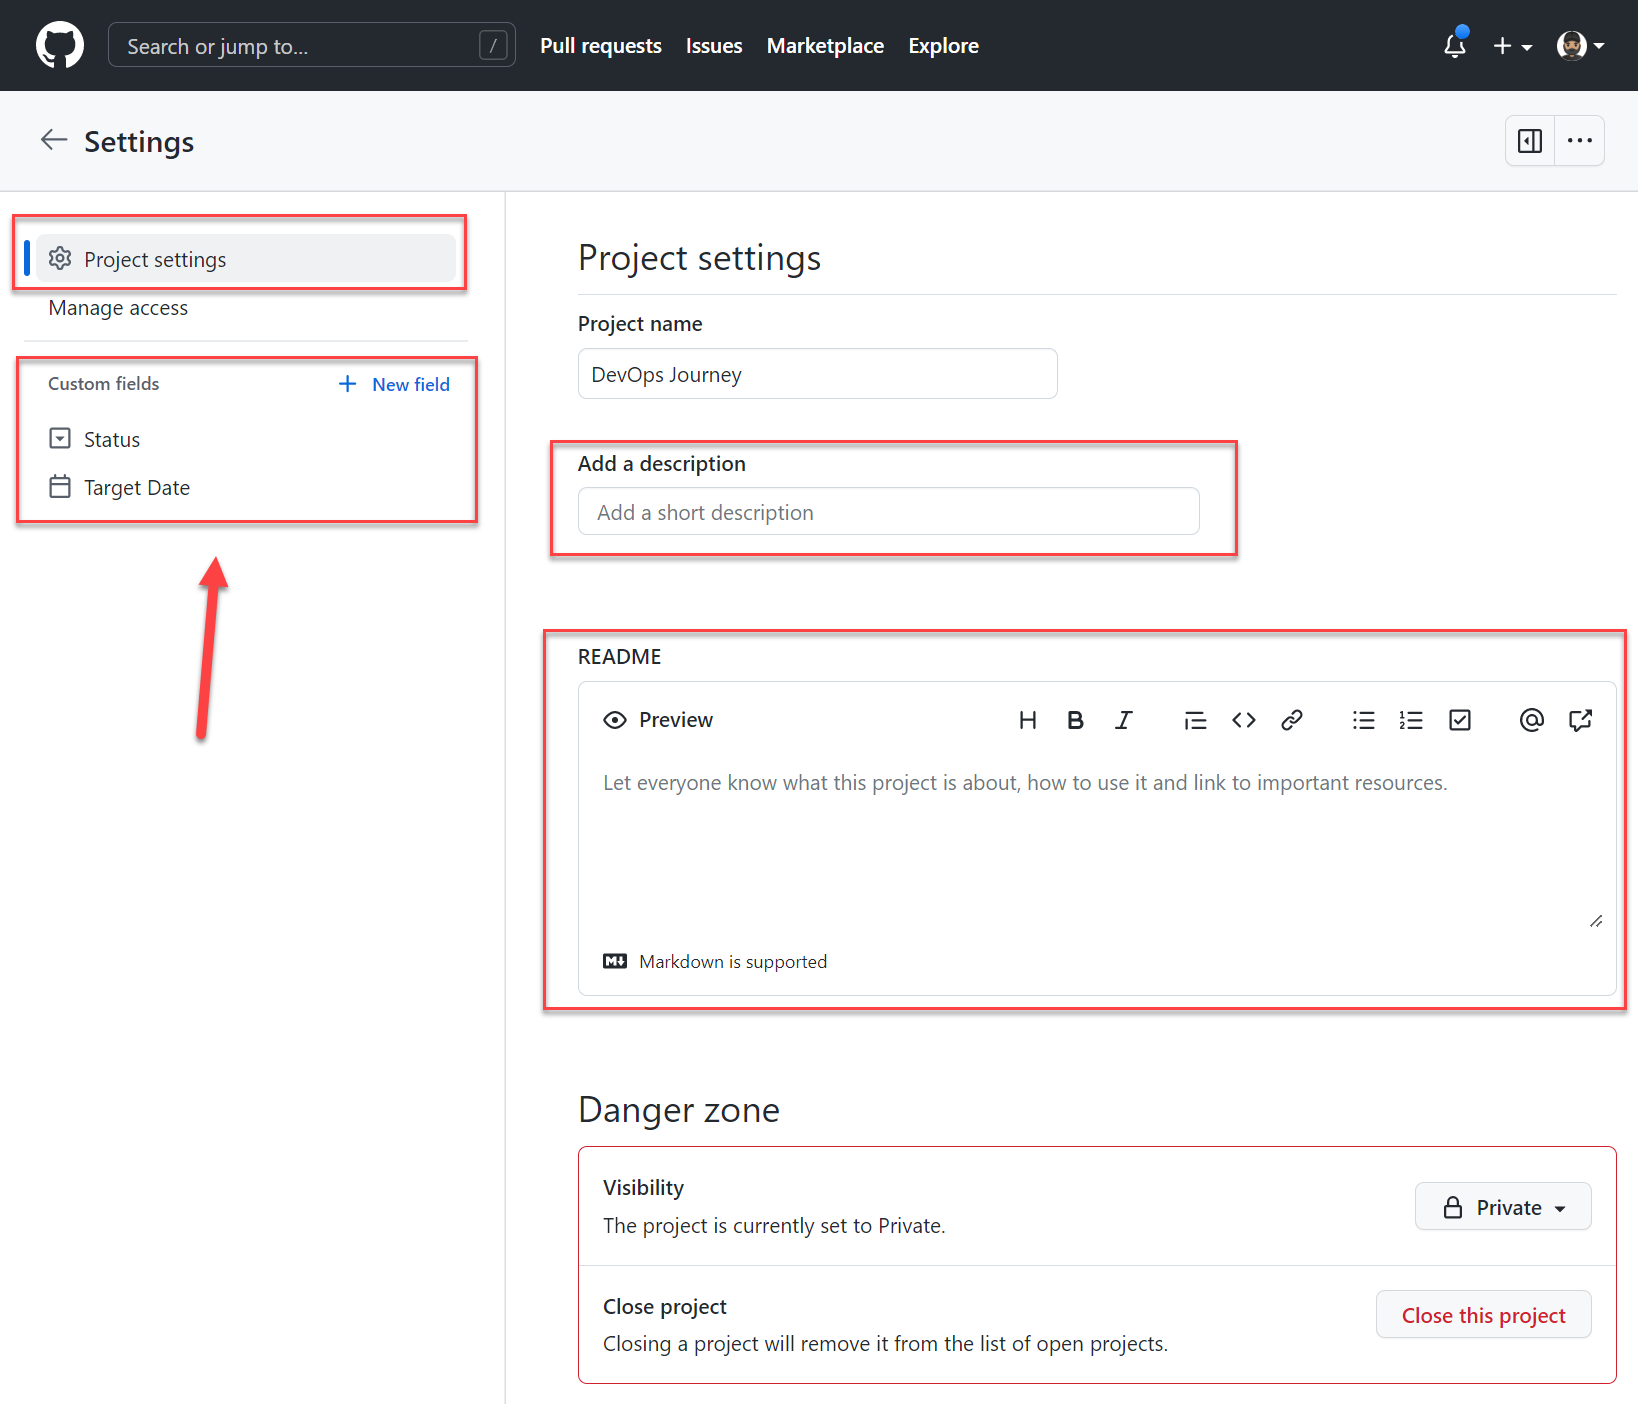
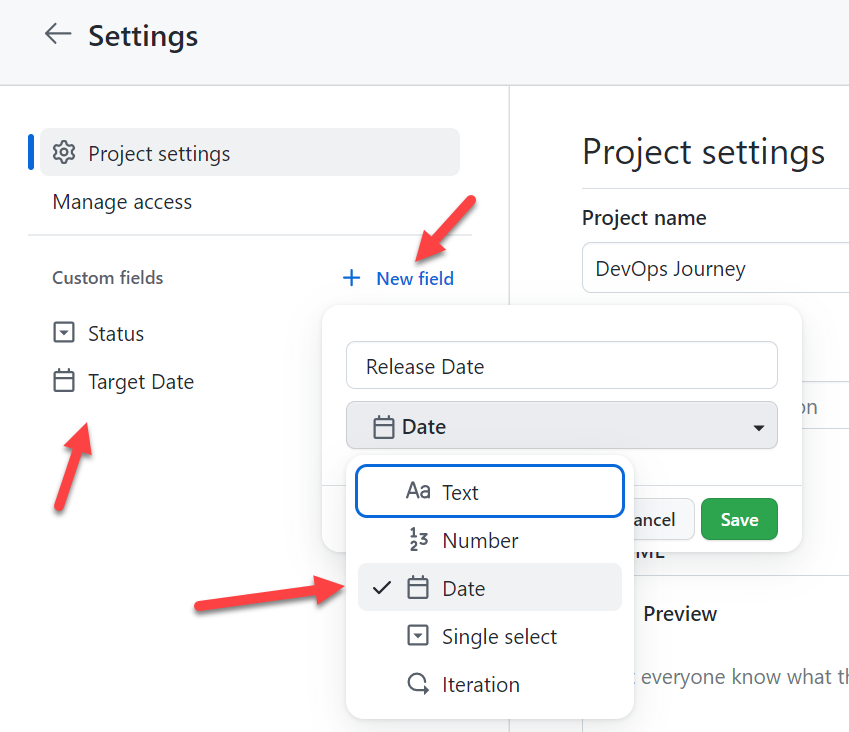
You can create custom fields to add to your project.
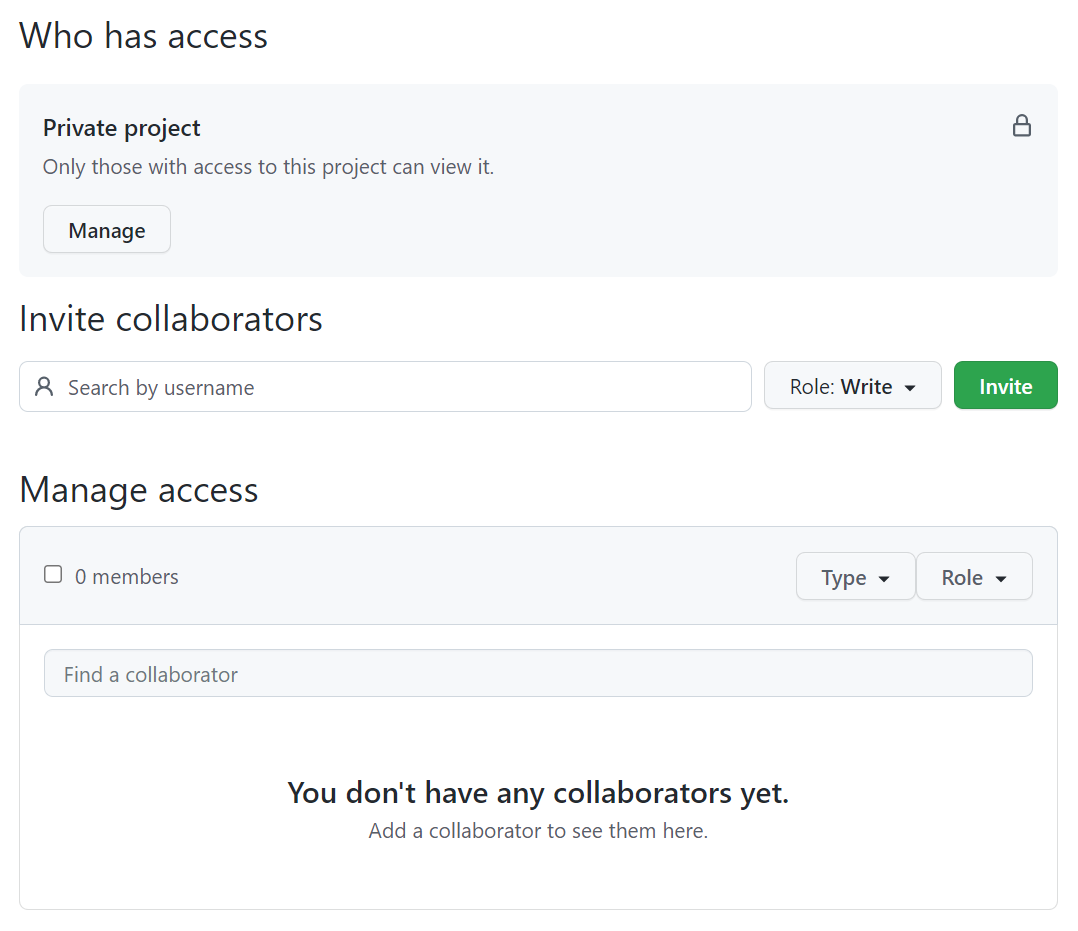
Manage access and permissions by adding collaborators.
For more information about Projects, see: