Plan for network deployment using Network Planner
Network Planner is designed to assist the admin to determine and organize network requirements for connecting Microsoft Teams users across the whole organization. You can access the tool by going to Microsoft Teams admin center > Planning > Network planner. After providing network details and Teams usage, the Network Planner calculates the network requirements for deploying Teams and cloud voice across the organization’s physical locations.

With Network Planner you can:
Create representations of your organization using sites and Microsoft recommended personas (office workers, remote workers, and Teams room system devices)
Generate reports and calculate bandwidth requirements for Teams usage
To use the Network Planner, you must have one of the following roles:
Global administrator
Teams administrator
Teams communication administrator
Create a custom persona
To create a custom persona in your network plan, do the following steps:
Sign into Microsoft Teams admin center.
Navigate to Planning > Network Planner.
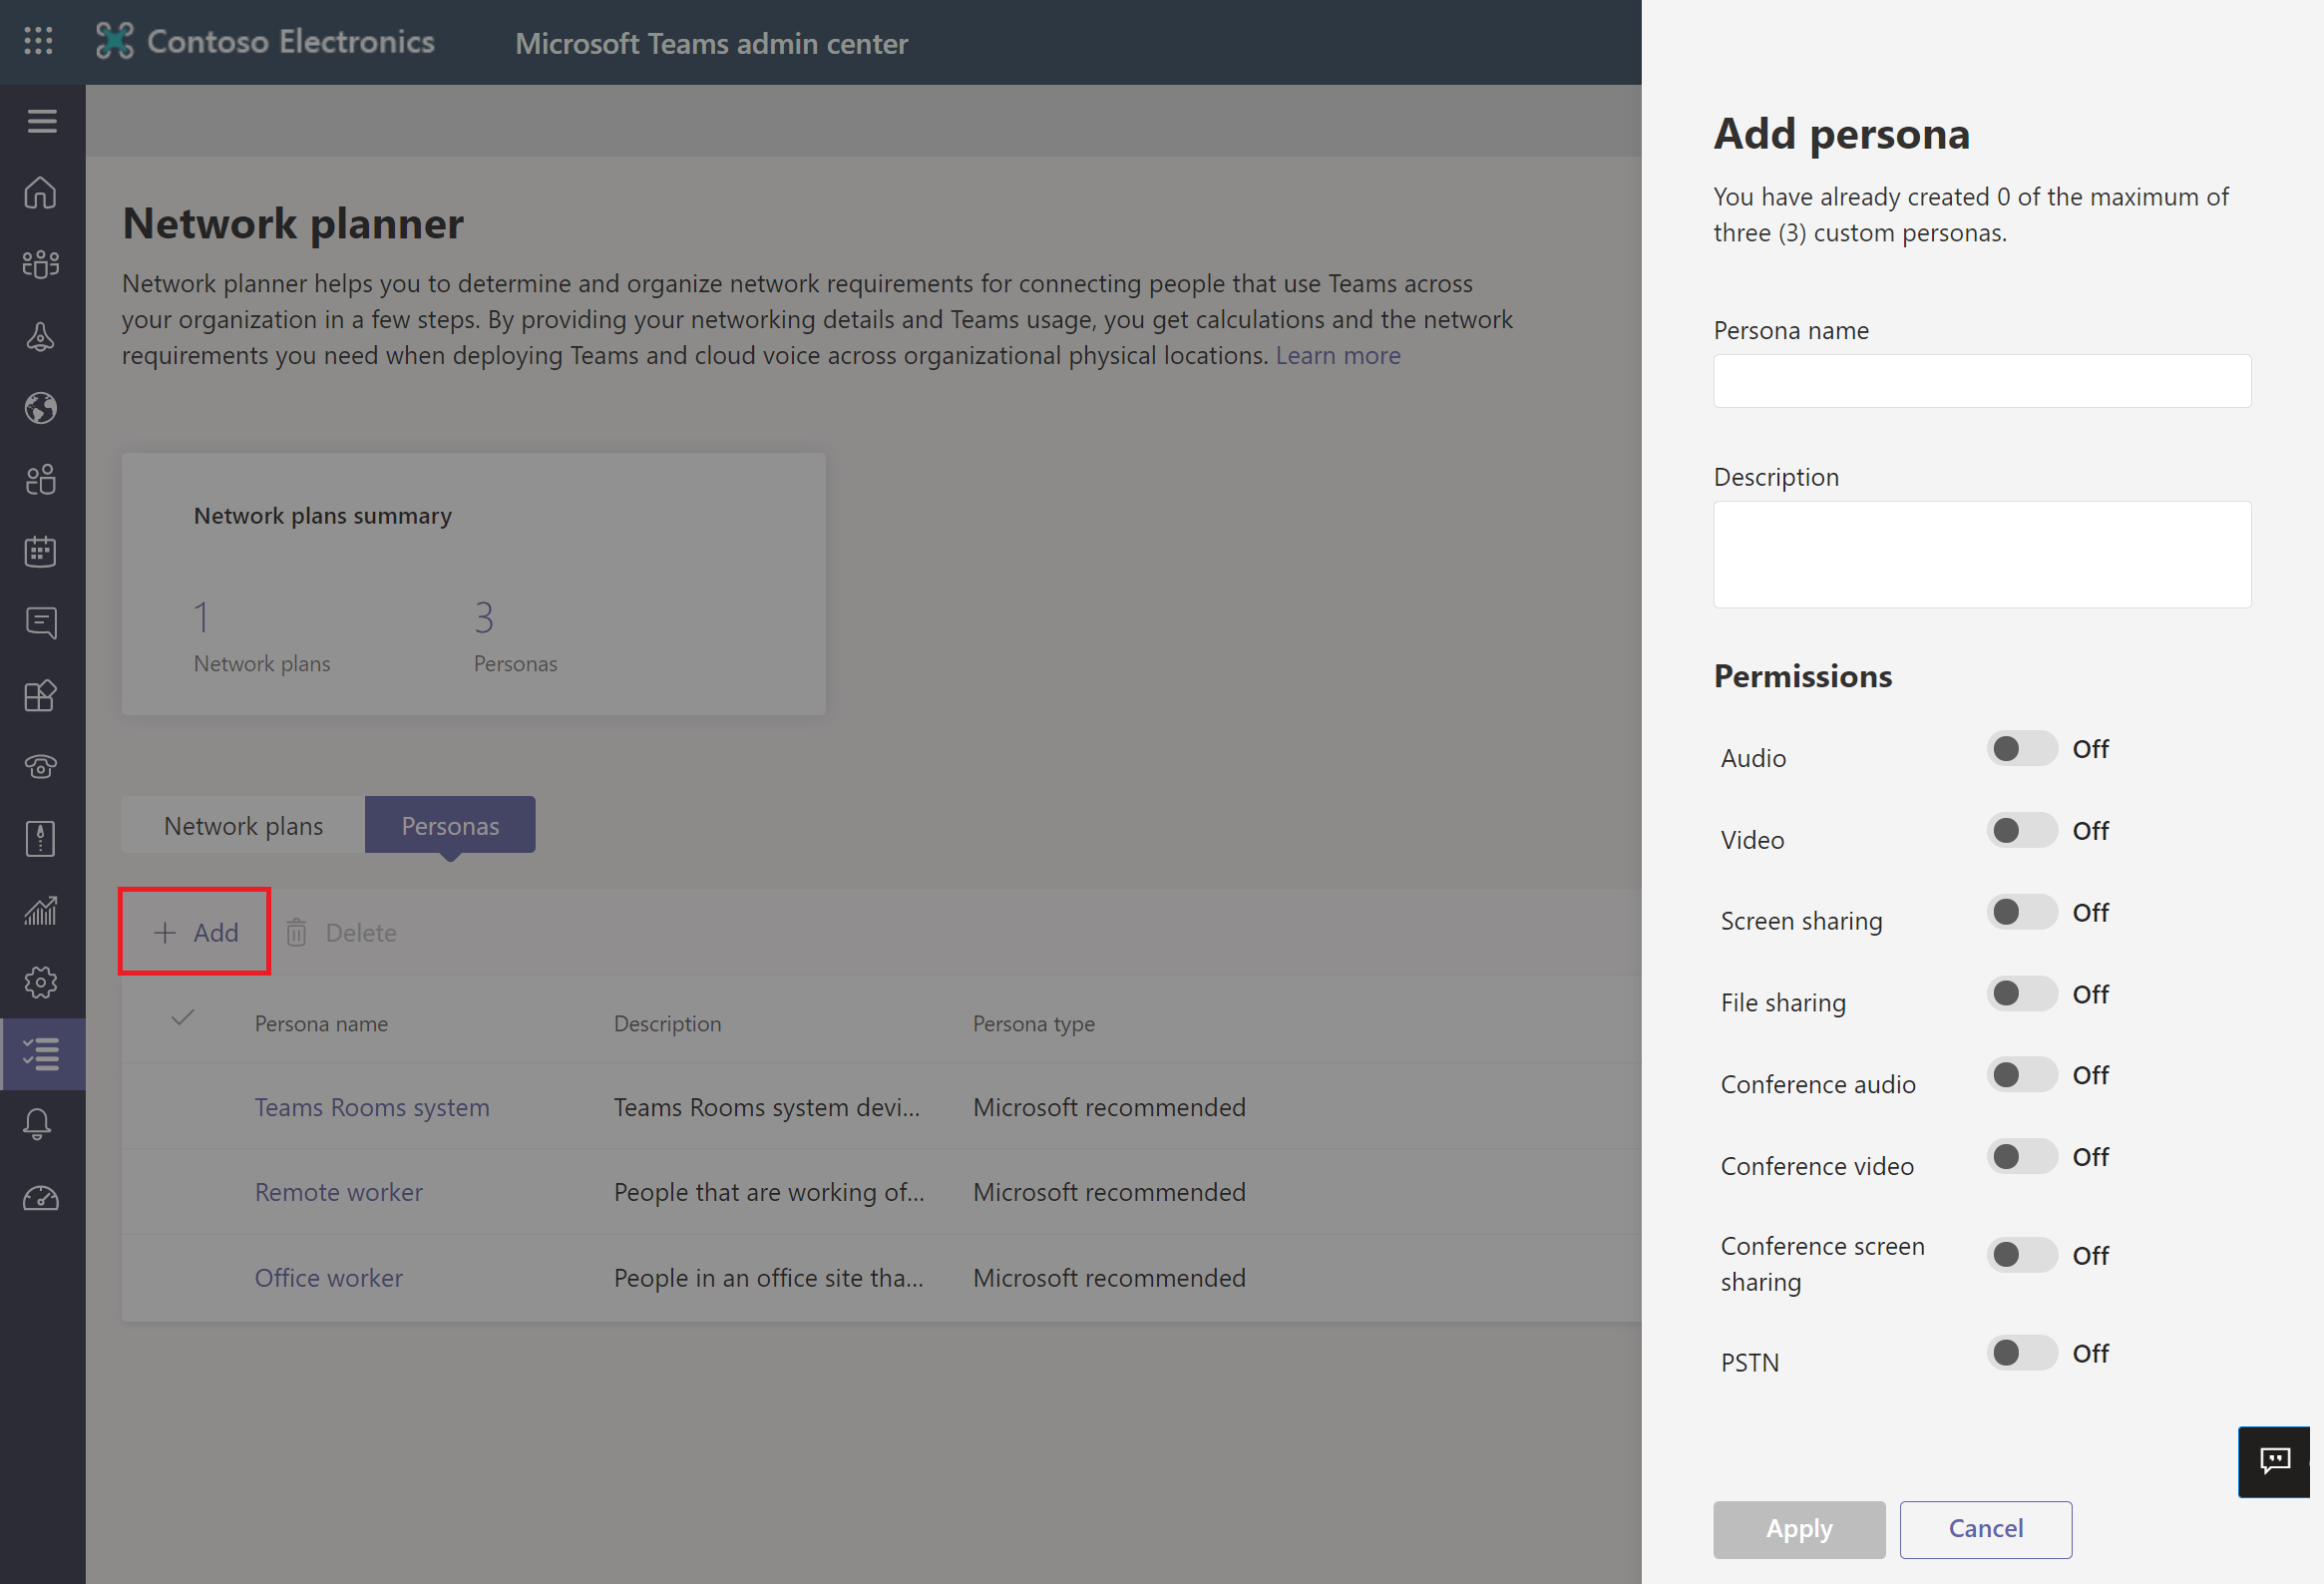
On the Network Planner page, select the Personas section, review the default personas, and then select + Add if you’d like to add a custom persona.
On the Add persona page, provide the persona name and description. Under the Permissions section, choose from the following services: Audio, Video, Screen sharing, File sharing, Conference audio, Conference video, Conference screen sharing, and PSTN.
Select Apply.

Build your plan
To build your network plan, do the following steps:
Sign into Microsoft Teams admin center.
Navigate to Planning > Network Planner.
On the Network Planner page, under Network Plans section, select Add.
On the Network Plan name page, enter the name for the network plan (for example NY Teams network plan), a description, and select Apply.
The newly created network plan will appear under the Network Plans section. Select the plan you created.
On the plan page, for example NY Teams network plan, under Network Sites section, select Add a network site.
On the Add a network site page, enter the following information, and then select Save.
Name of the network site
Network site address
Network settings – IP address subnet and network range
Express route or WAN connection
Internet egress
Internet link capacity
PSTN egress (VoIP only or local)
Optional description
Create a report
To create a report based on your network plan, do the following steps:
Sign into Microsoft Teams admin center.
From the left navigation pane, select Planning, and then select Network Planner.
On the Network Planner page, under Network Plans section, select your network plan (for example, NY Teams network plan).
On the plan page, select Report, and then select Start a report.
On the Add report page, enter the report name, and in the Calculation section, choose the type of persona, such as Office Worker or Remote Worker and the number of each persona types.
Select Generate report.
On the report page, review the report including Type of service and required bandwidth for different services, such as Audio, Video, Screen share, Office 365 server traffic, and PSTN.
