Exercise - Add a data source to the canvas app and design functional pages
In Power Apps, you can connect your data with an already existing application or to an application that you're building from scratch. Your app can connect to SharePoint, Microsoft Dataverse, Salesforce, OneDrive, or any other data source.
We'll be using SharePoint as our primary data source for this application. You can connect to the SharePoint site to automatically generate an app from a custom list, create a connection before adding data to an existing app, or build an app from scratch.
Create a SharePoint site
Sign in to the SharePoint portal with your Microsoft organization credentials.
Select + Create site on the SharePoint start page to create the SharePoint site.
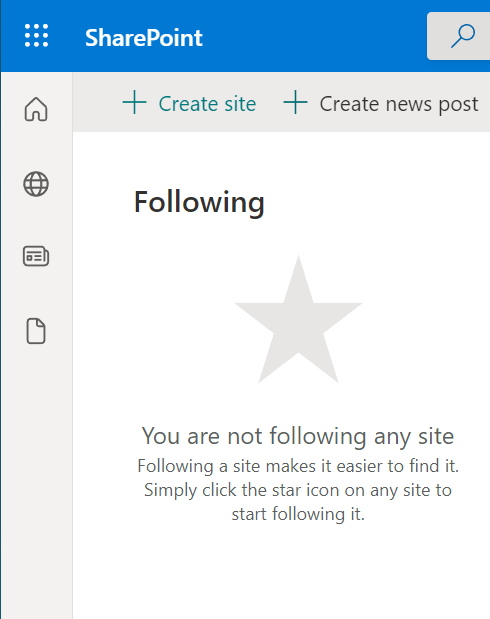
On the SharePoint start page, you'll find the following information:
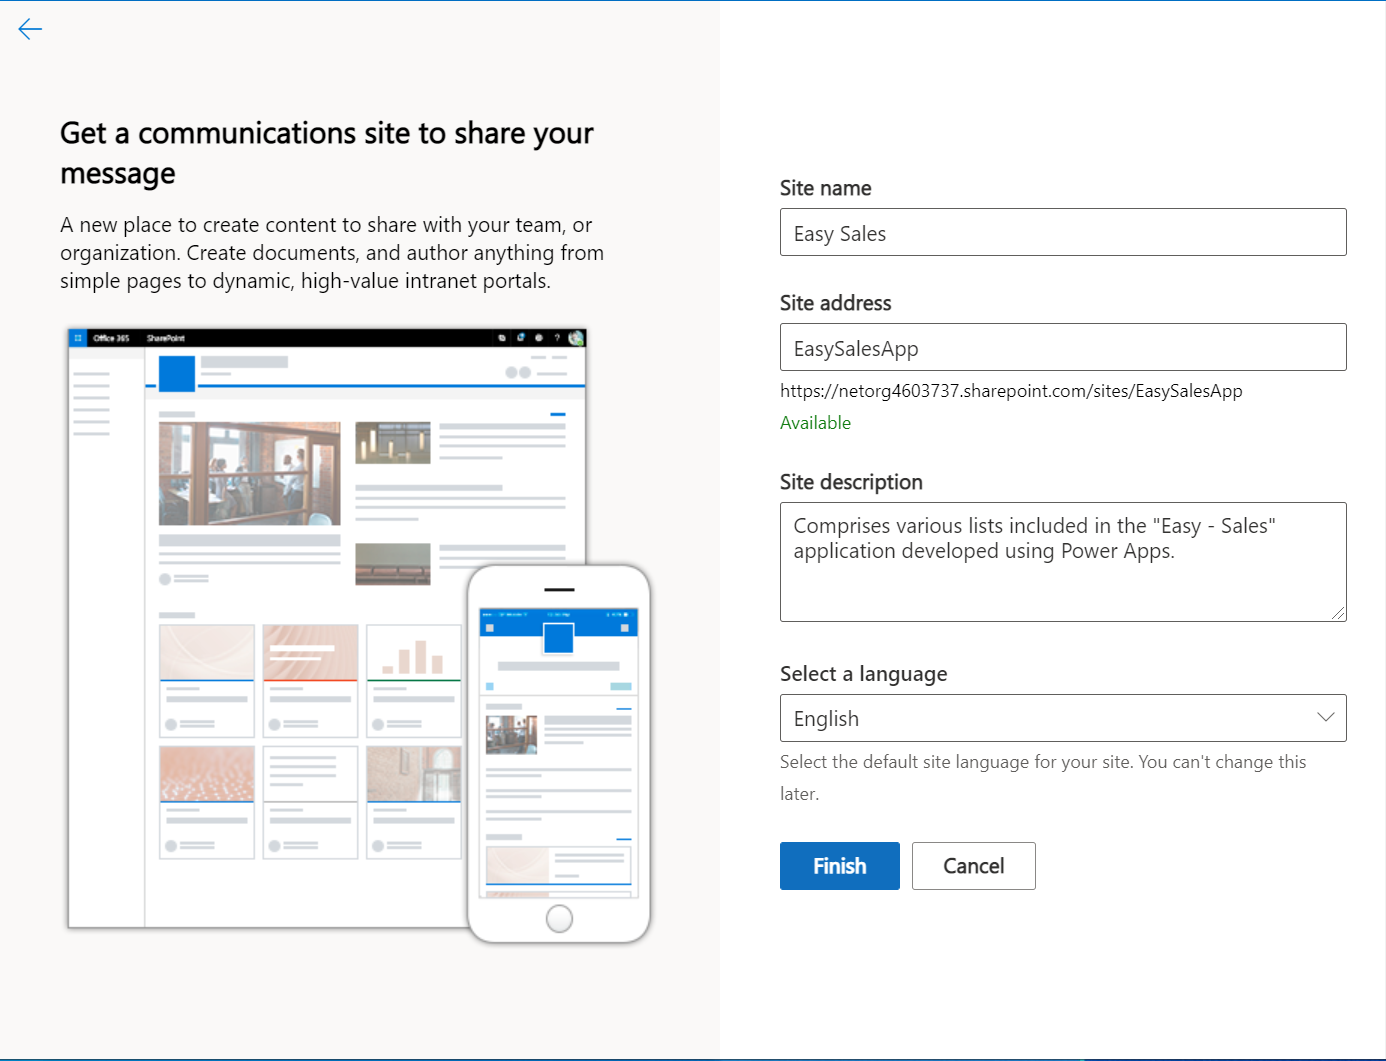
Choose the site type; the choice is Communication site or Team site. Select Communication site.
Enter a suitable name for the site; for example, Easy Sales.
Add the Site description if needed (optional).
Select the Language of your choice from the dropdown.
Select Finish to create a SharePoint site for loading your data.


A modern SharePoint site is created and ready for use in seconds. You can now create a list, document library, page, and so on in your newly created site.
Note
If you selected Team site, a Microsoft 365 group is also created.
Create SharePoint list
A SharePoint list collects data with some structure, similar to a table, spreadsheet, or simple database. It can include many different types of information, such as numbers, text, attachments, and even images.
For our Easy Sales application, we'll create a list containing details of all the product categories: Sofas, Chairs, Tables, and Carpets.
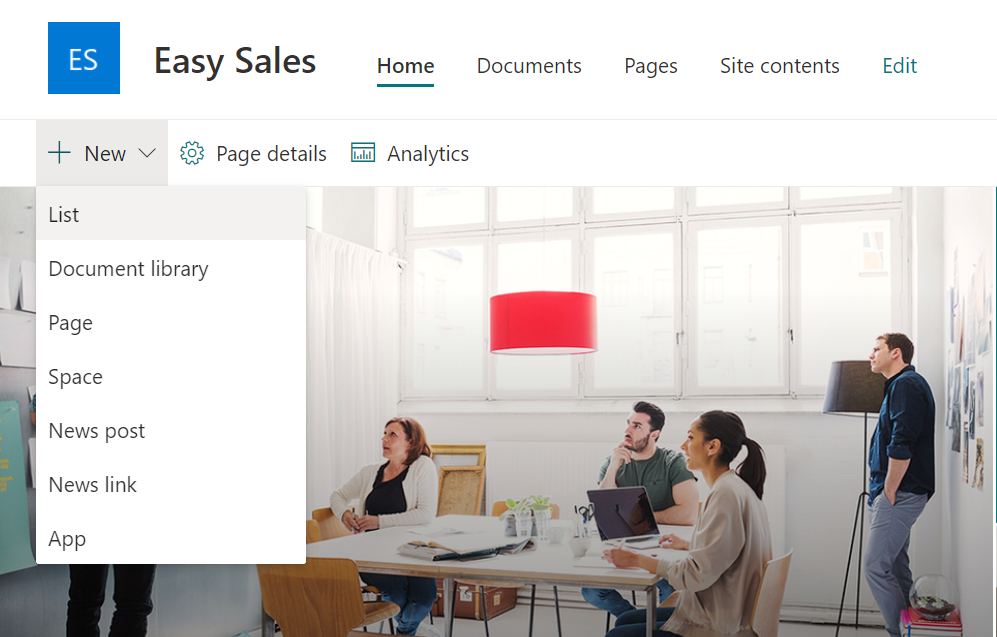
In the newly created SharePoint site under the name Easy Sales, select the + New dropdown and then select List to create your SharePoint list.
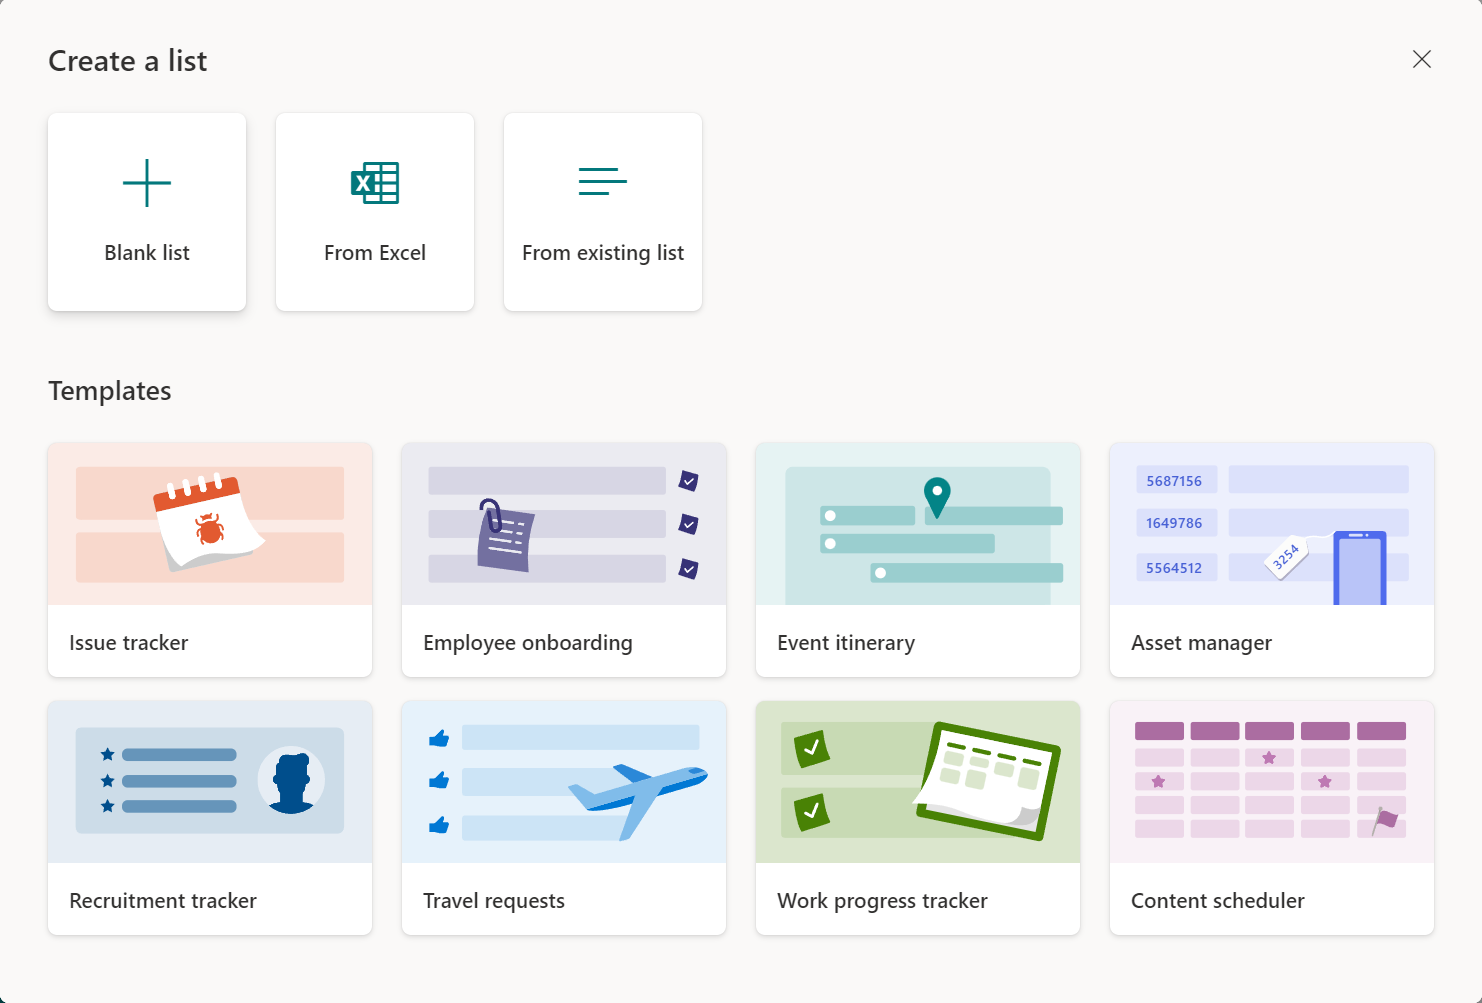
In the Create a List window, select Blank list to create a SharePoint list from scratch.
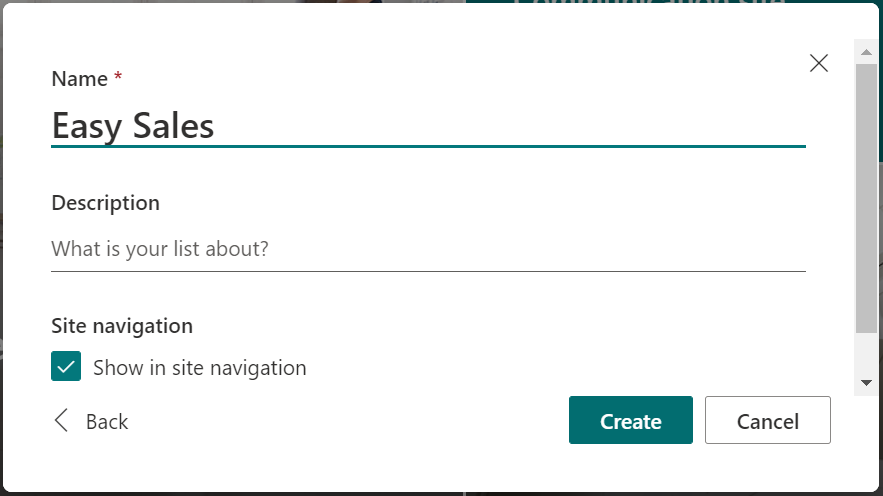
Configure the Create pane as follows:
Enter a suitable name for the list; for example, Easy Sales.
Fill in the description, if required (optional).
Leave the Show in site navigation checkbox selected.
Select Create.


Add data to your SharePoint list
Once the list is created, it's time to add the data. Here, "data" means the details of any particular product. The product details include the following information: Name, Image, Price, Dimensions, Weight, Color, PrimaryMaterial, Area, Height, and 3D model/image of the product to be viewed in mixed reality.
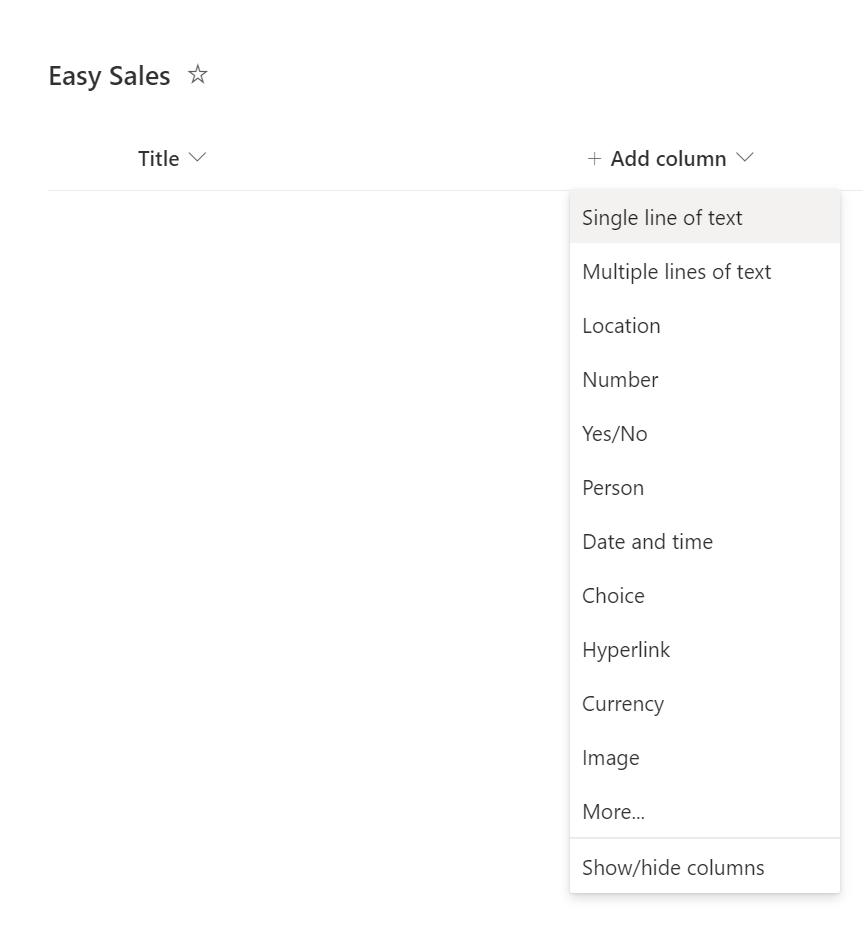
In the created Easy sales list, select + Add column to add a column of a specific type. The list below shows the columns that need to be created, with their names and types in this format: Name of the Column - Column type.
- Name: Single line of text
- ImageLink: Single line of text
- Price: Single line of text
- Dimensions: Single line of text
- Weight: Single line of text
- Color: Single line of text
- PrimaryMaterial: Single line of text
- Height: Number
- Depth: Number
- Width: Number
- Price/cm2: Number
- ProductCategory: Single line of text
- FileType: Single line of text
Select the column type from the drop-down; for example, select Single line of text.
Enter the details of the column in the Create the column tab and select Save.

Repeat the same procedure for rest of the columns in the preceding list.
Note
After you create a SharePoint list, a default Title column is created that you can rename as Name.
Once we add the columns, we have to add the actual data under these columns. Start adding data to columns by downloading the custom folder that includes all the product details for all four lists. To access the data, select the following link, select the More file actions button (...) at the top-right of the page, and select Download.
Select + New to add an item and then fill in the required details as provided in the downloaded Excel file. Select Save to save the entered details.

Note
Grid view lets you add information freely to different rows or columns.
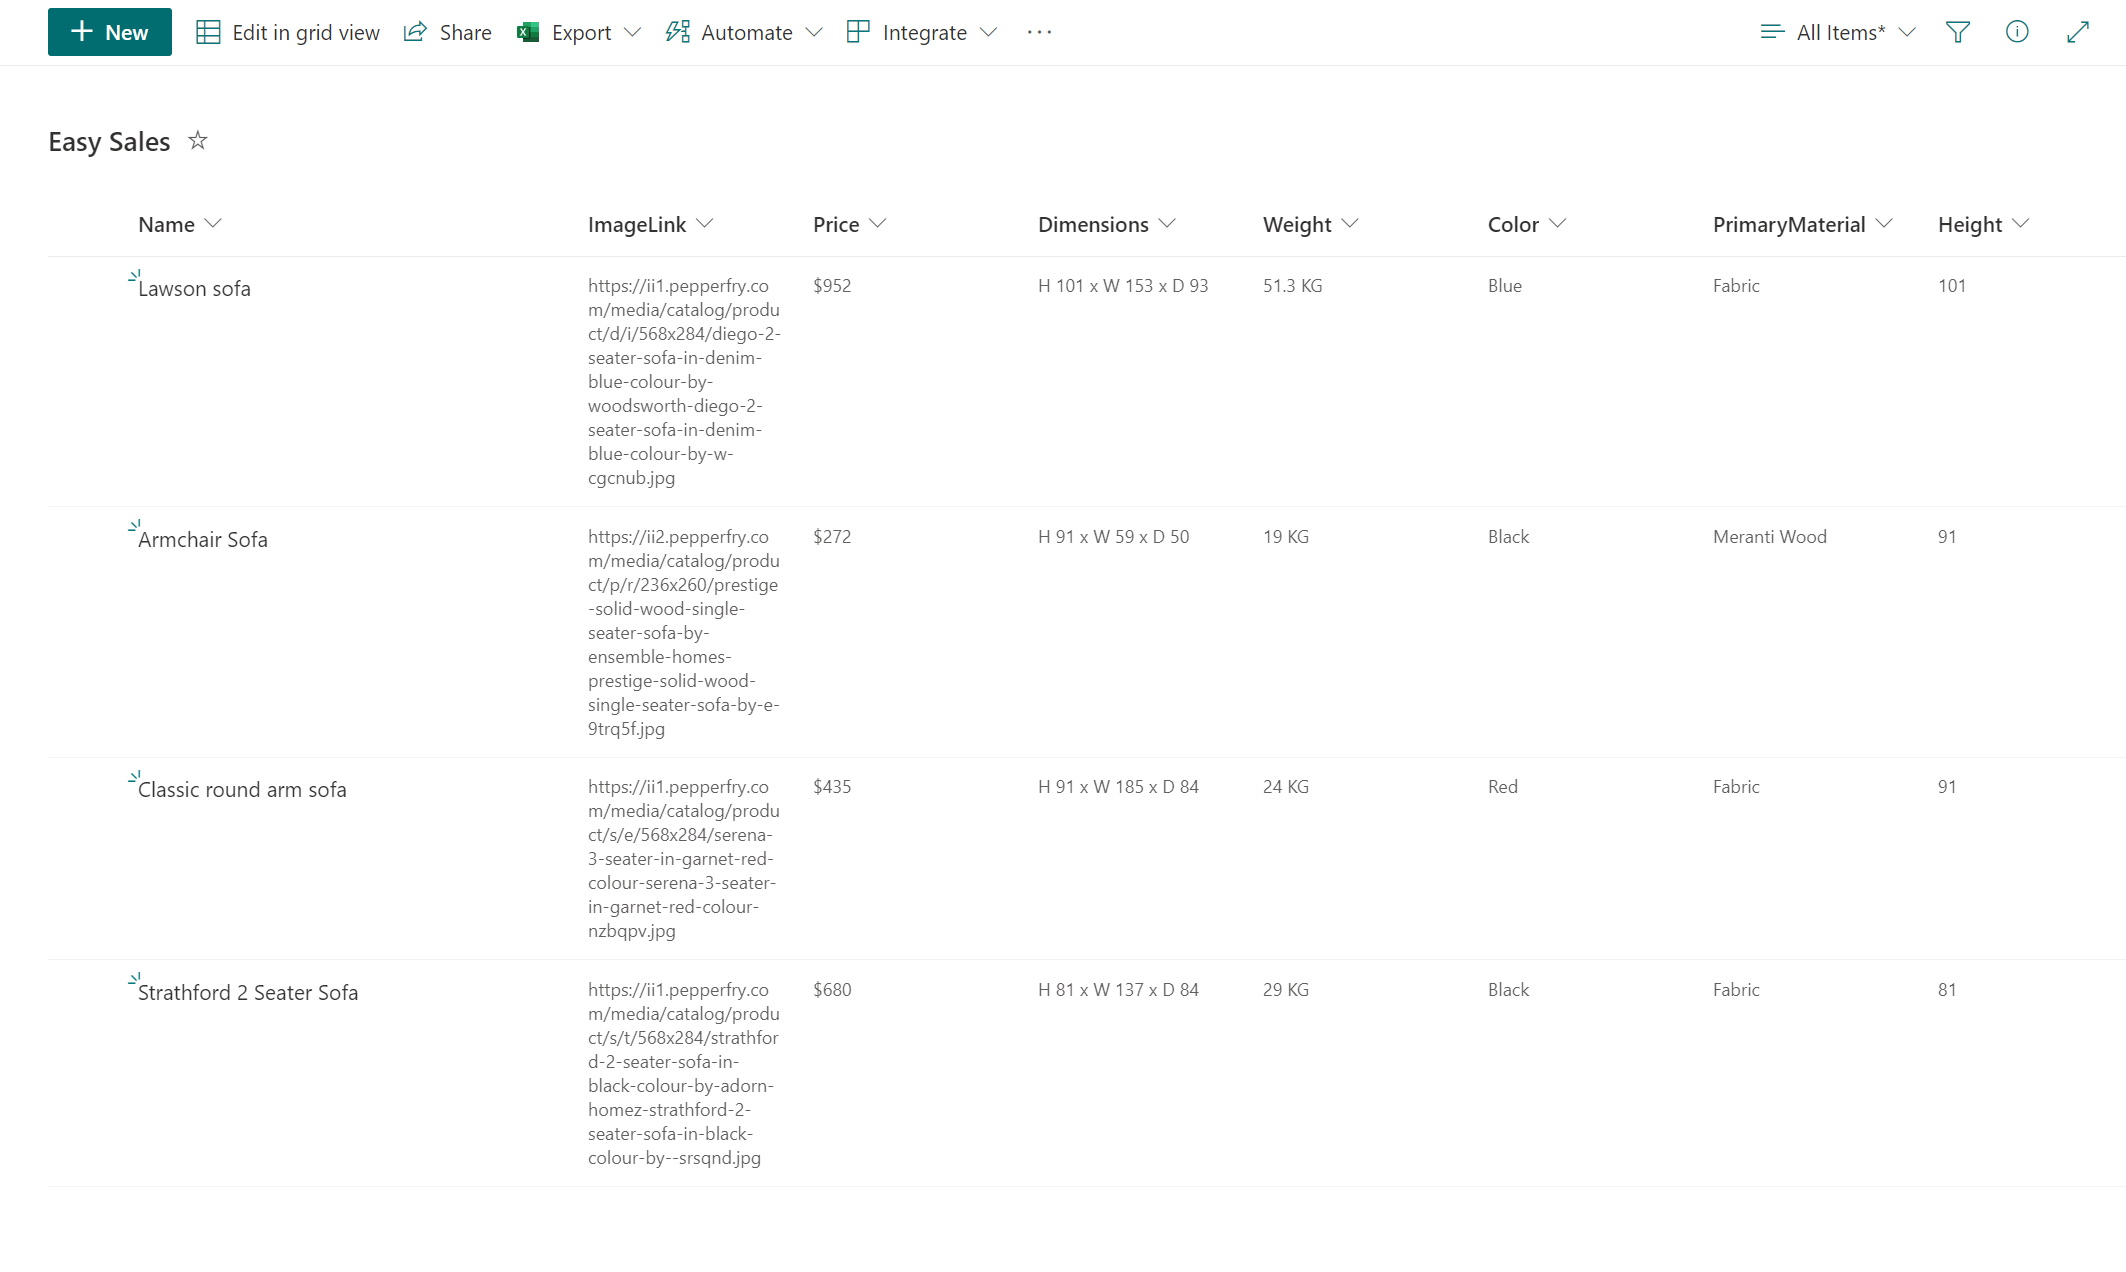
Start adding your data in their respective columns, as shown in the figure:
Note
If you want to include images of your own, you can add the image links of public images available on the Internet under the ImageLink column. You can get the image links by right-clicking and selecting the Copy image address option.
Note
You won't be needing the height, depth, and width values for the Carpet category list. This product category will take up the area value measured during the Measure in MR session and give out the price of the carpet following the area calculated. However, we have added the Price/cm2 column to assist the process of calculation.


Create connection
Now that all our data required for the application is stored in the SharePoint list, we'll establish a connection in Power Apps. Once the connection is established, you can easily access the SharePoint data through the application.
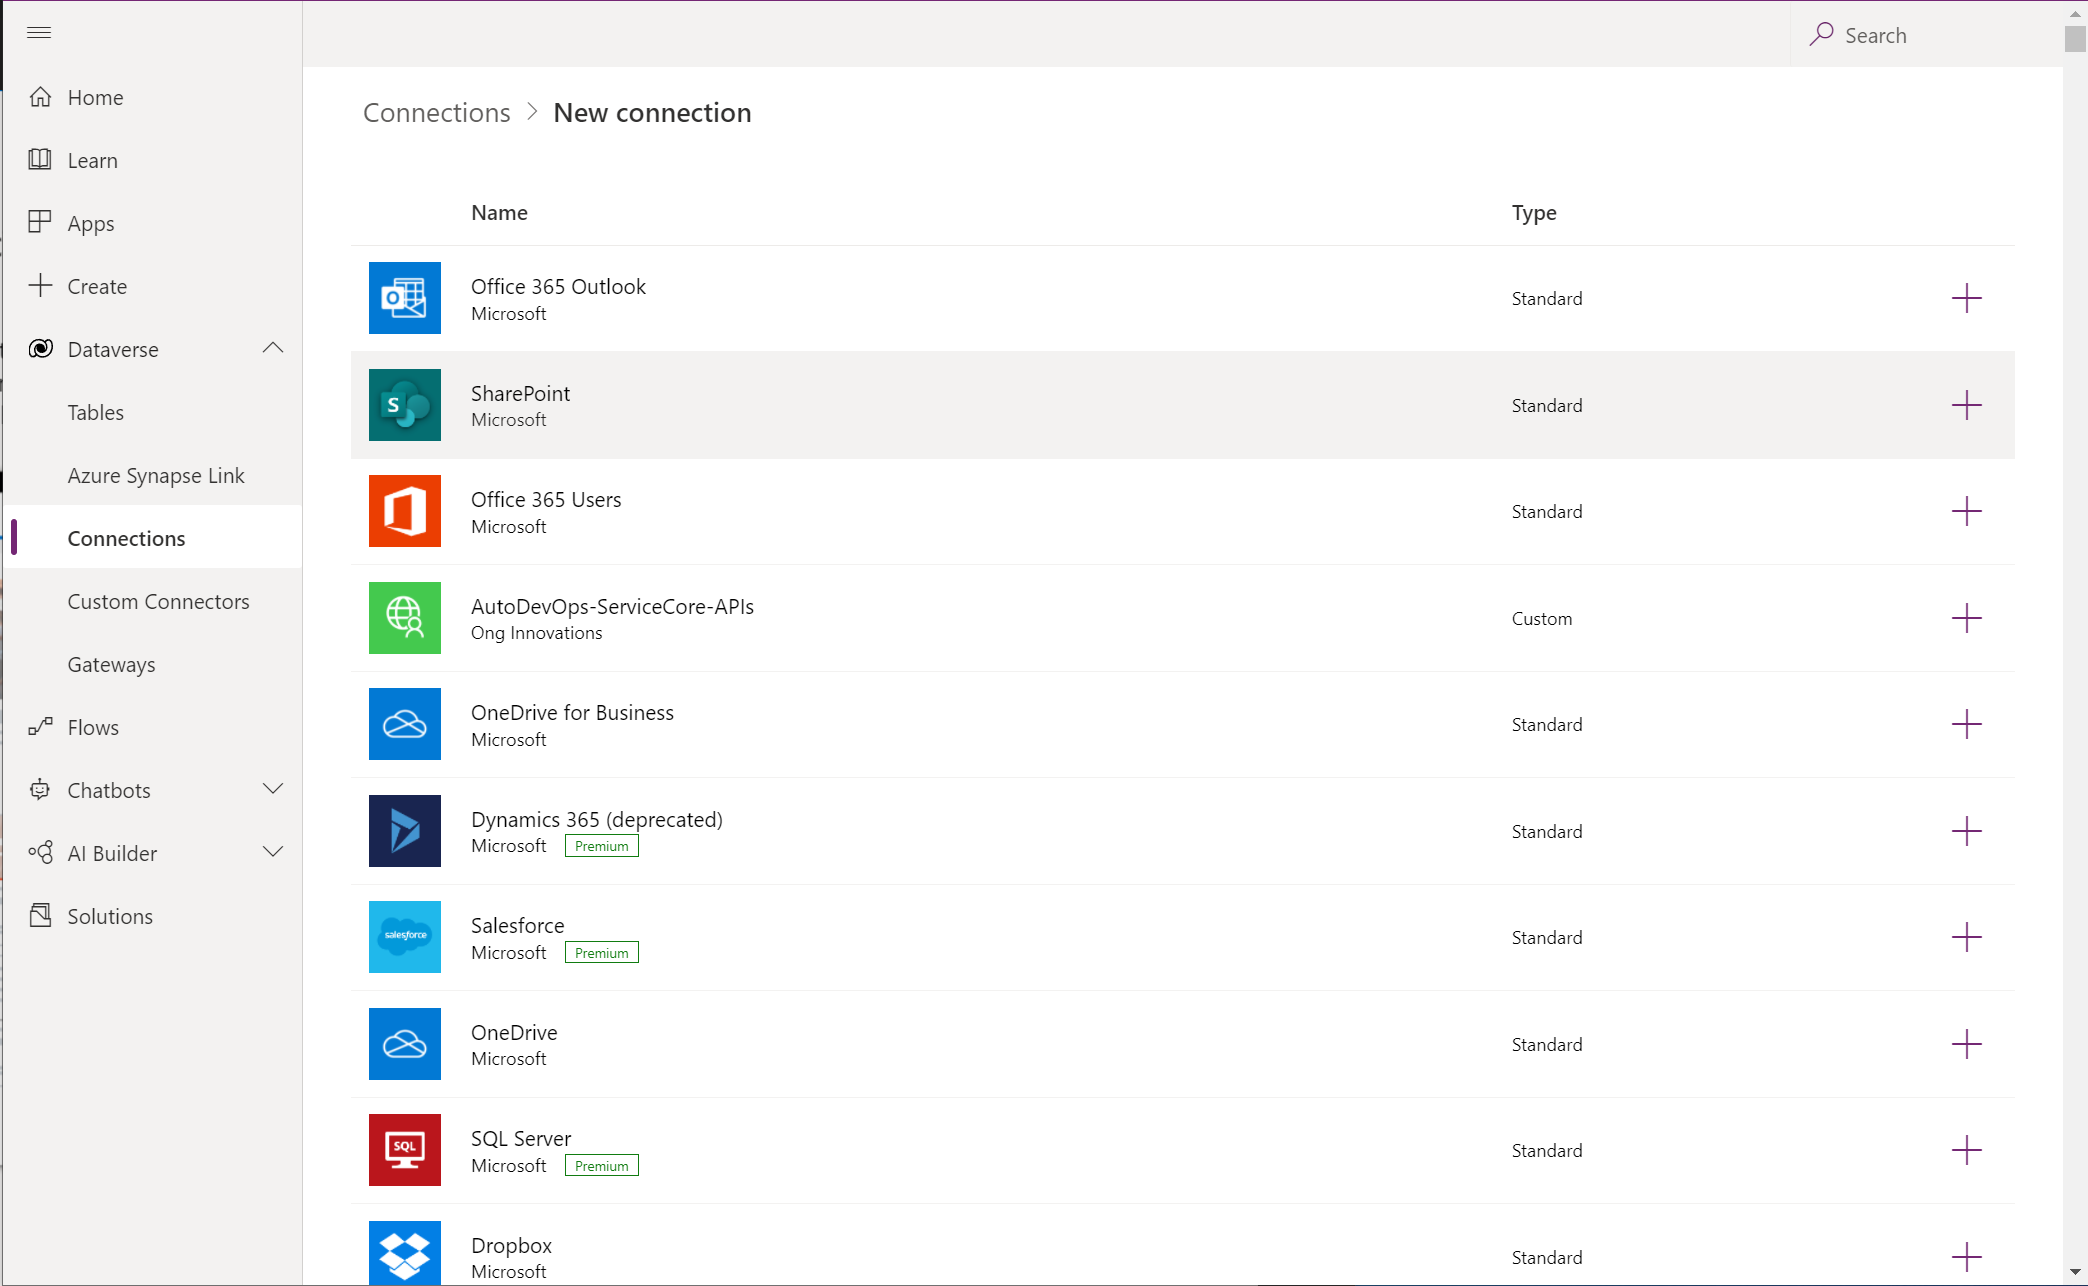
To start creating a connection, sign in to Power Apps and select Connections in the left navigation bar. Then select + New connection near the upper-left corner.
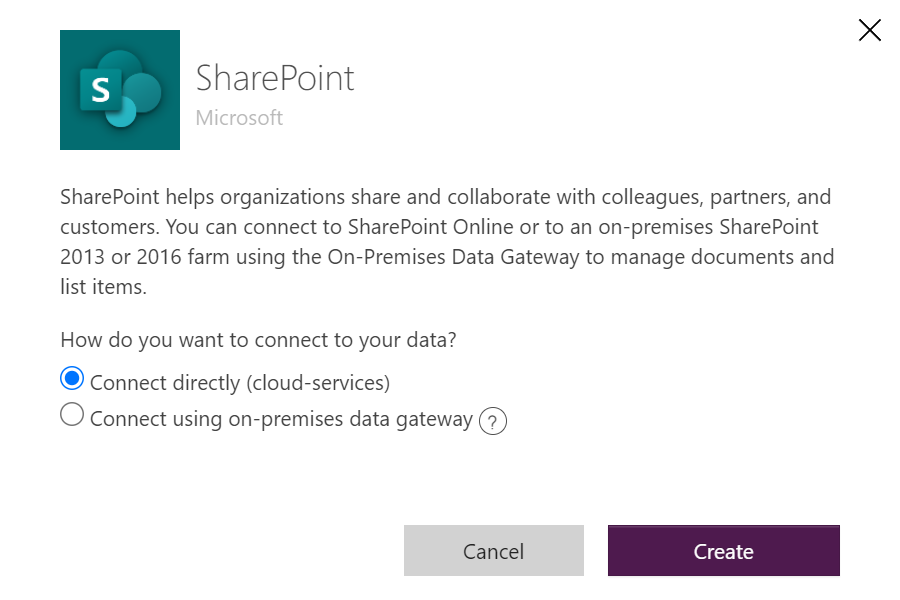
Select SharePoint. We're selecting SharePoint because we've stored the required data in SharePoint lists.
To connect to SharePoint Online, select Connect directly (cloud-services), then select Create, and then, if prompted, provide credentials.
The connection is created, and you can build an app from scratch.
Note
Even if the connection is created, you can still add, edit, and delete data stored in your SharePoint list. All the changes get reflected in the application through the connection.


Let's start building the Easy Sales application based on the SharePoint data, and then add data from other sources, if wanted. By following this procedure, you'll be able to design some of the main pages of the application. For example, you'll learn to design a splash screen, product page, and product list page. We'll also be accessing data stored in the SharePoint list through the Power Apps gallery control.
Open a blank app
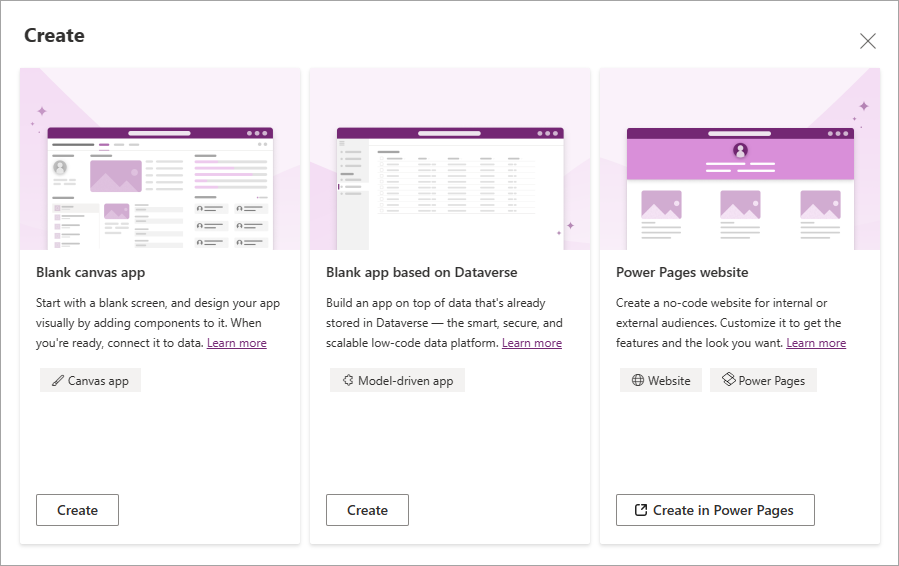
Go to the Power Apps home page, then select Create in the left menu. Select Blank app, then select Create under Blank canvas app.
Specify a name for your app; for example, Easy-Sales. Select Phone, and then select Create.

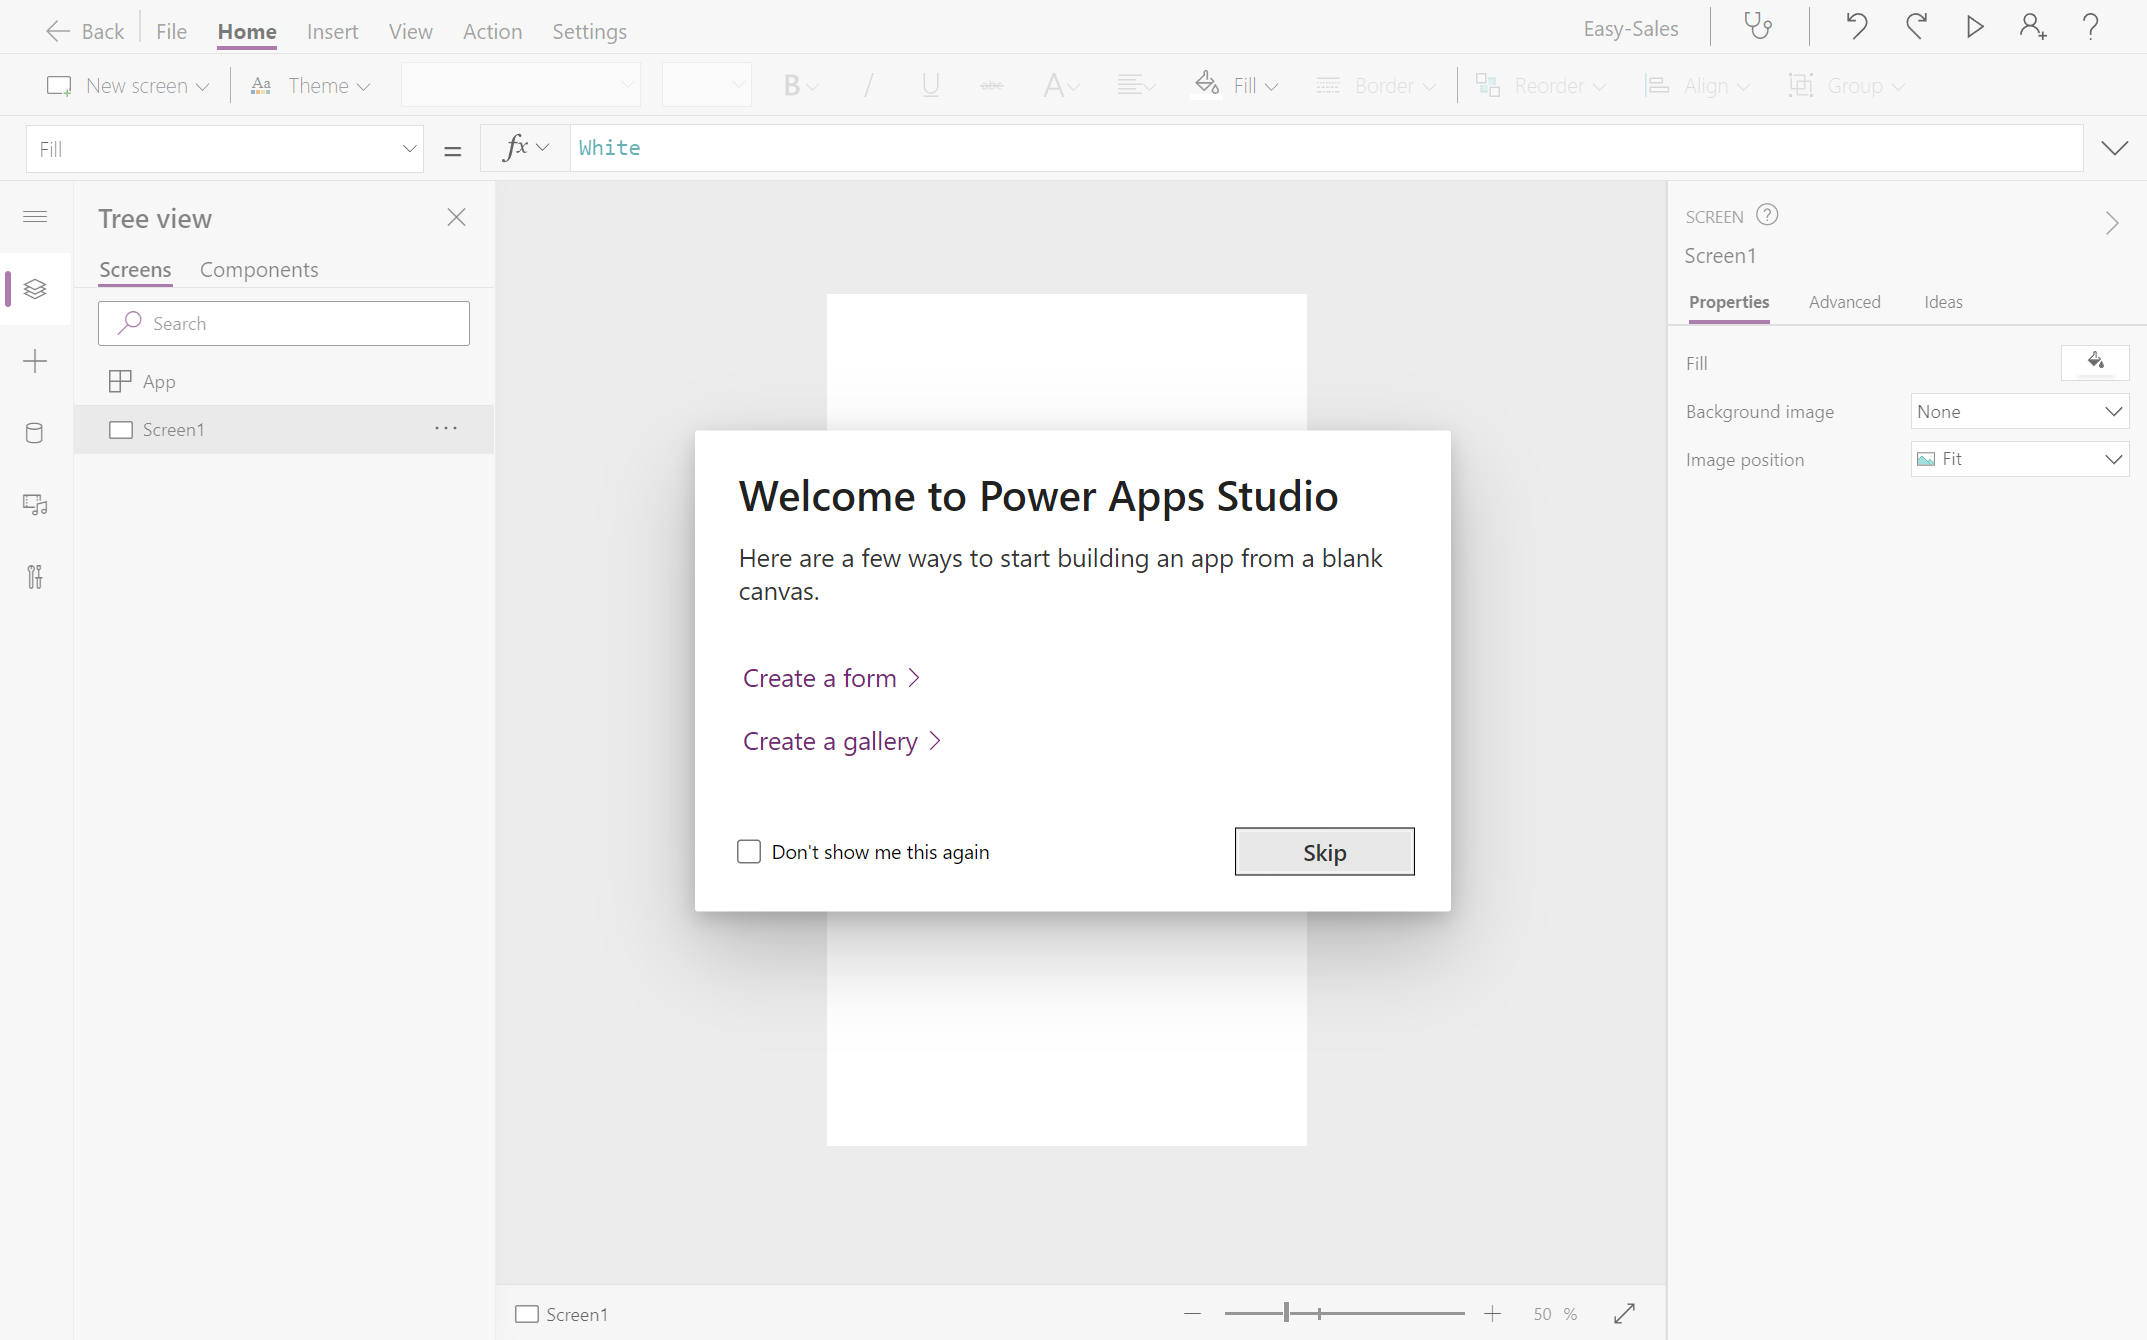
Power Apps Studio creates a blank app for phones.
Note
While you can design an app from scratch for various devices, this topic focuses on designing an app for phones.
If the Welcome to Power Apps Studio dialog box opens, select Skip.


Connect to data
To include data in your Power App, you must connect to the data via the connectors in your application. Because we've stored all of the data in a SharePoint list, we'll select SharePoint as one of the connectors.
To the Power Apps Studio's left, select the Data option.
After opening the Data pane, select the Add data button to connect to the data.
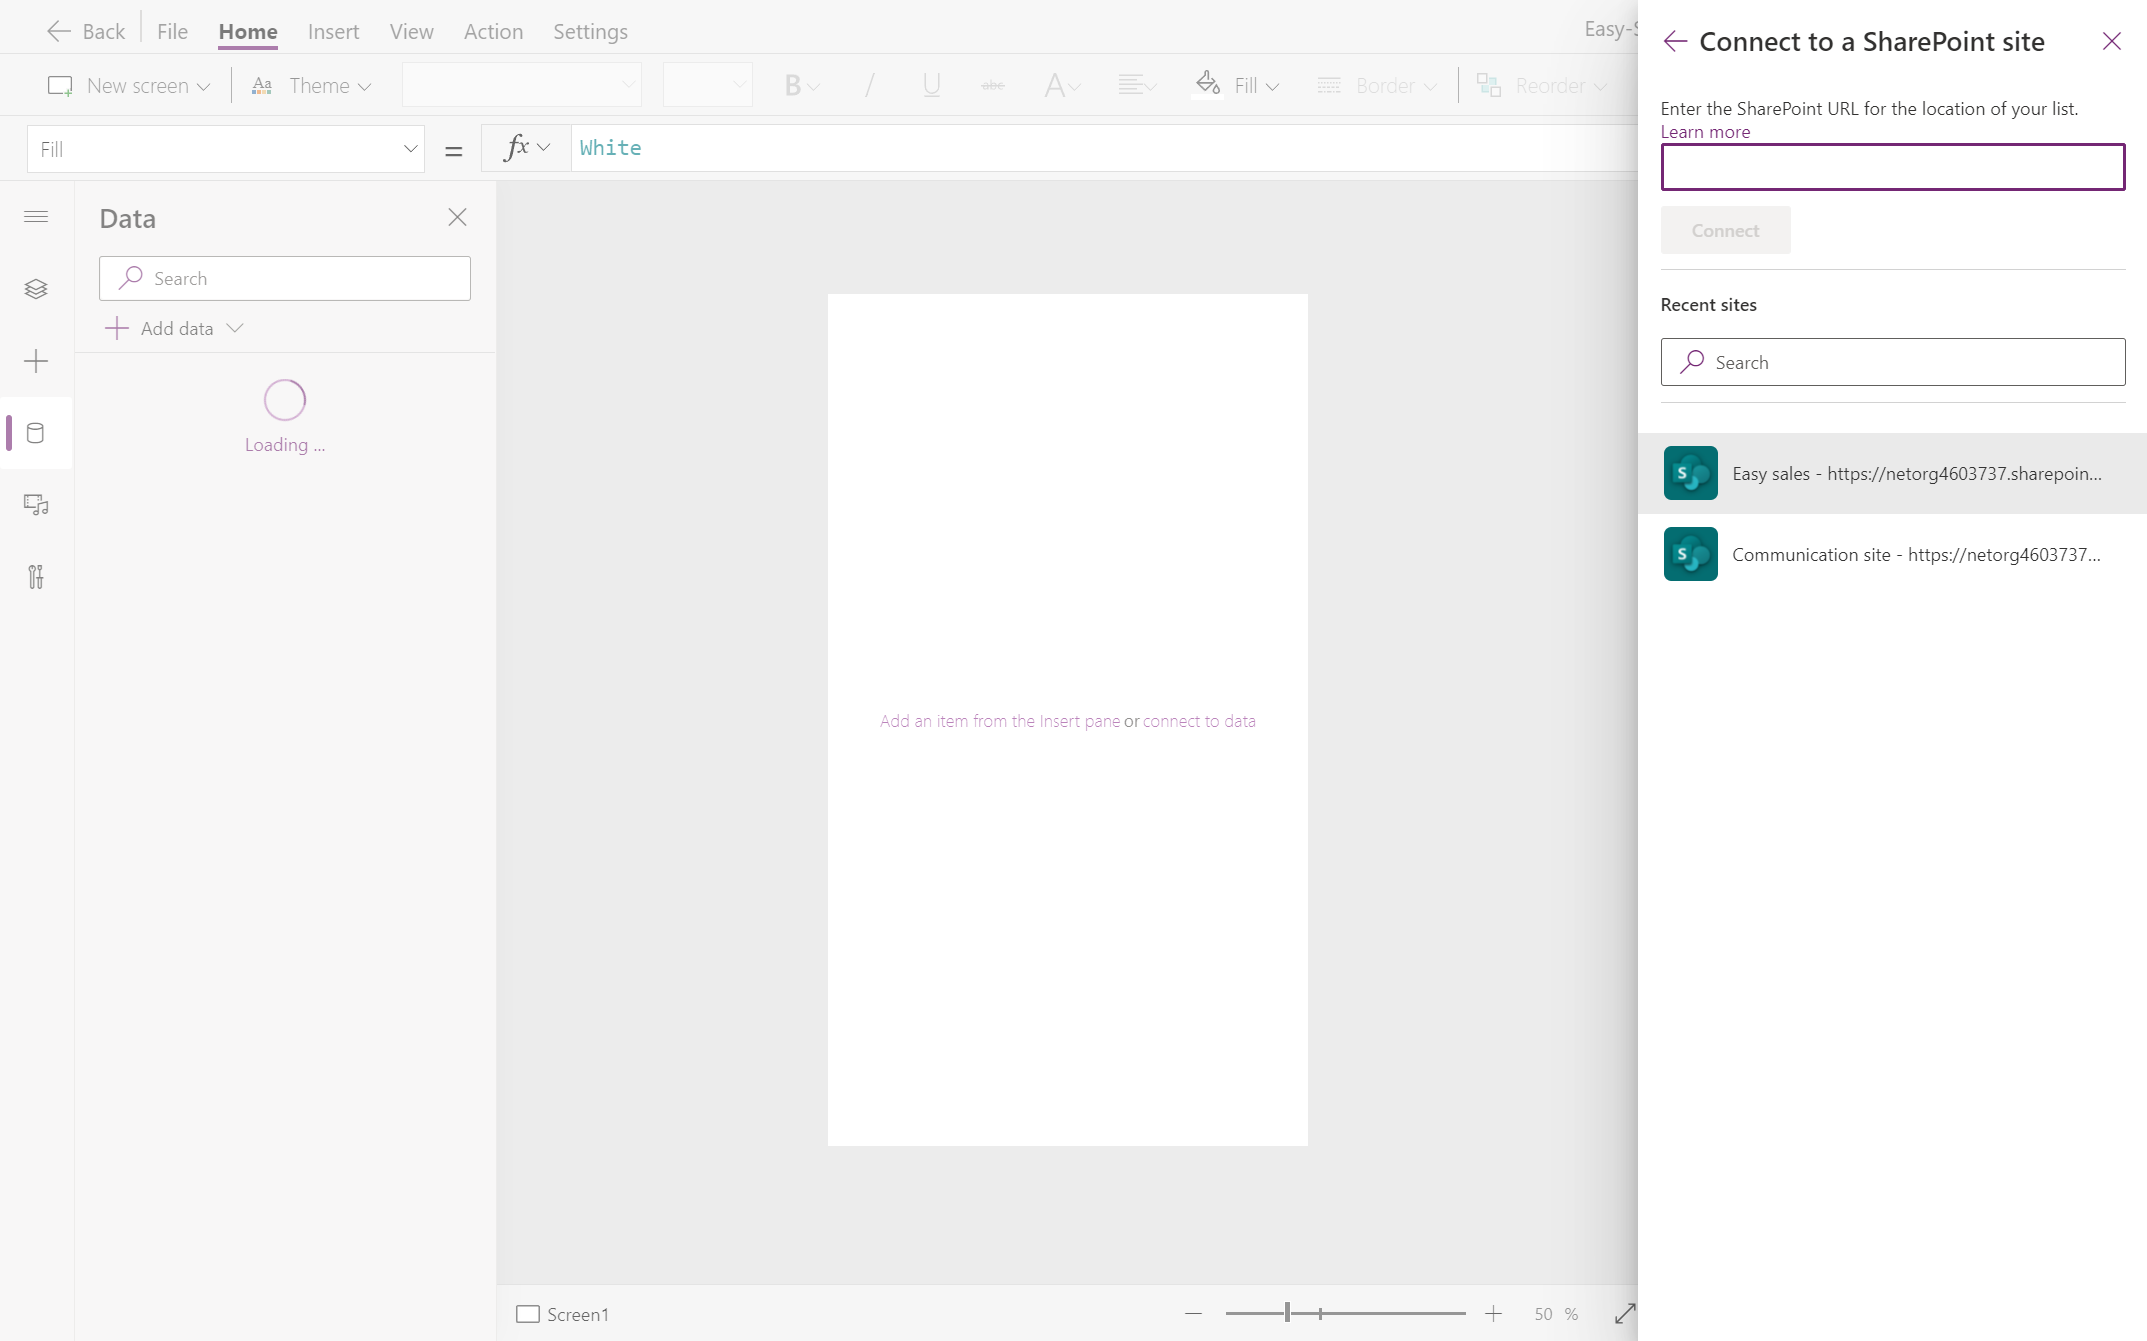
In the Select a data source window, expand the Connectors section and select the SharePoint option.

In the previous exercise, we already created a connection. Select the created connection to add the data to your application. Select the SharePoint site that was created under the name Easy Sales.
After selecting the Easy Sales SharePoint site, all the lists created on that site are displayed. Next, select the SharePoint list created concerning the application and click Connect.
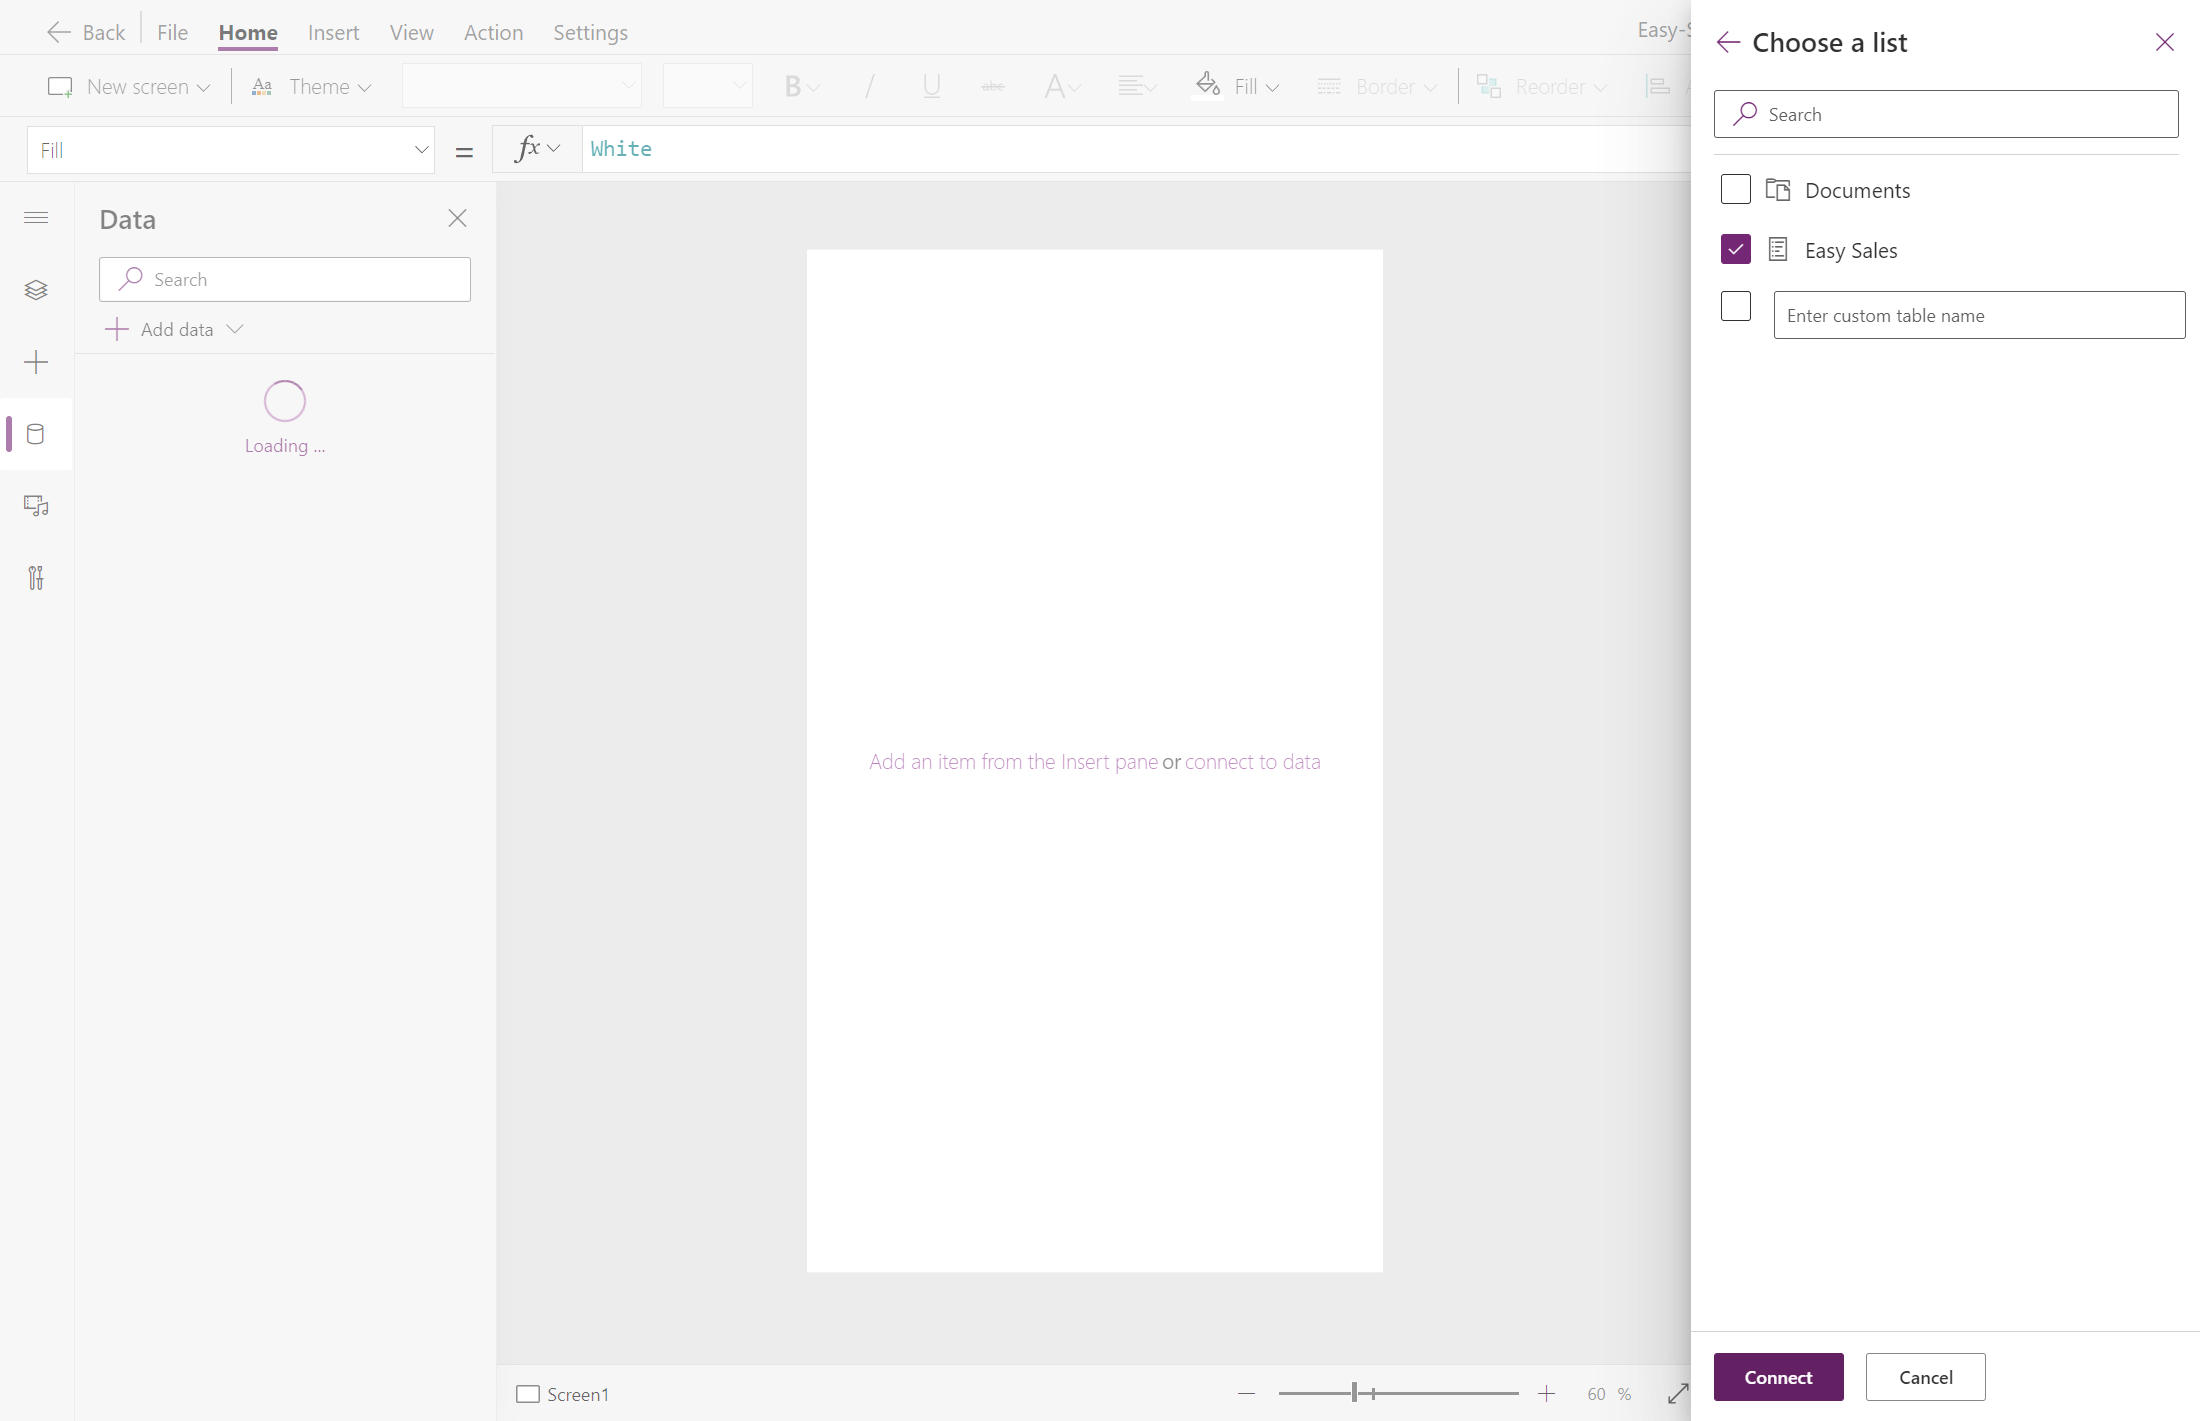
All the required data is connected and ready to use in the application. You can now start building the application.


Create the splash screen
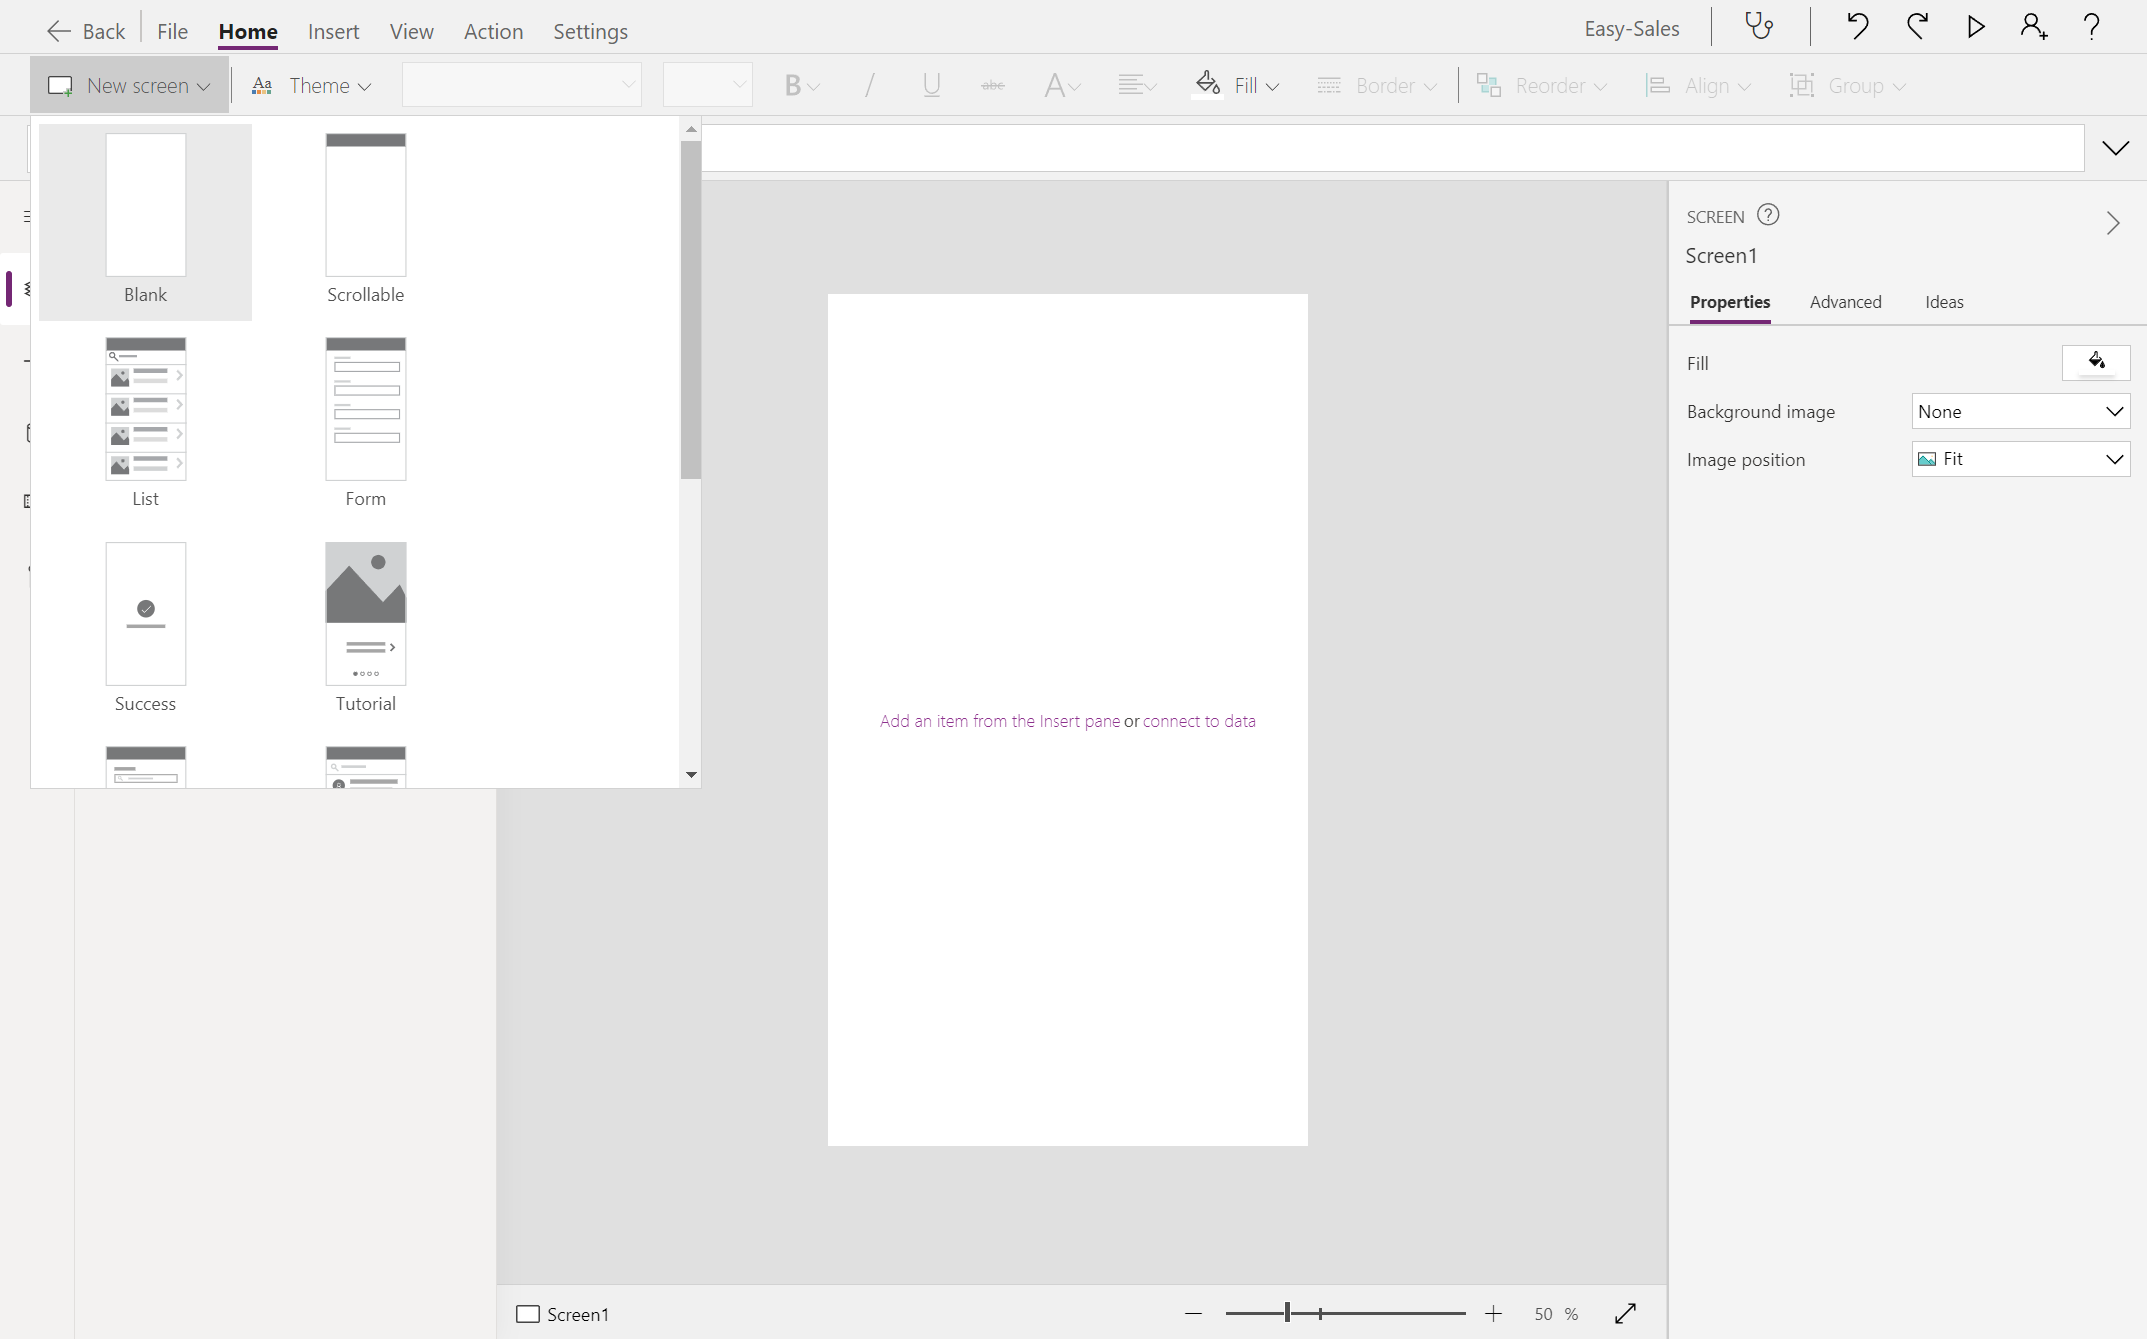
Select the Tree view option at the left of Power Apps Studio. You should already have a blank screen in the Power Apps Studio; if not, on the Home tab, select the down-arrow next to New screen that opens the screen type list. Then, select Blank to create a blank screen.
Rename the screen to Splash screen by selecting the three dots icon (...) present beside the screen name and selecting the Rename option.

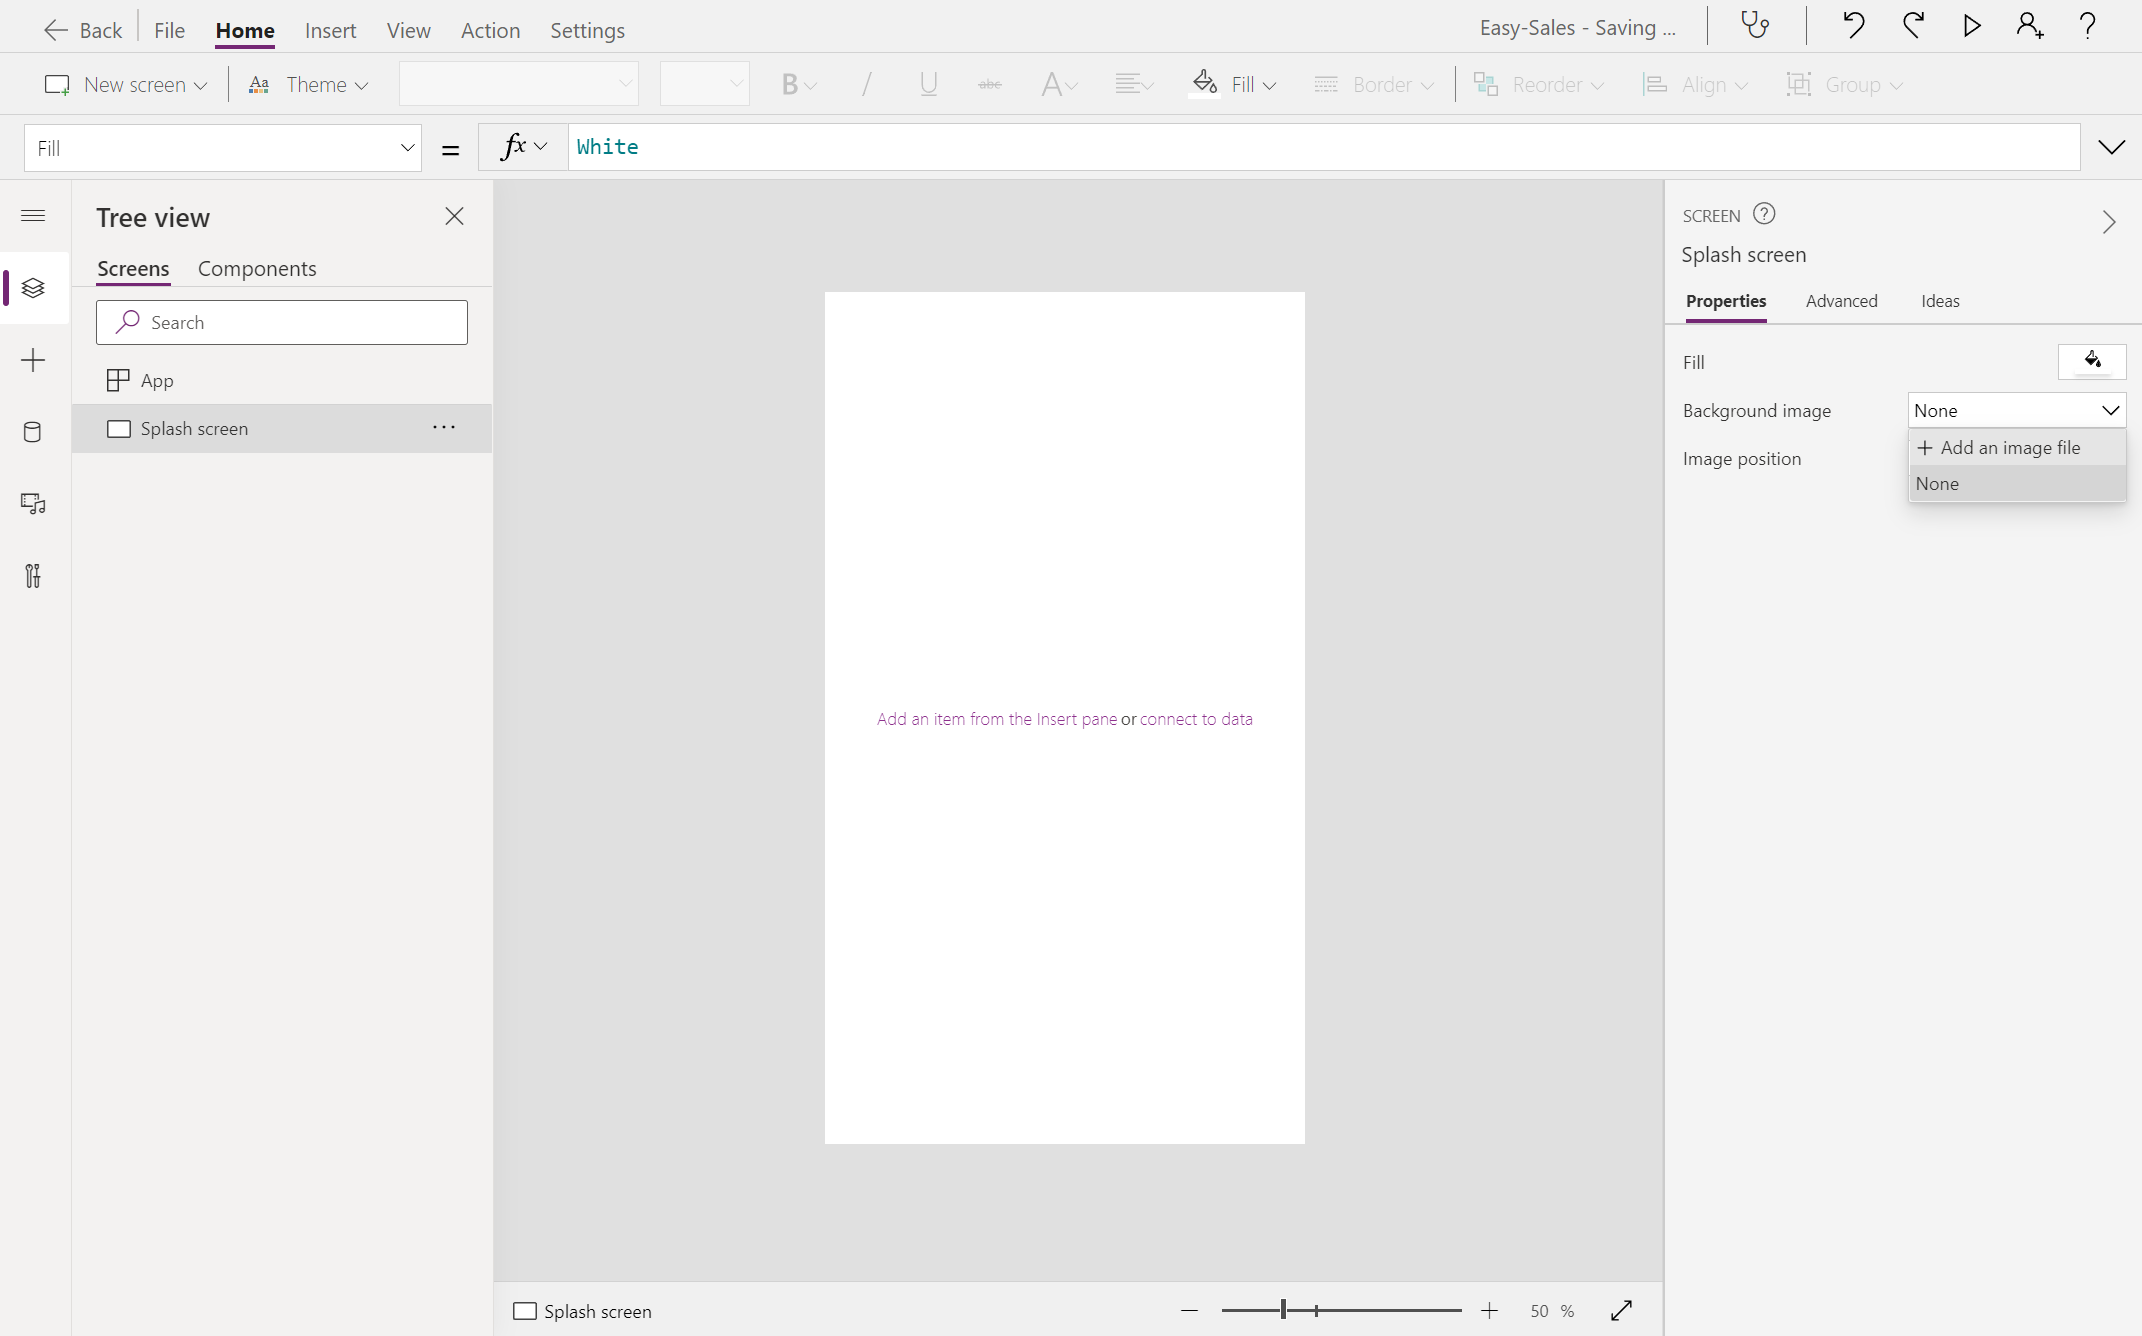
Select the newly created screen to change its properties in the Properties tab at the right side of the screen.
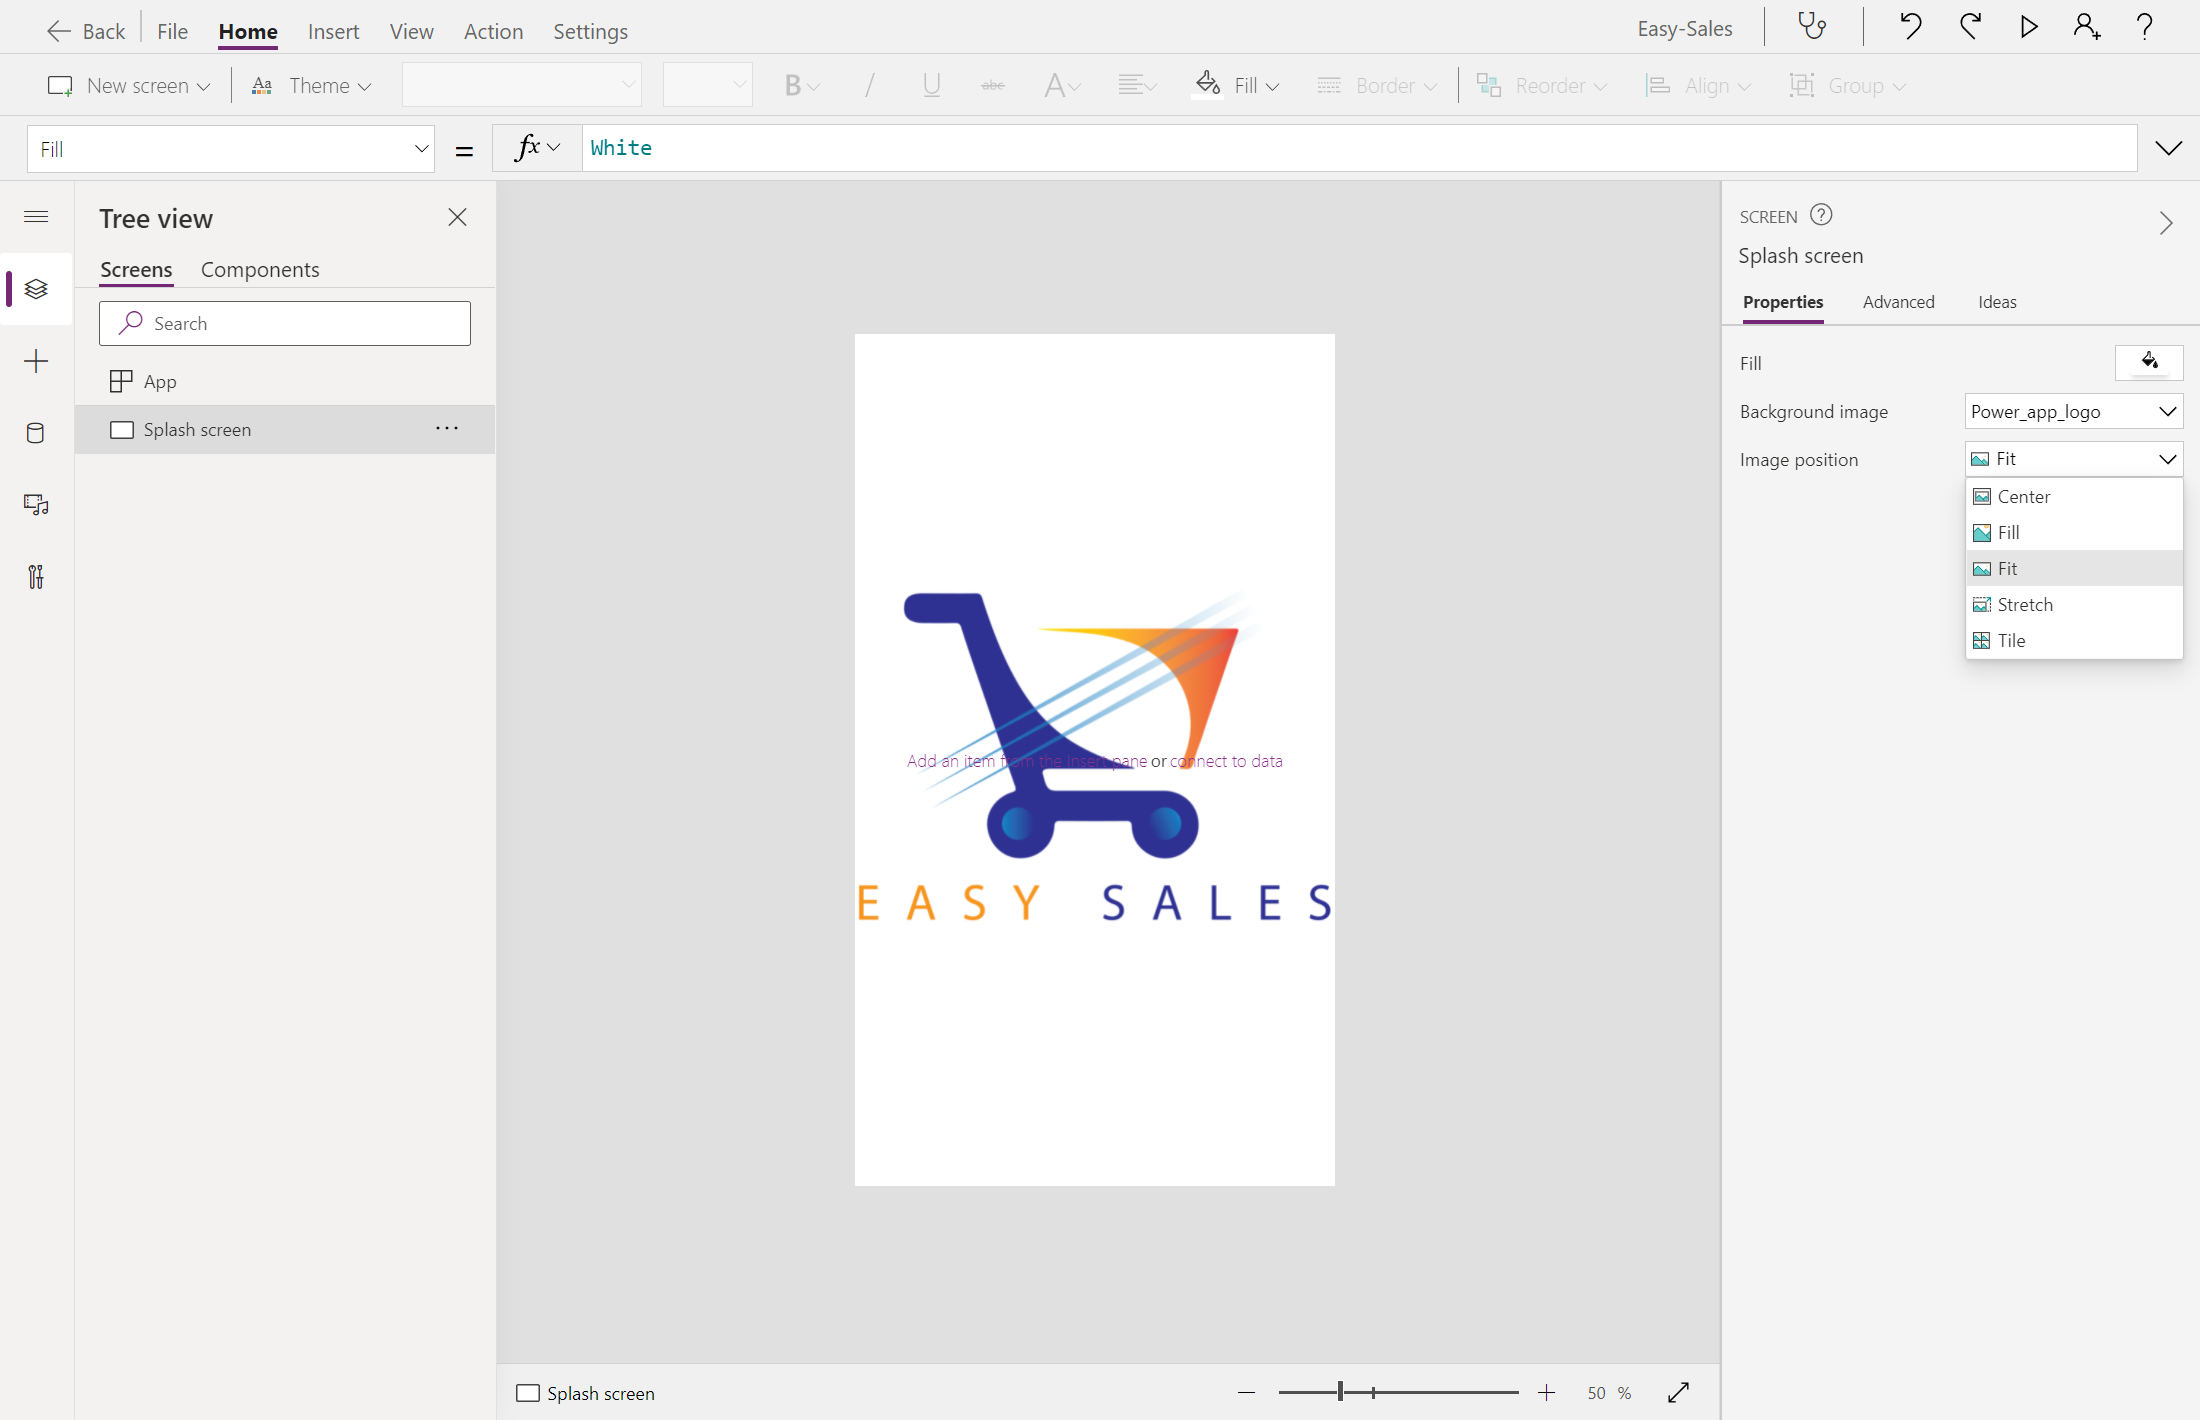
Select the drop-down beside the Background image property to add an image to the screen. Select + Add an image file to select the downloaded logo file.
Set the image position to Fit to have the entire image fit into the specified size. The Fit option scales the image proportionally and doesn't crop the image.
On the Insert tab, expand the Input dropdown and select Timer. Then, drag the button on the screen and place it wherever you want.

To edit some of the timer properties, you can either use the Property dropdown at the top-left corner or use the Properties pane. Set the following properties:
AutoStart: true
Duration: 2000
Visible: false

Note
By default, duration is measured in milliseconds. Since 1 second = 1000 milliseconds, we enter 2000 as the value for the duration.
We want the splash screen to be visible for only two seconds and then transition to the Home page. Create a Blank screen as we did in the previous step and rename it as Home Page. Later, select the timer button added to the Splash screen and configure the OnTimerEnd property. Replace false with the following content:
Navigate('Home Page',ScreenTransition.Fade)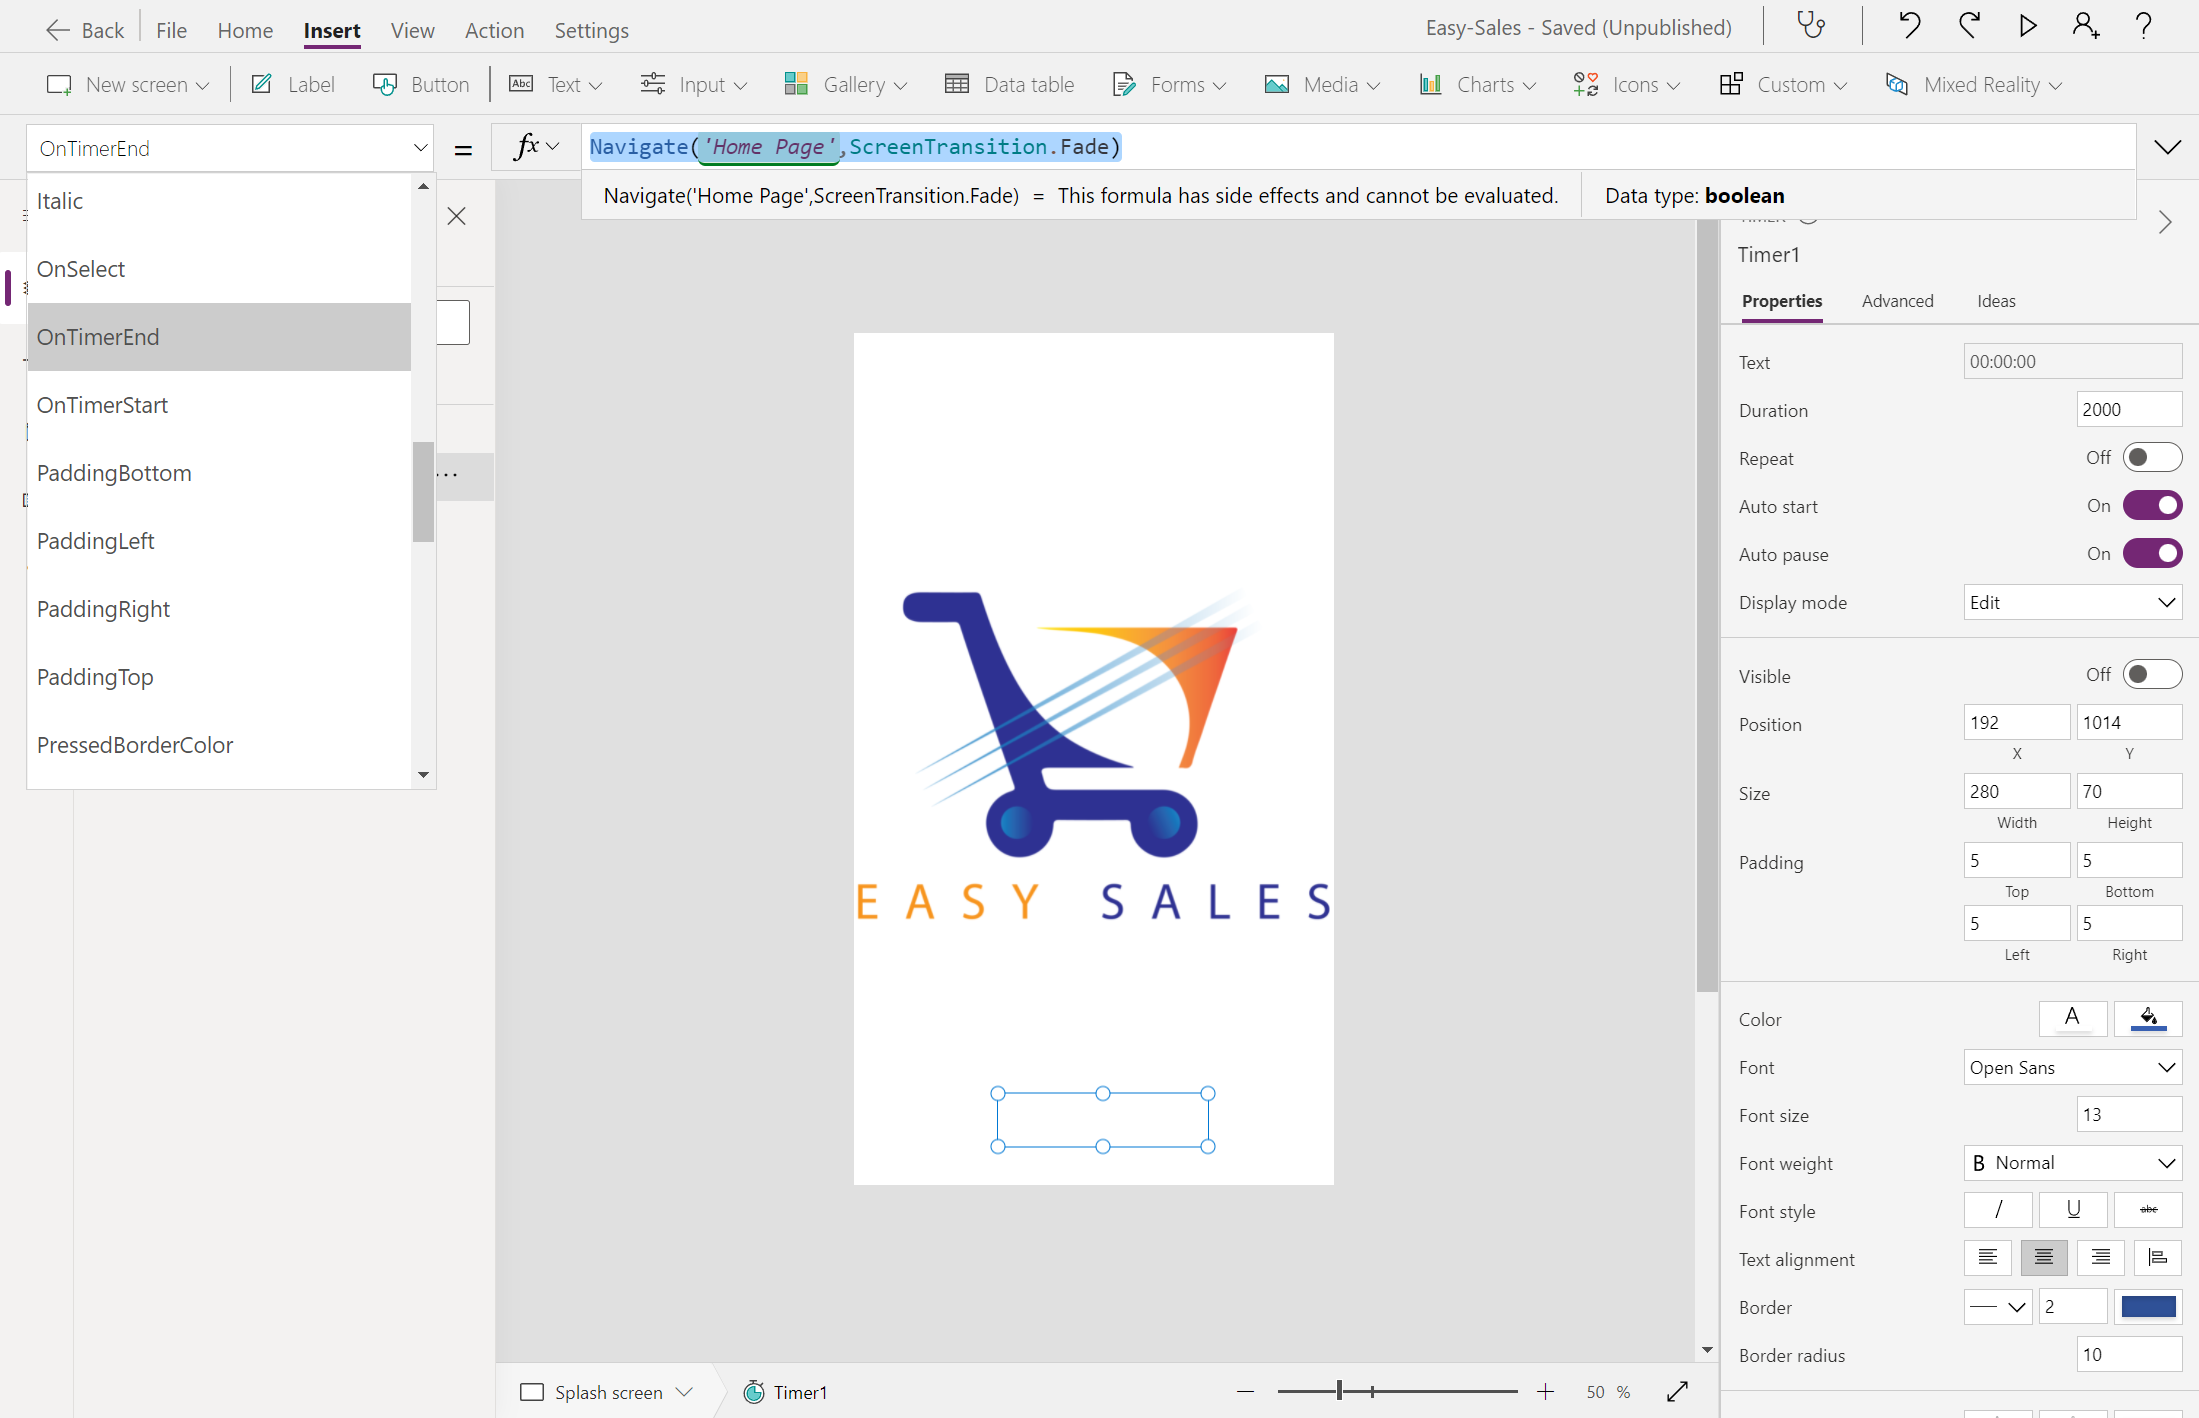
Save your application by navigating to File > Save. Next, select the The cloud option and select Save.


Create the home page
Select the Home Page created previously. To insert four buttons, navigate to the Insert tab and select the Button option to add buttons to the screen. Adjust the size and position of these buttons as required. Rename them as Sofas_button, Chairs_button, Tables_button, and Carpets_button, respectively.
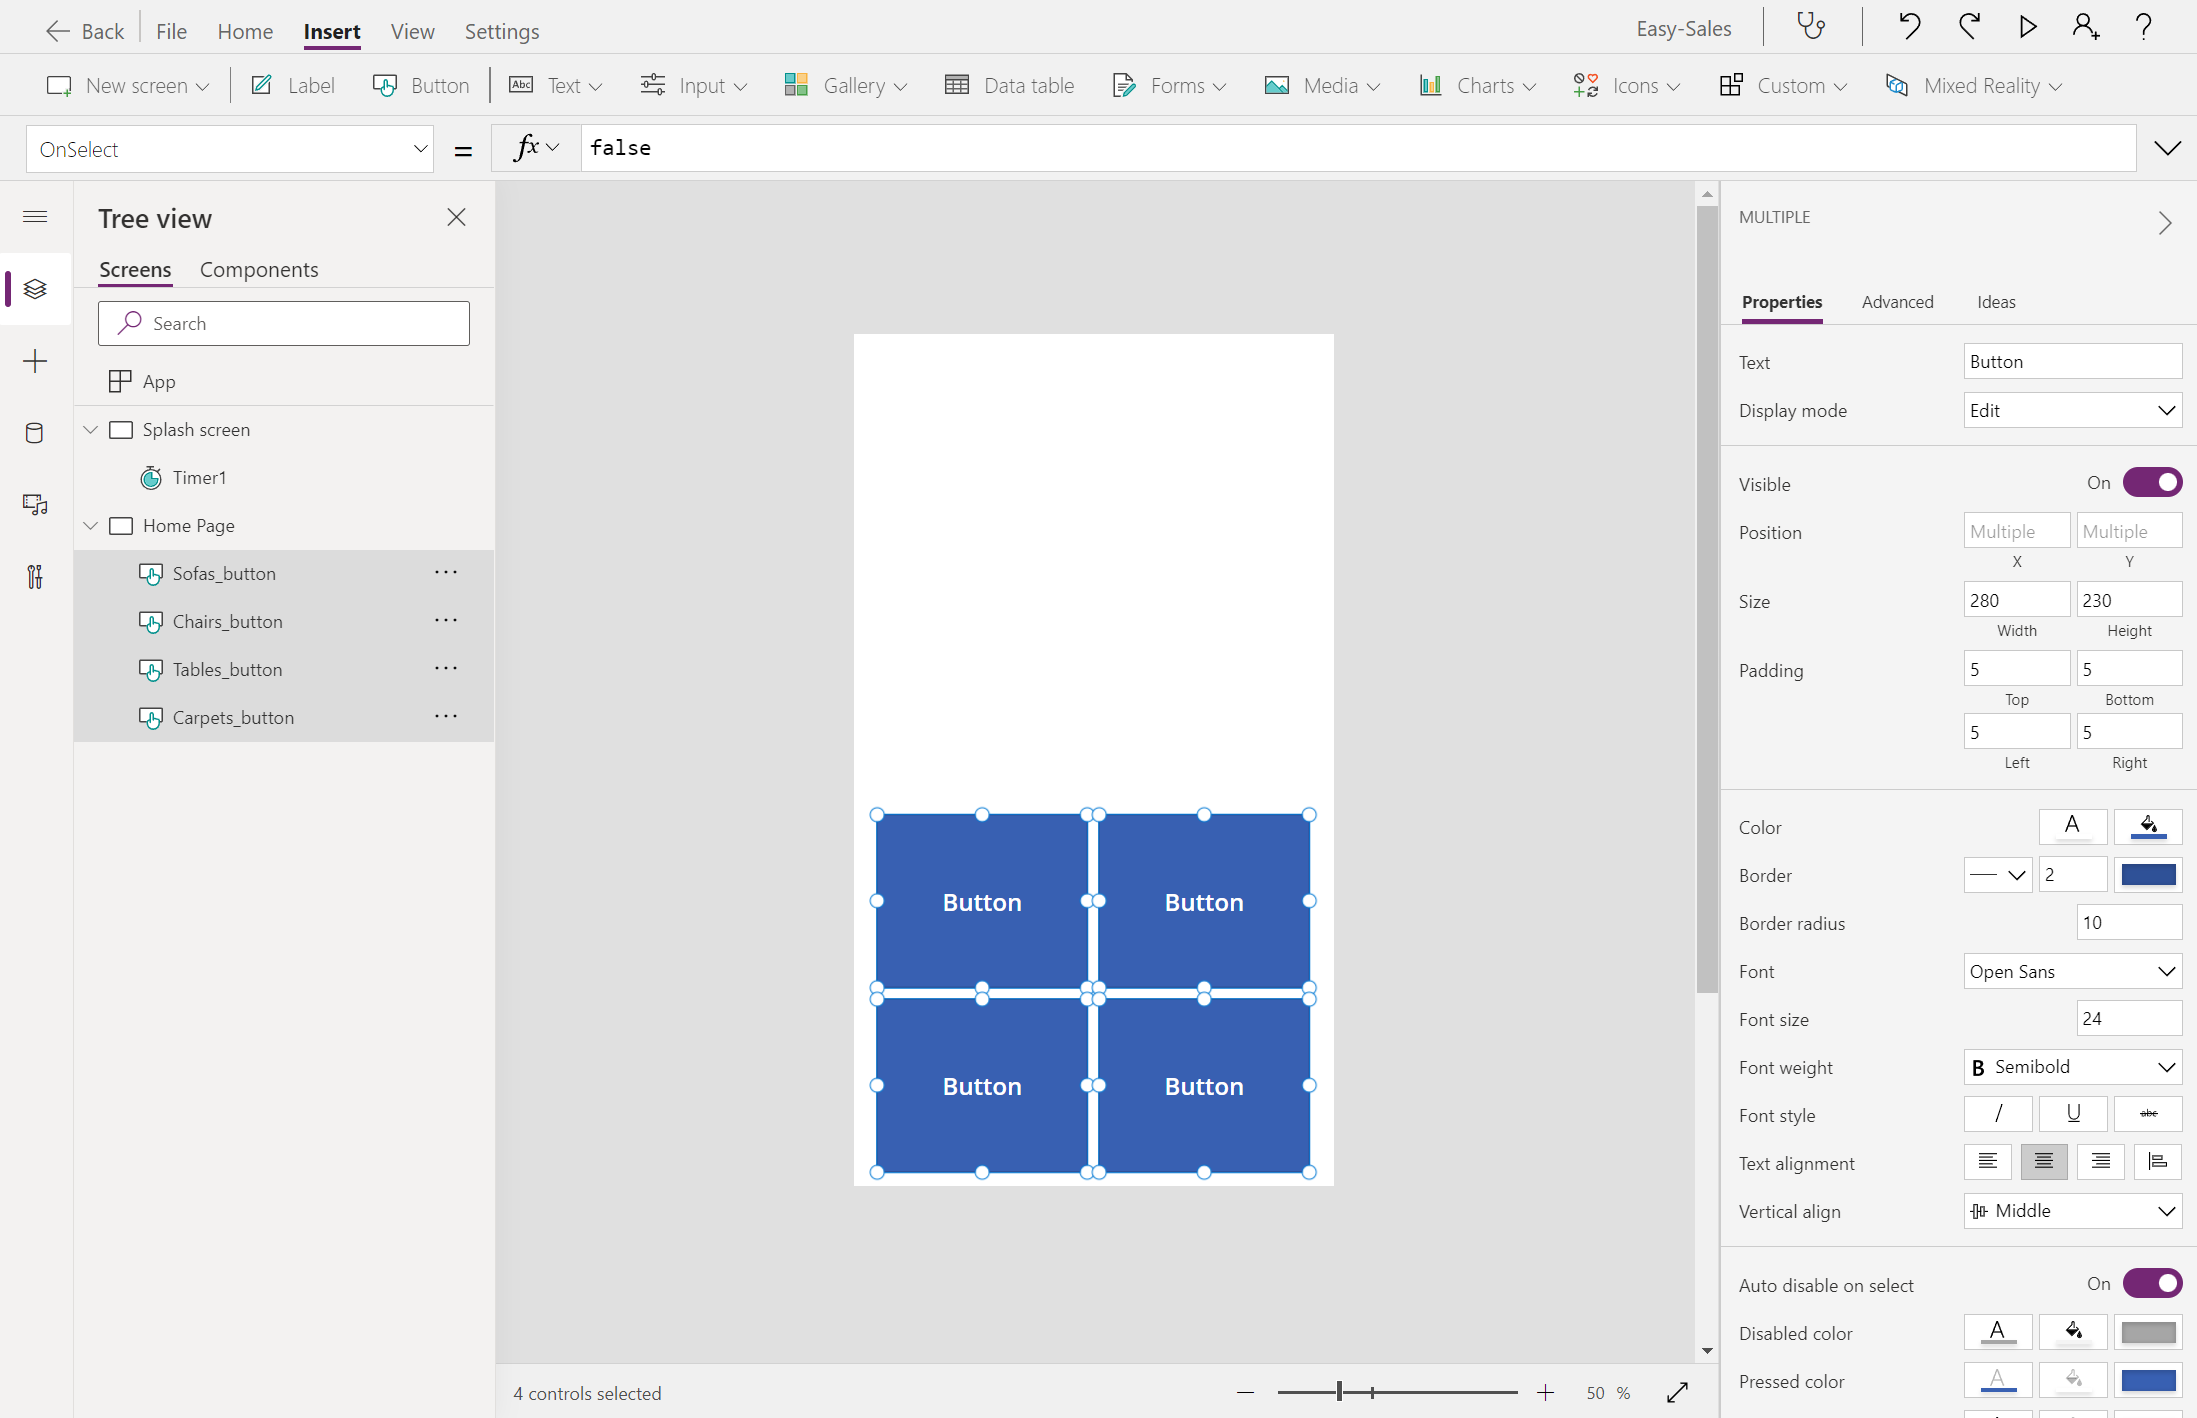
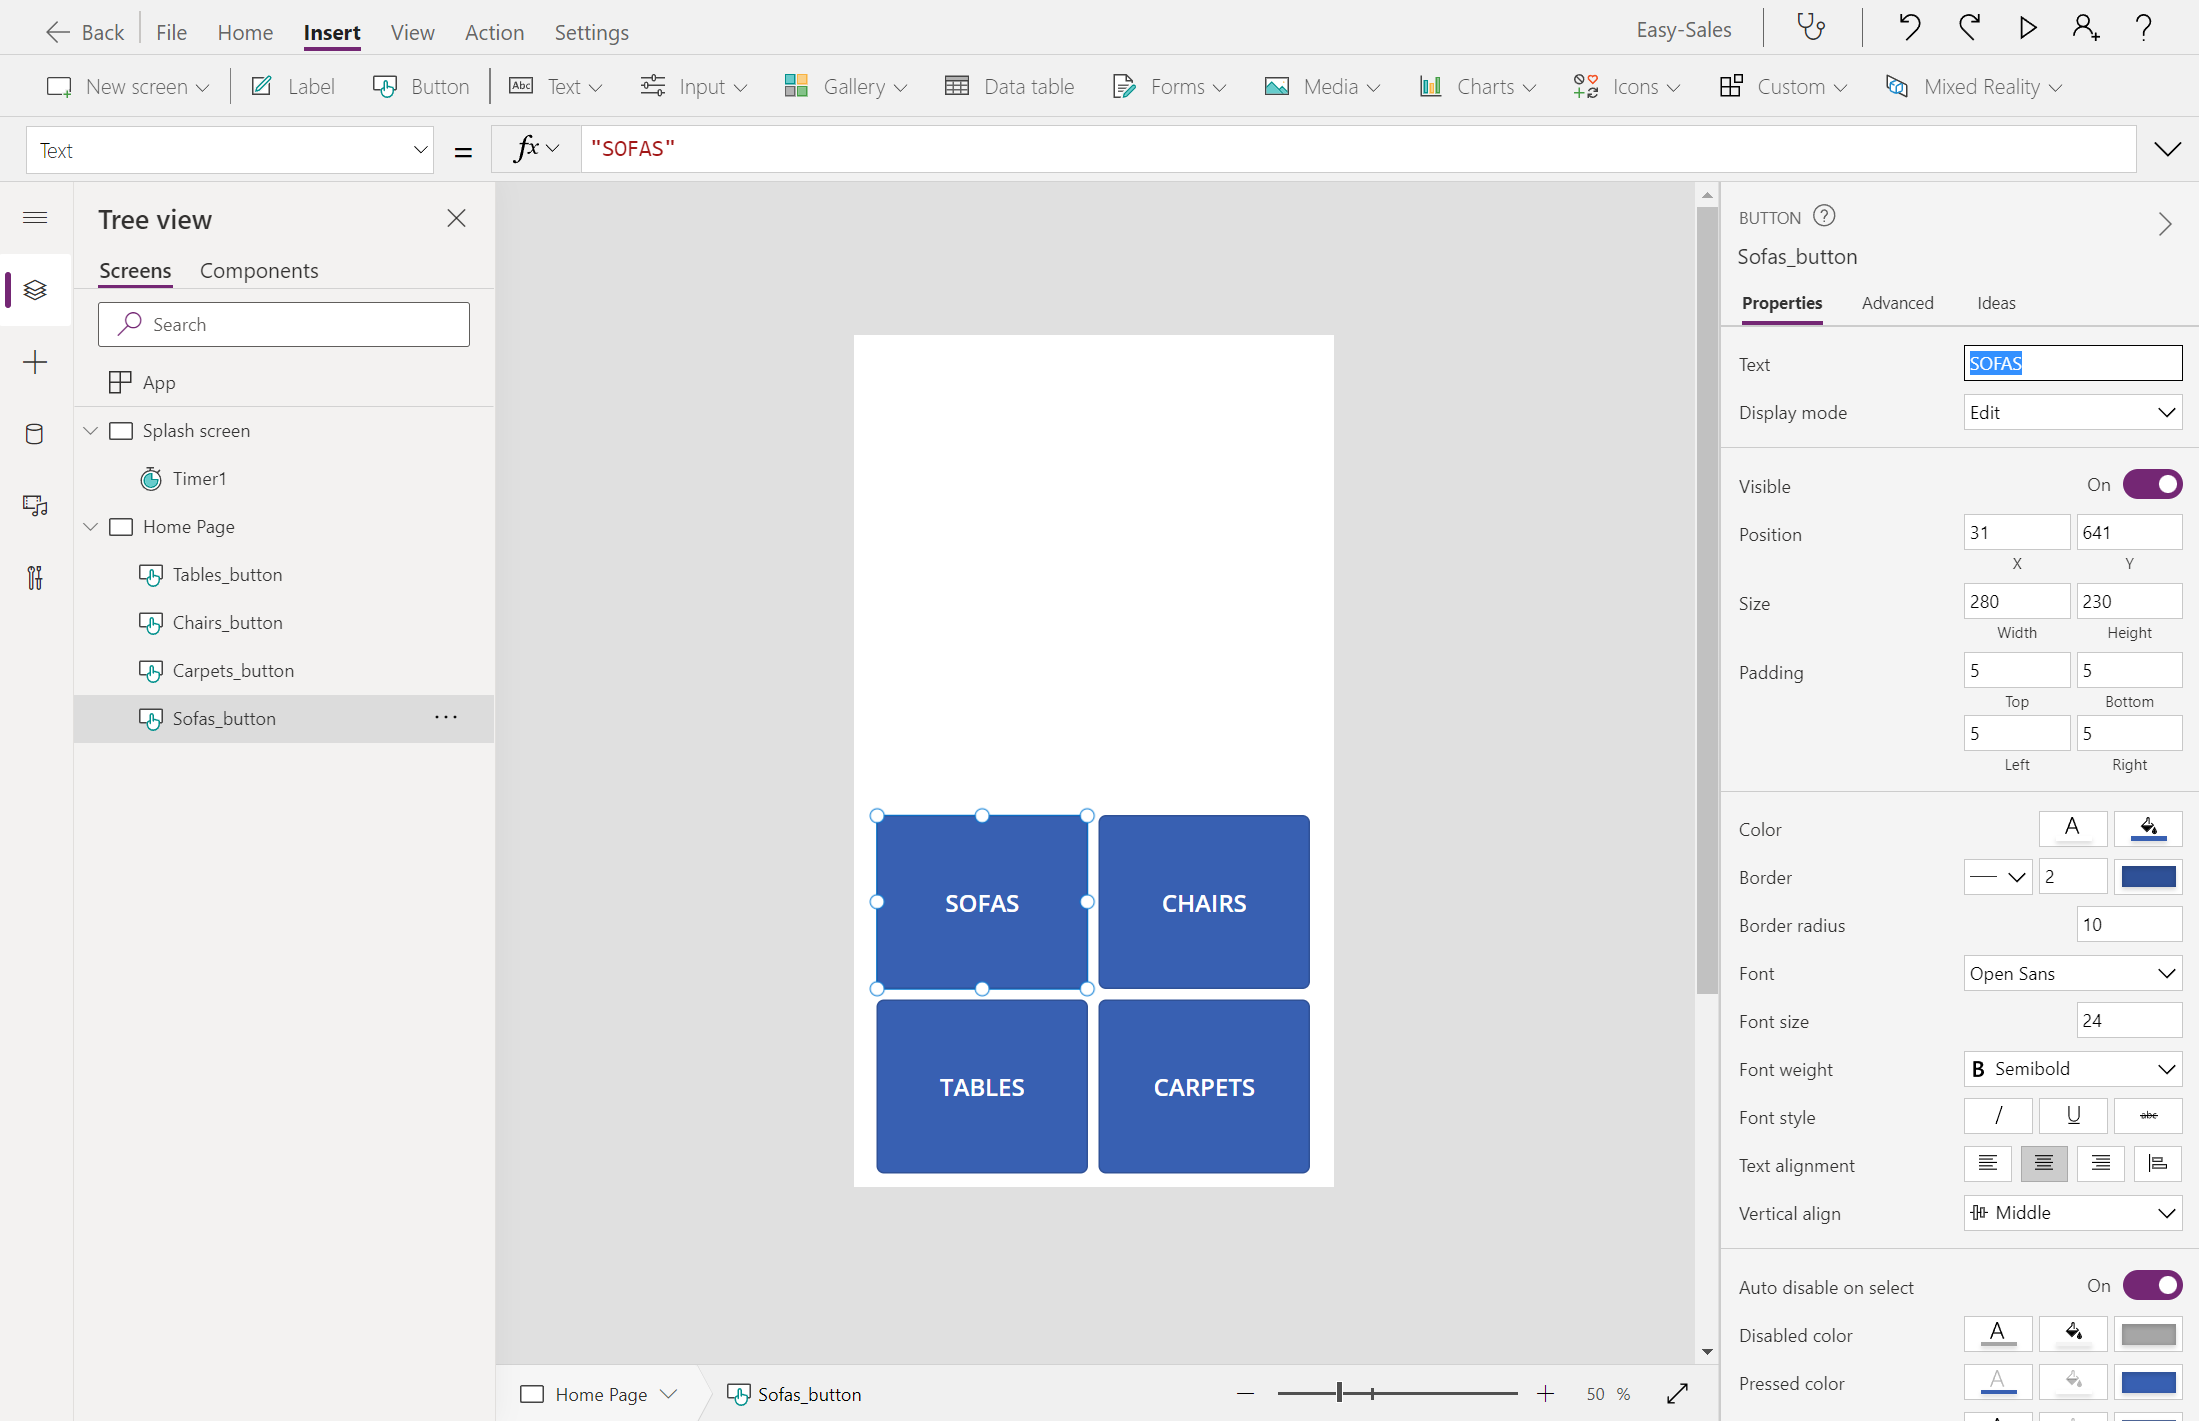
Change the display text of the buttons to indicate product categories such as Sofas, Chairs, Tables, and Carpets.
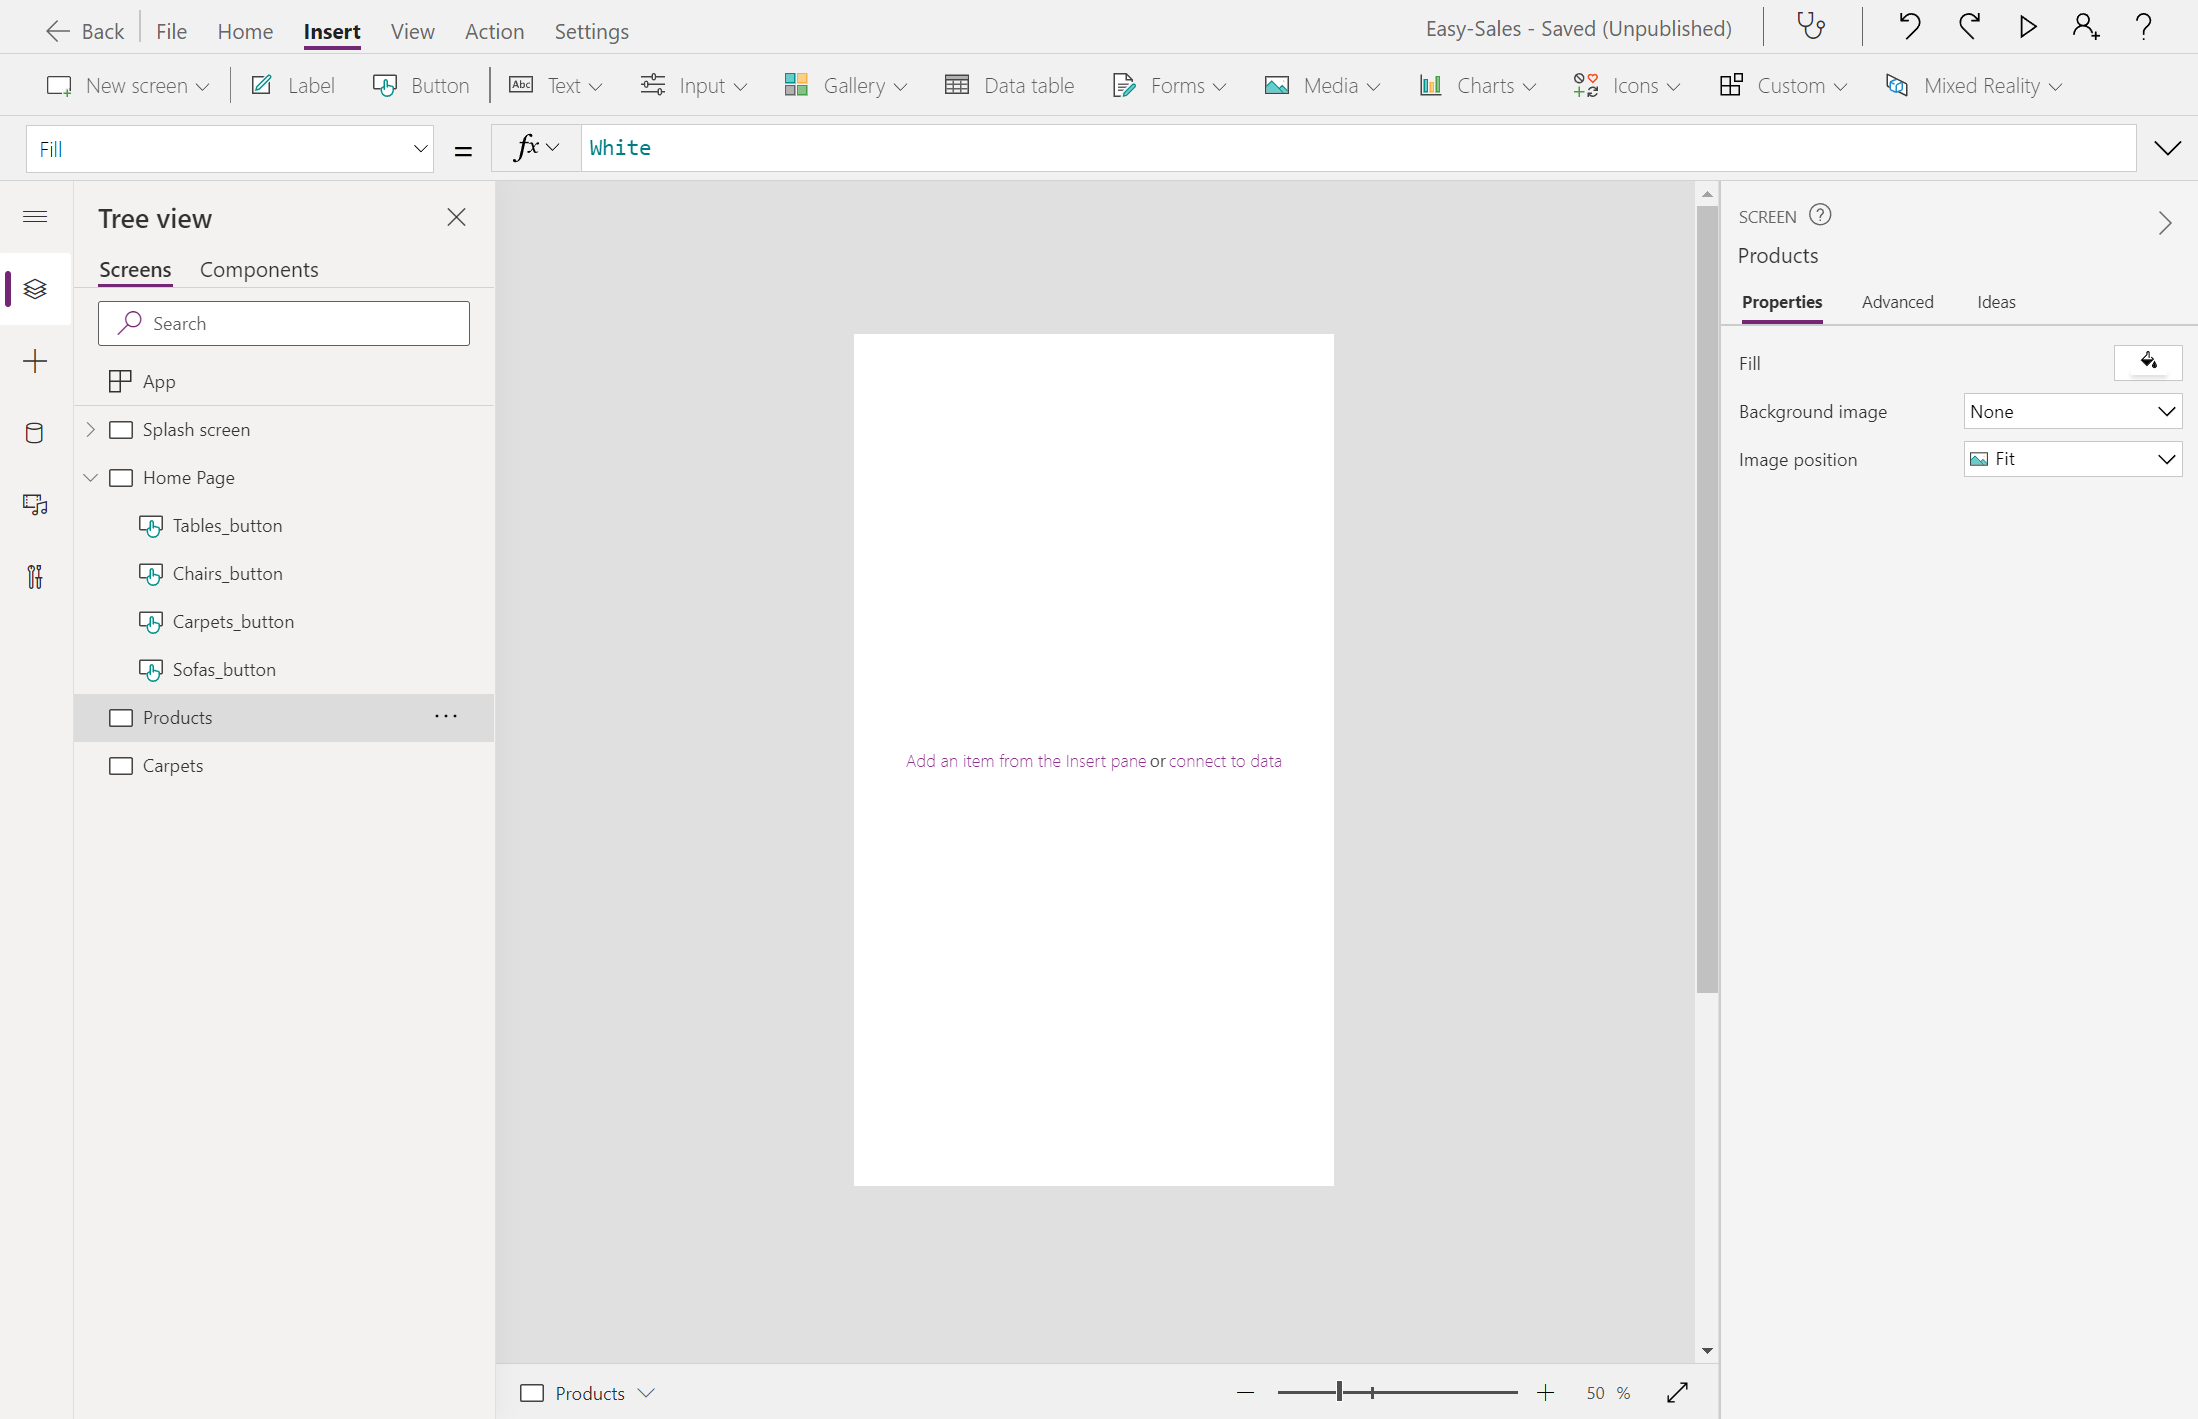
We'll use these buttons to navigate to the list of products under various categories. To do so, we need to filter out the products from the SharePoint list based on Product Category. Create two new Blank screens and rename them Products and Carpets.
Select the newly created Sofas_button button and configure the OnSelect property. After selecting the button, it needs to take us to the product list page created in the previous step. Replace the false with the following code:
Navigate(Products,ScreenTransition.Cover, {ID:1});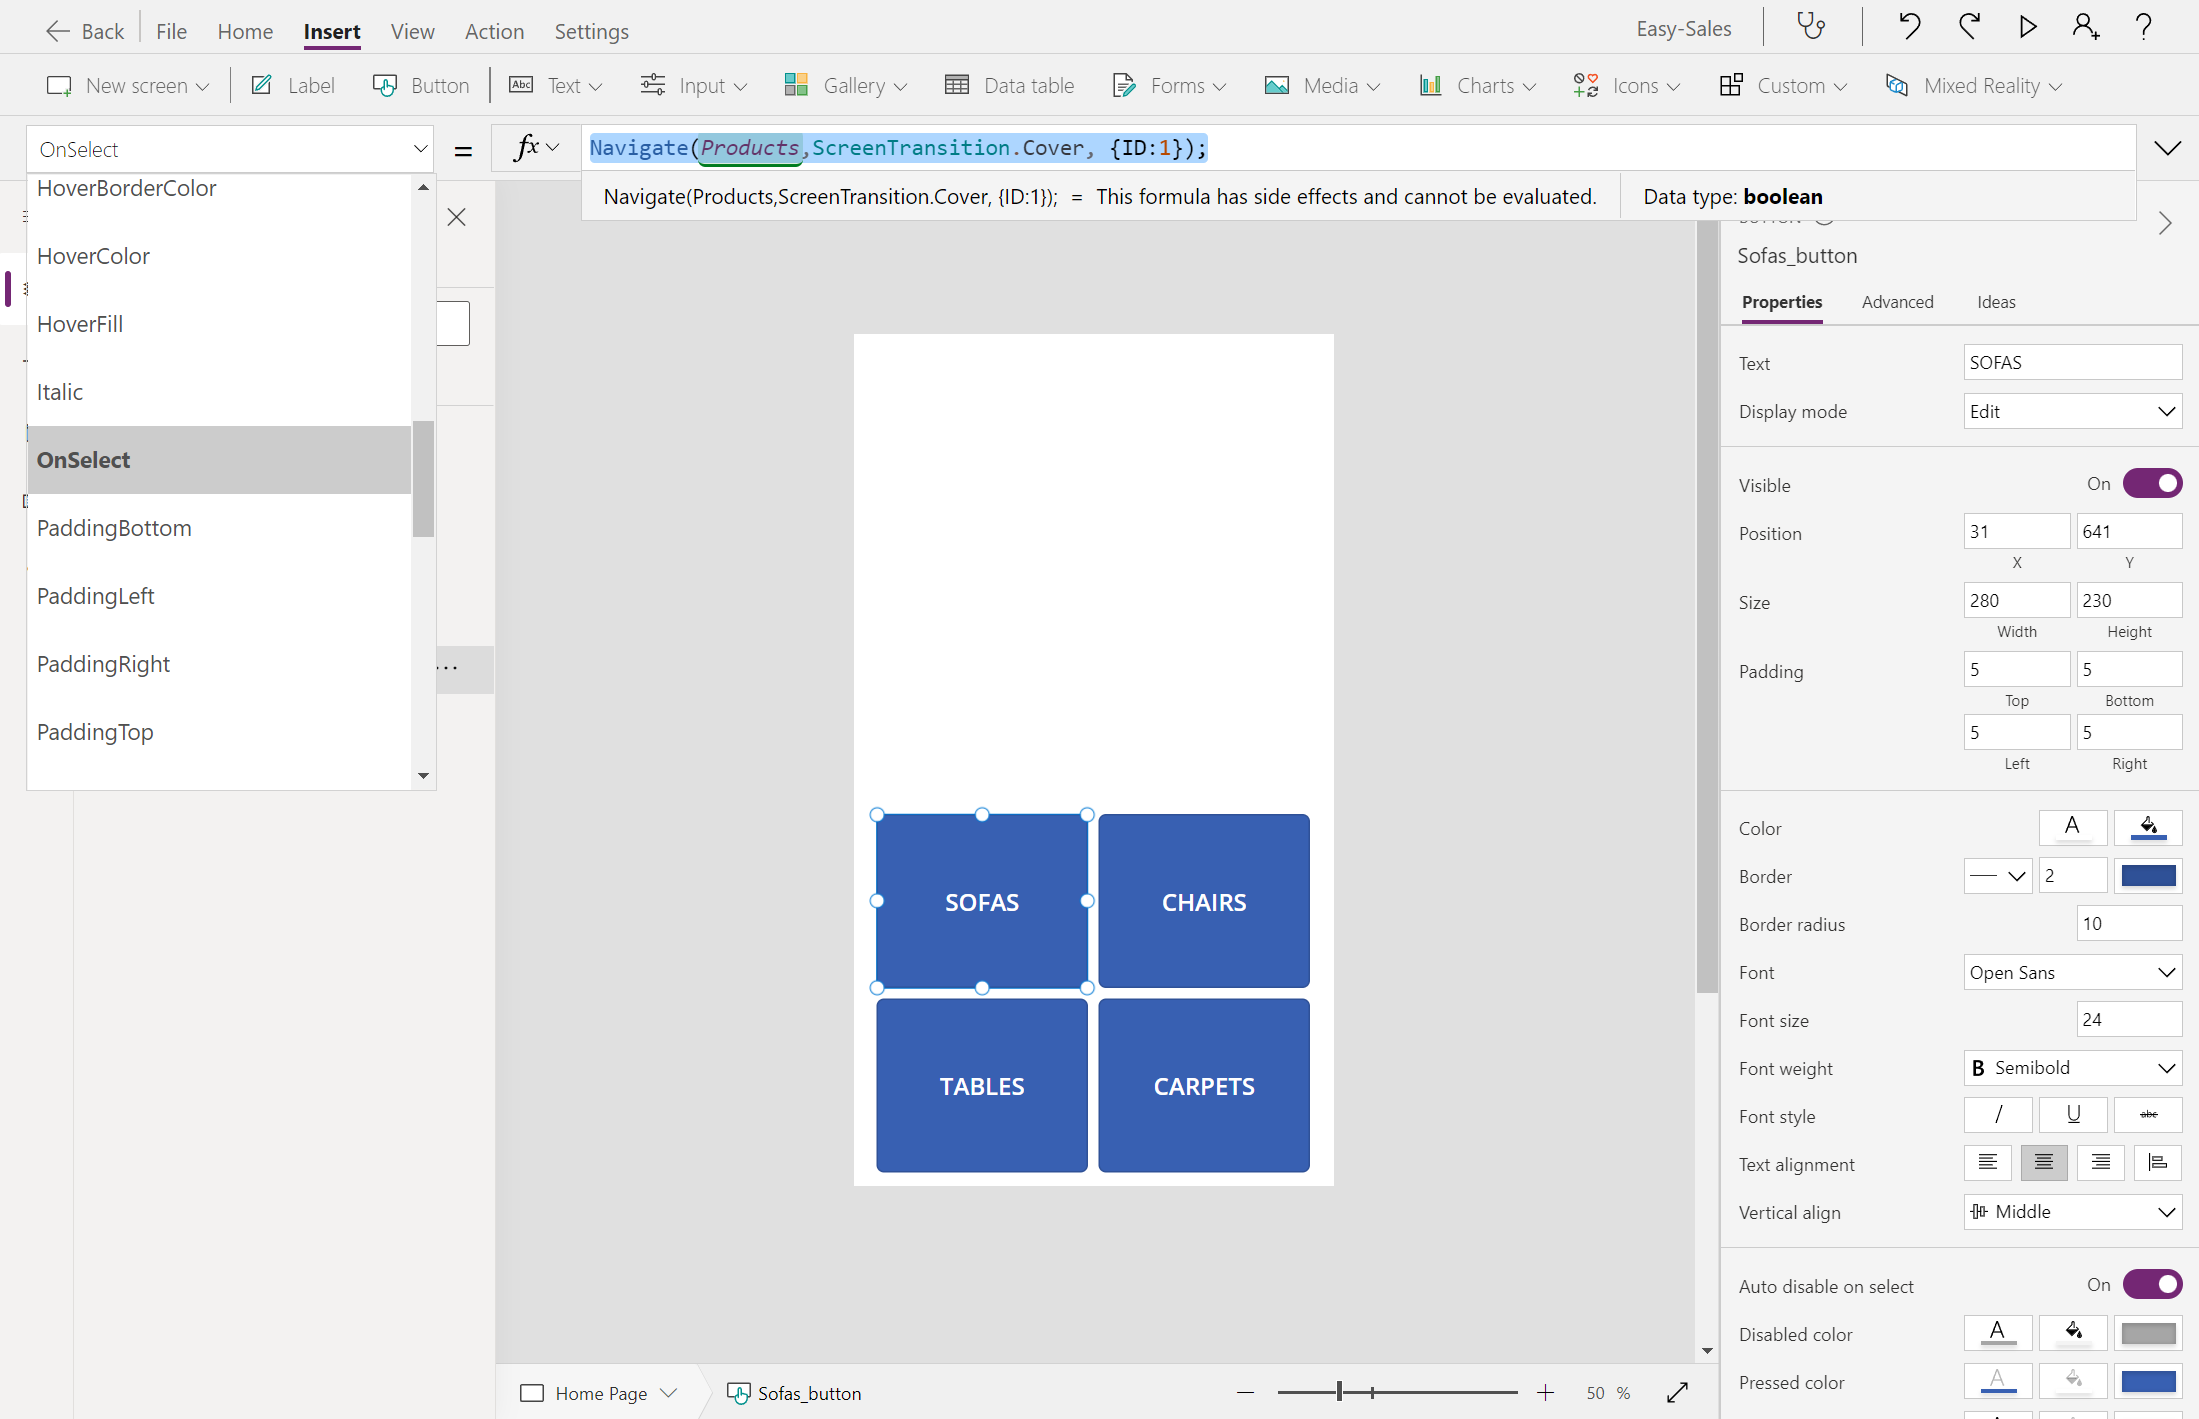
Note
The ID is a context variable with some assigned value. This value is passed on to the destination page mentioned in the Navigate function. The value assigned to the variable filters out the products based on Product Category.
Repeat the same procedure for the other three buttons. Again, make sure you provide proper screen names in the Navigate function; for example, to configure the OnSelect property of the Chairs, Tables, and Carpets buttons, use the Navigate function as follows:
Navigate(Products,ScreenTransition.Cover, {ID:2});Navigate(Products,ScreenTransition.Cover, {ID:3});Navigate(Carpets,ScreenTransition.Cover)Tip
To save your progress, select the File tab at the top and select the Save option. You can also use Ctrl+S to save your progress.
Note
The default syntax of the Navigate function is: Navigate(Screen [, Transition [, UpdateContextRecord]])
- Screen: Required. The screen to display.
- Transition: Optional. The visual transition to use between the current screen and the next screen. The default value is None.
- UpdateContextRecord: Optional. A record that contains the name of at least one column and a value for each column. This record updates the context variables of the new screen as if passed to the UpdateContext function.
Tip
You can test your application by pressing the F5 key on the keyboard or clicking the Play button at the top-right corner of Power Apps Studio.


Use Gallery control
Now that we've added the product categories, we'll display the list of products under each category. In Power Apps, we use Gallery control to see a record of data.
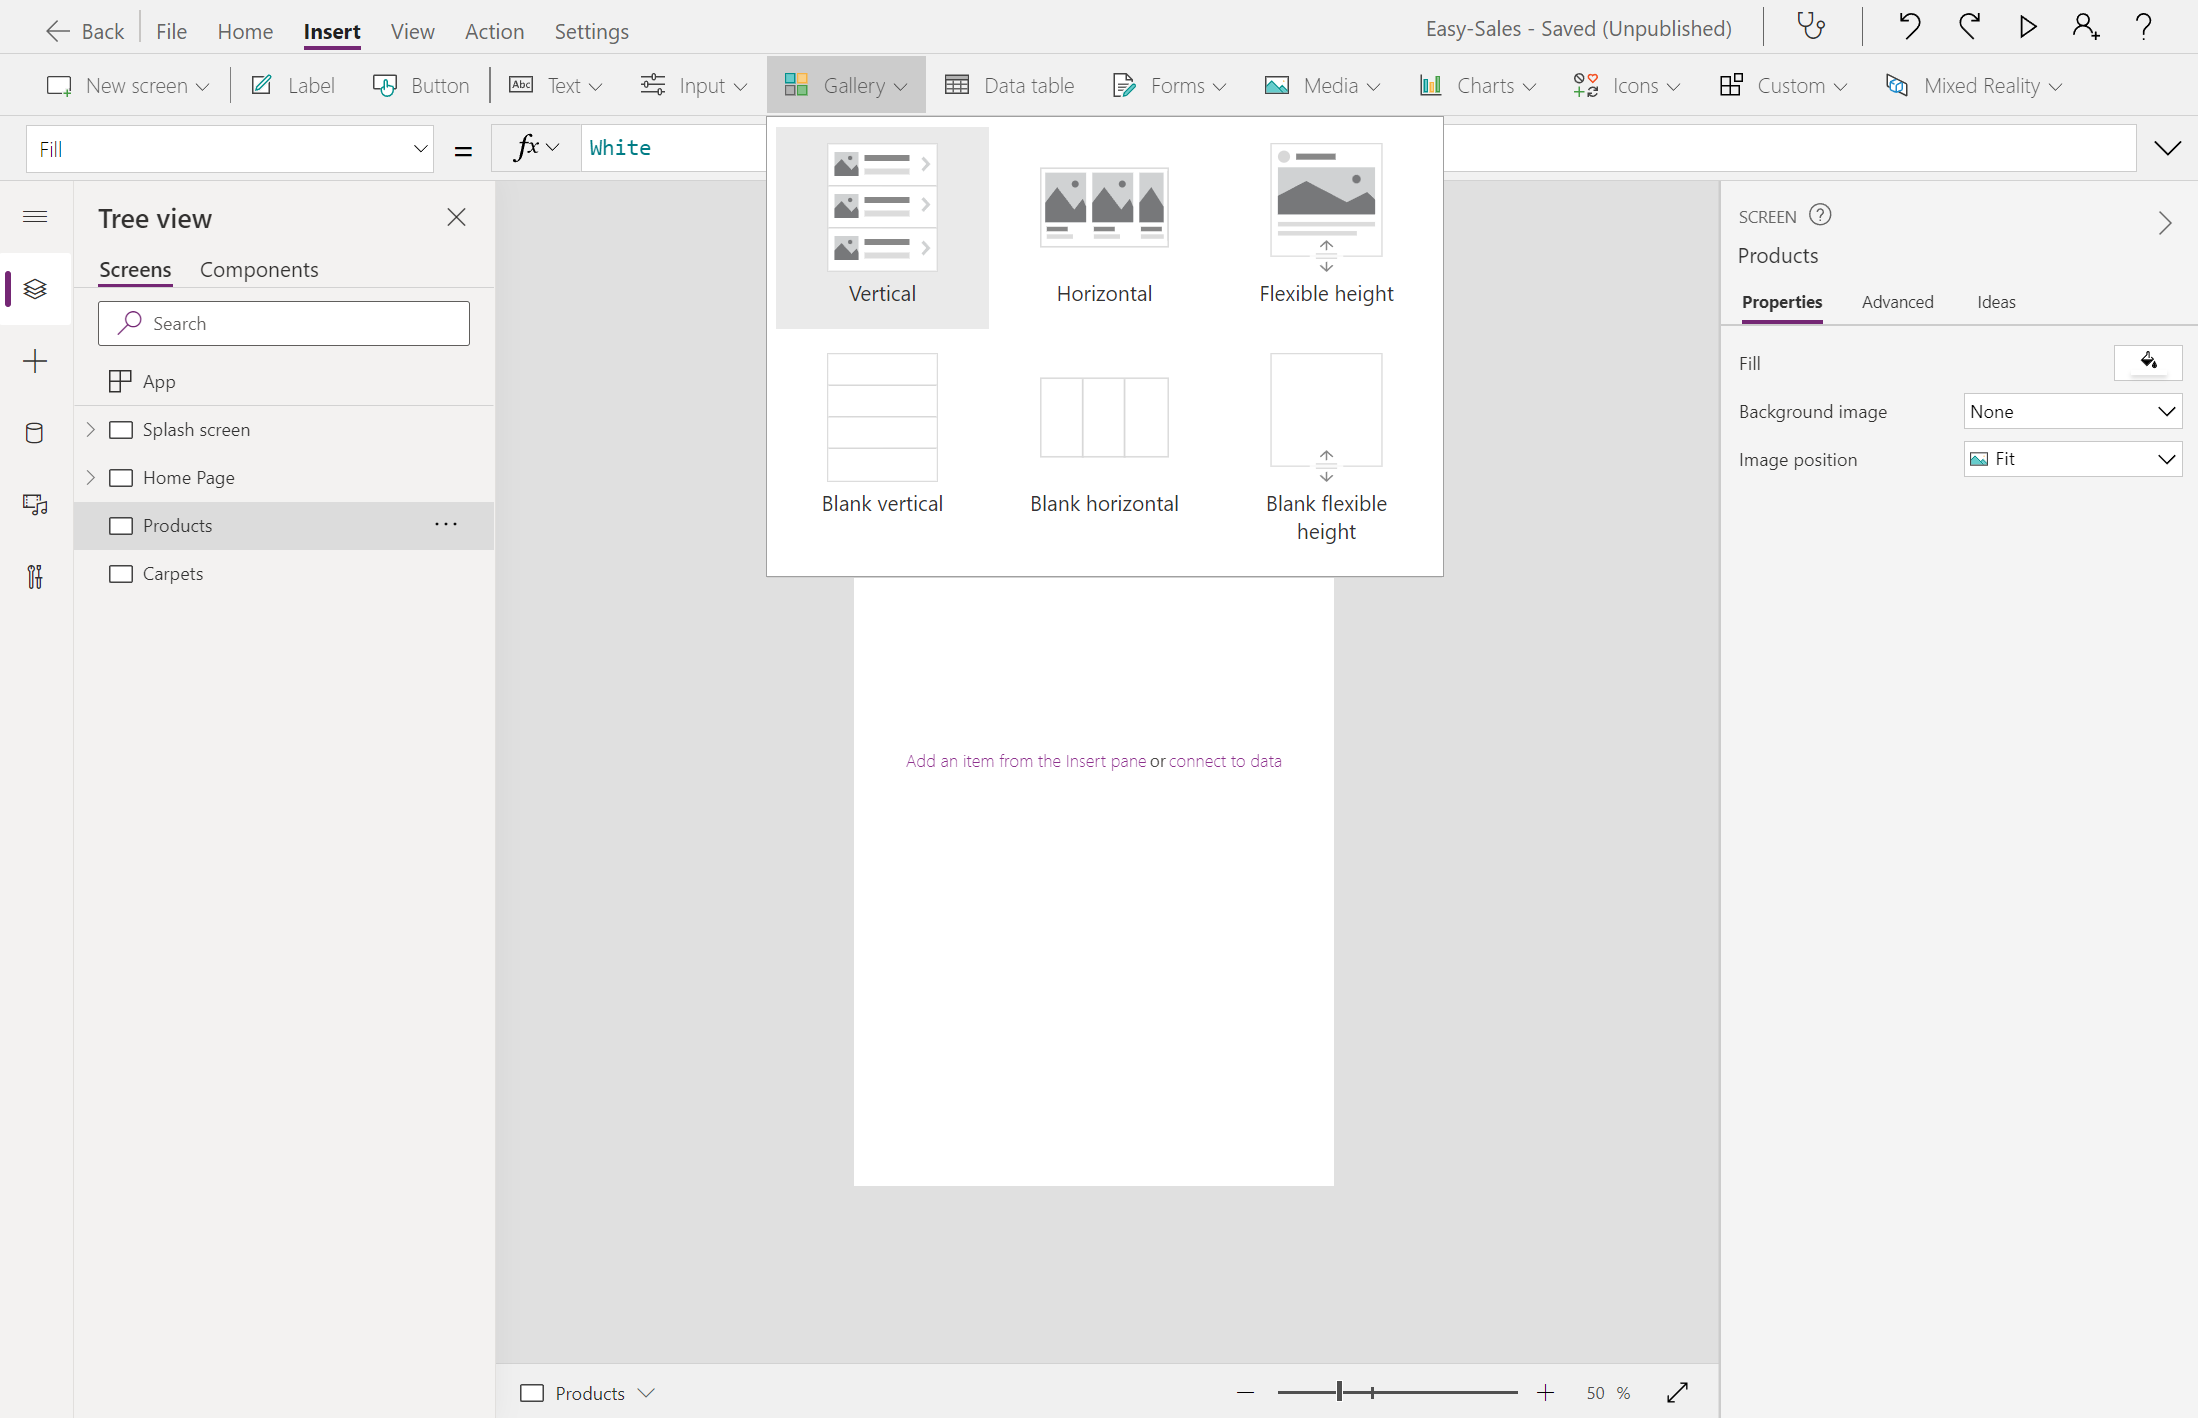
In the Products screen, on the Insert tab, select Gallery > Vertical to add Gallery control to your screen.
Rename it to Gallery_products. On the Properties tab of the left-hand pane, configure the Items property as follows:
If(
ID = 1,
Filter('Easy Sales',(ProductCategory = "Sofa")),
ID = 2,
Filter('Easy Sales',(ProductCategory = "Chair")),
ID = 3,
Filter('Easy Sales',(ProductCategory = "Table")),
ID = 4,
Filter('Easy Sales',(ProductCategory = "Carpet")))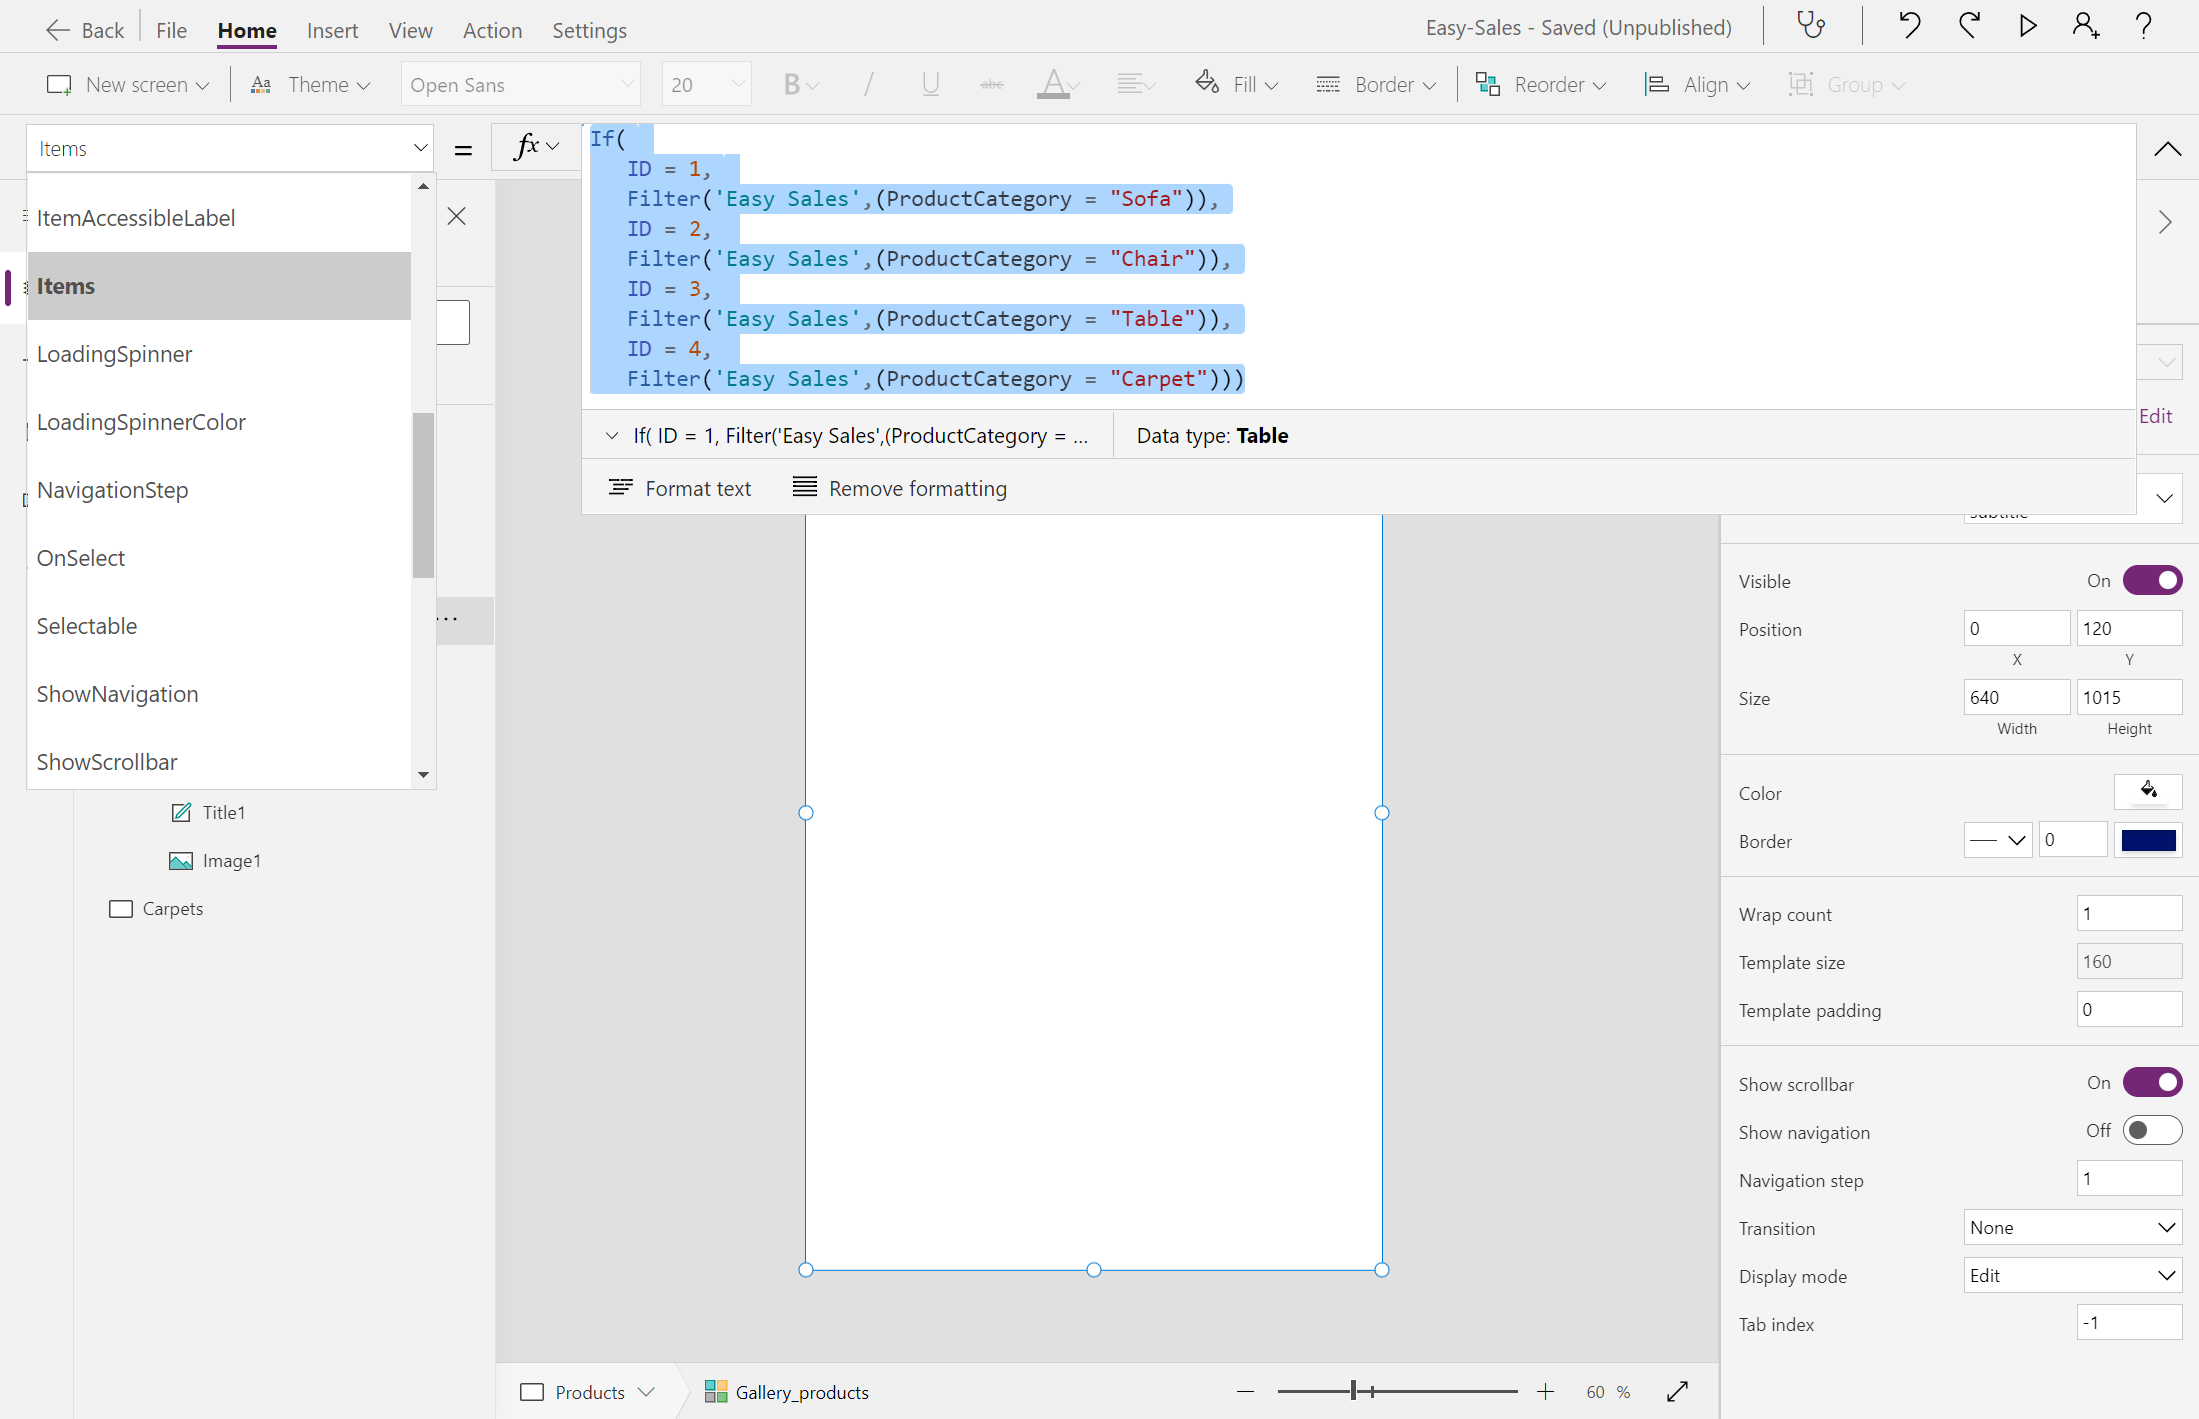
We filter the Products stored in the SharePoint list based on the Product Category. The context variables are used for the filtering process.
Configure the Gallery > Fields property in the Properties pane by selecting Edit:
Assign the Price to the Subtitle1 heading.
Assign the Title to the Title1 heading.
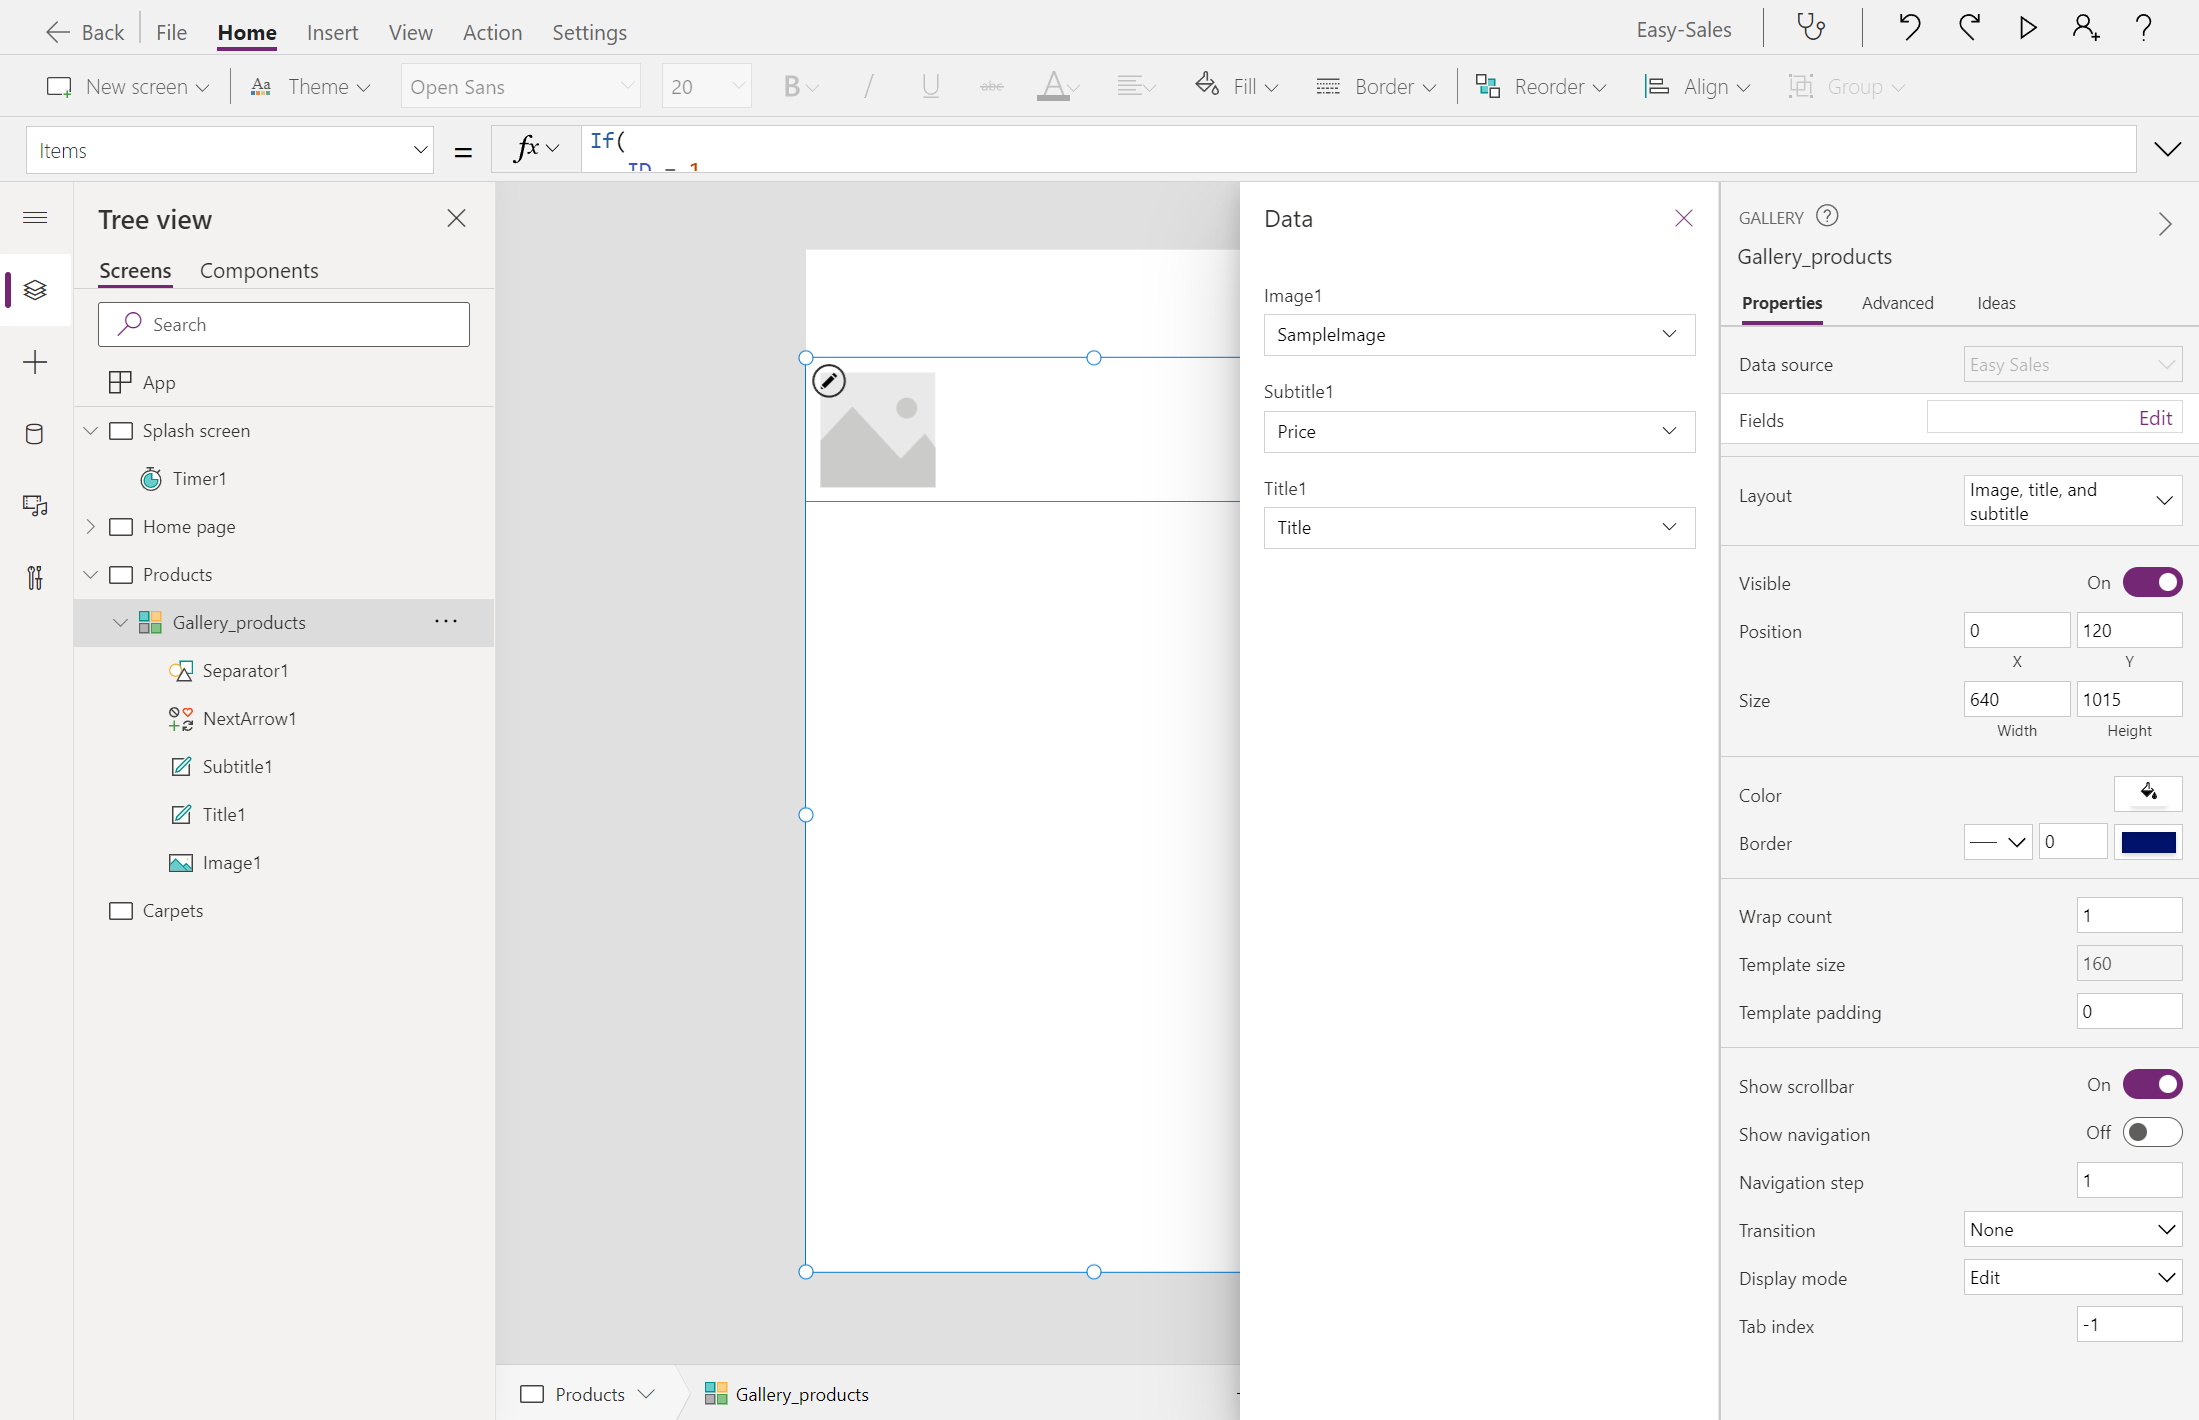
On assigning the preceding fields, you'll observe data getting reflected in your Gallery.
Adjust the size of the Gallery_products as required. To add the ImageLink to the Image1 heading, select the Image in the gallery and configure the Image property on the Property tab by adding this line of code:
ThisItem.ImageLink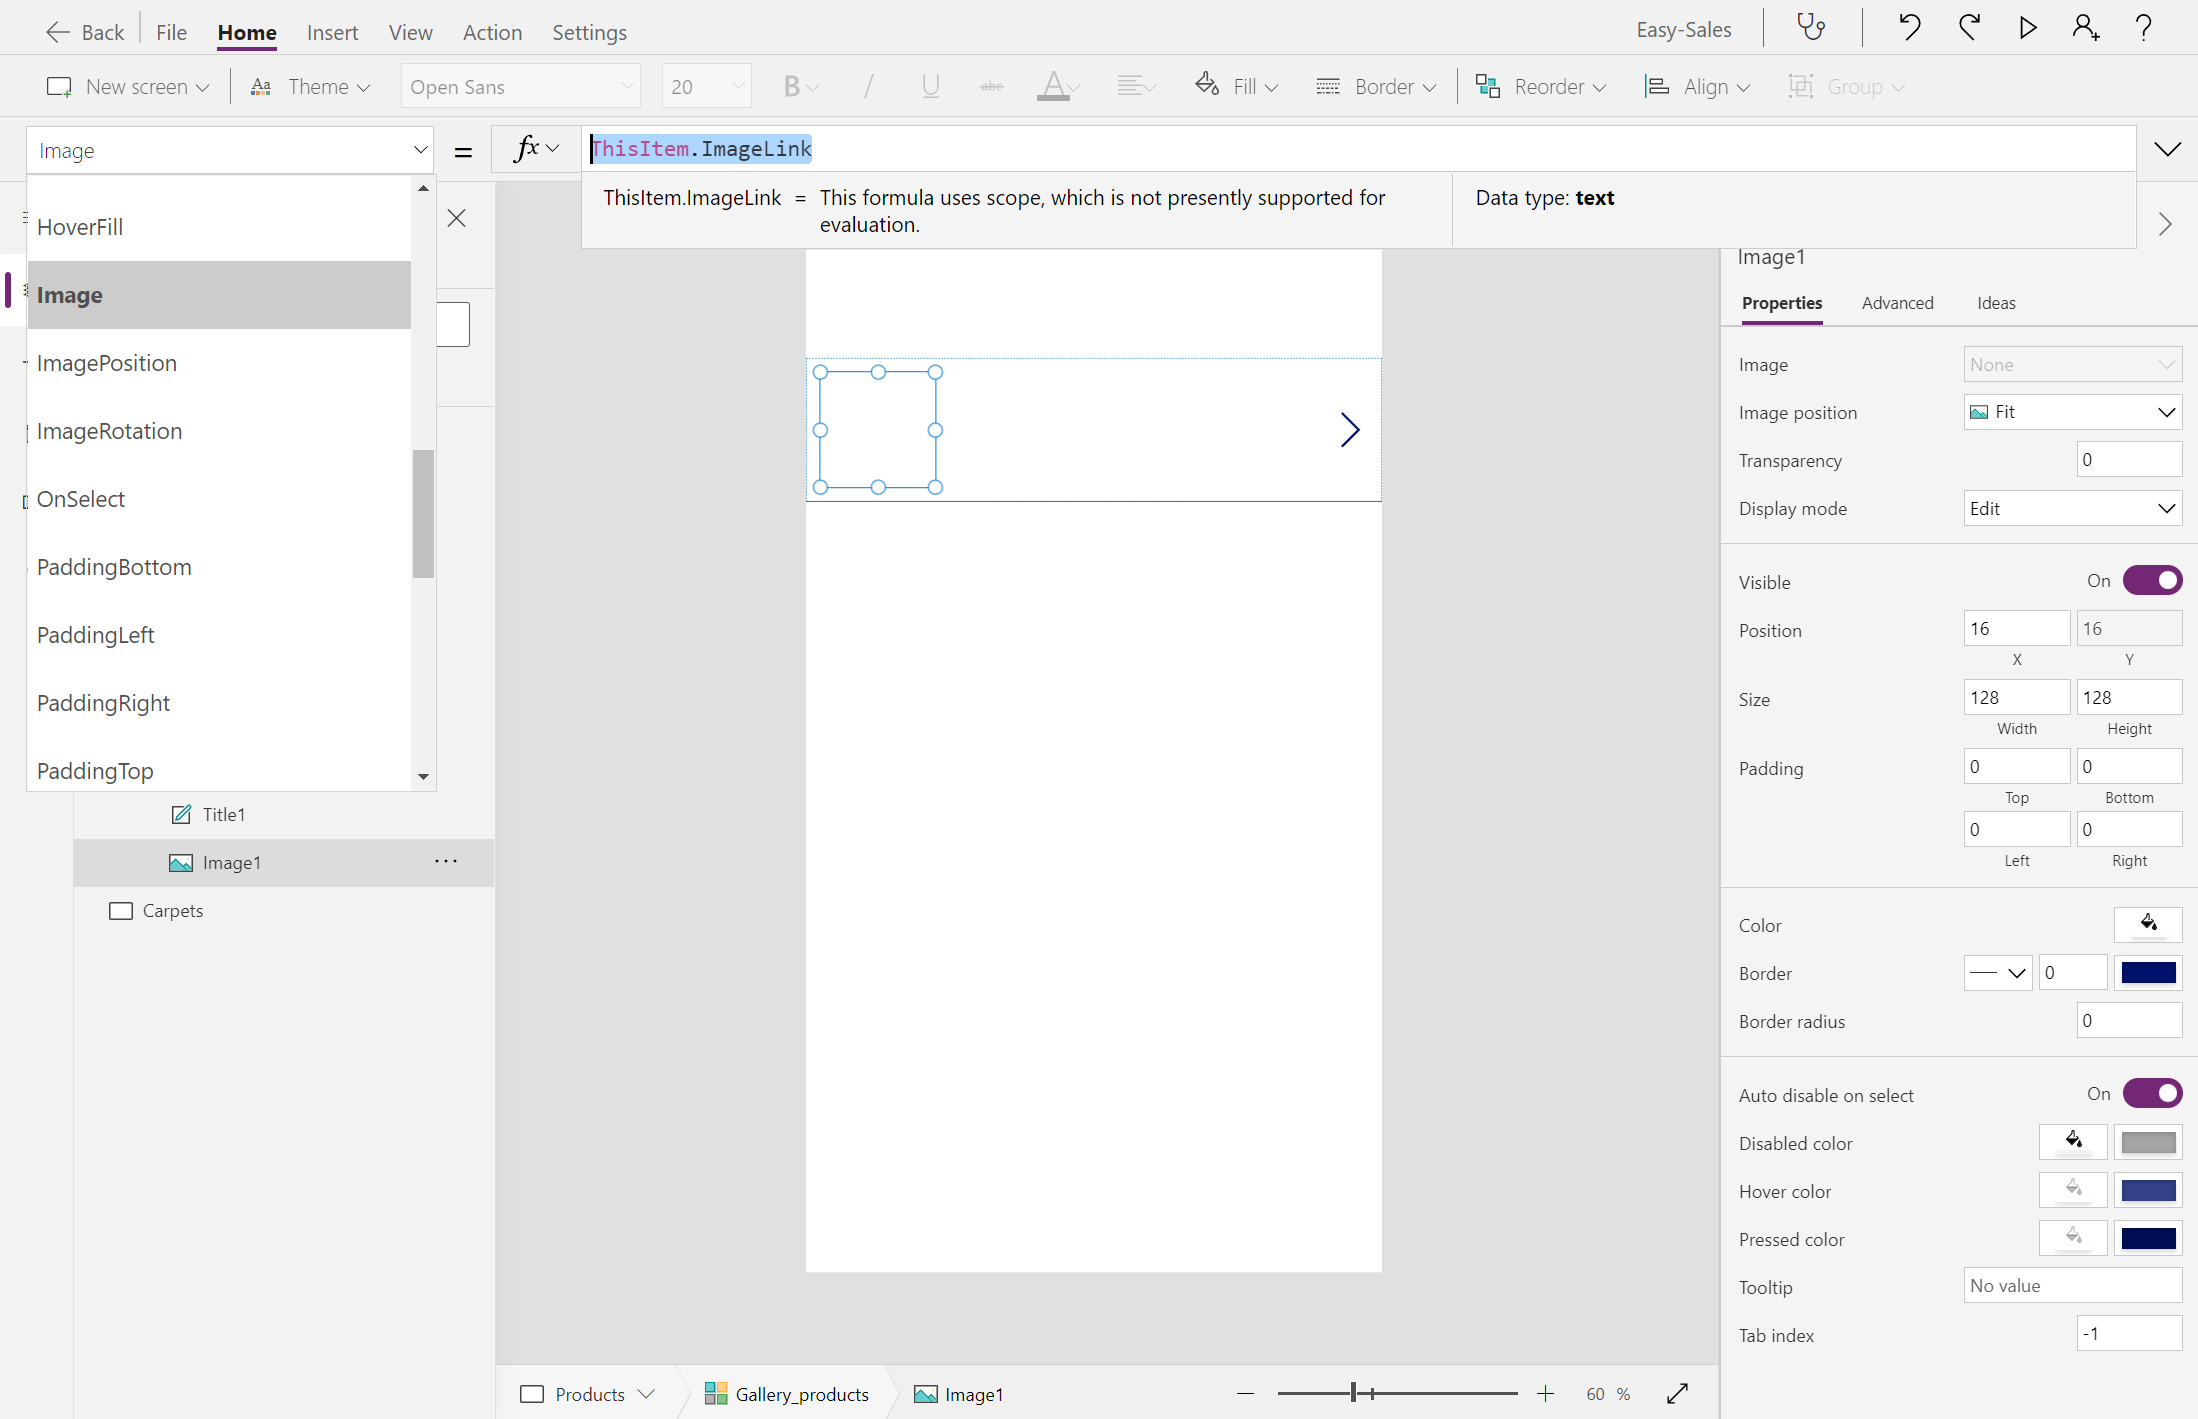
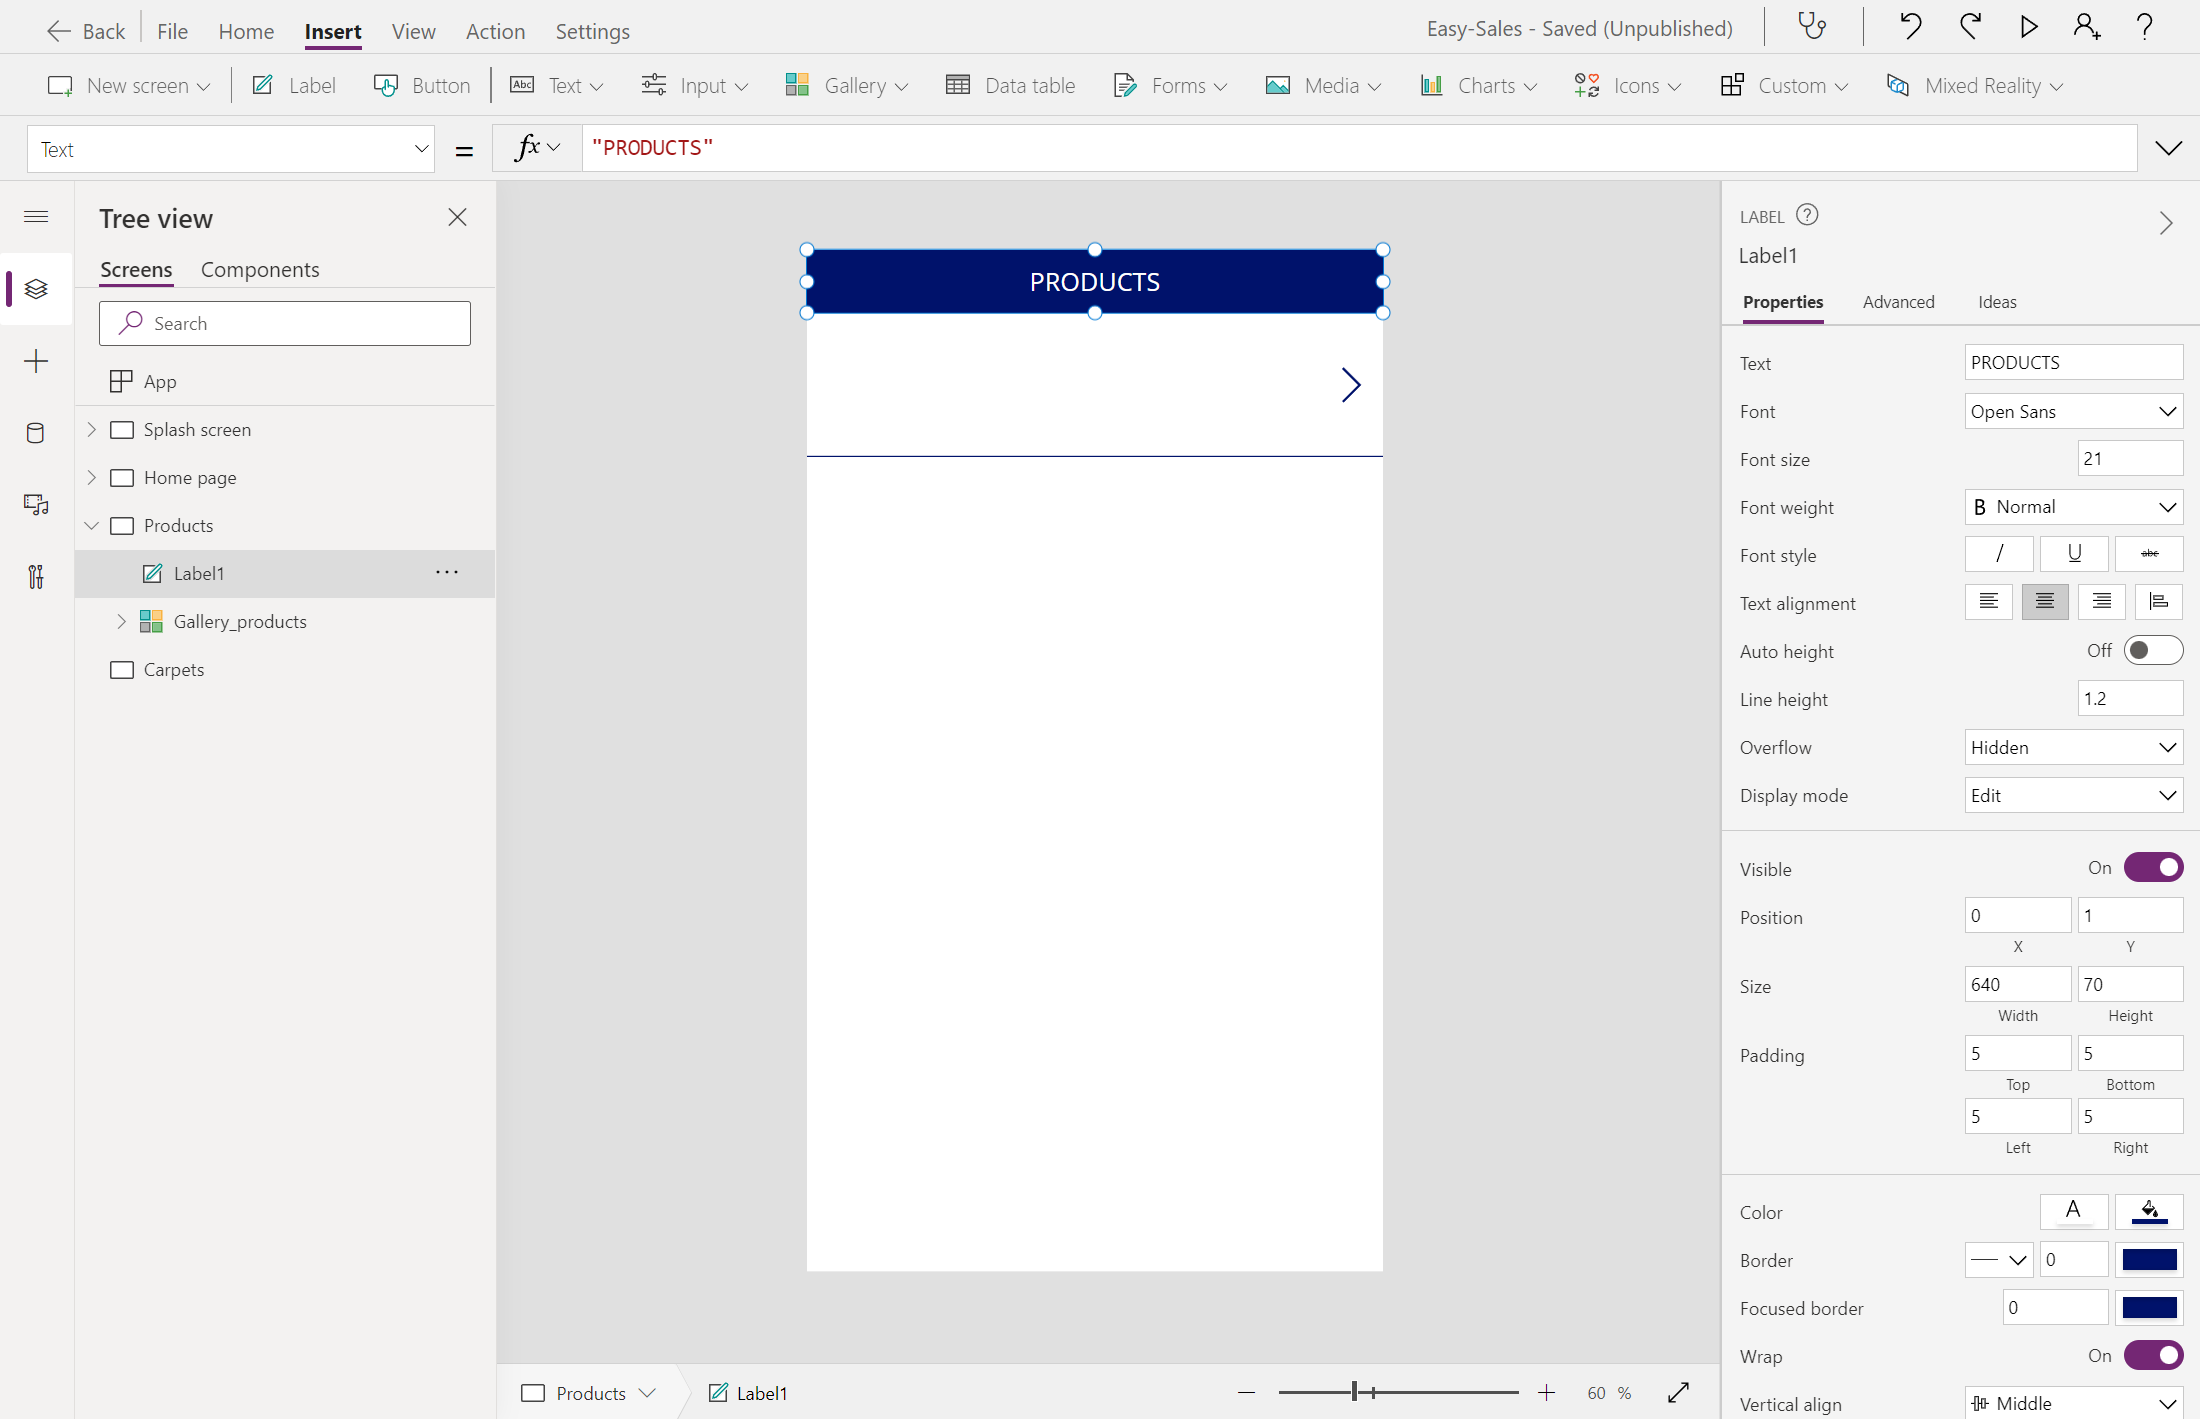
Now, let's insert a label at the top of the screen by selecting the Label option. Then, customize the position, color, and text display as shown in the figure:
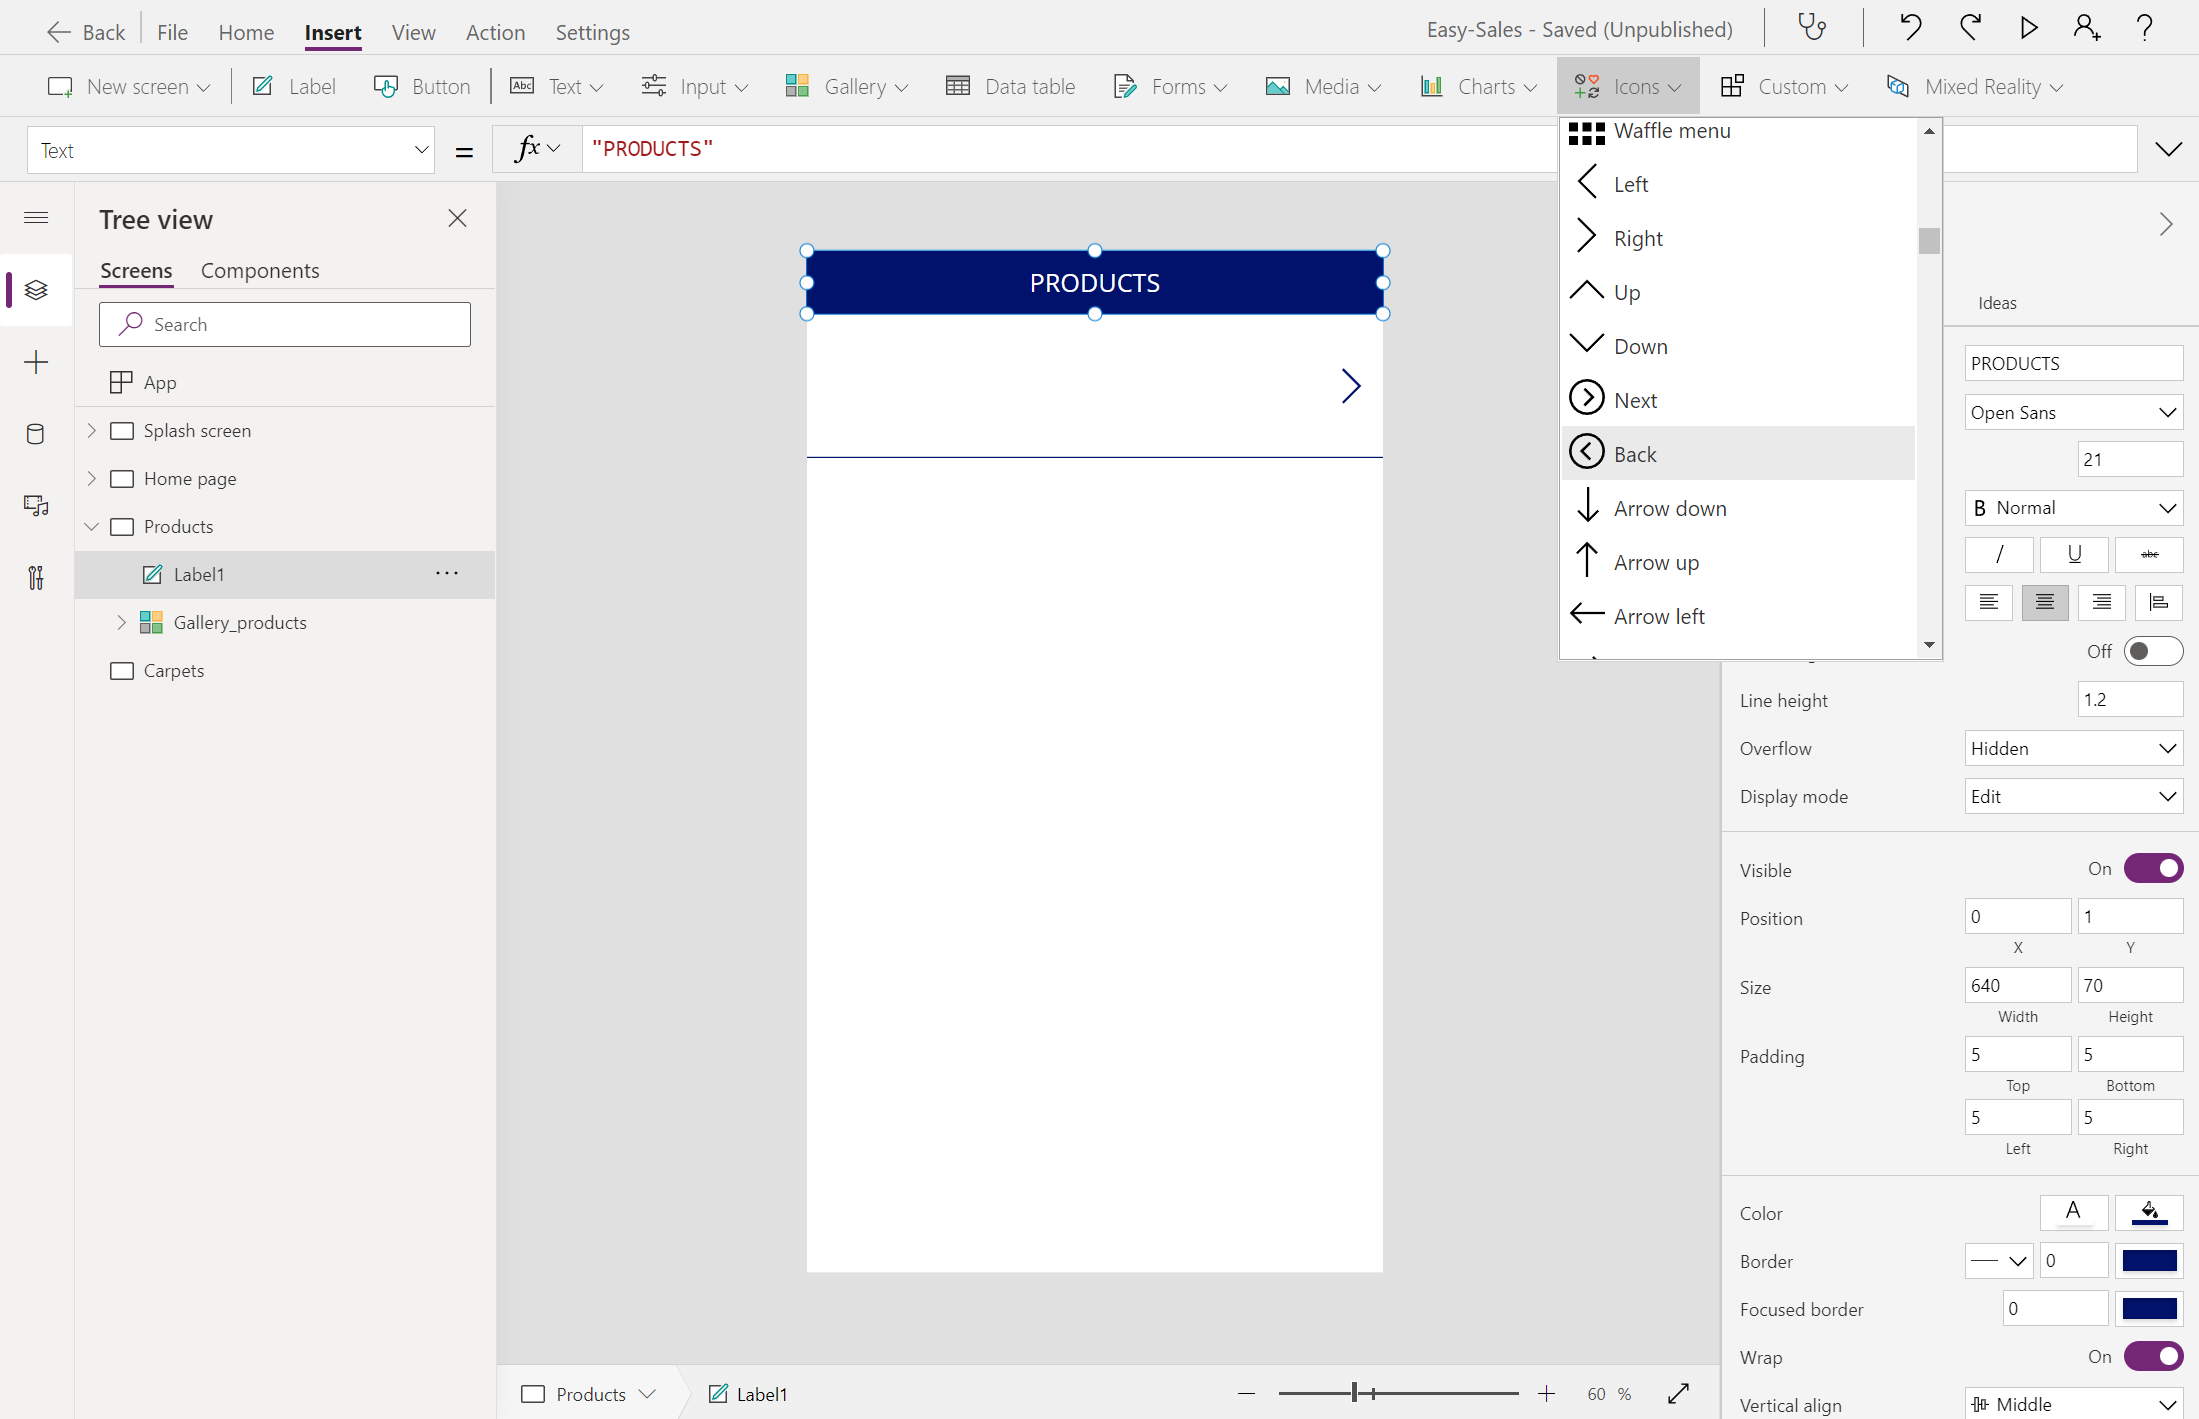
Add a Back icon over the previously added Label to help the user navigate to the Home Page when required. To add the Back icon, expand the Icons dropdown and select the Back icon.
Position the Back icon correctly and change its display color, if required. Configure its OnSelect property by adding the following:
Navigate('Home Page',ScreenTransition.Cover)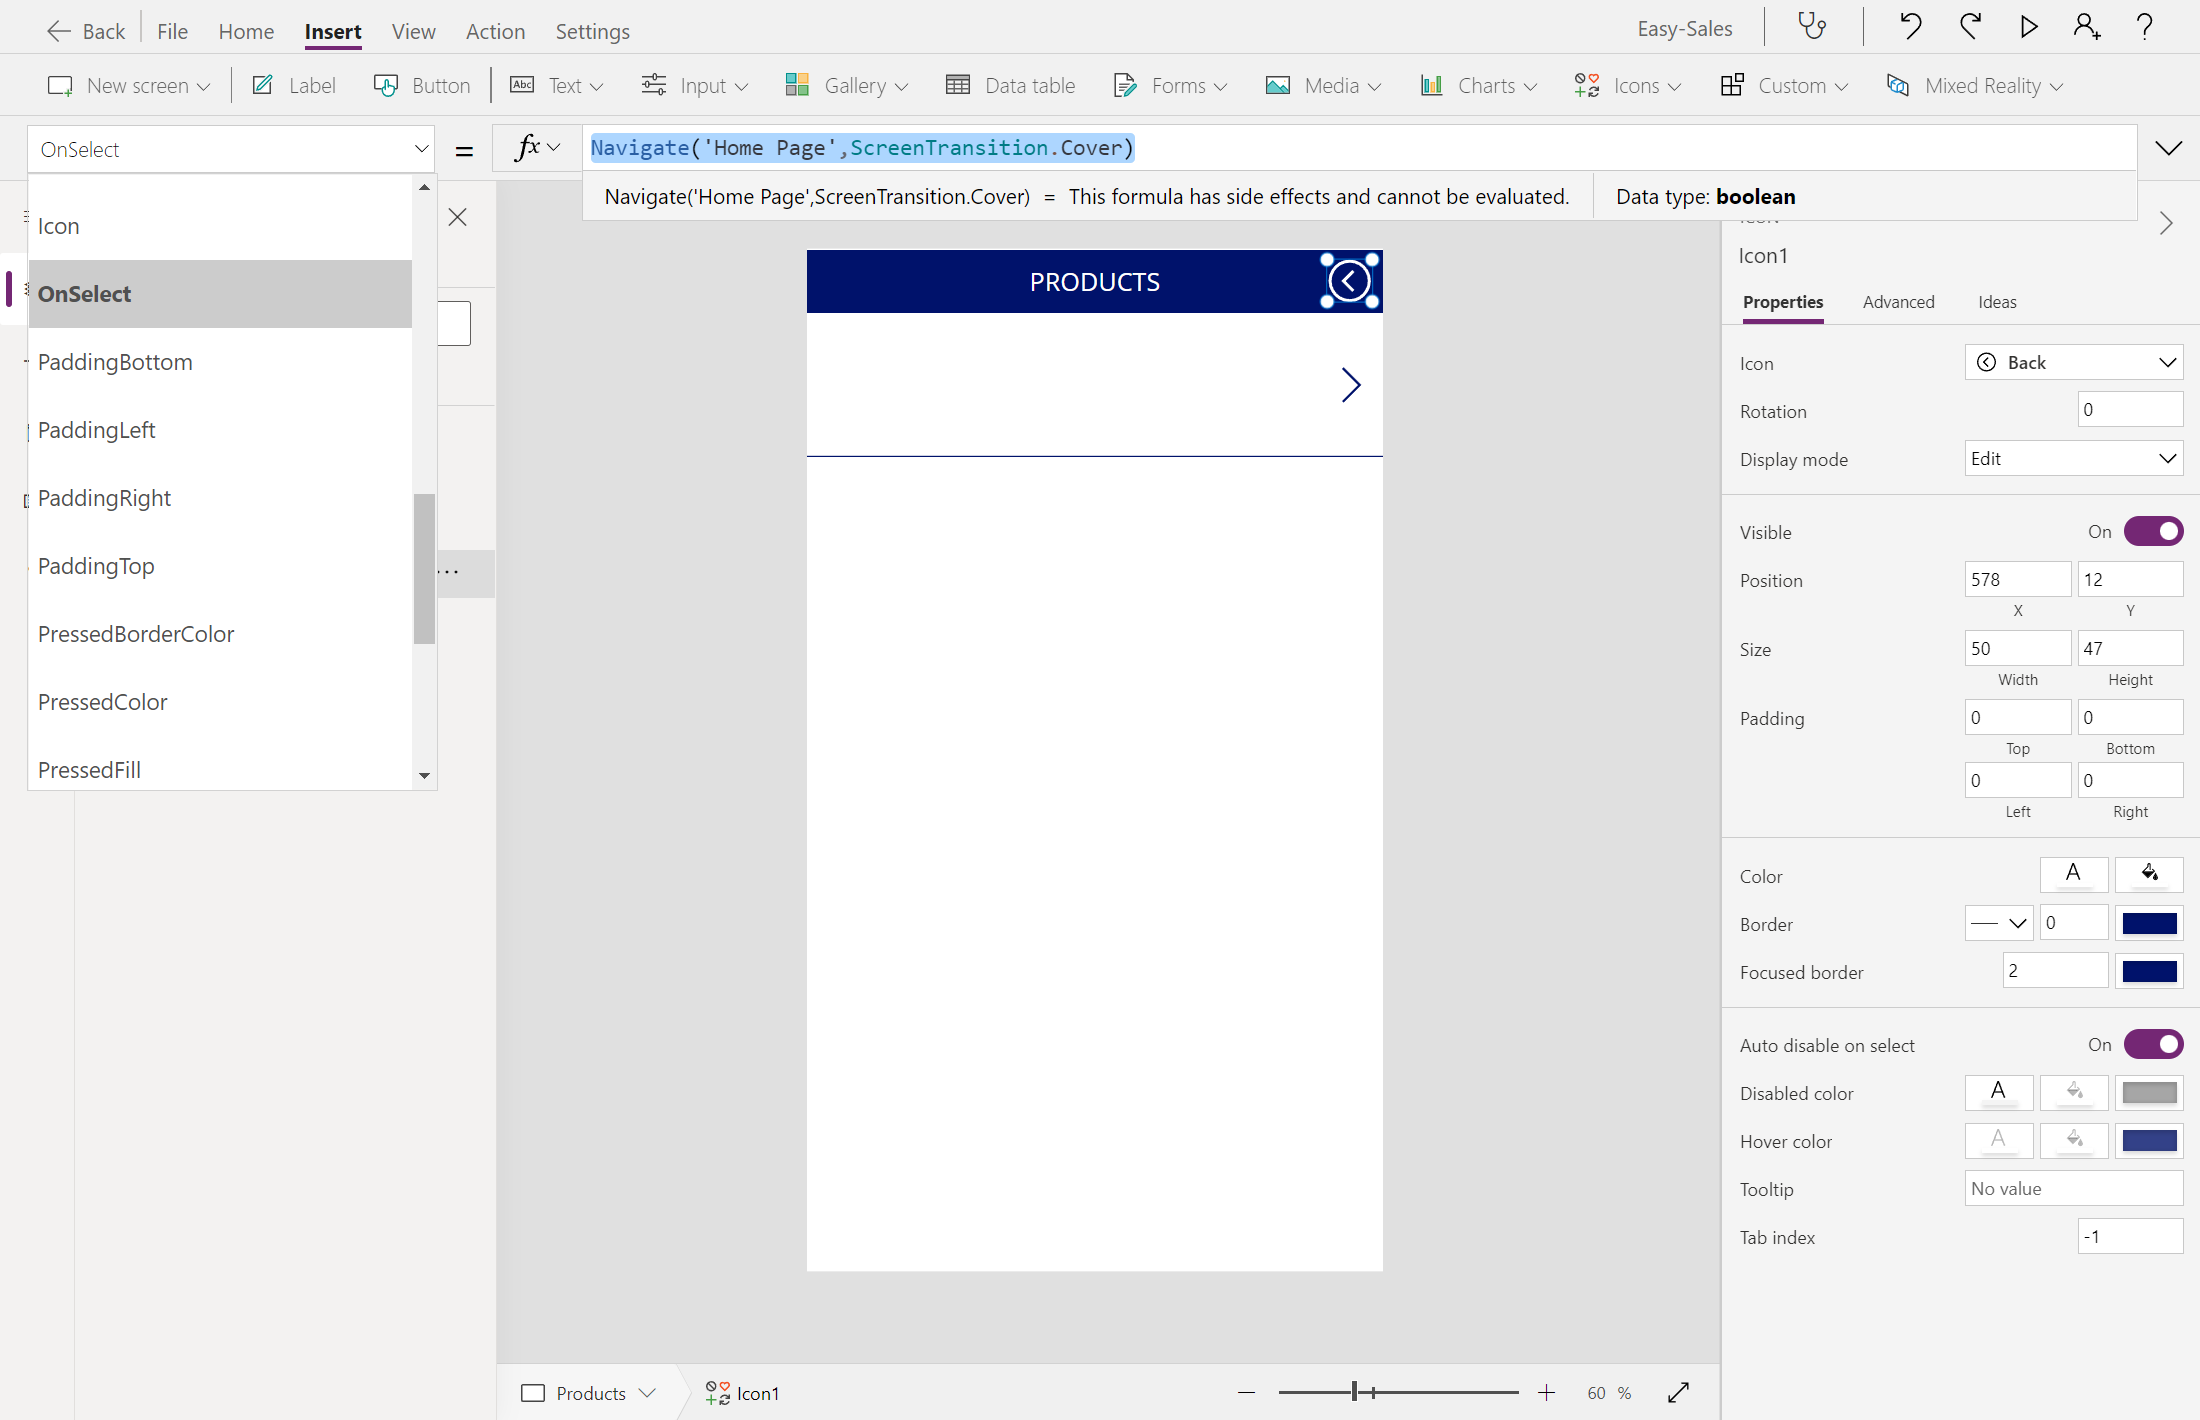
Follow the same procedure for the Carpets page. Configure the Items property of the gallery added to the Carpets page in the following way:
Filter('Easy Sales',ProductCategory = "Carpet")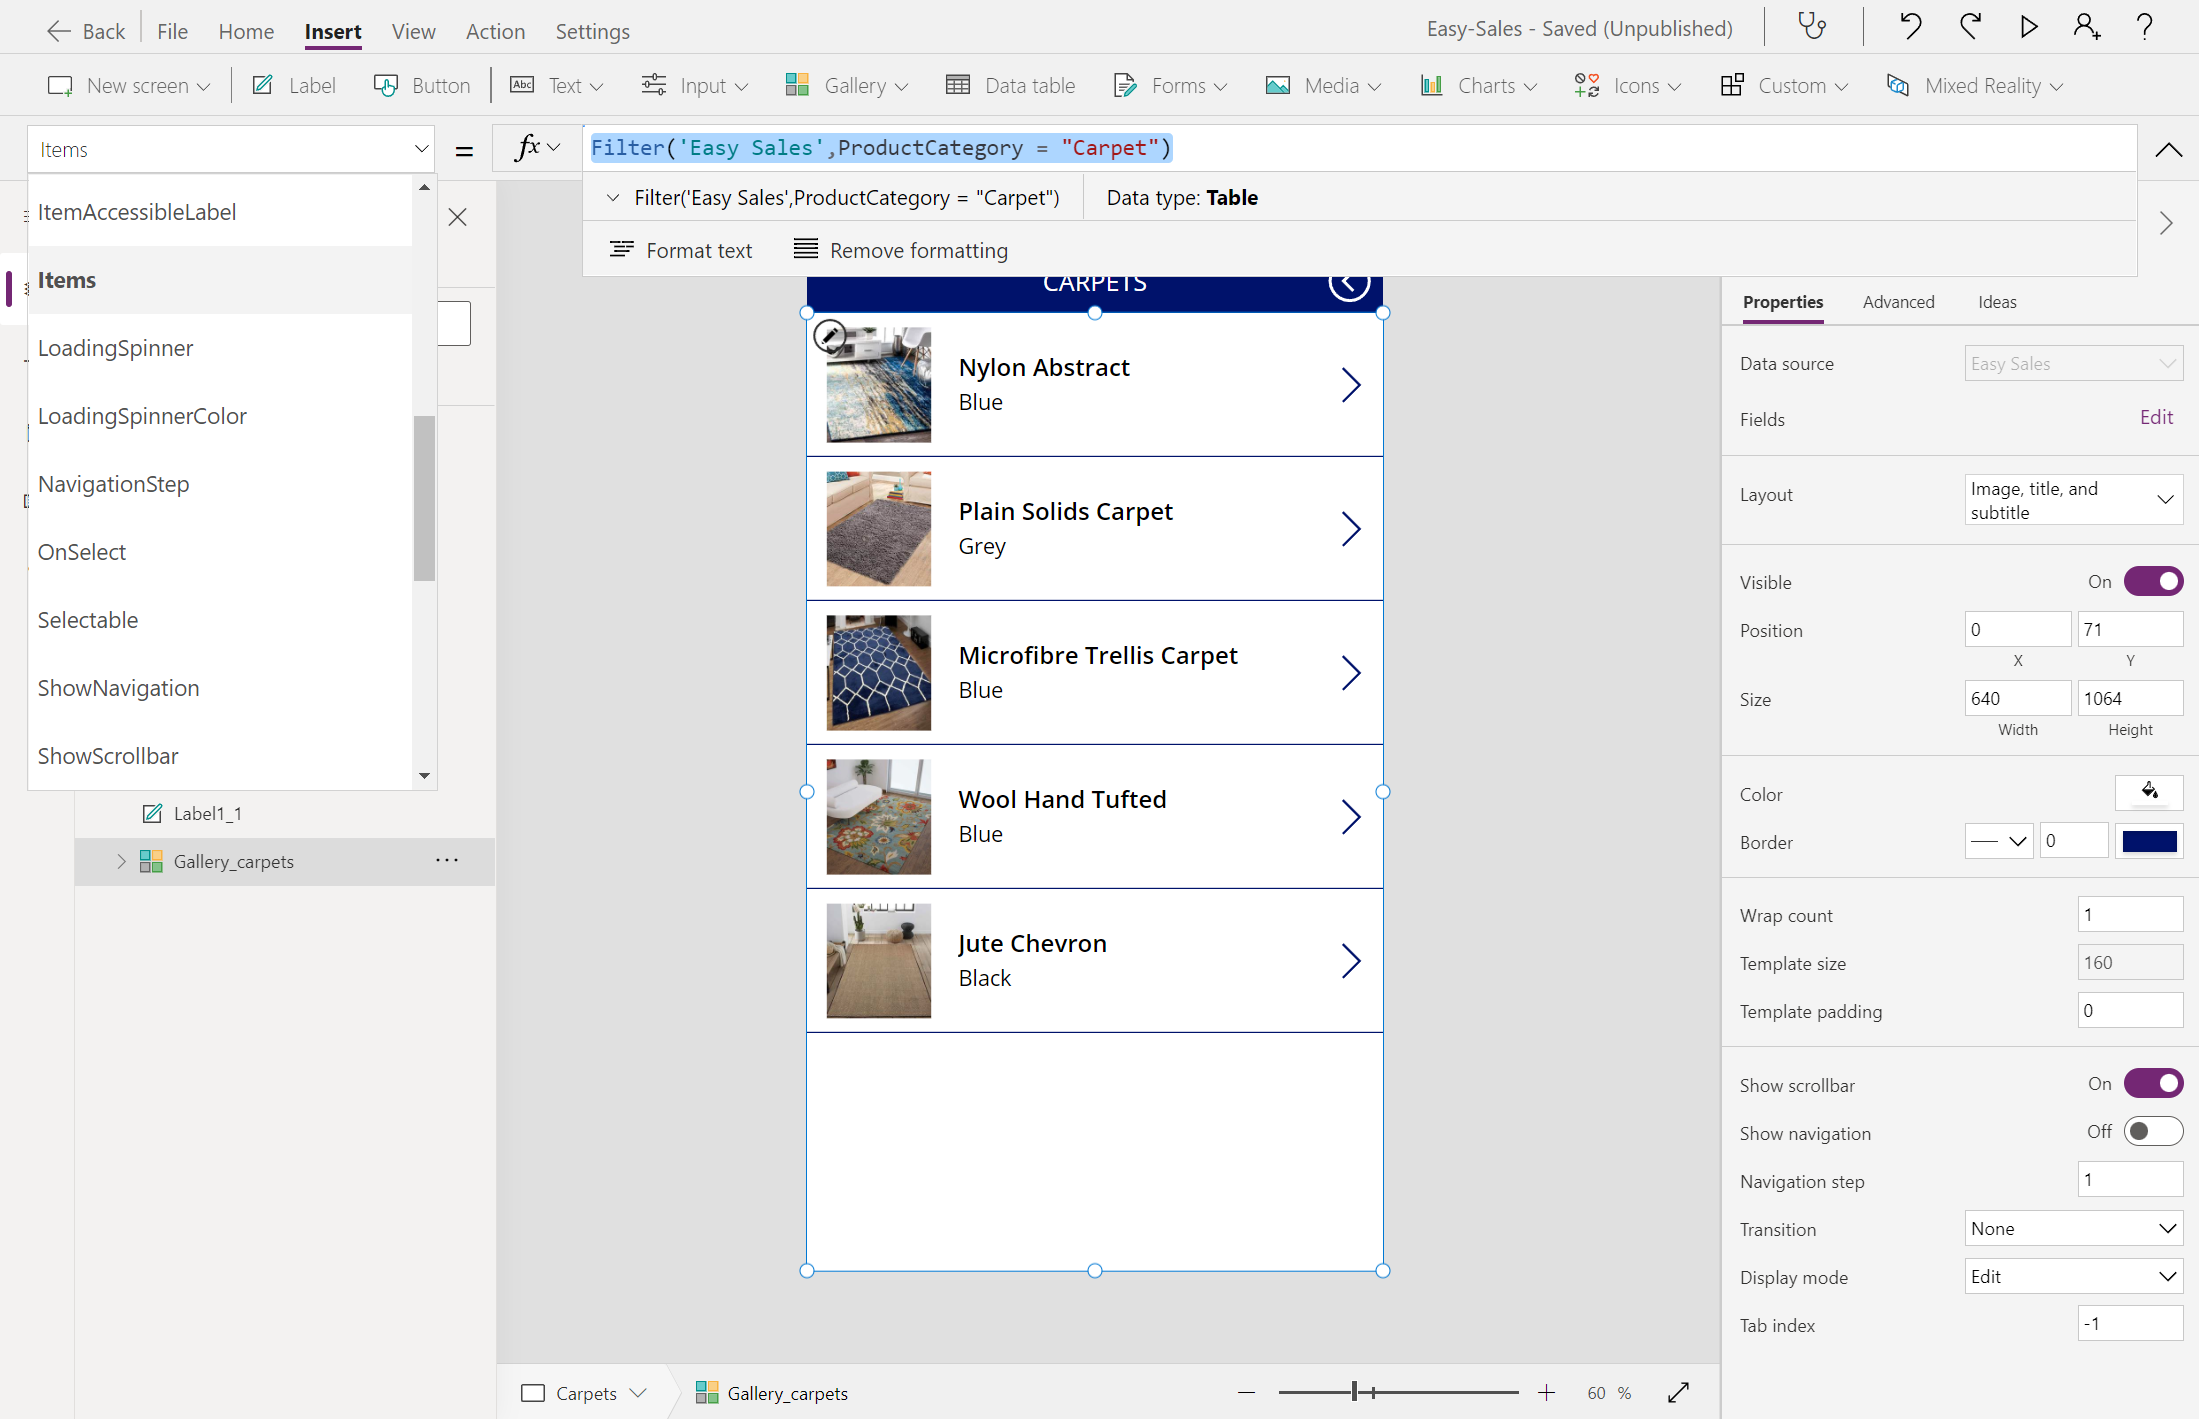
Tip
To save your progress, select the File tab at the top and select the Save option. You can also use Ctrl+S to save your progress.


After implementing the preceding steps, here's how your application must look. The application will include an excellent Splash screen, a Home page, and a product inventory to browse products.
