Exercise - View in MR and View in 3D
Easy-Sales is a sales-oriented mixed reality application built to improve the shopping experience. The salespeople using this application can inspect and measure the customer's surrounding to determine which products are feasible in the space. They can also help customers visualize the product through mixed reality.
We'll be implementing the View in 3D and View in MR features of Power Apps to visualize products accurately.
Add 3D objects to the SharePoint list
The 3D models and images required for the application are stored in the SharePoint list. Let's start by adding the required resources to this list.
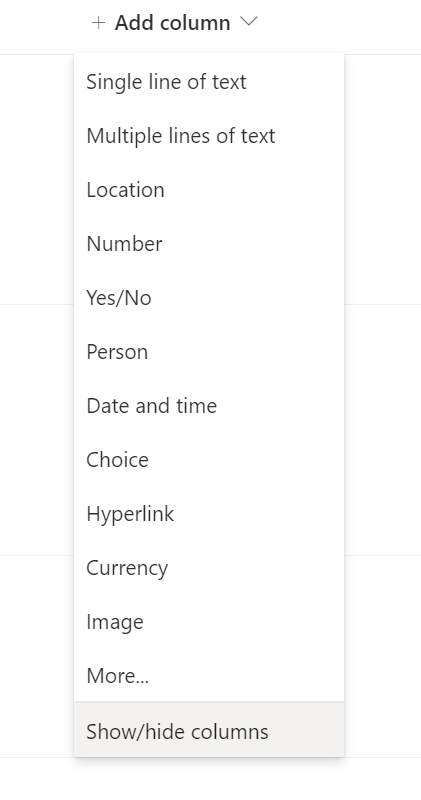
In the created SharePoint list named Easy Sales, select the + Add column and then select Show/hide columns.
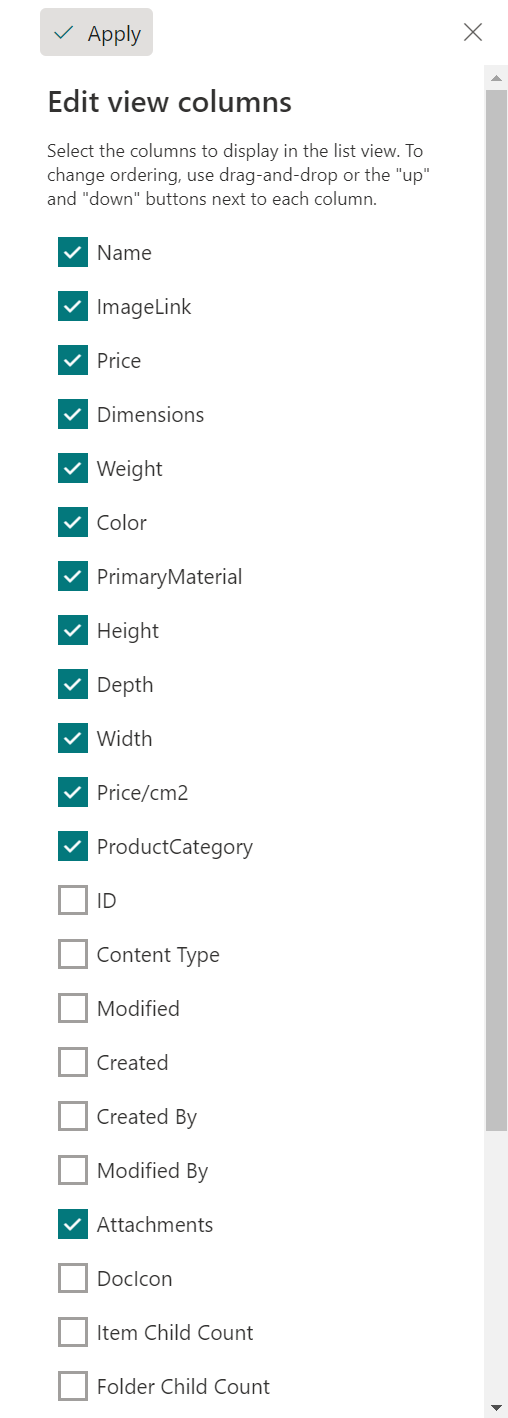
Make sure Attachments is selected, and then press Apply at the top.
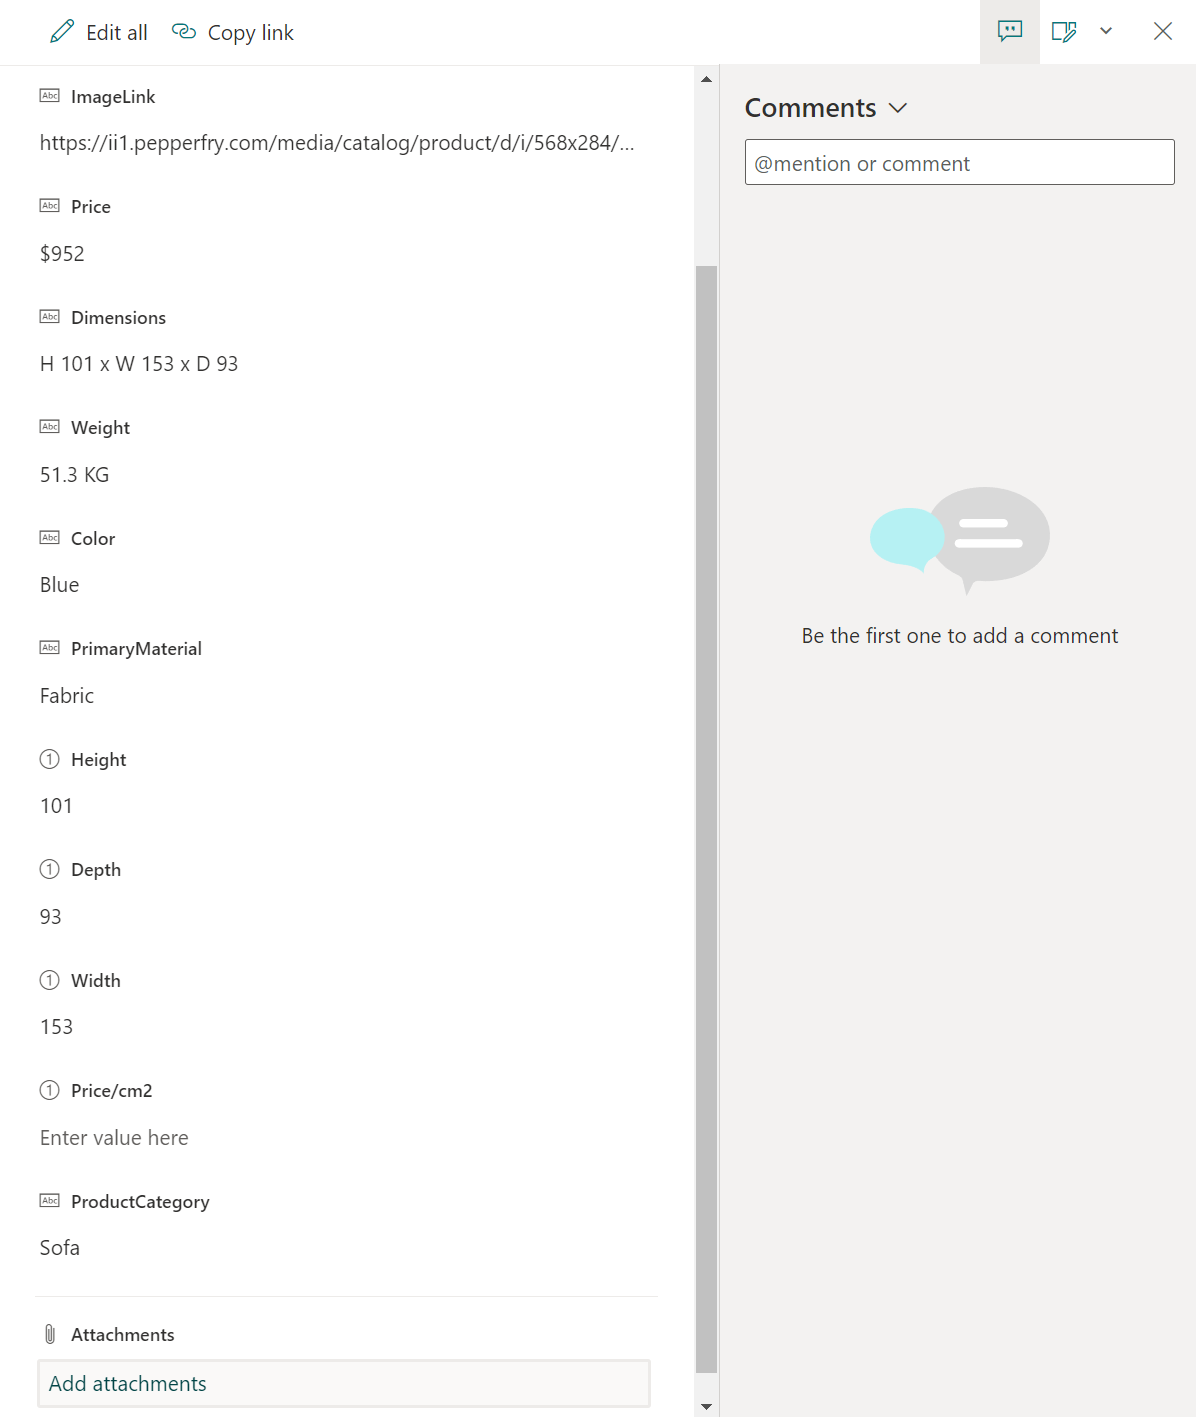
Select an item in the list, then select Add Attachments. Select your 3D model (.glb file) or Image (.jpg file) in the Power Apps custom folder. Follow the same procedure for all the items on the list.
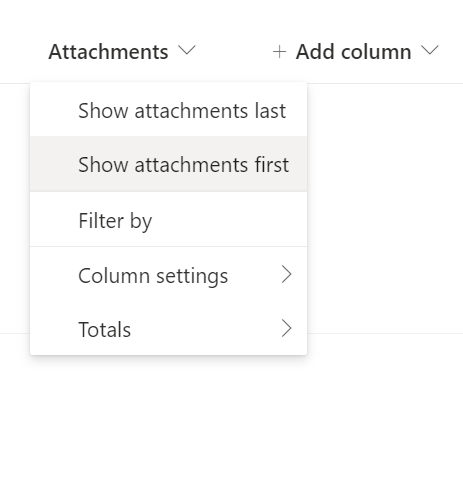
Select the dropdown next to the Attachments column, then select Show attachments first. We want that to be placed first for easy access.


Create the details page and add the View in 3D component
The details page includes all the details and information concerning the selected product. It gives you an understanding of certain features of the product. You must connect the product page you designed in the previous section and the details page created in this section. Here, you also use the View in 3D component of Power Apps to add 3D content to your canvas app. You'll be able to rotate and zoom in on 3D objects for a better view.
Create two new pages and rename them Product_details and Carpet_details.

Select the > icon in the gallery control included in the Products page and Carpets page. Then, configure the OnSelect property by adding the following lines in the Functions tab respectively.
Navigate(Product_details,ScreenTransition.Cover,{content : ThisItem})Navigate(Carpet_details,ScreenTransition.Cover,{content_carpets : ThisItem})
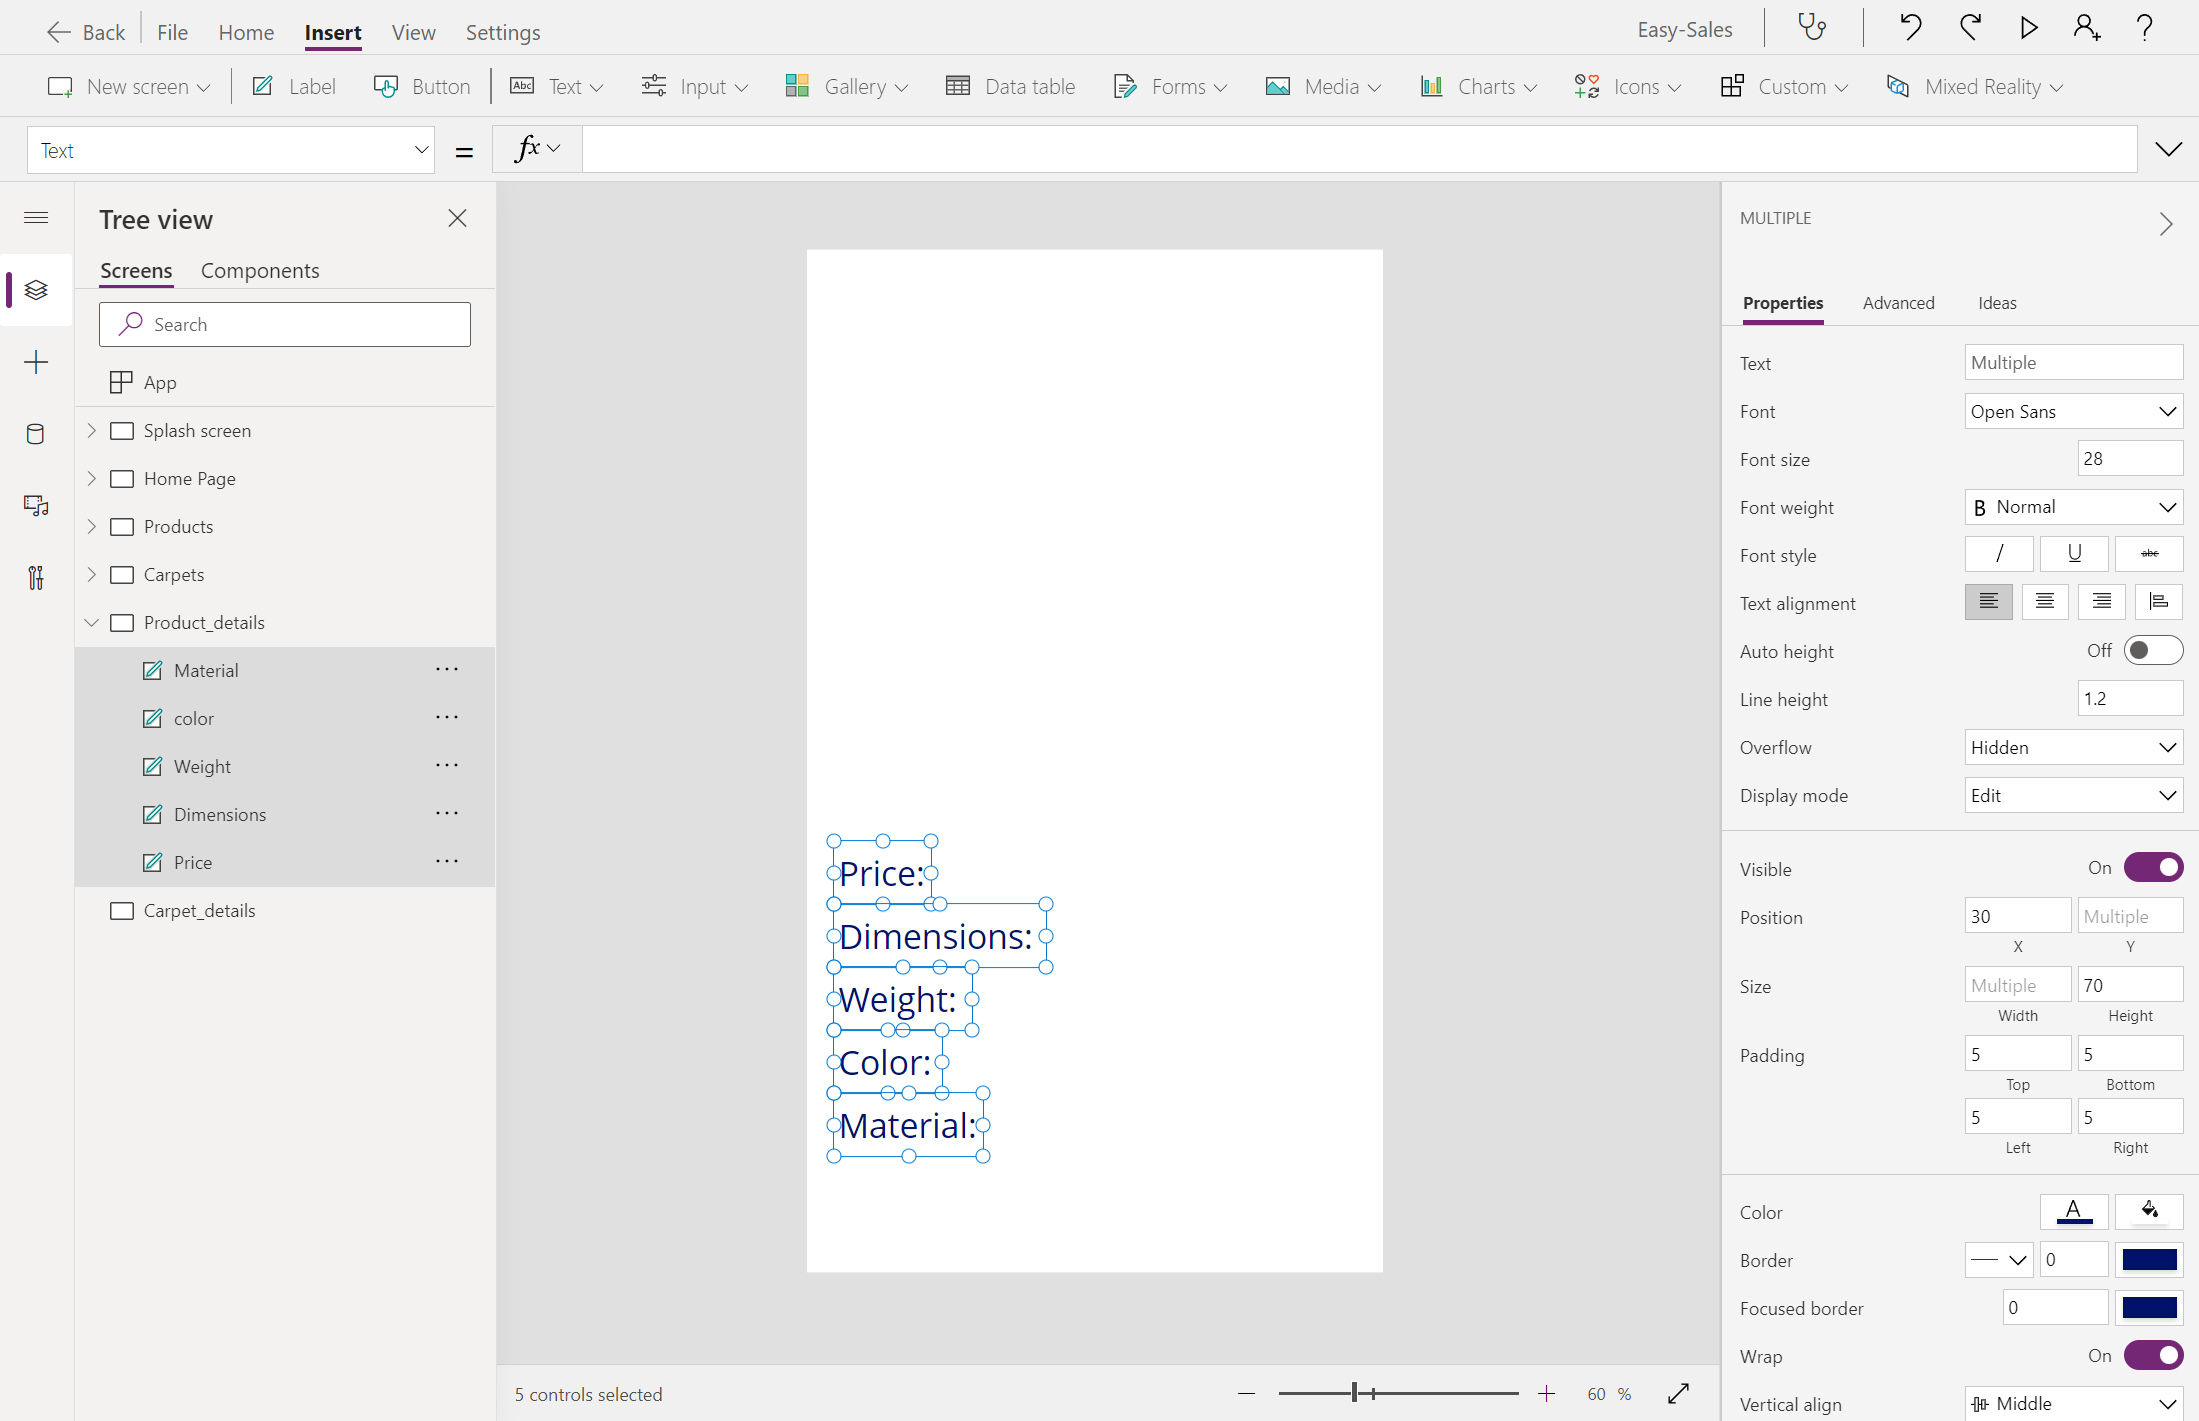
Let's start building the Product_details page by adding a few labels, such as Price, Dimensions, Weight, Color, and Material. You can edit the text inside the label, inserting the desired text within the Text property of that Label. Rename the Labels accordingly.
Note
You can customize the theme, font, and color palette of your application to improve user experience and appearance.
Insert another label named Product name to display the product name at the top and Center align it. Configure the Text property of the label by adding the following line:
content.'{Name}'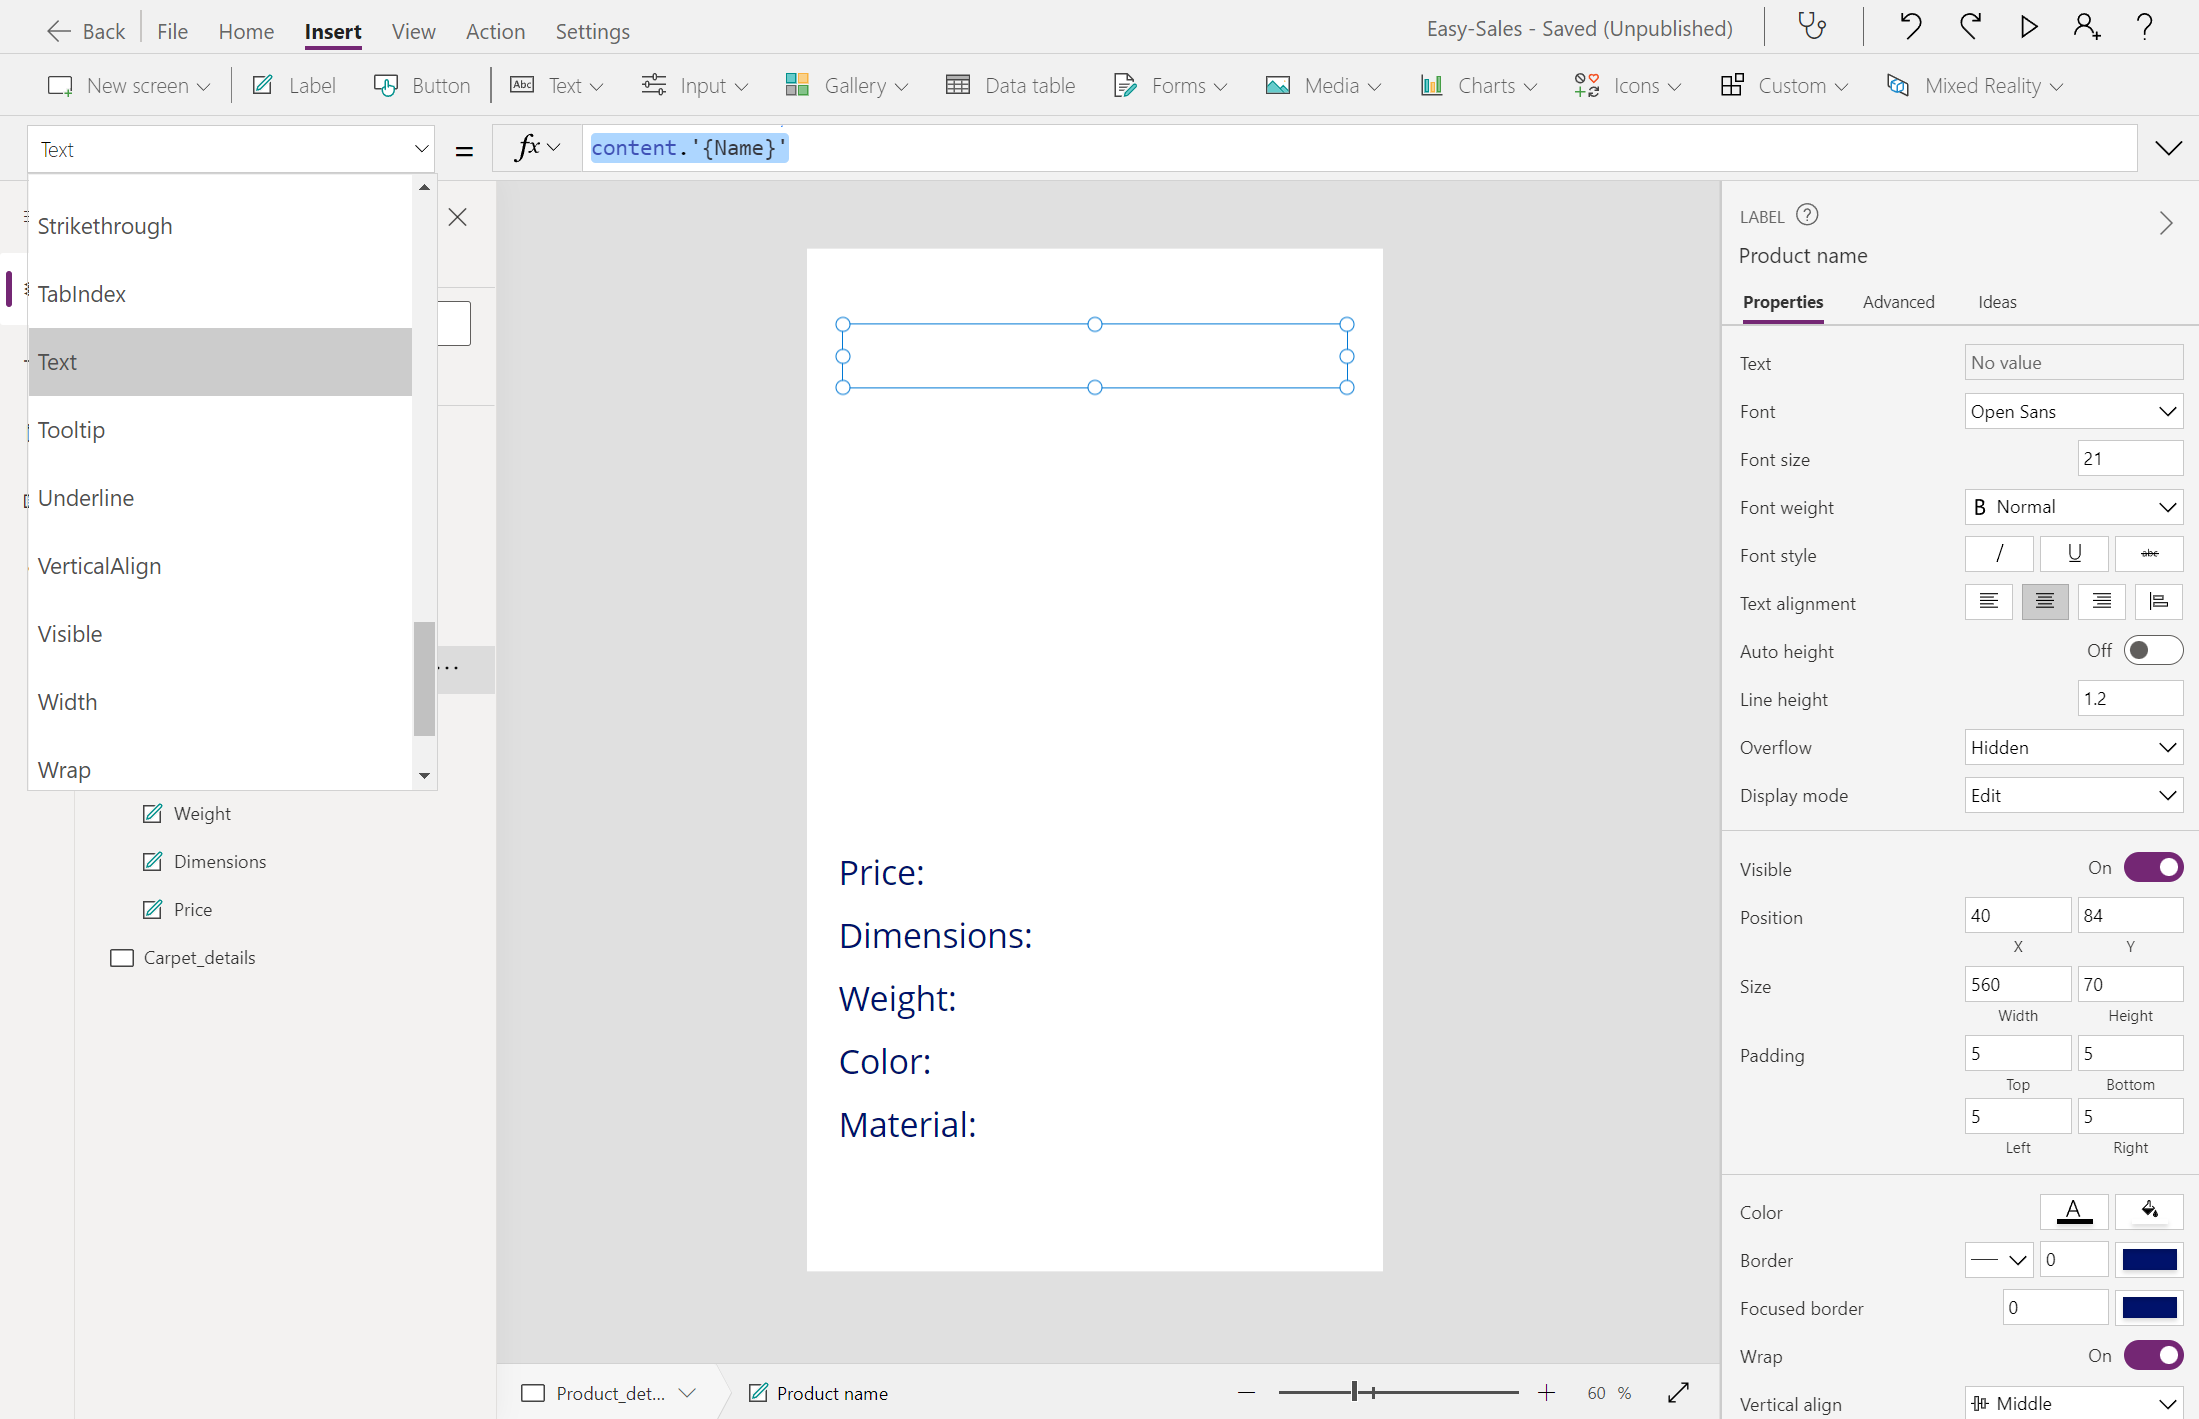
Select the Media drop-down, then select Image to insert an image in the Product_details screen. Configure the Image property in the following way:
content.ImageLink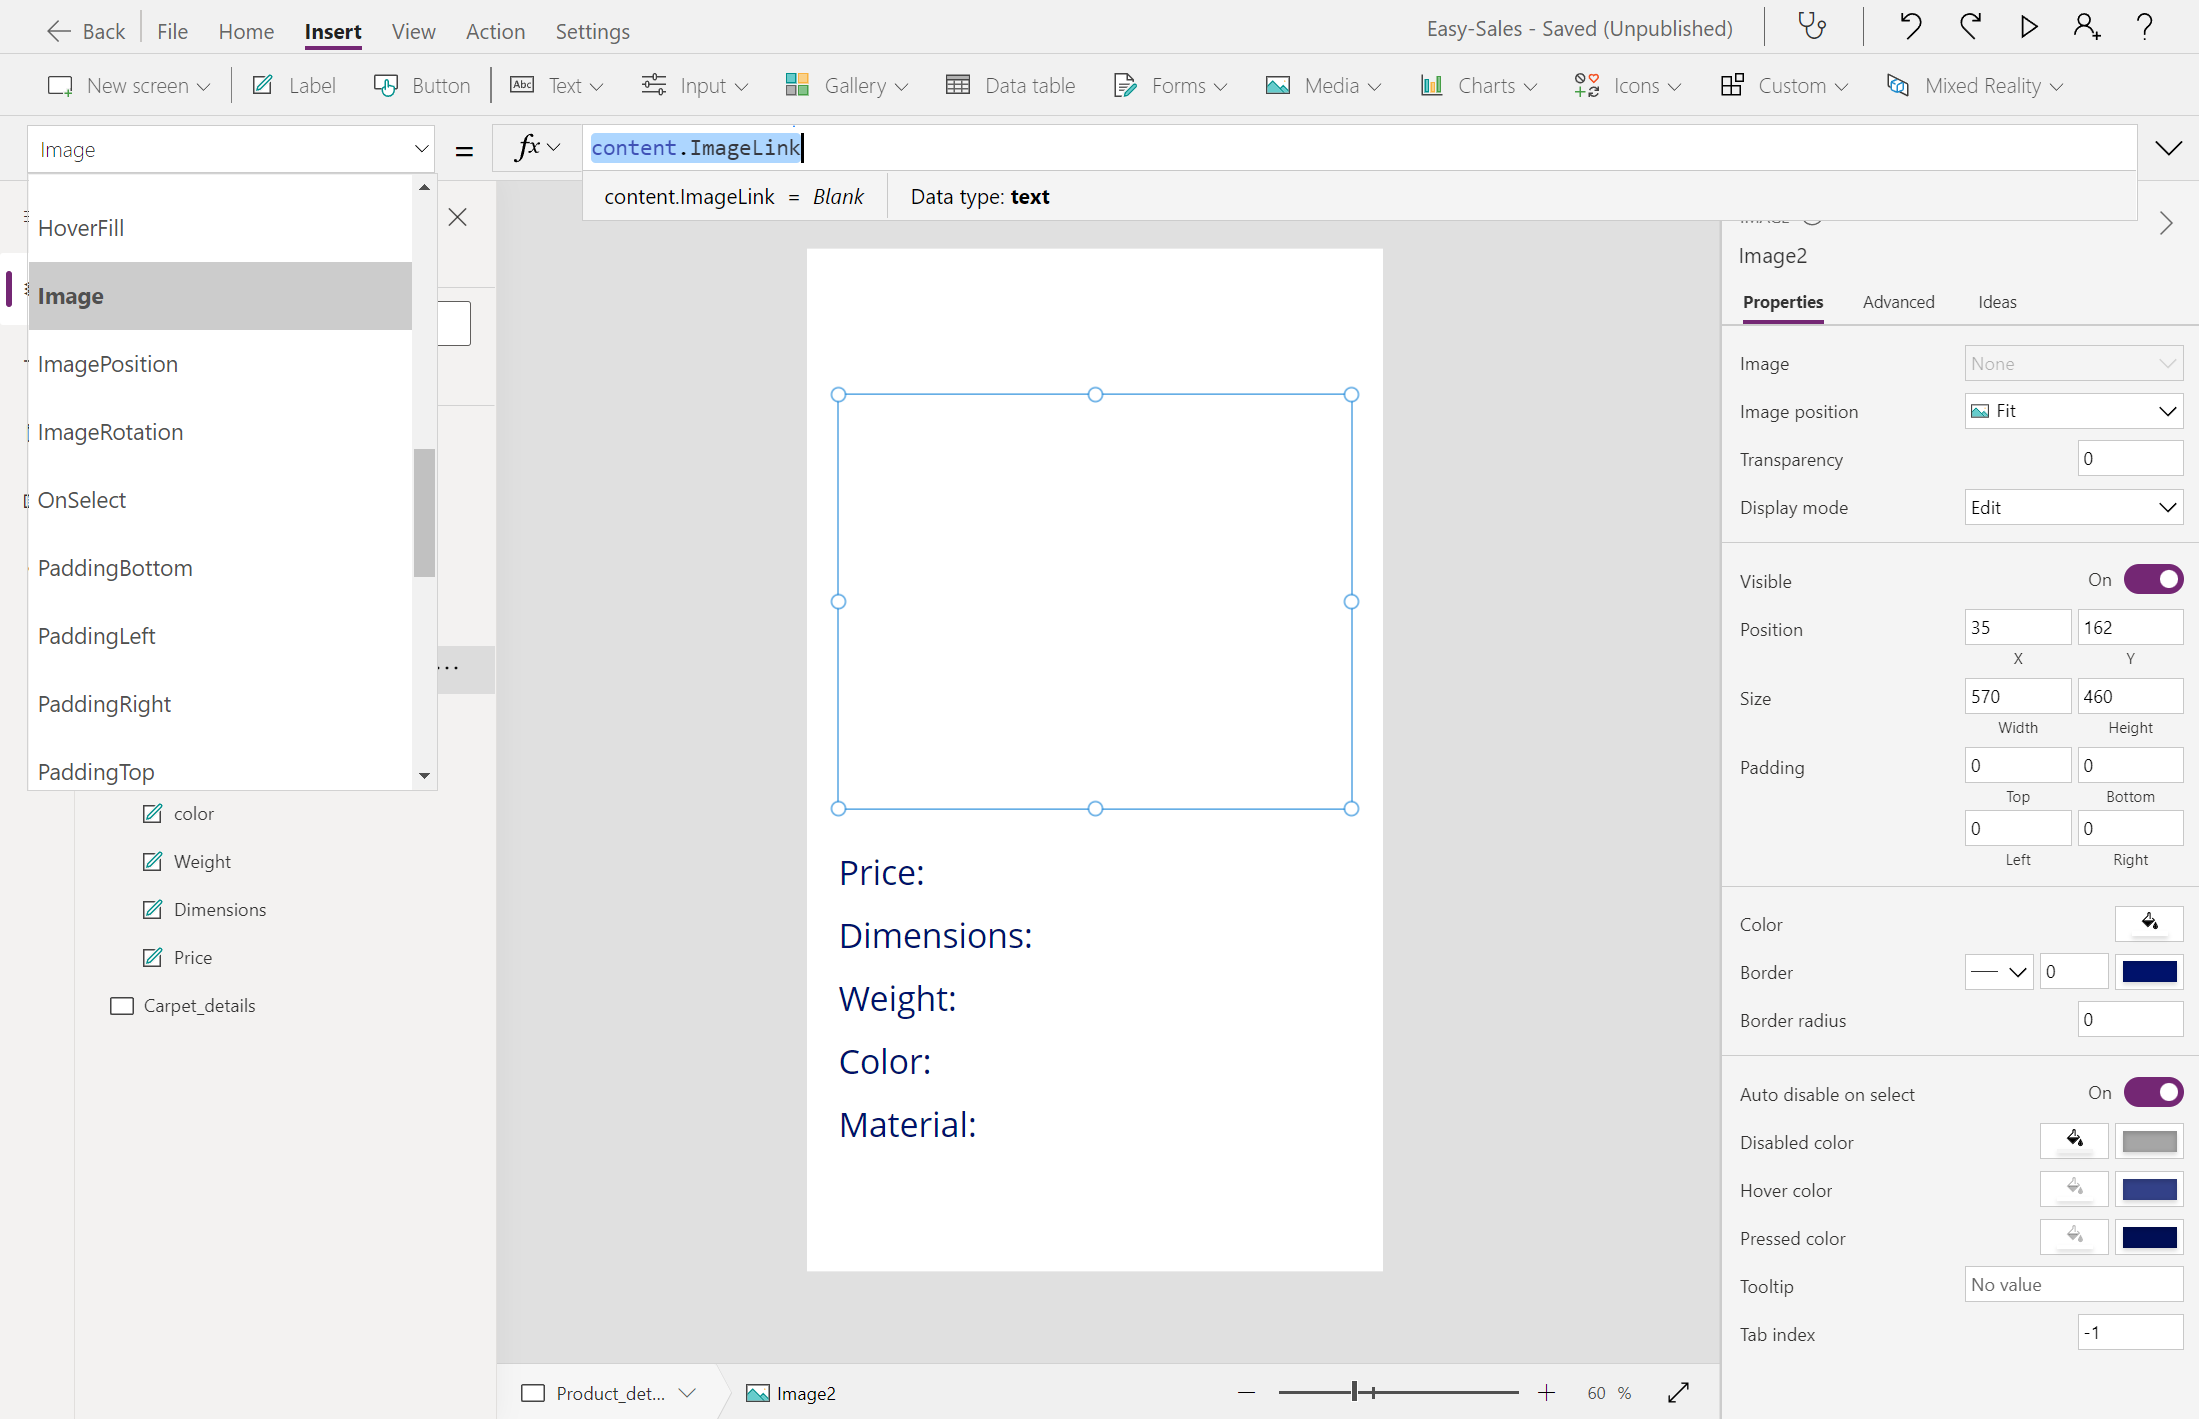
We'll overlap the View in 3D component over the Image component. The products that don't have 3D models attached to them can be viewed through the Image component. To add the View in 3D component, select the Media dropdown and then select View in 3D.
Note
A default shape is included in the component. You can change this shape to another one by altering the Source property.
Position the component over the image component, as shown in the image, and configure the Source property of the View in 3D component as follows to connect 3D models from the SharePoint list.
First(Gallery_products.Selected.Attachments).Value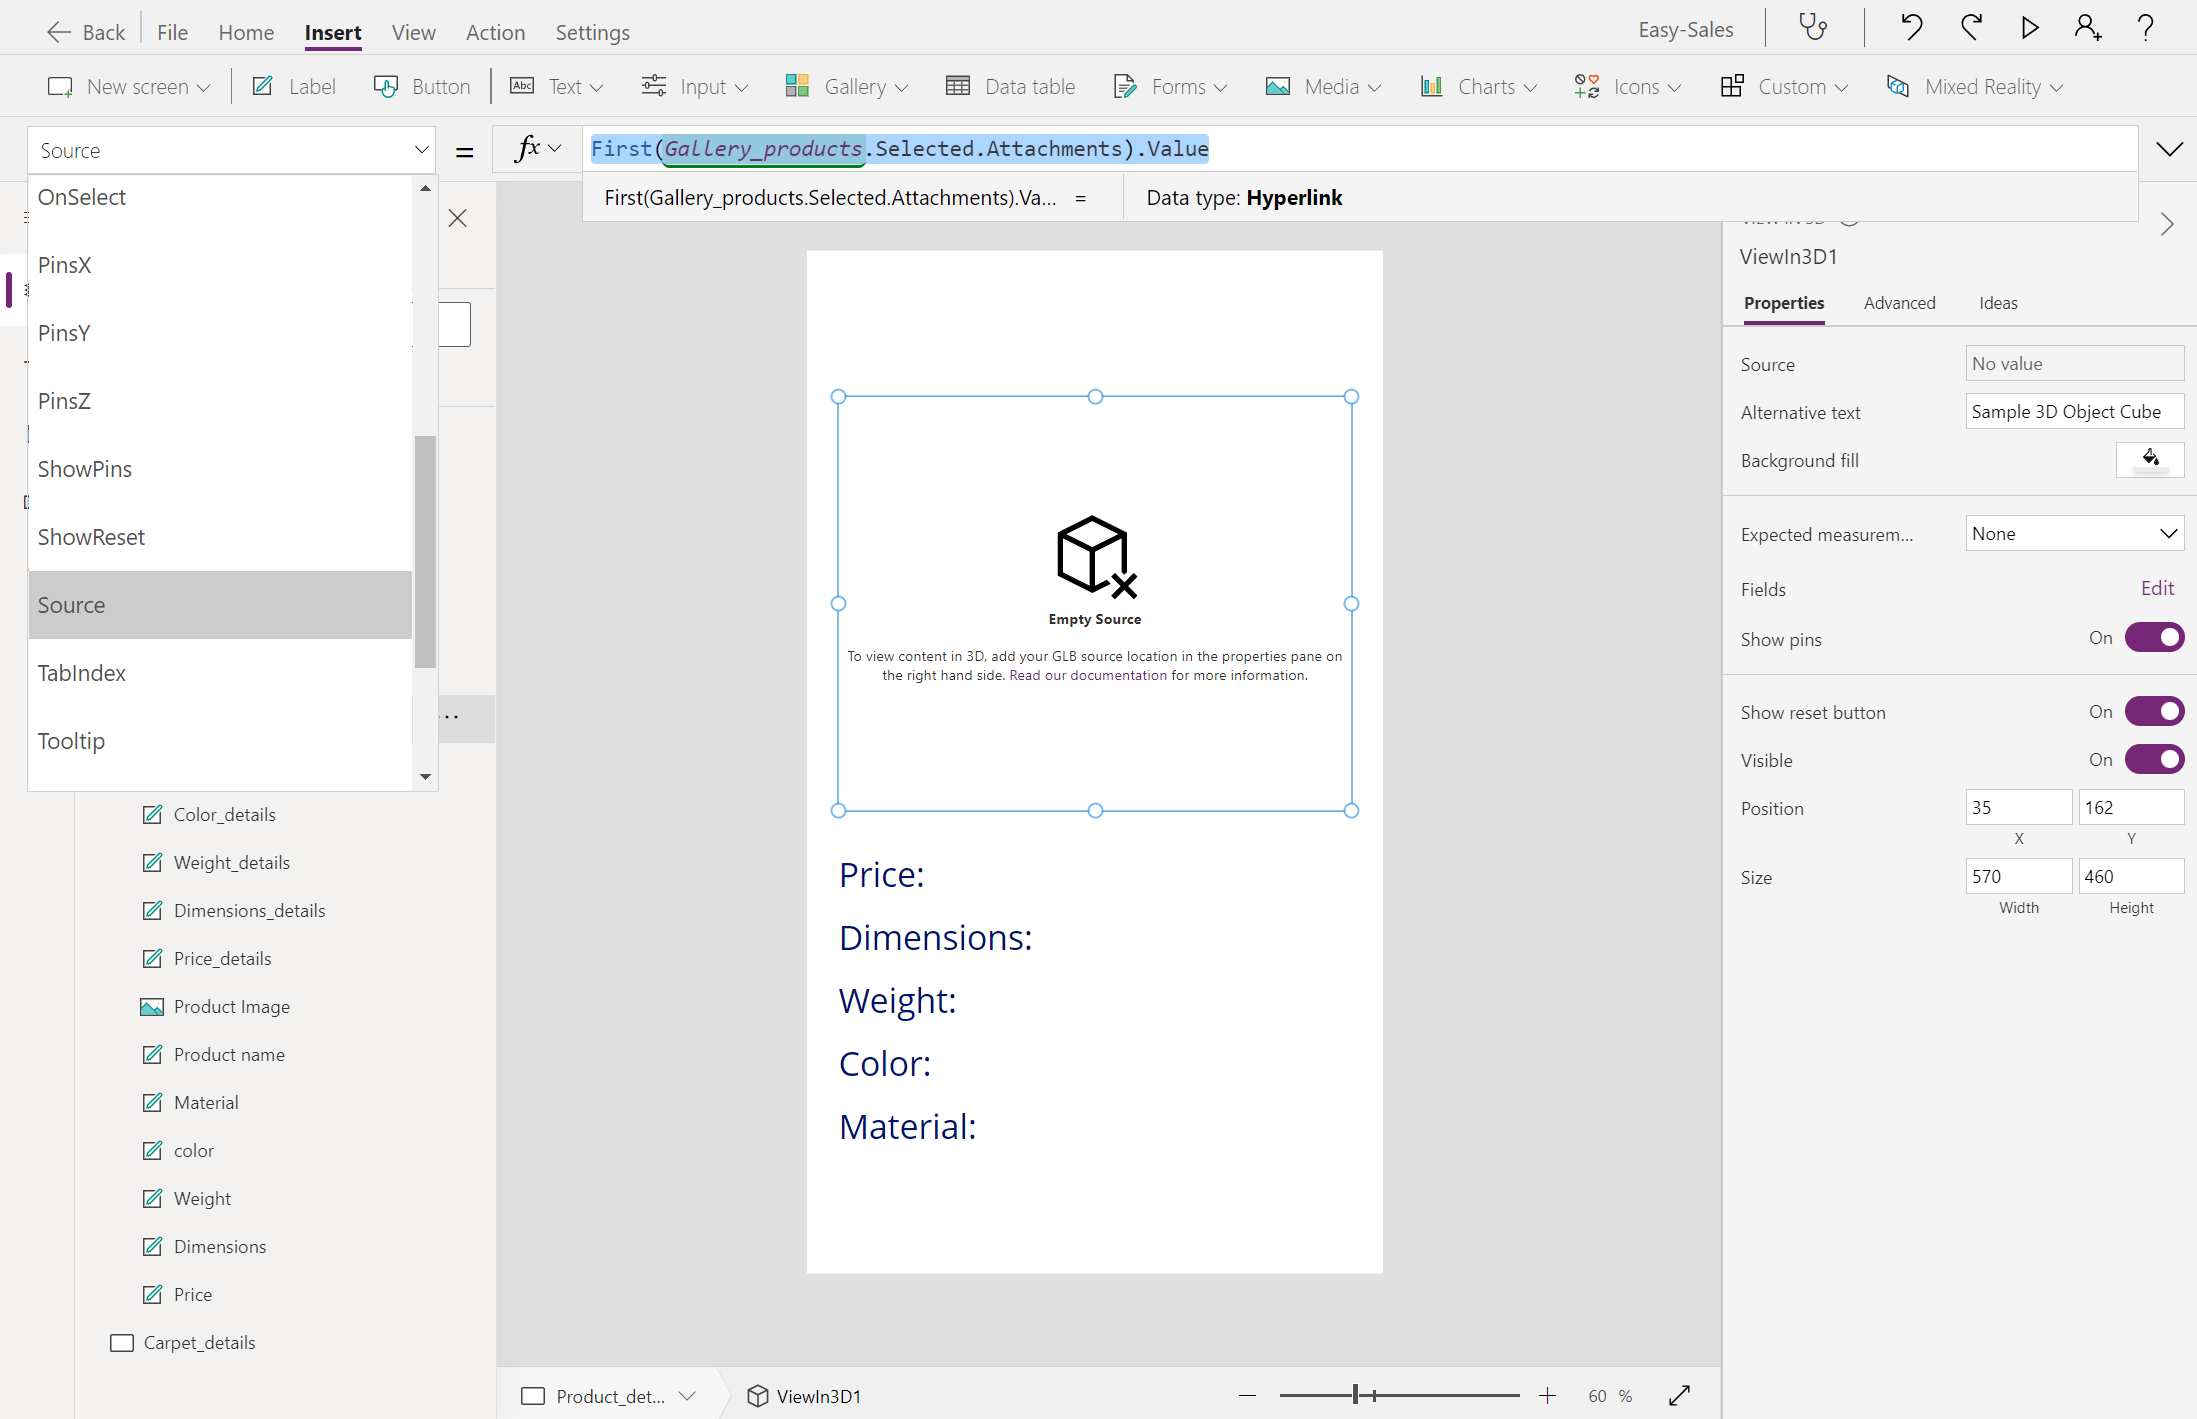
We'll alter the Visible property of both the Image and View in 3D components to easily view the products depending on the File type stored in the Attachments column. Configure the Visible property of the Image and View in 3D components as follows:
Image :
If(Gallery_products.Selected.FileType = "Image", true, false)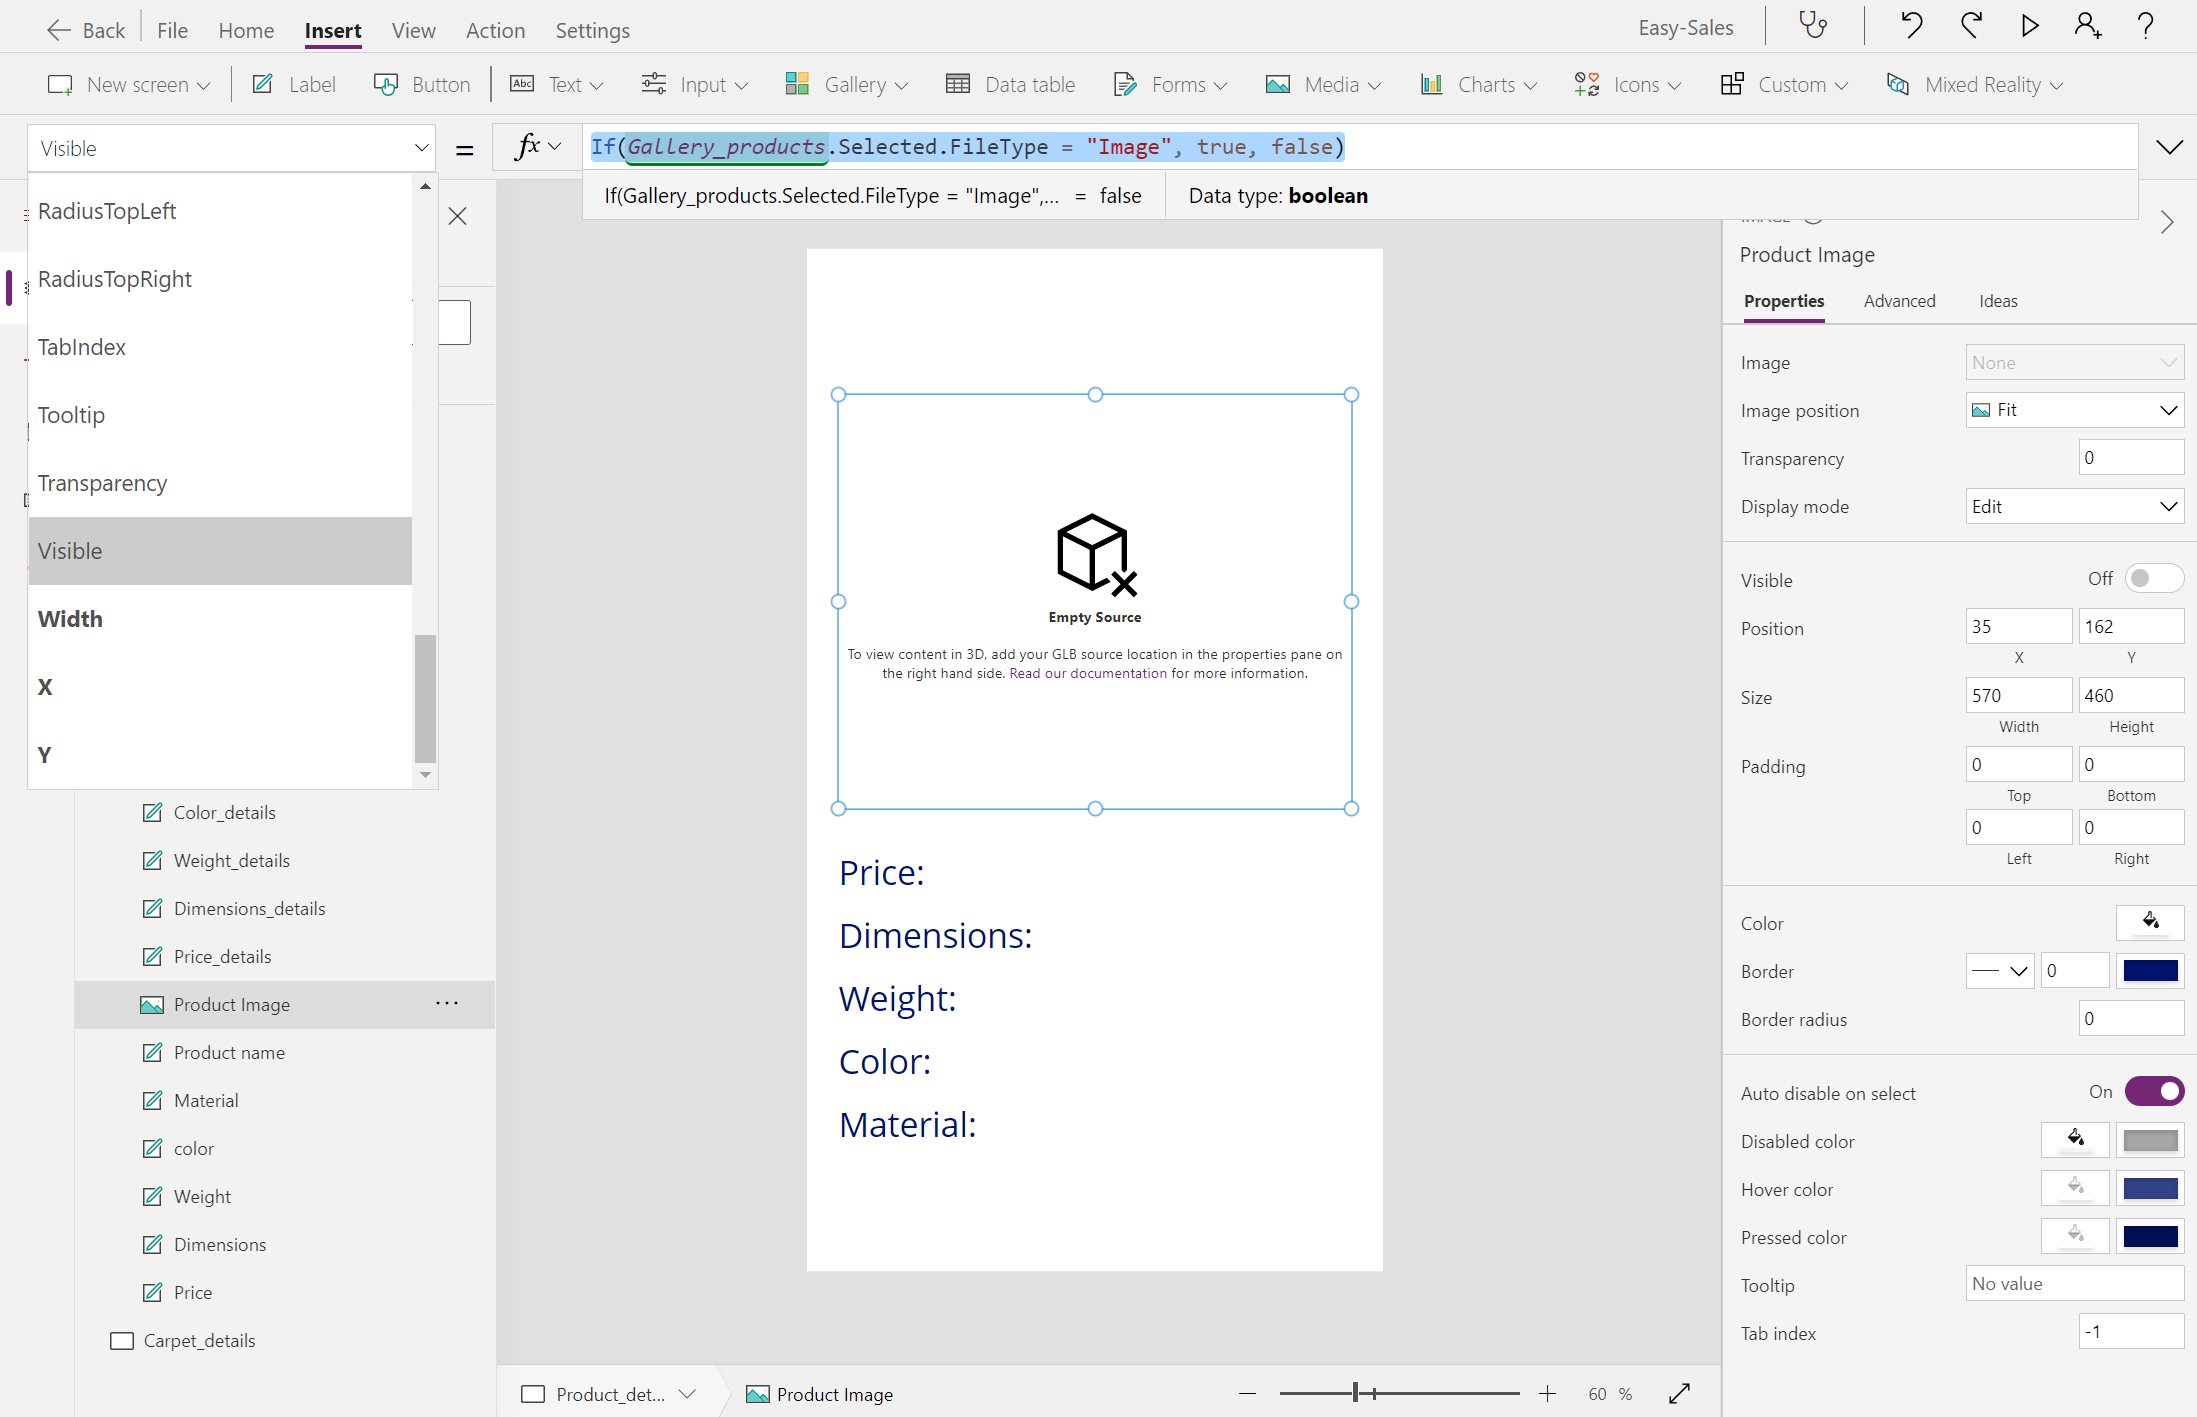
View in 3D :
If(Gallery_products.Selected.FileType = "Model", true, false)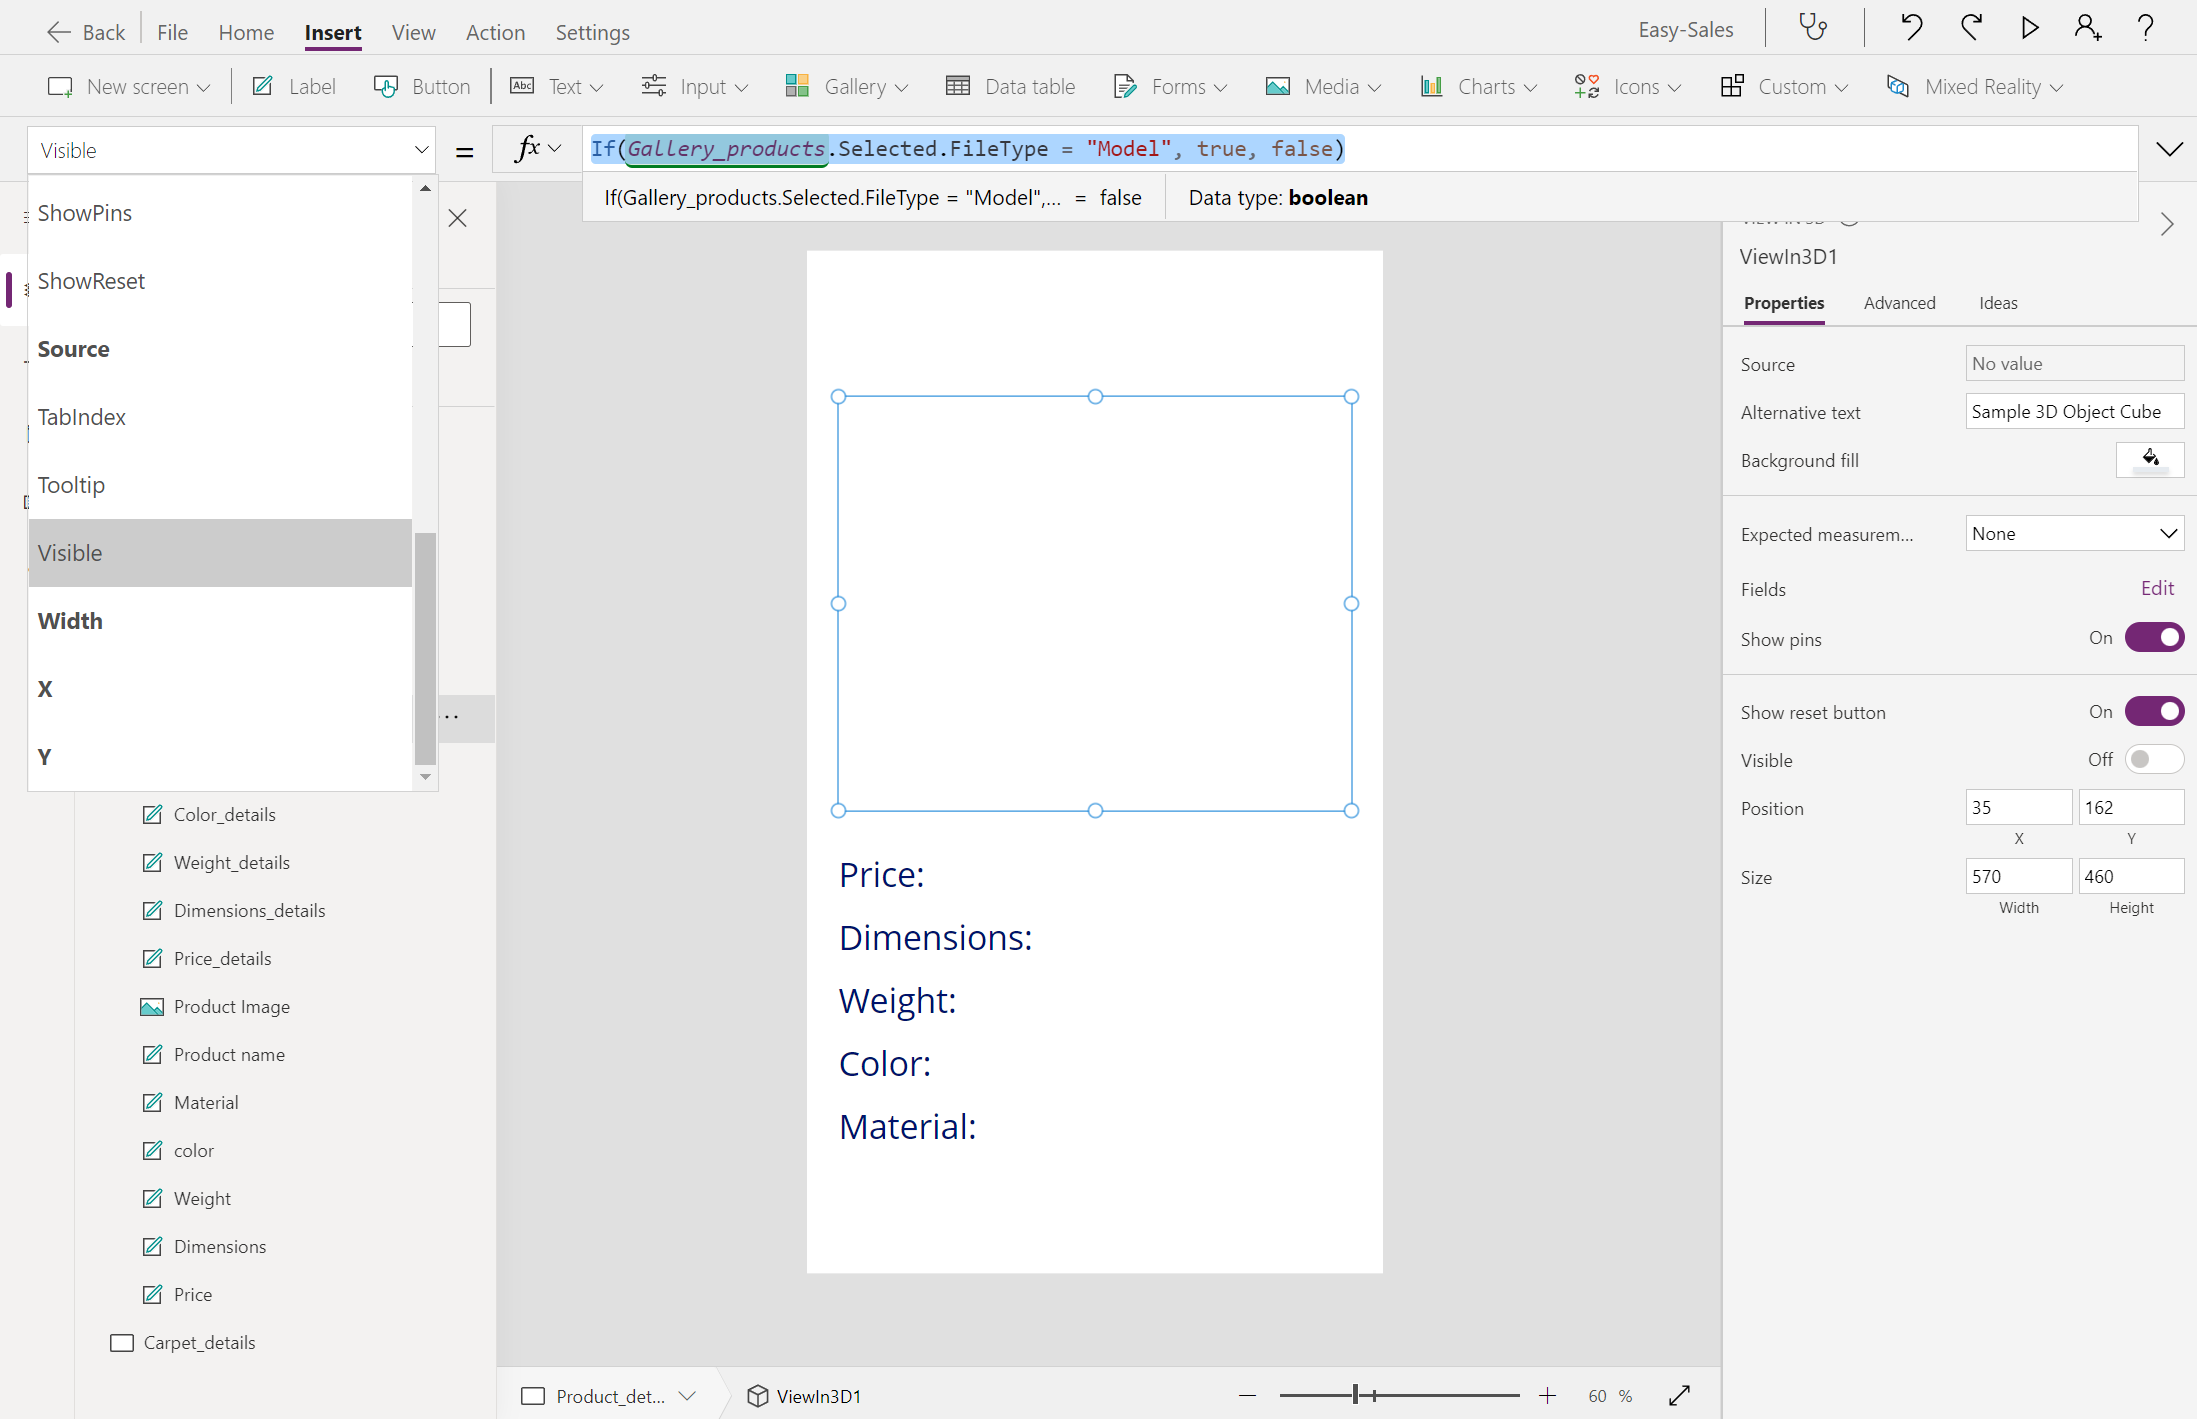
Add blank labels beside the Price, Dimensions, Weight, Color, and Material labels as shown in the image to display the product information under those headings. Configure the Text property of these labels as follows:
Price :
content.Price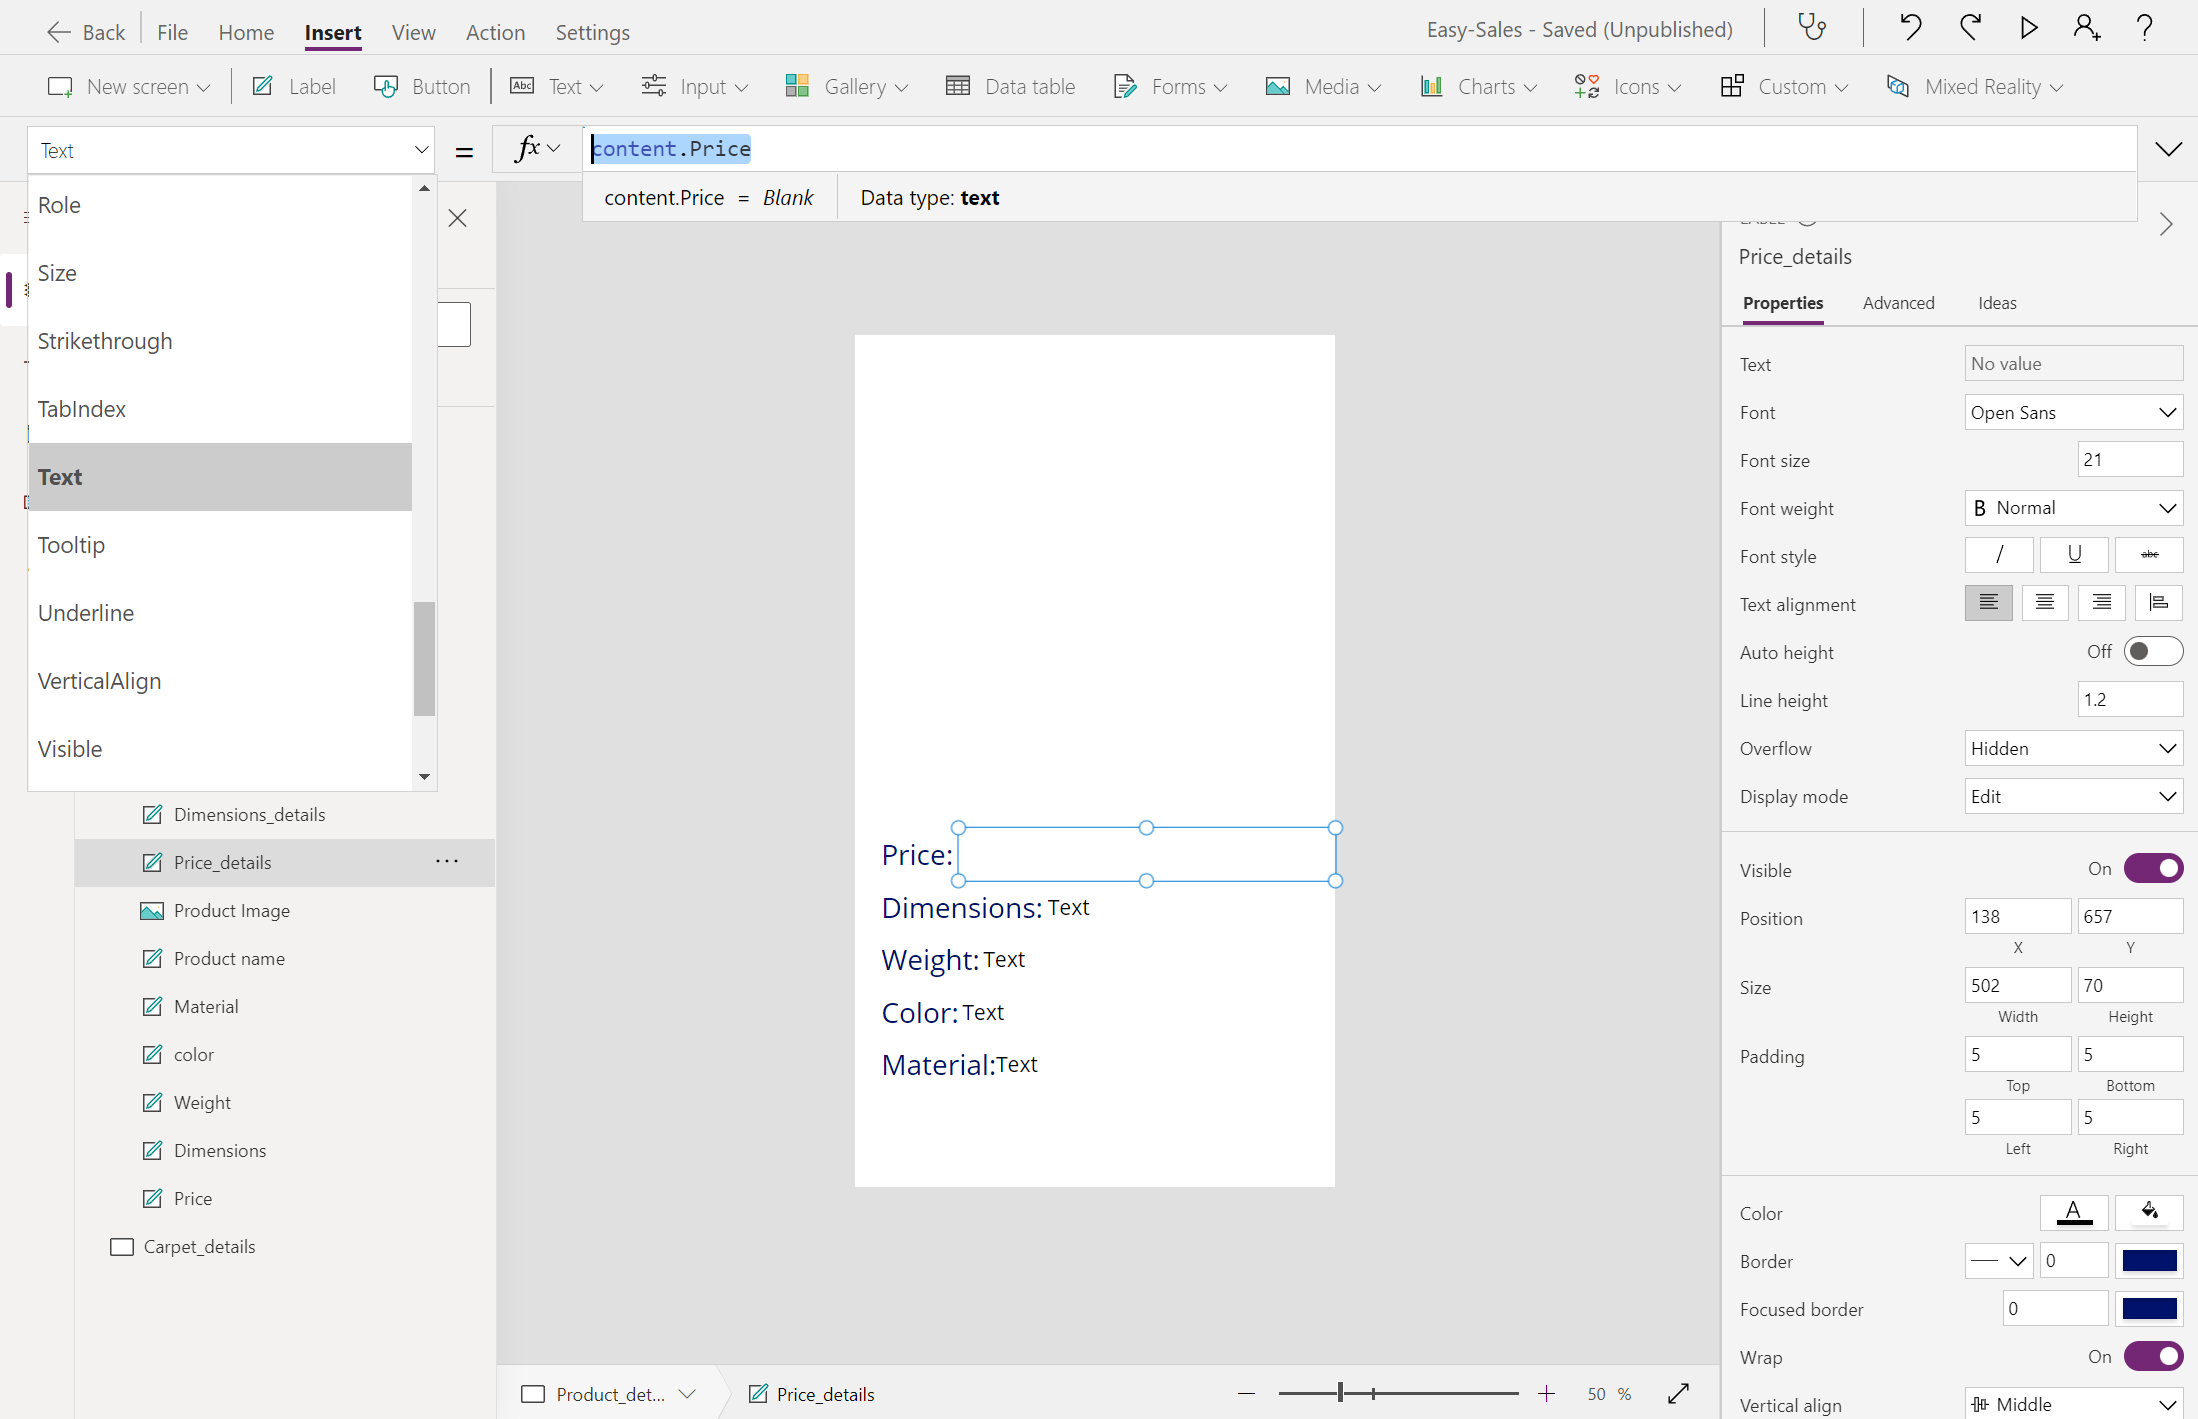
Dimensions :
content.Dimensions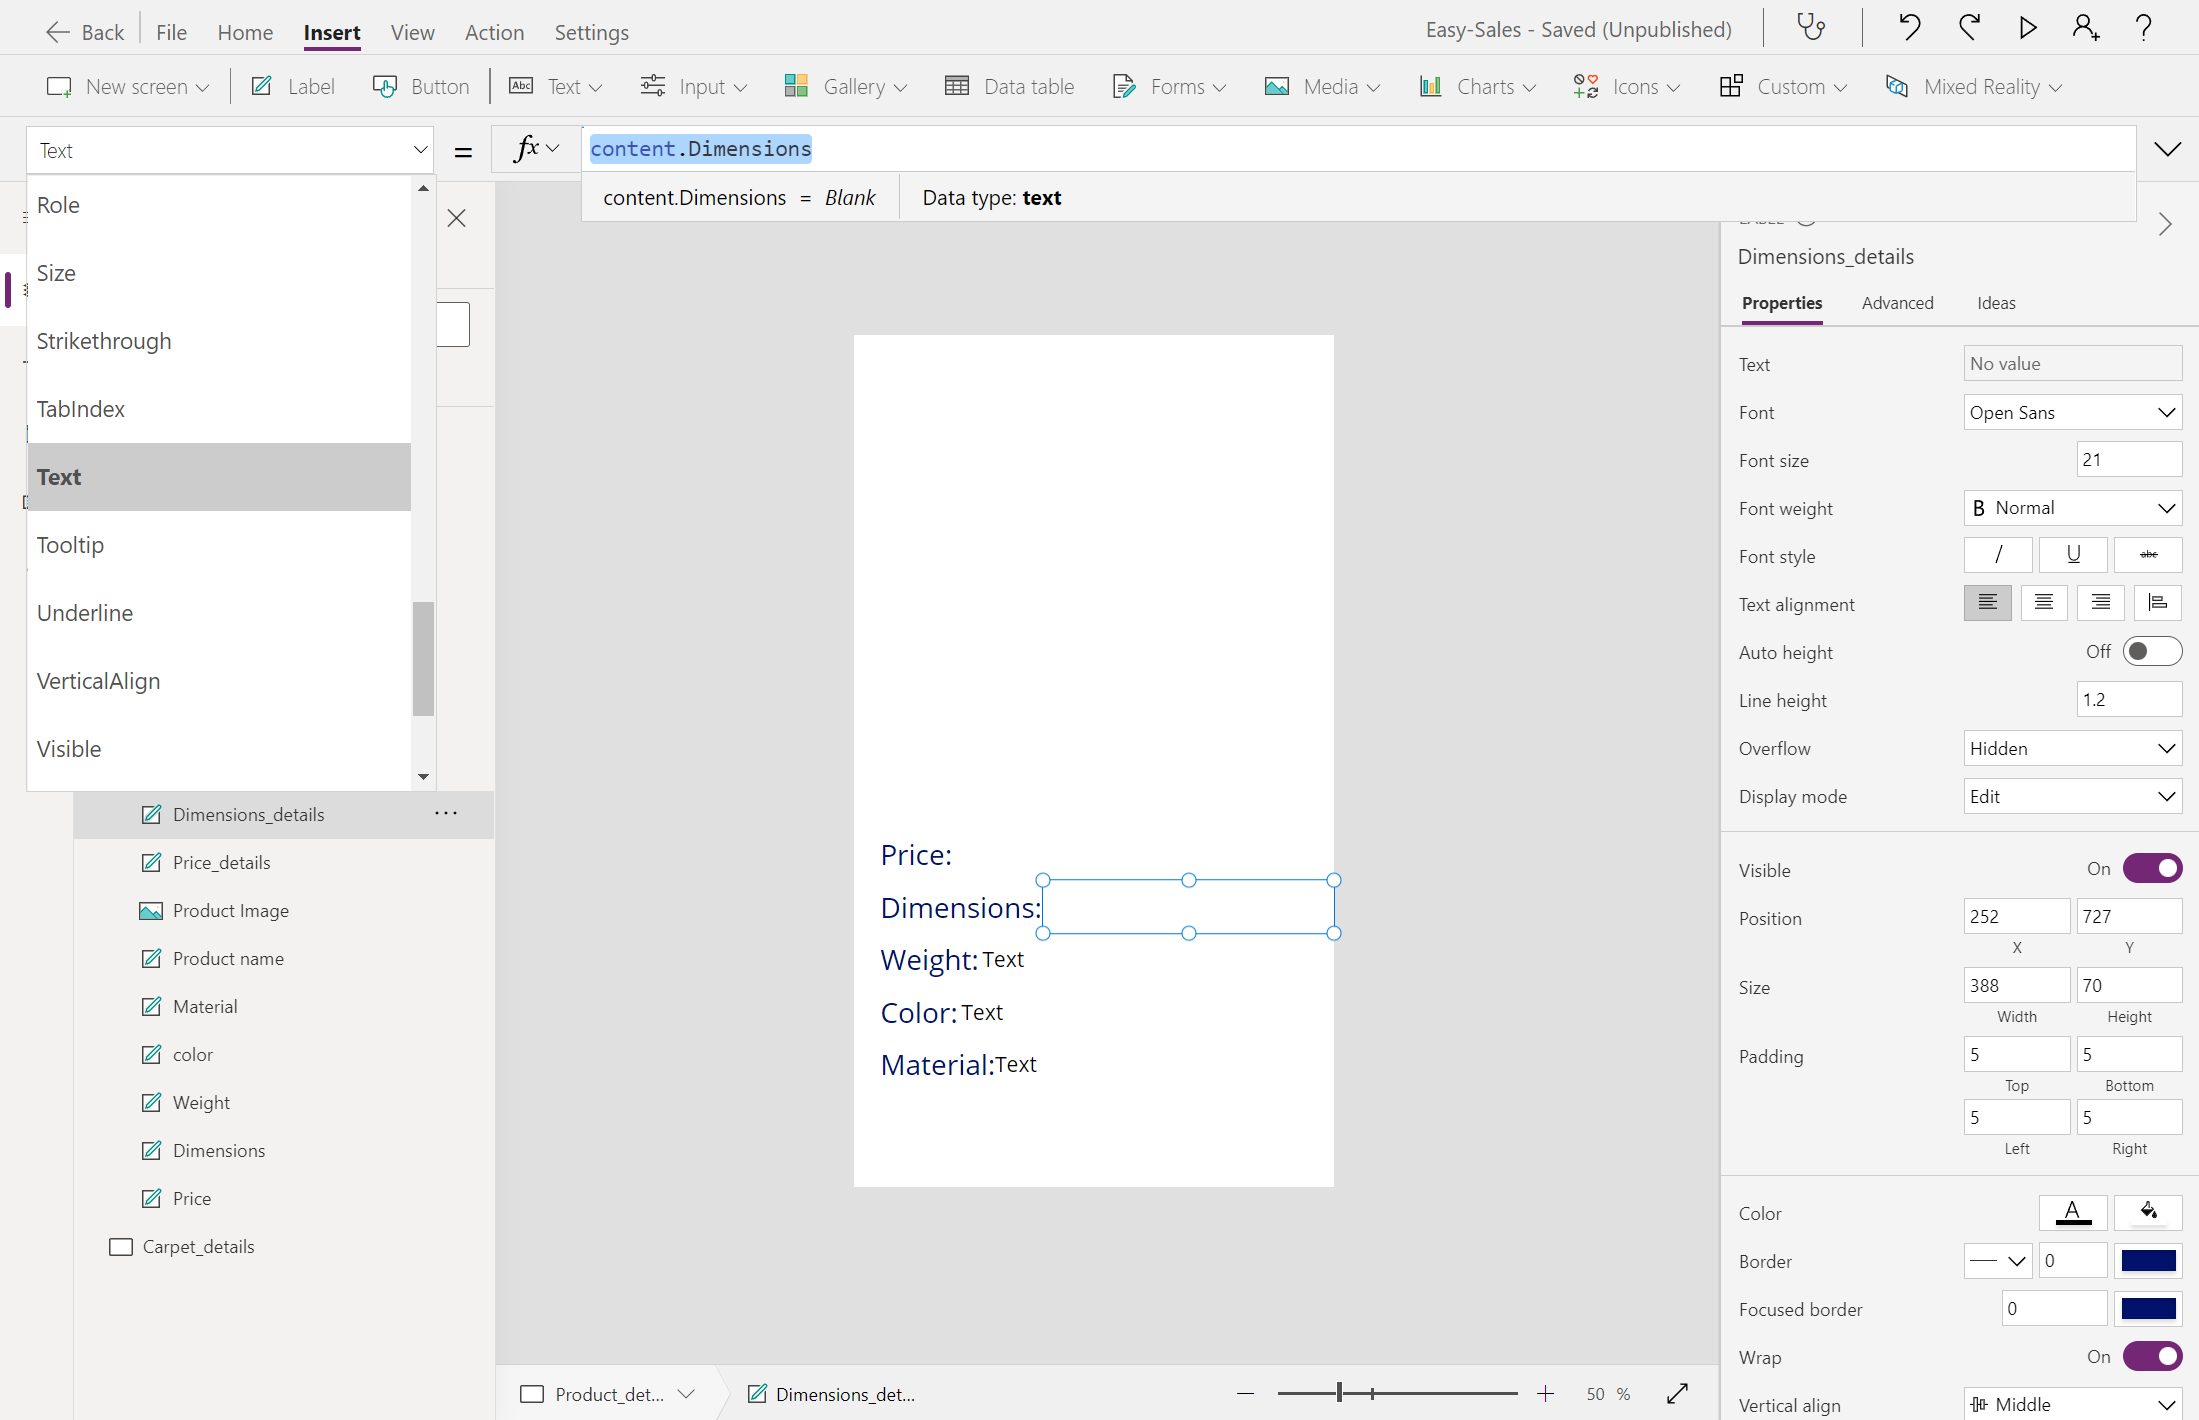
Weight :
content.Weight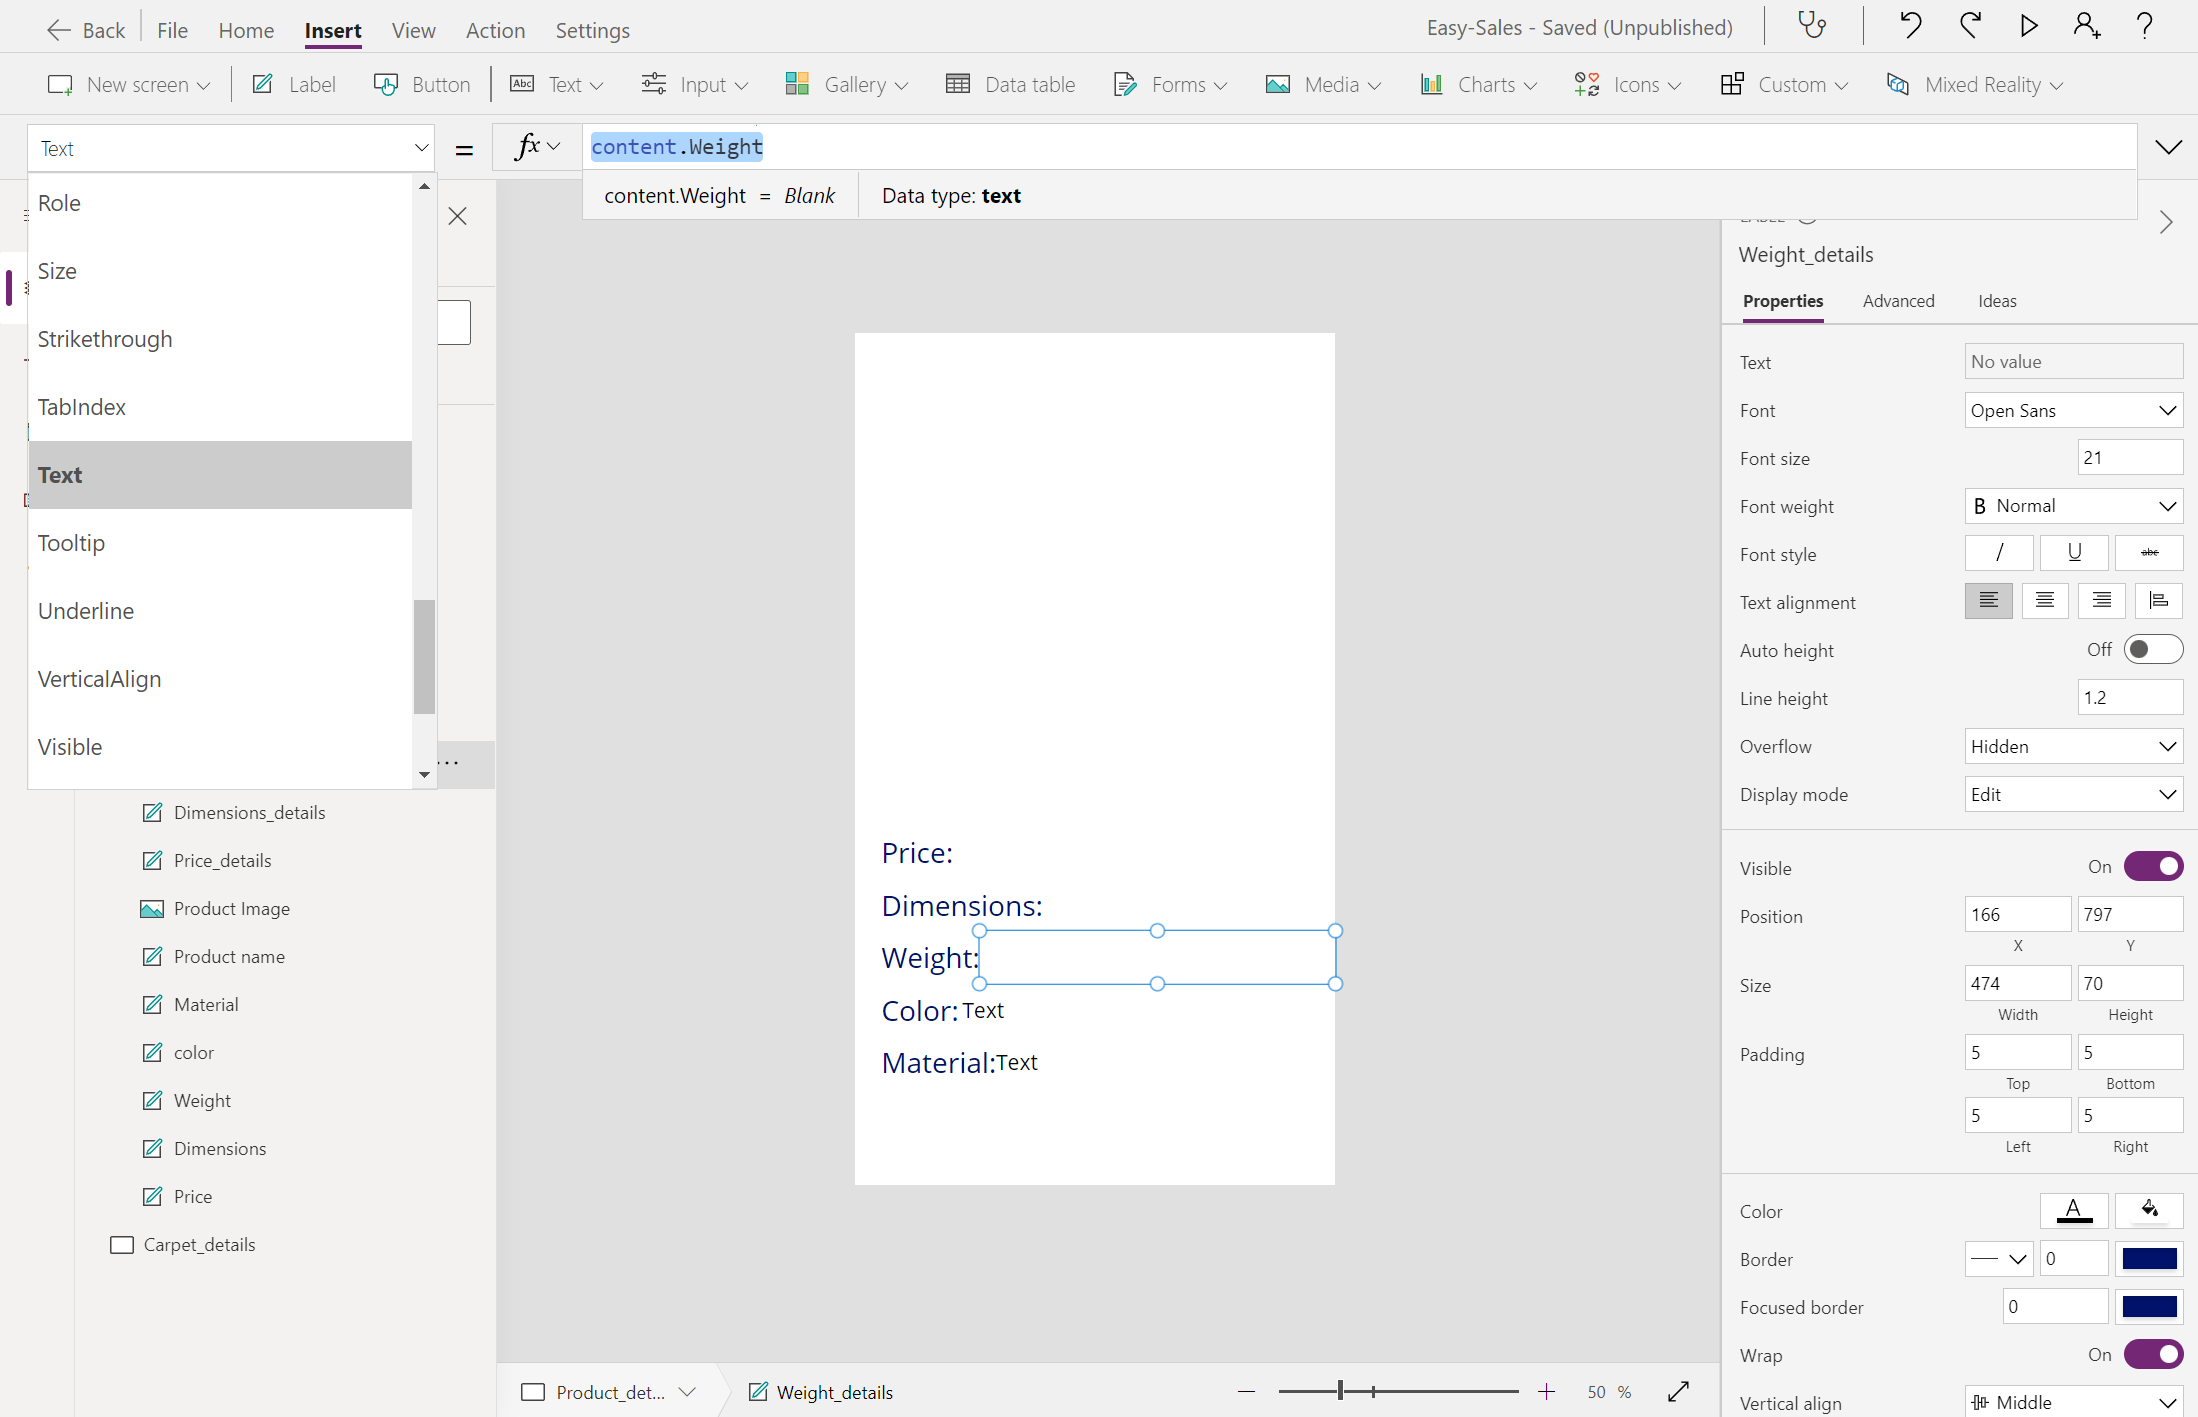
Color :
content.Color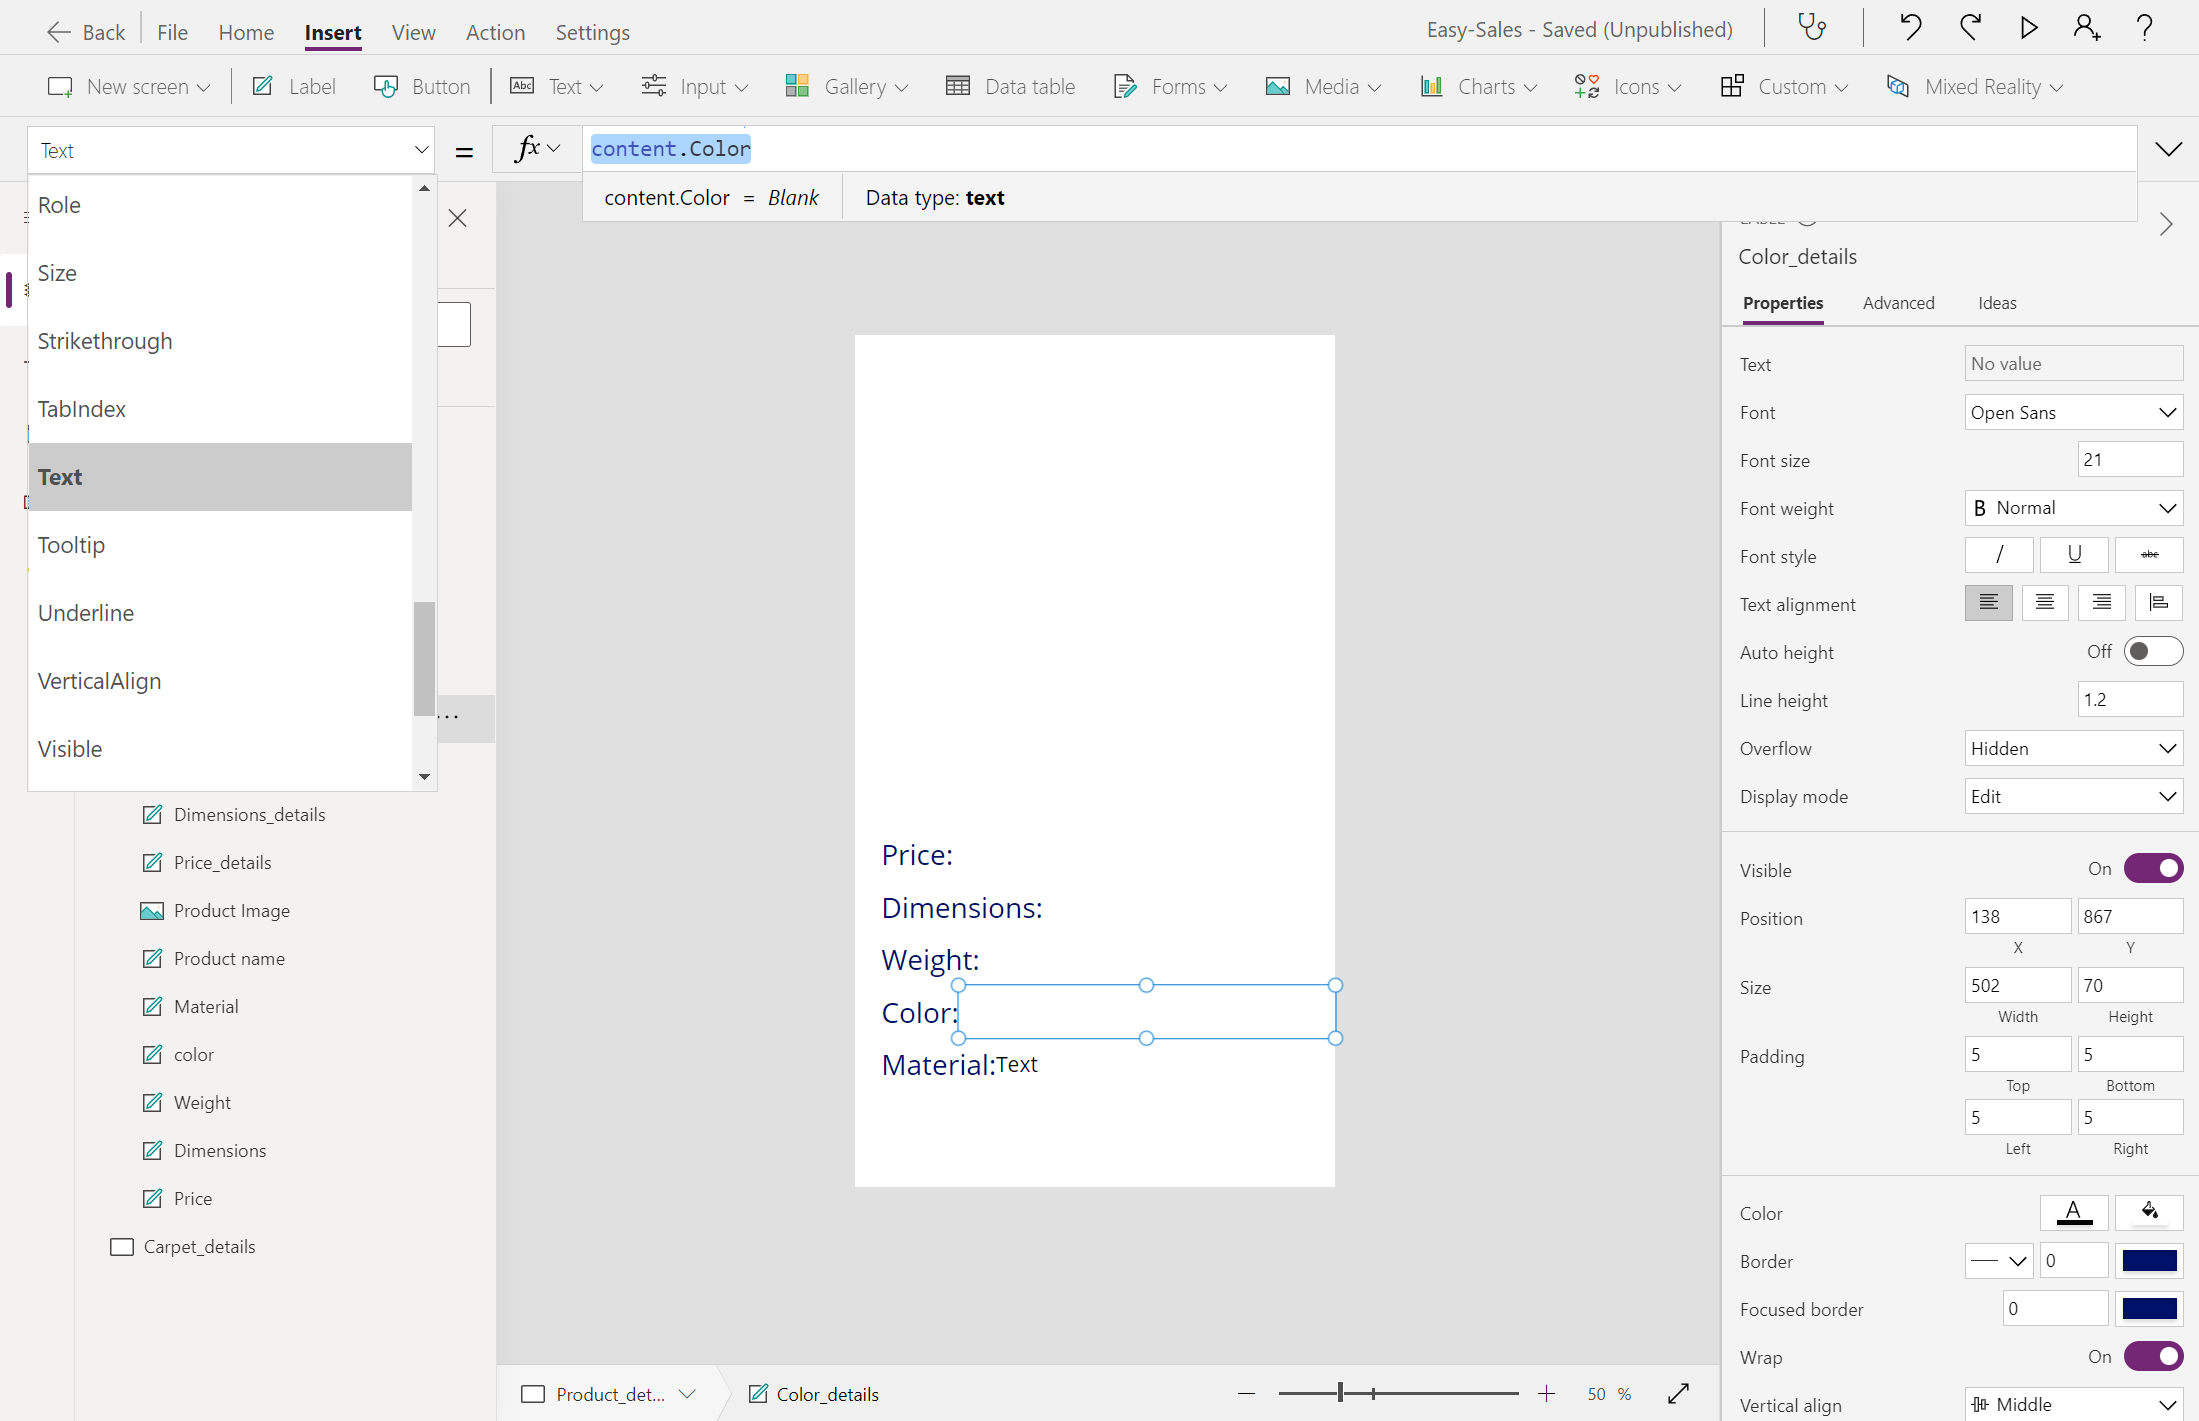
Material :
content.PrimaryMaterial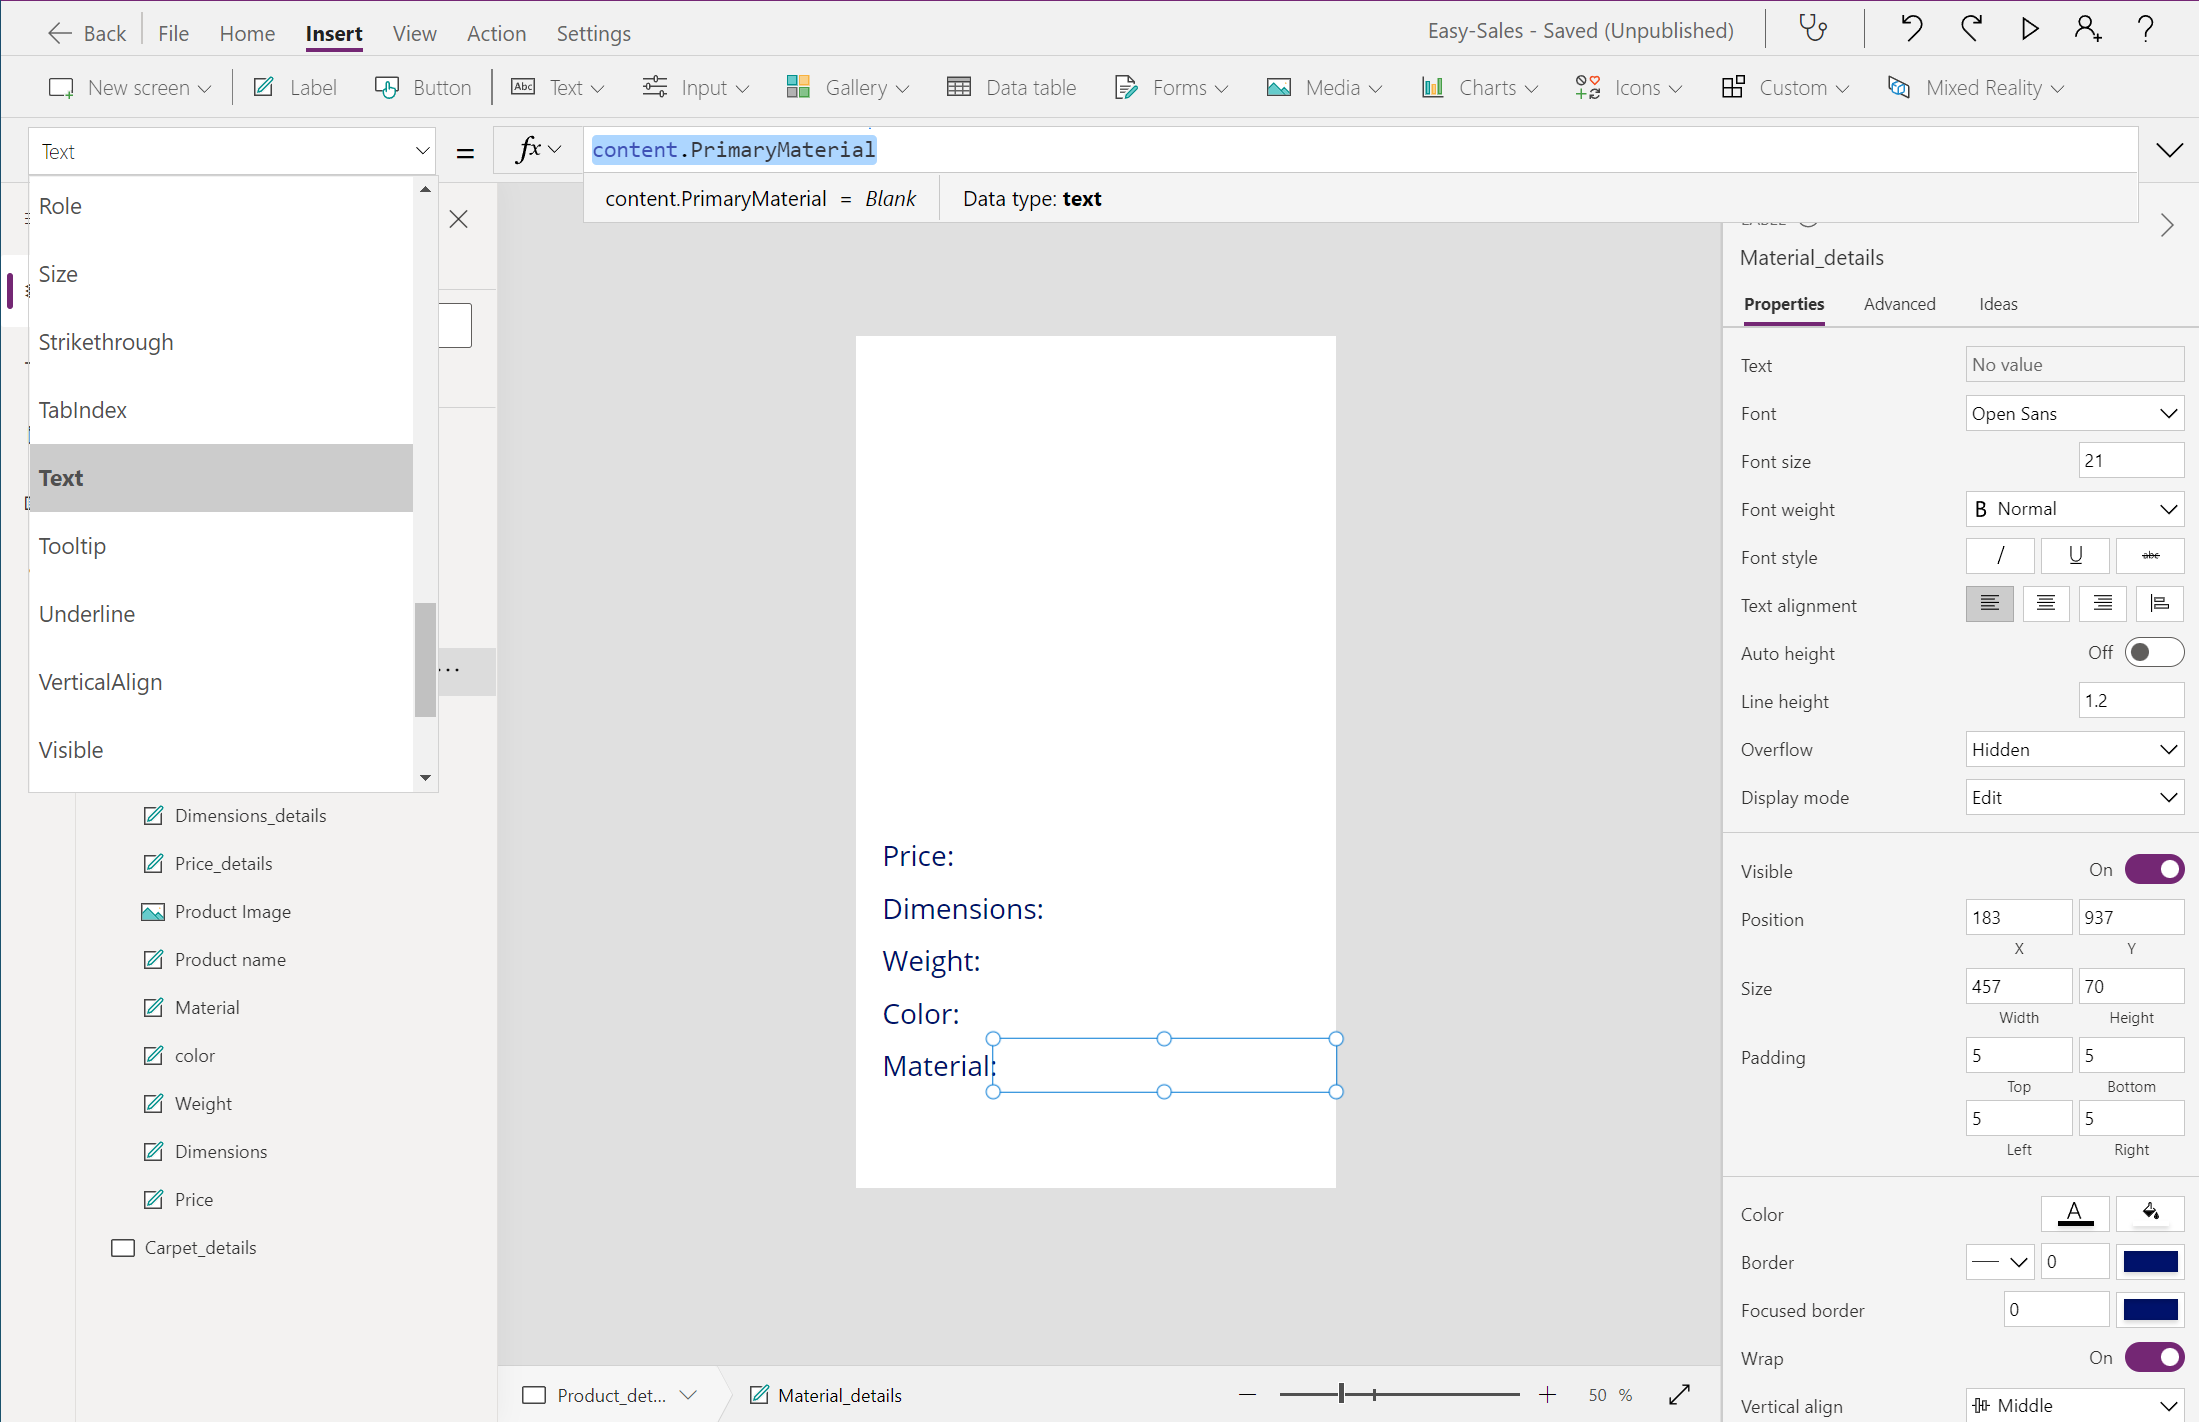
We'll add a Back icon to navigate to the previous screen. To add the Back icon, expand the Icons dropdown and select the Back icon. Position the Back icon correctly and configure the OnSelect property by adding the following:
Navigate('Products',ScreenTransition.Cover)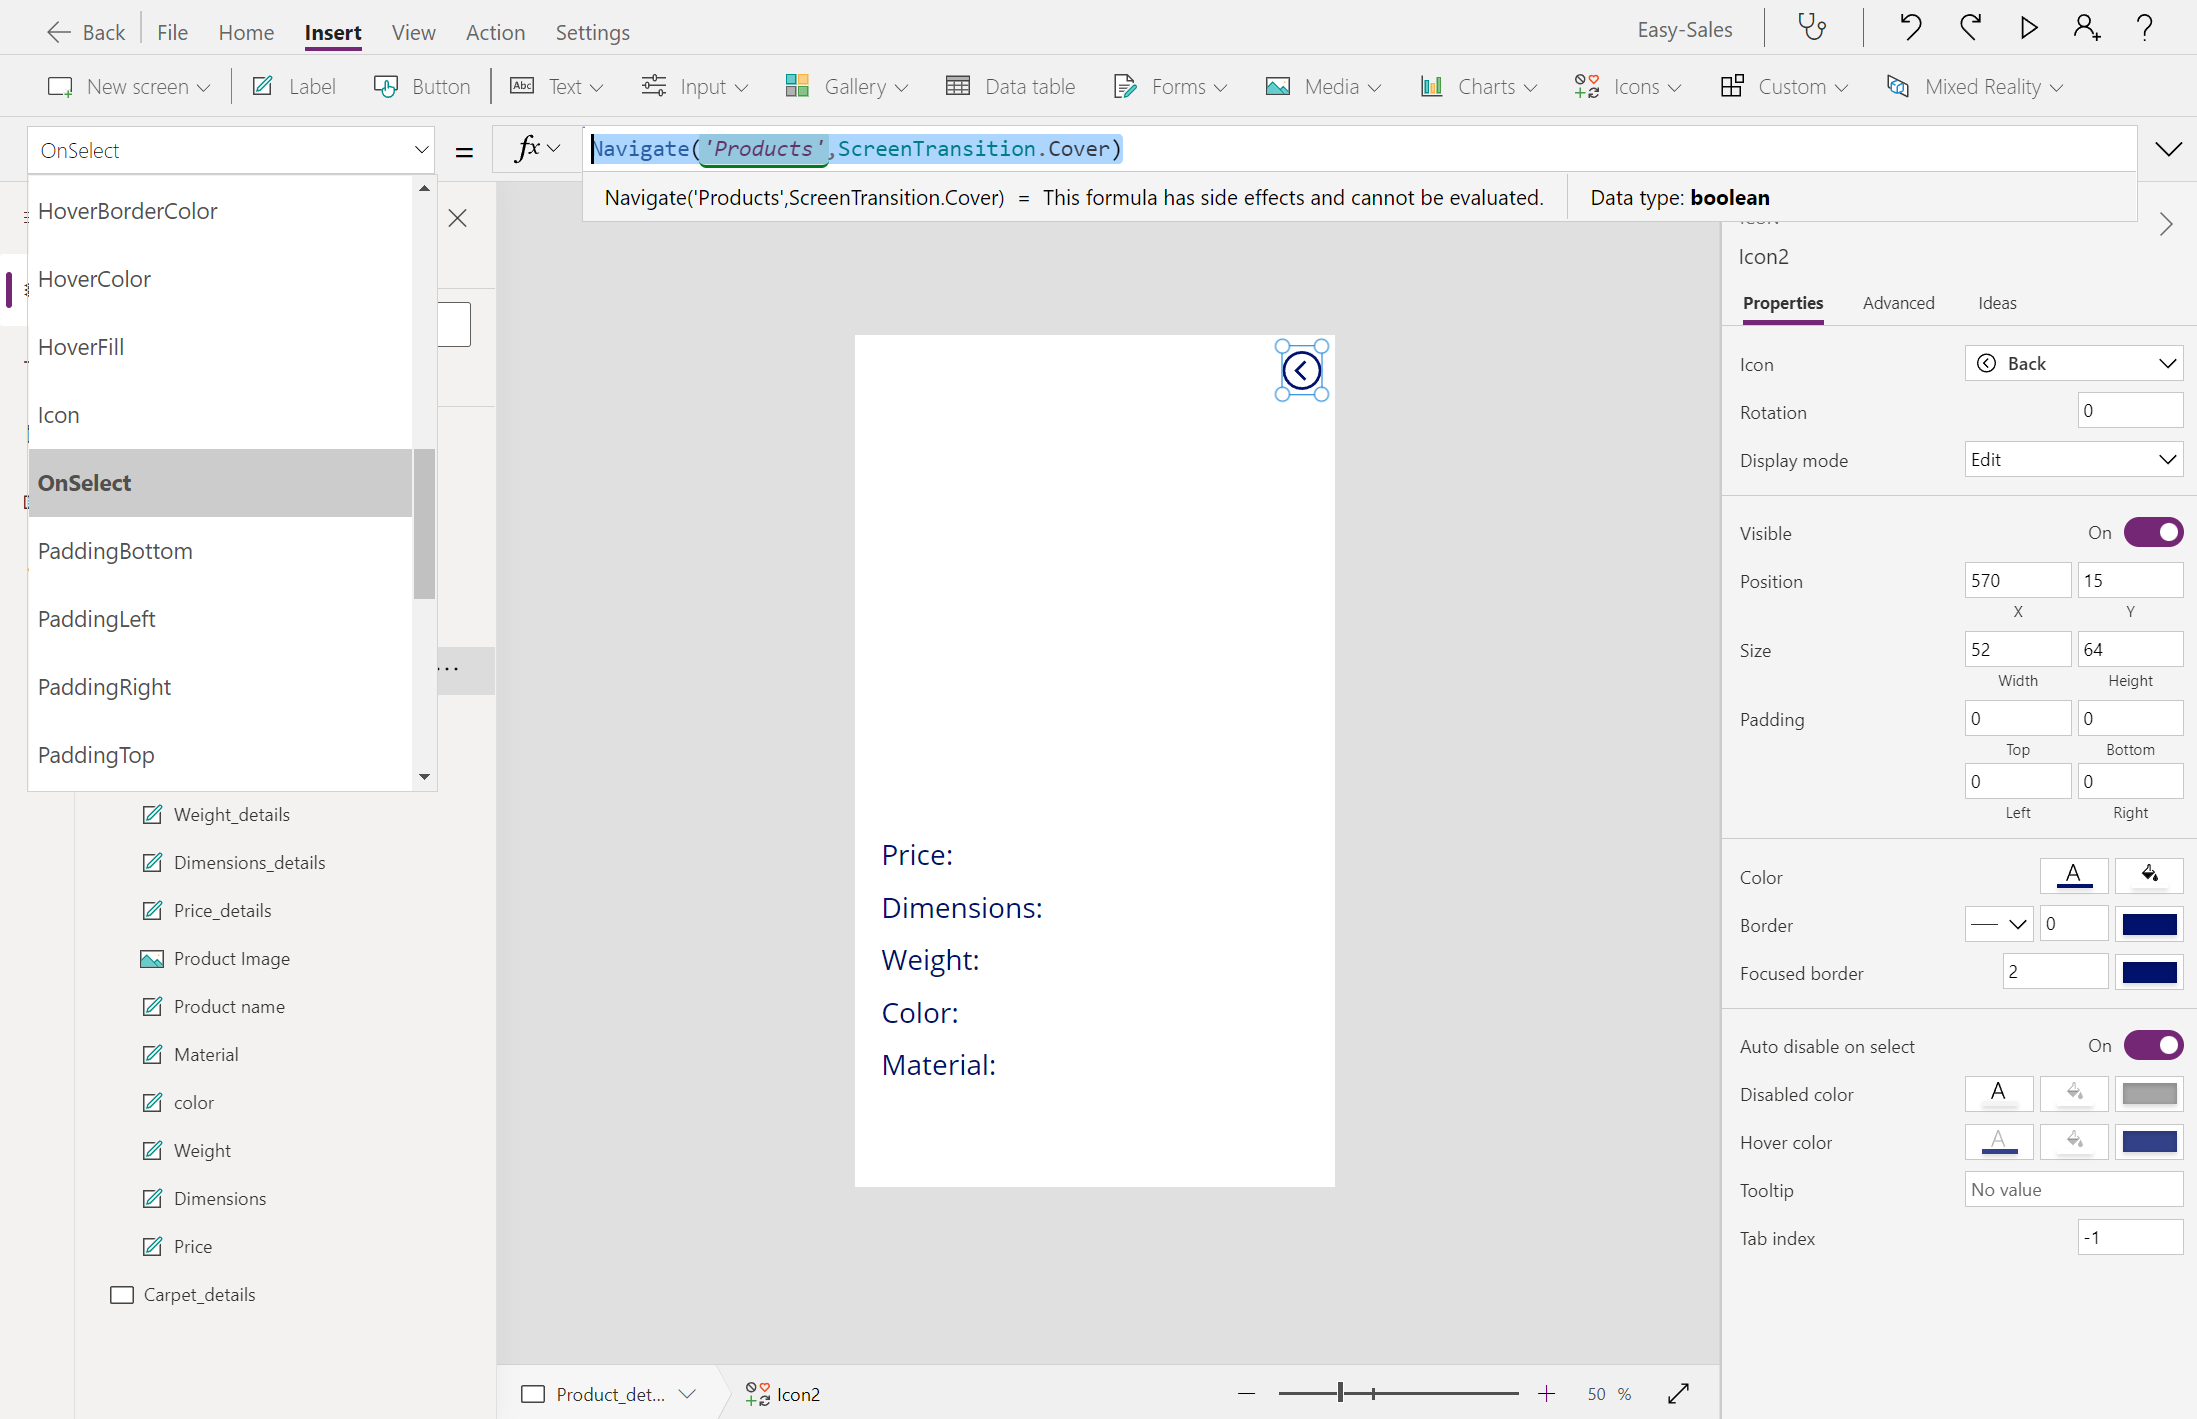
Follow the same procedure for Carpet_details. Customize the Navigate function accordingly.
Tip
To save your progress, select the File tab at the top and select the Save option. You can also use Ctrl+S to save your progress.
Note
Avoid including the View in 3D component on the Carpet_details page. We don't use 3D models for the Carpet category.


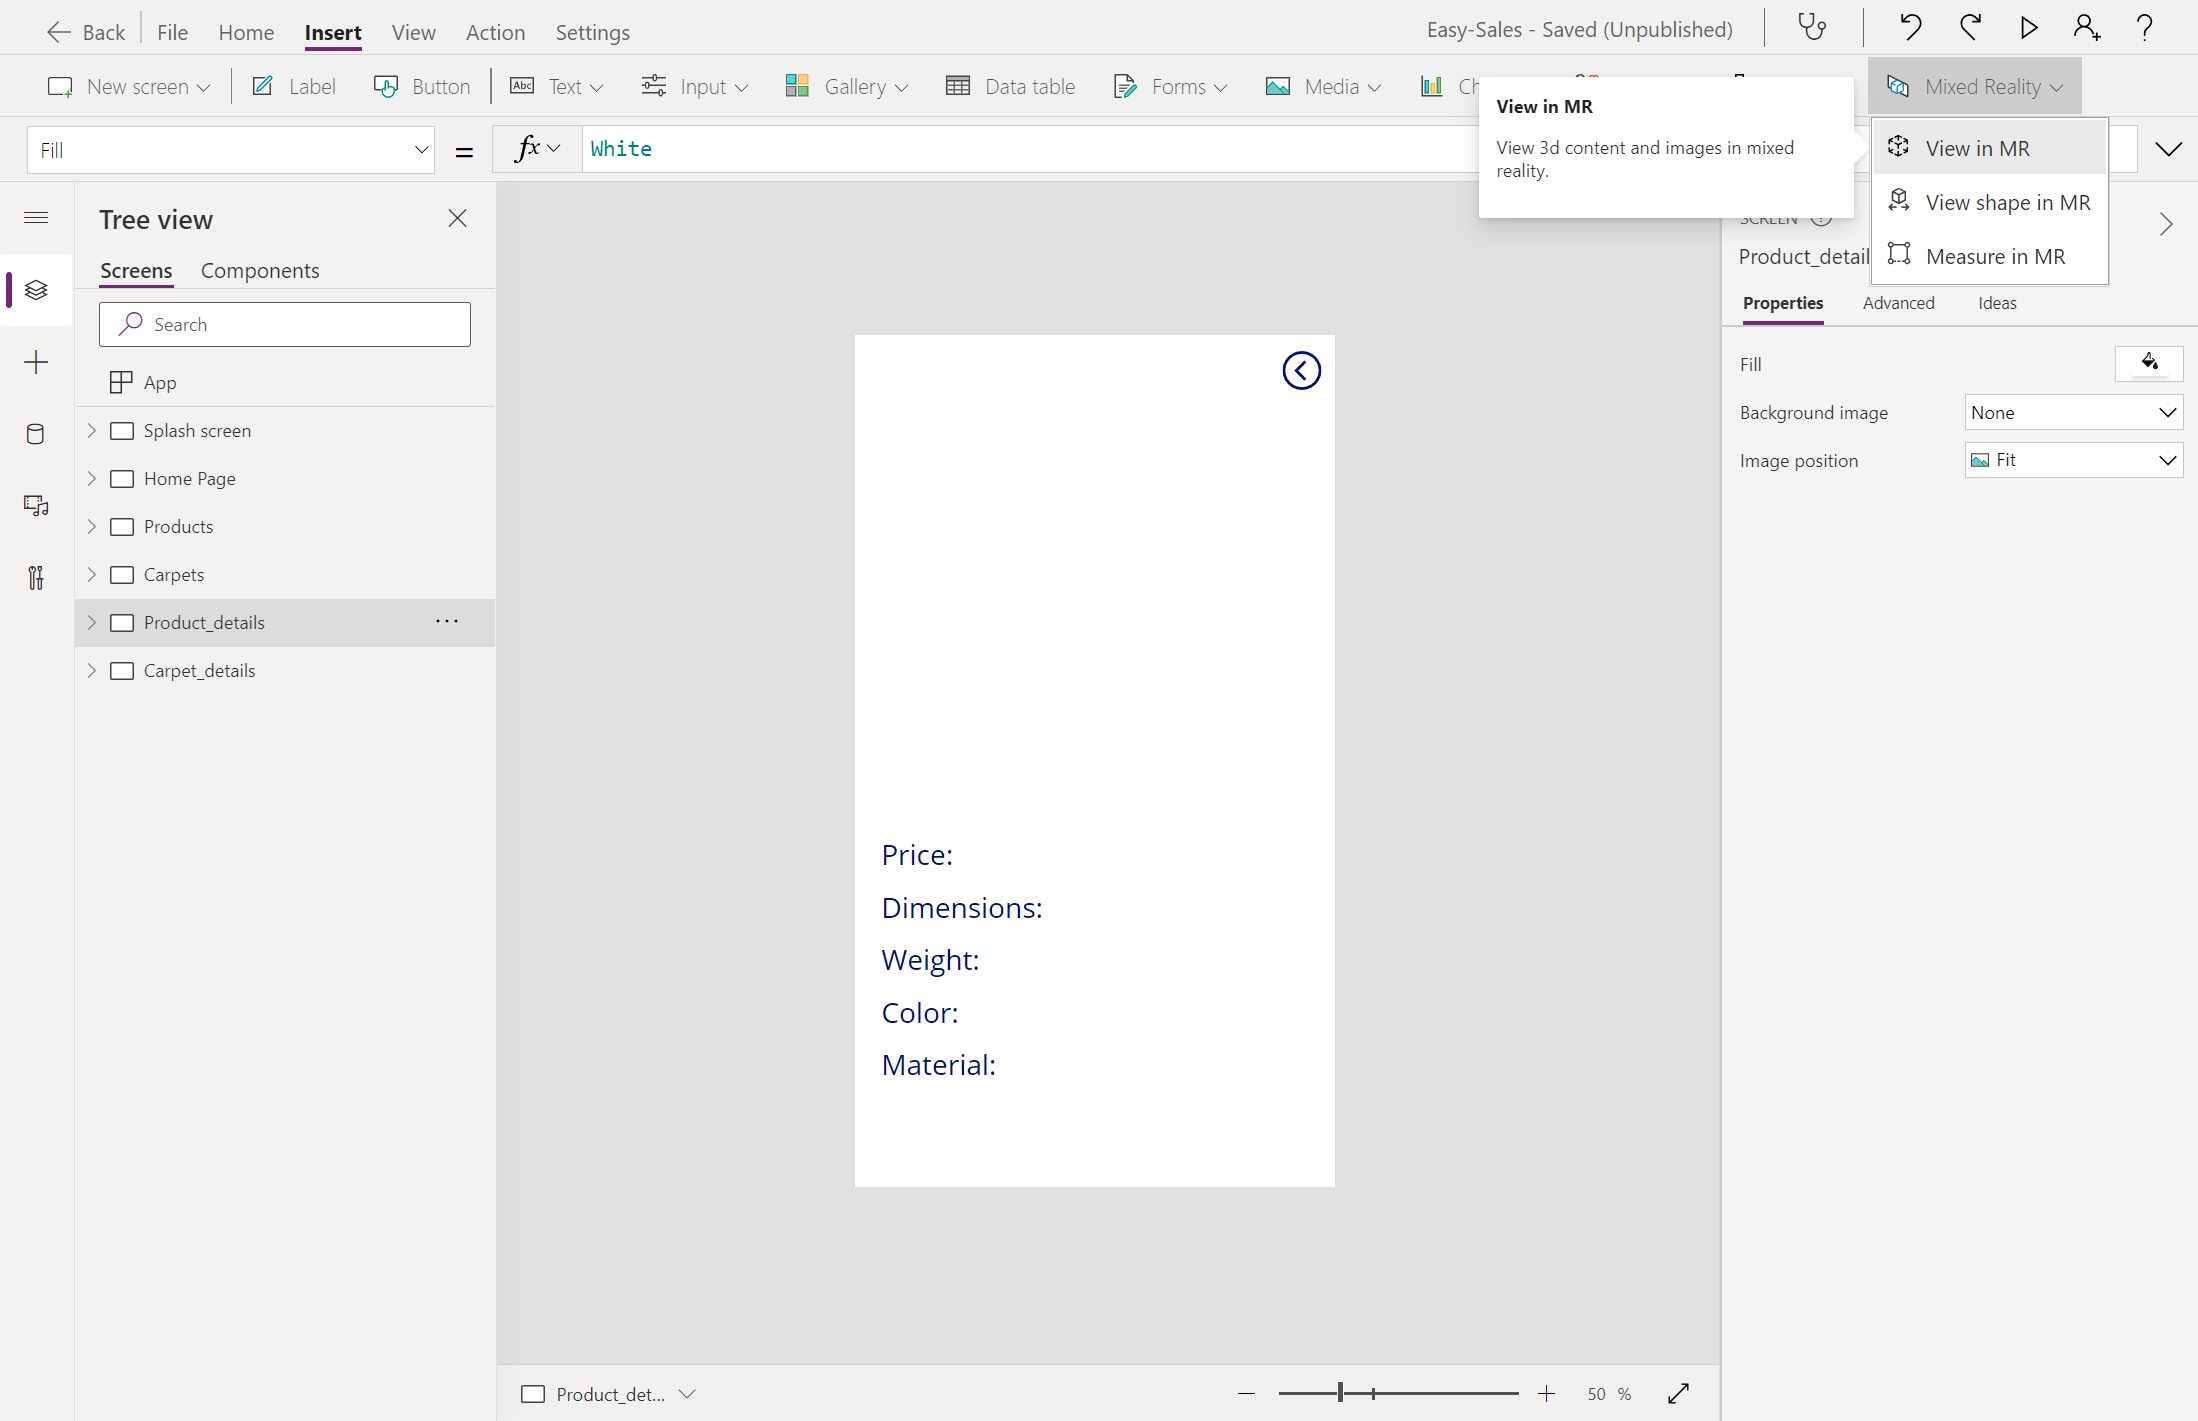
View in MR component
View in MR is a mixed reality feature provided by Power Apps that enables users to place 3D objects or Images in their real-world environment. The 3D models and images required for the application are stored in the SharePoint list. Let's start by adding the necessary resources in the SharePoint list.
Add the View in MR component to the Product_details screen. Open the Insert tab, then expand the Mixed Reality dropdown, and then select the View in MR component.
In the Properties tab for the View in MR component, select the Source field and enter to access the 3D models stored in your SharePoint list:
First(Gallery_products.Selected.Attachments).Value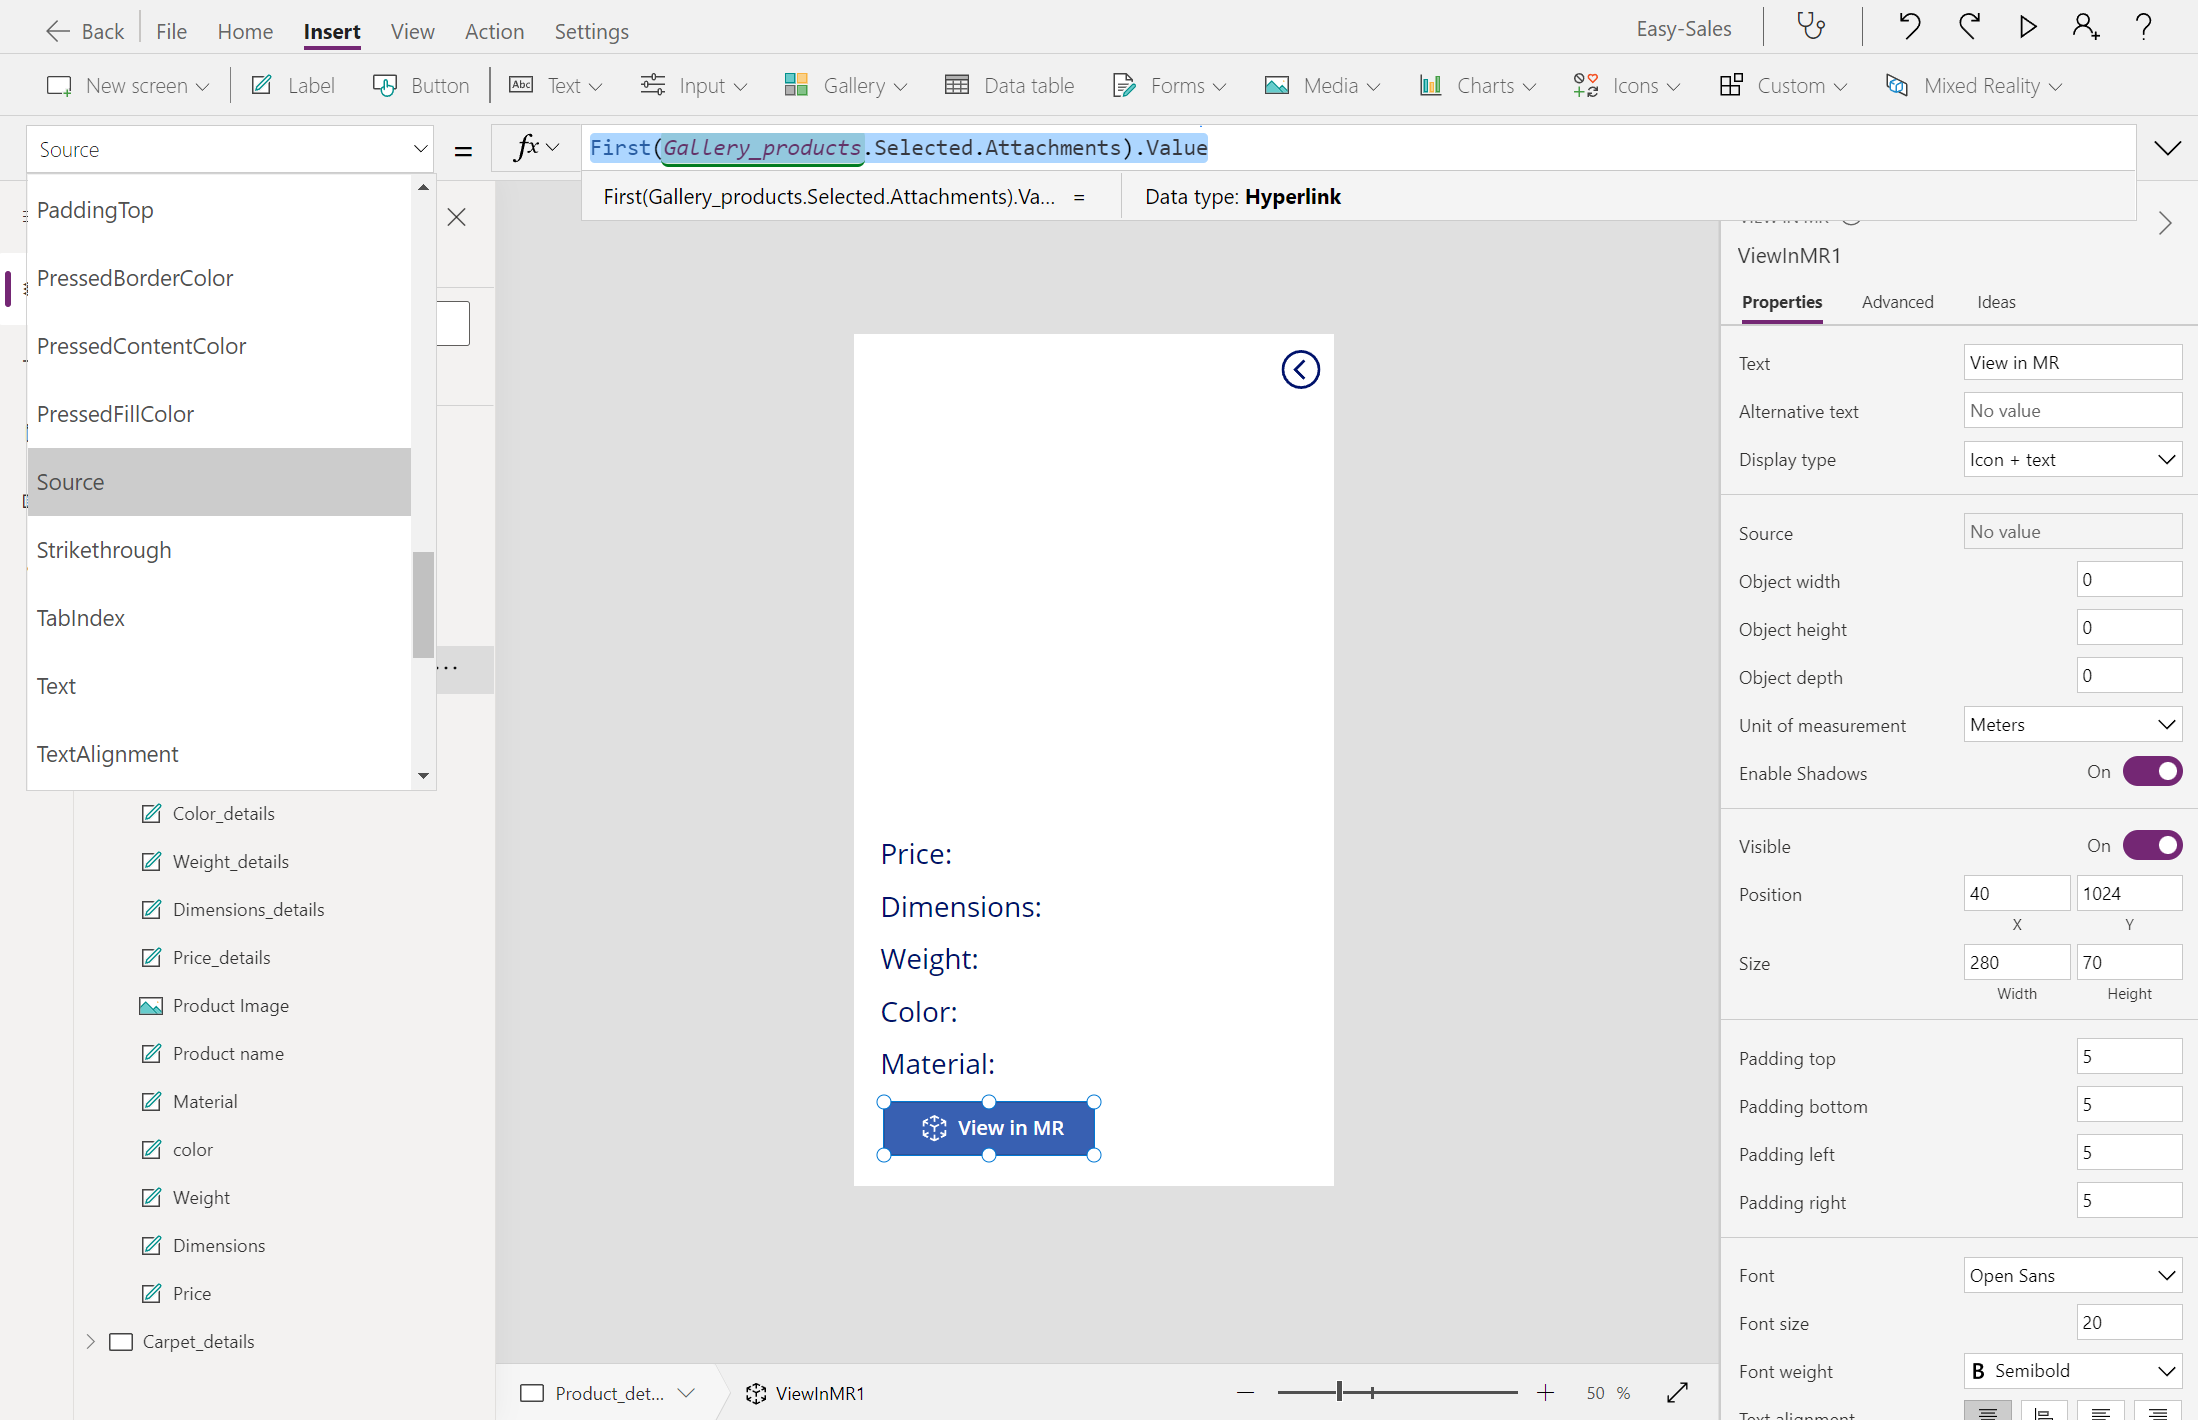
Note
We don't include the View in MR feature for the Carpets category. Instead, we'll be estimating the Price of the carpet depending on the area calculated in the Measure in MR session.


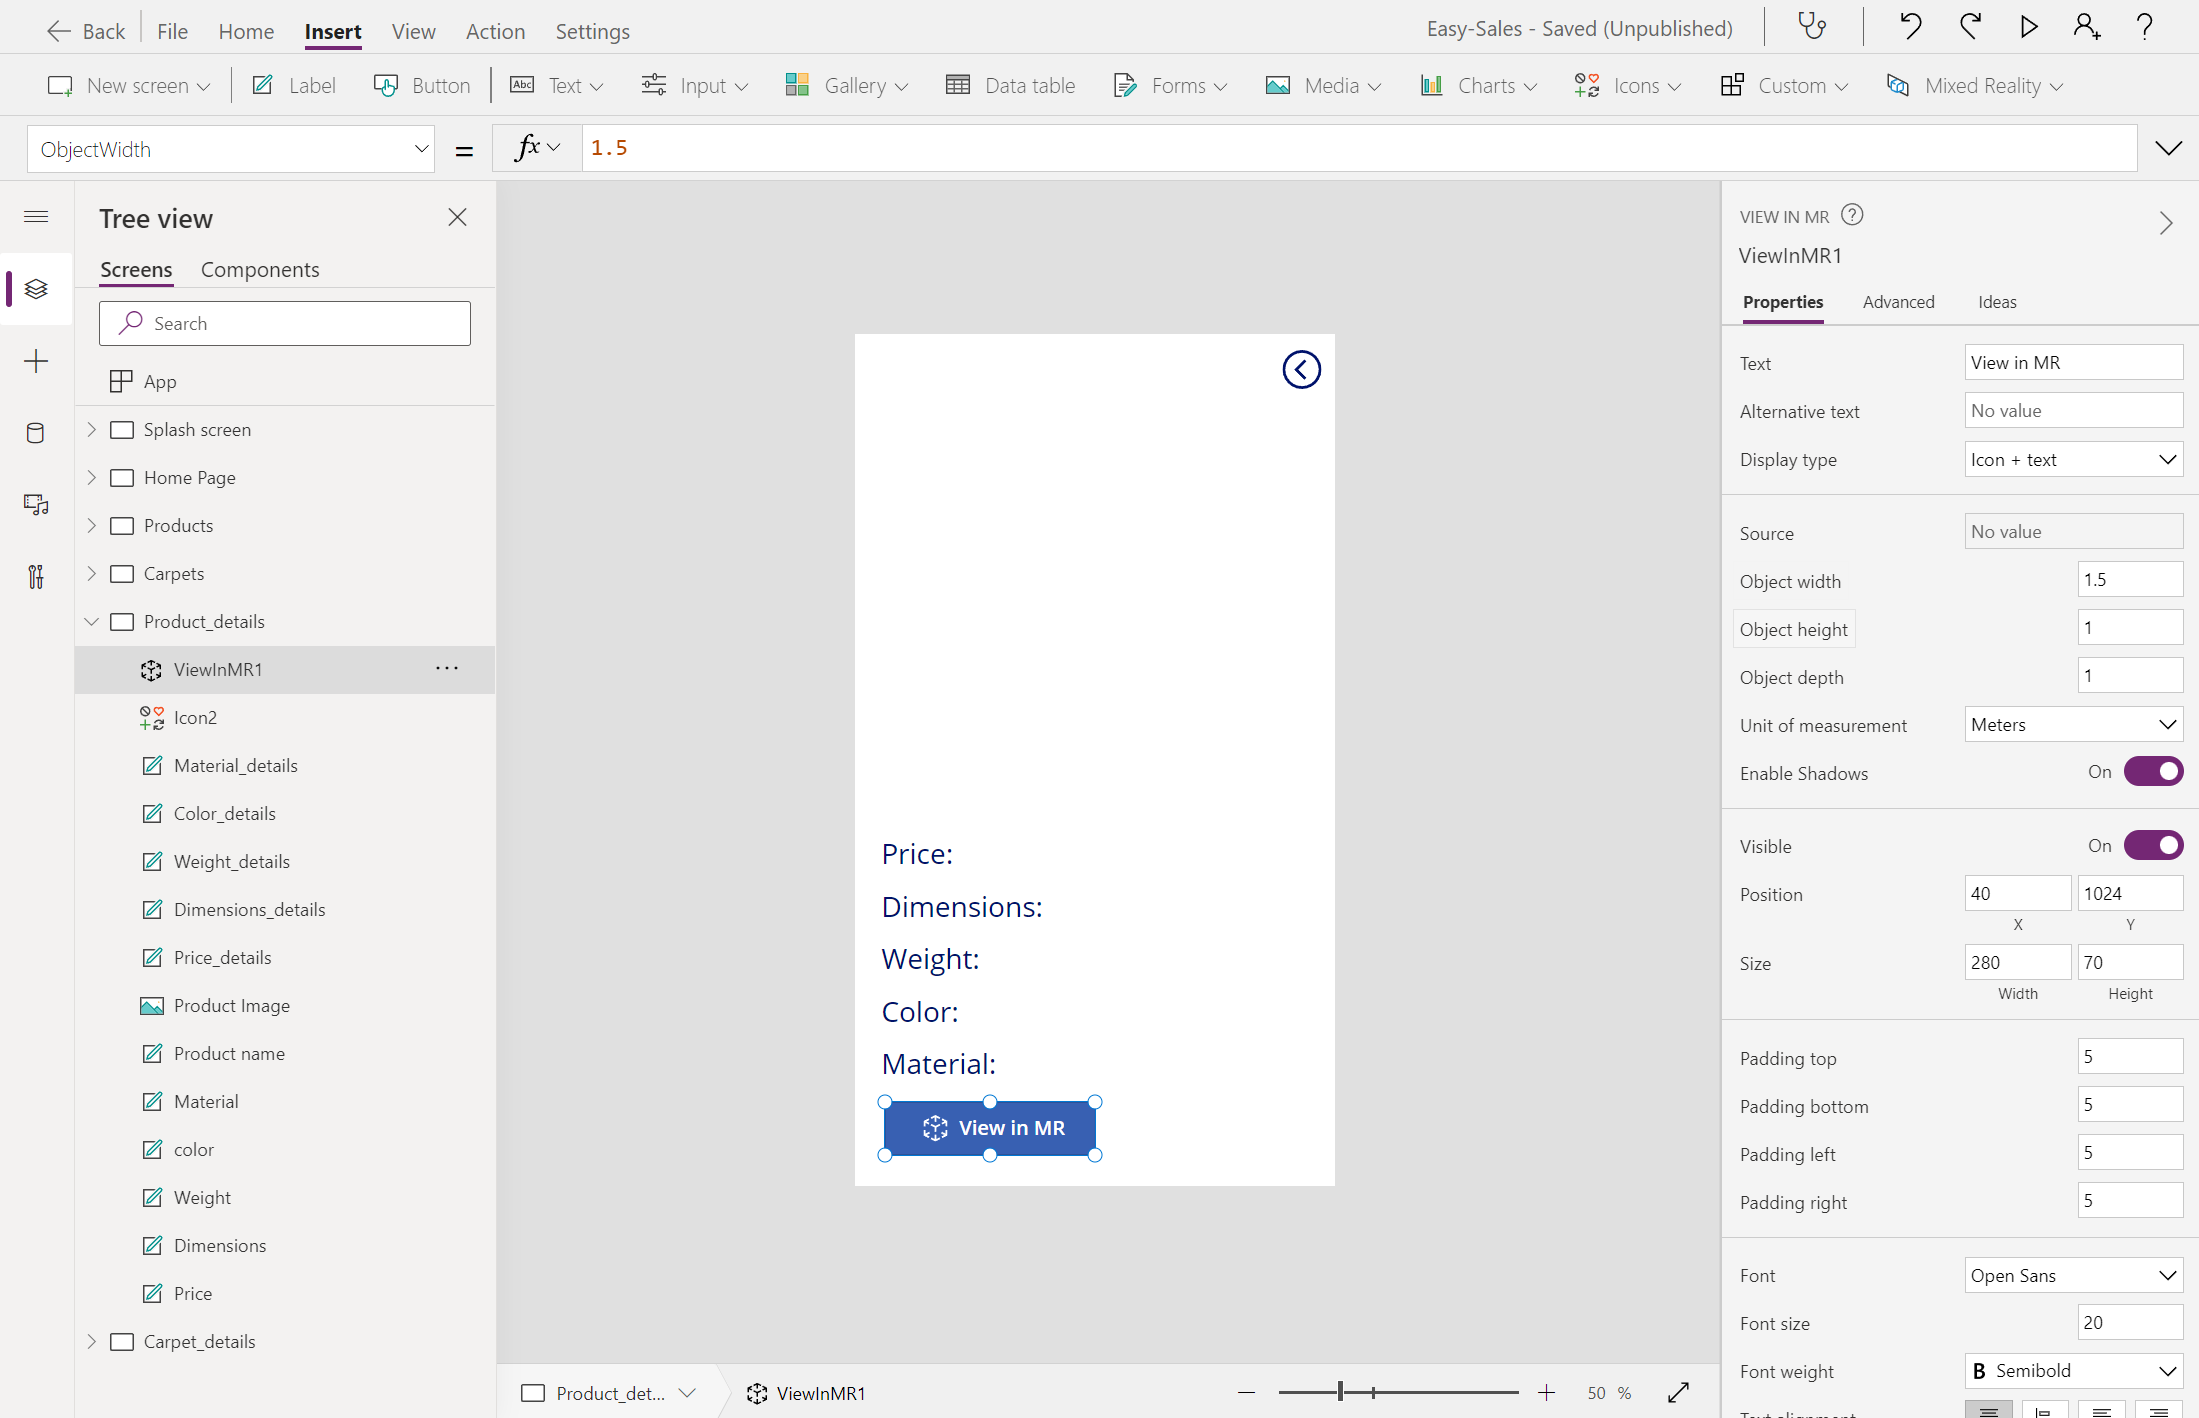
Another unique property the View in MR component provides is Object scaling. You can edit the sizes of your 3D models externally by changing the Object width, Object height, and Object depth properties.
Set the following properties in the Property pane as shown in the image:
- Object width = 1.5
- Object height = 1
- Object depth = 1
- Unit of measurement = Meters
These values are set according to the 3D models included in this application.
Note
You can also customize the values passed to Object width, Object height, and Object depth according to your needs. The values passed are taken in the units specified in Unit of measurement. Choose an appropriate measuring unit from the dropdown and later enter the values.
Tip
To save your progress, select File tab at the top and select the Save option. You can also use Ctrl+S to save your progress.

Implementing the above steps will produce an application with a details page containing detailed product information. The application will also include the View in 3D component, allowing you to include 3D content. You can also place 3D models in your real world environment via the View in MR component. Now that you've learned how to implement these features, you can incorporate them into your future applications.
