Install the StudentImport solution
You can use a solution to transport components between environments. The solution that you're about to install is the completed solution from the standard App in a Day course. The labs that are listed in this course continue building the functionality for apps that are built during the App in a Day course.
For more information, see Solutions in Power Apps.
Locate the solution .zip file that contains the name StudentImport.zip within the student files you've downloaded (1.Dev Resources and Solution Packages > ALM > PP IAD - Student > StudentImport). Do not unzip this file. Download the student files if you do not have them.
Important
Unzipped solutions are not accepted by the Solution Importer. If you receive an error saying that you are missing the appropriate root file, then you have uploaded the wrong folder.
If you do not already, open the Power Pages maker portal.
In the upper-right corner, validate that you aren't in the default environment and that you're in your Dataverse environment.

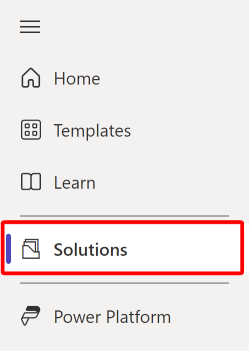
From the home page of the marker portal, select Solutions.
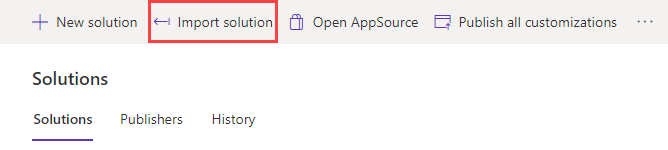
In the ribbon, select Import solution.
Select the Browse button and browse to the location where you downloaded the solution and then select the file. Once the name of the file is displayed next to the Browse button, then select Next
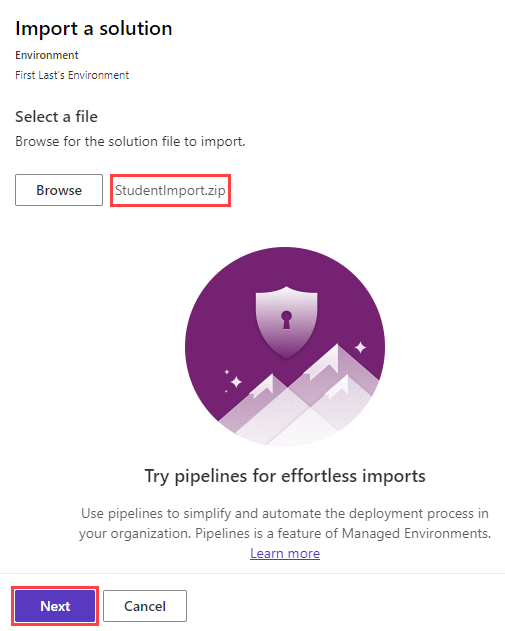
Select Import in the Import a solution panel.

The following message will display until the solution completes the installation.

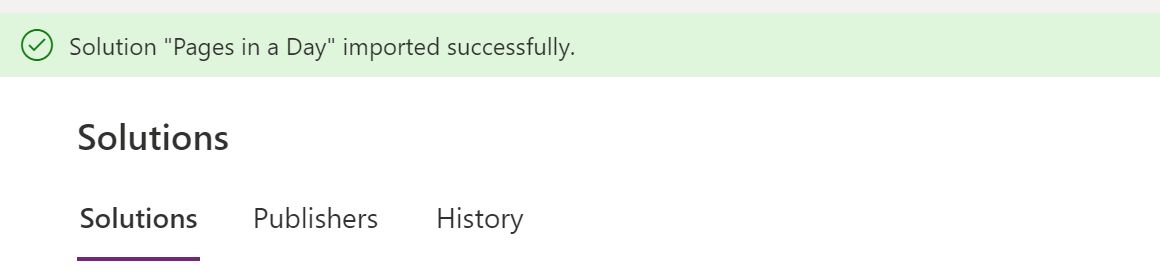
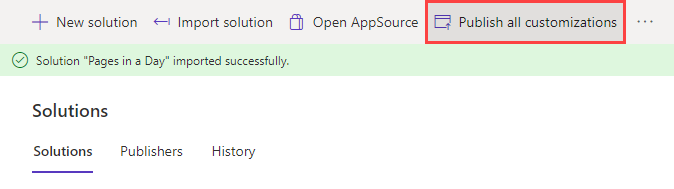
After a few minutes, when the solution has successfully imported, the banner will display a success message similar to the following screenshot.
Note
You do not need to refresh your browser, the banner will update automatically.
When the import is complete, select the Publish all customizations button. The process might take a few minutes.


You now have the necessary prerequisite components to use for your supplier portal.