Exercise - Edit pages
The purpose of this hands-on-lab is to create a web page and edit source code by using Power Pages design studio.
At the end of these exercises, you can:
- Open Power Pages design studio to edit your portal.
- Create new page using a standard template.
- View the source code of the page.
- Add custom HTML code directly.
For this exercise, you need the following items:
- A provisioned Power Pages site in your environment. If you don't have a Power Pages site available, follow the Create and manage Power Pages sites instructions to create one.
Scenario
To enhance the website experience for visitors, sometimes you need to add custom HTML content to a page. In this exercise, you add HTML code that creates a dismissible alert. The code also includes a small fragment in Liquid language creating a dynamic greeting for the visitor.
High-level steps
- Open your portal in Power Pages design studio.
- Create a new landing webpage.
- Edit page, add a spacer and content placeholder then add HTML code.
- Save the page and browse the site to view the results.
Detailed steps
Launch Power Pages design studio
Sign in to Power Pages.
Select a target environment by using the environment selector in the upper-right corner.
Select your site, and then select Edit to launch the design studio.
Make sure Pages workspace is selected.
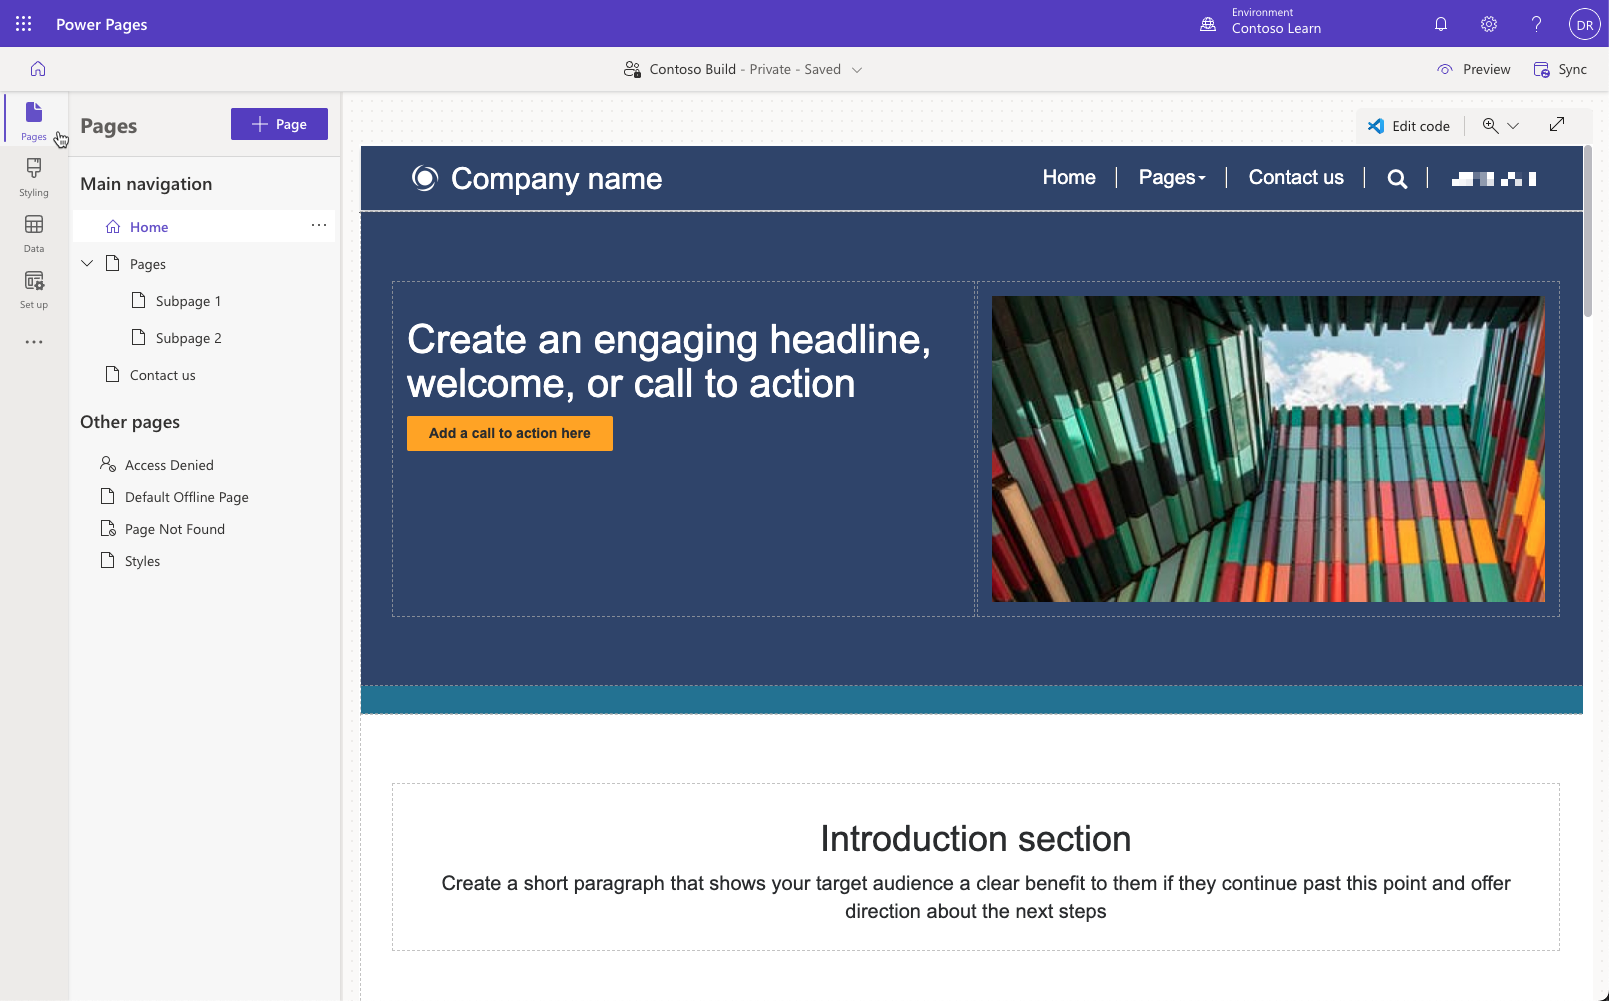
Create a web page
- Select + Page.
- Enter a page name.
- Select Landing Page standard layout, and then select Add.
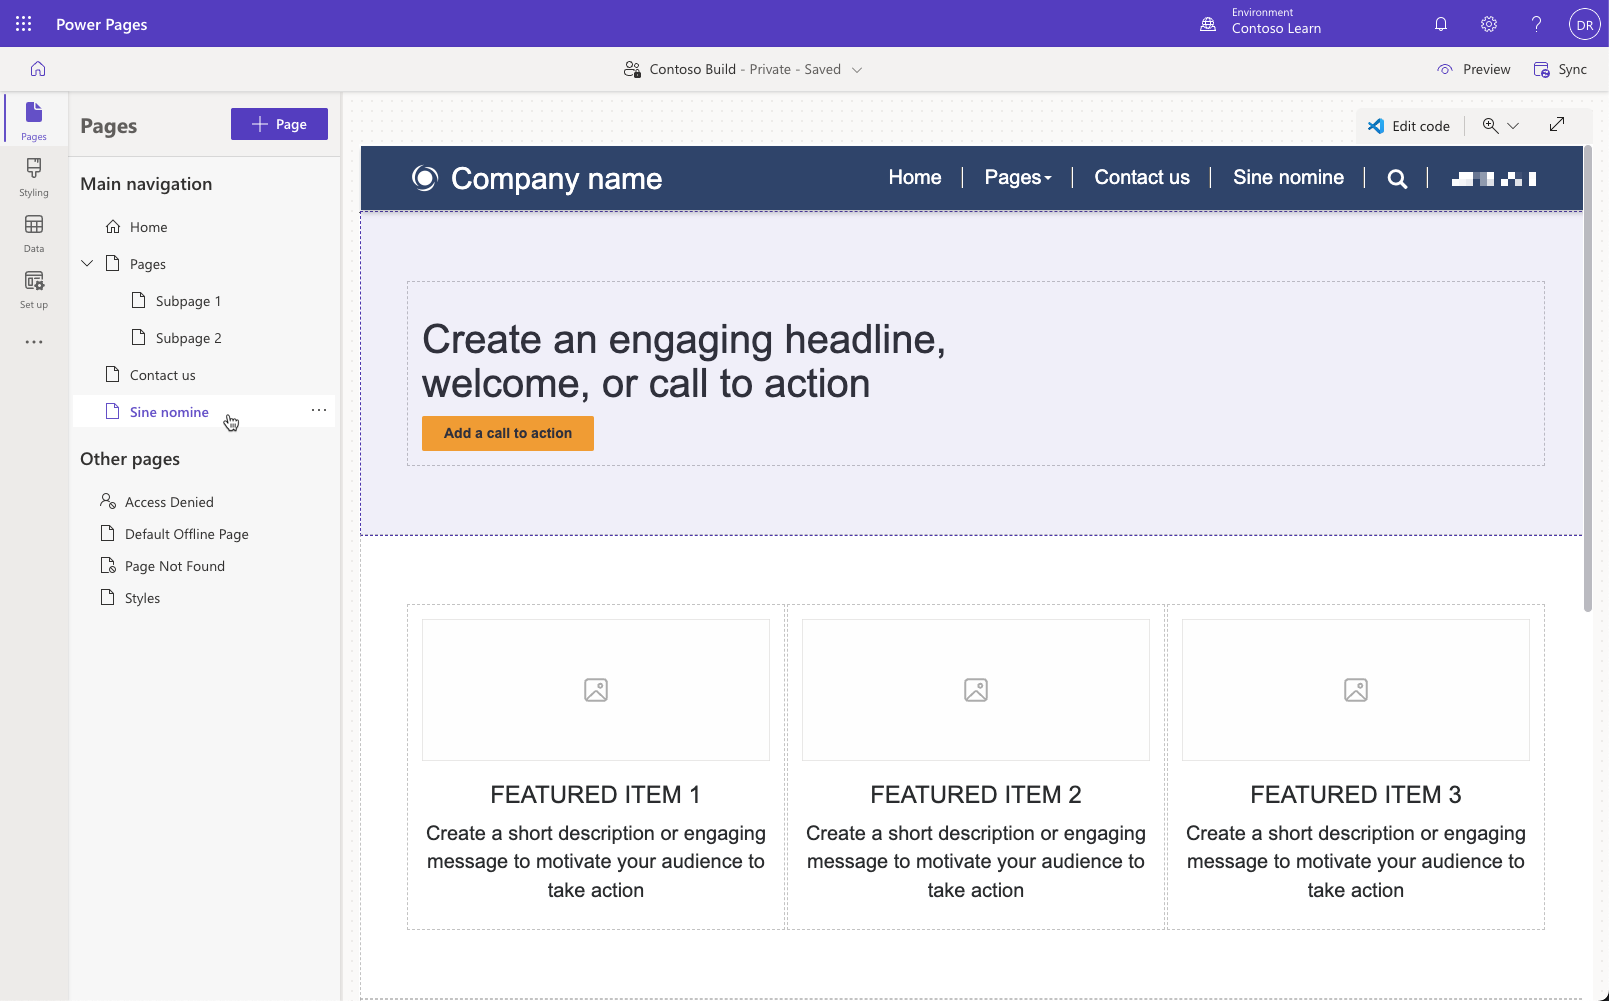
Edit page
Select the first button on the page. Press the plus sign (+), and then select Spacer element. This command adds a small space before your custom content.
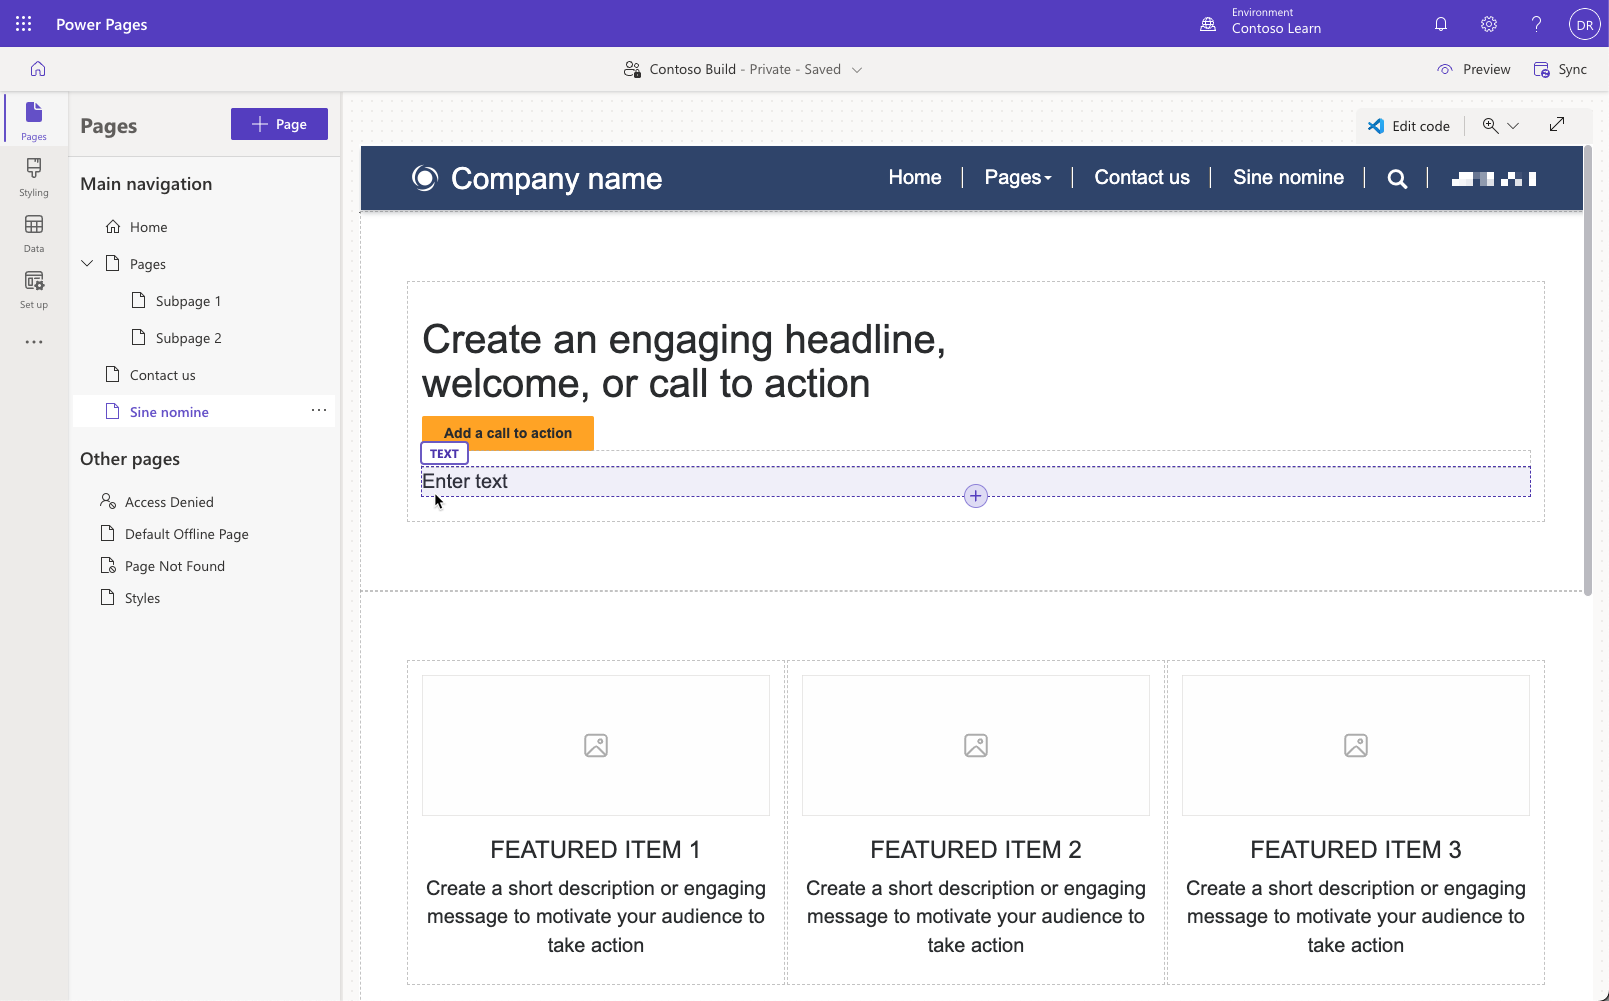
Select the spacer, press the plus sign (+), and then select Text element. This command adds a placeholder for your custom content.
Your page should look like this:
Press Edit code to open the page in Visual Studio Code for the Web editor.
When prompted, select Open Visual Studio Code:
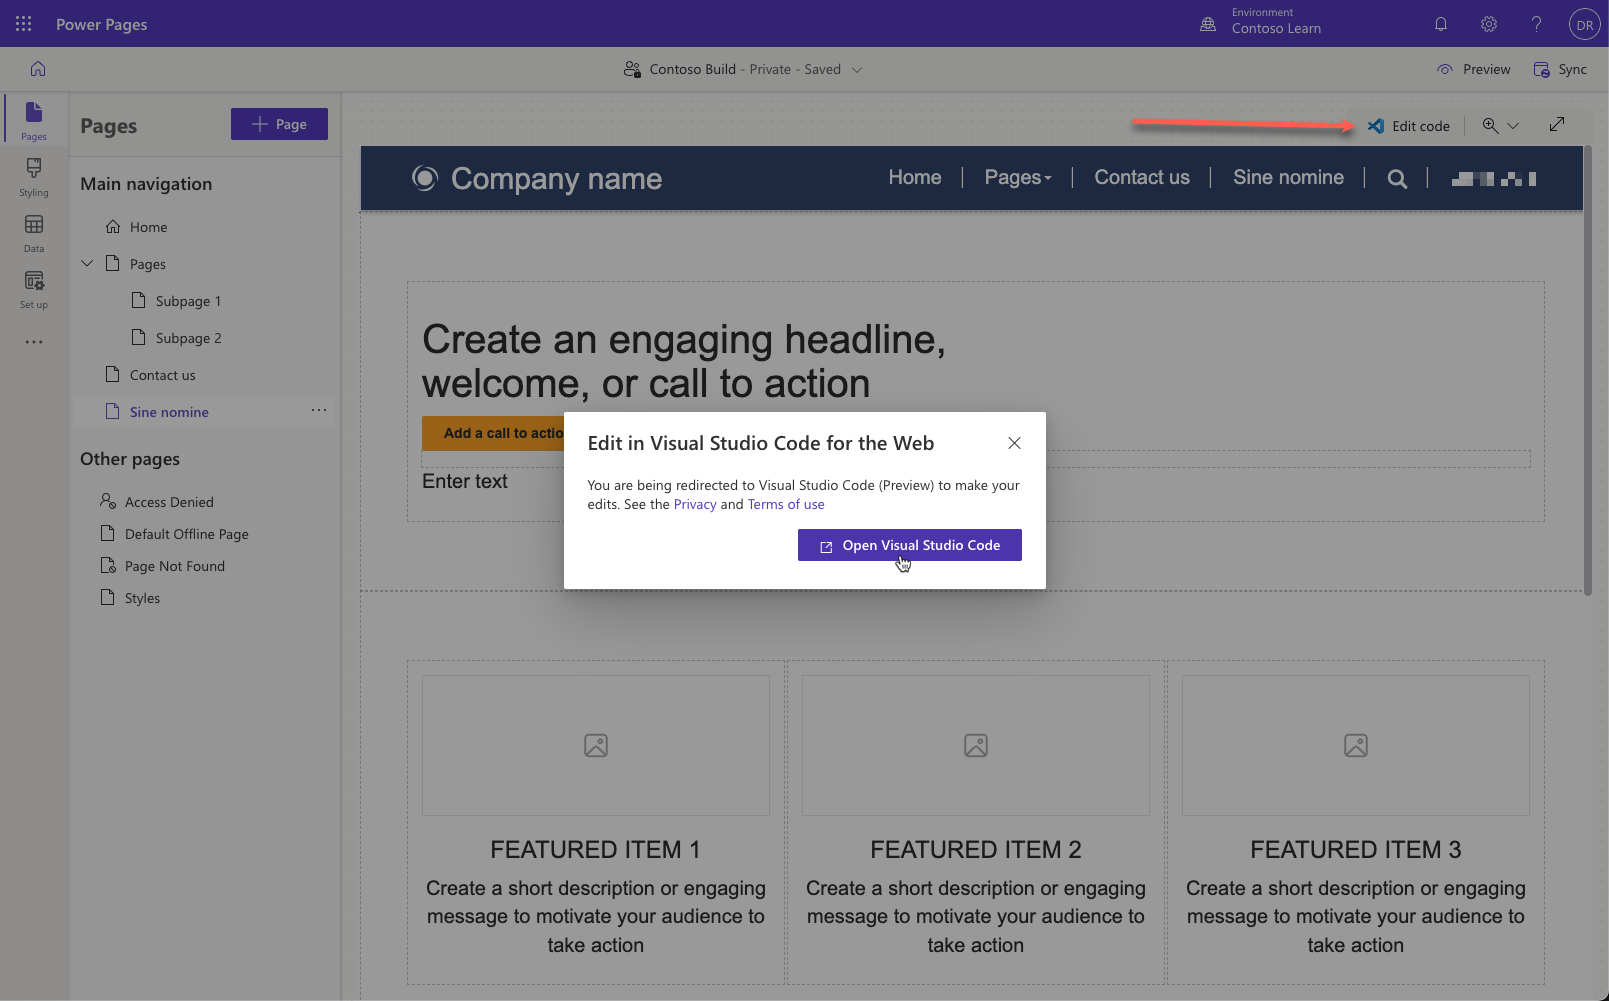
This selection opens a new window or a tab with Visual Studio Code for the Web. Locate the text element you created earlier with the words
Enter text: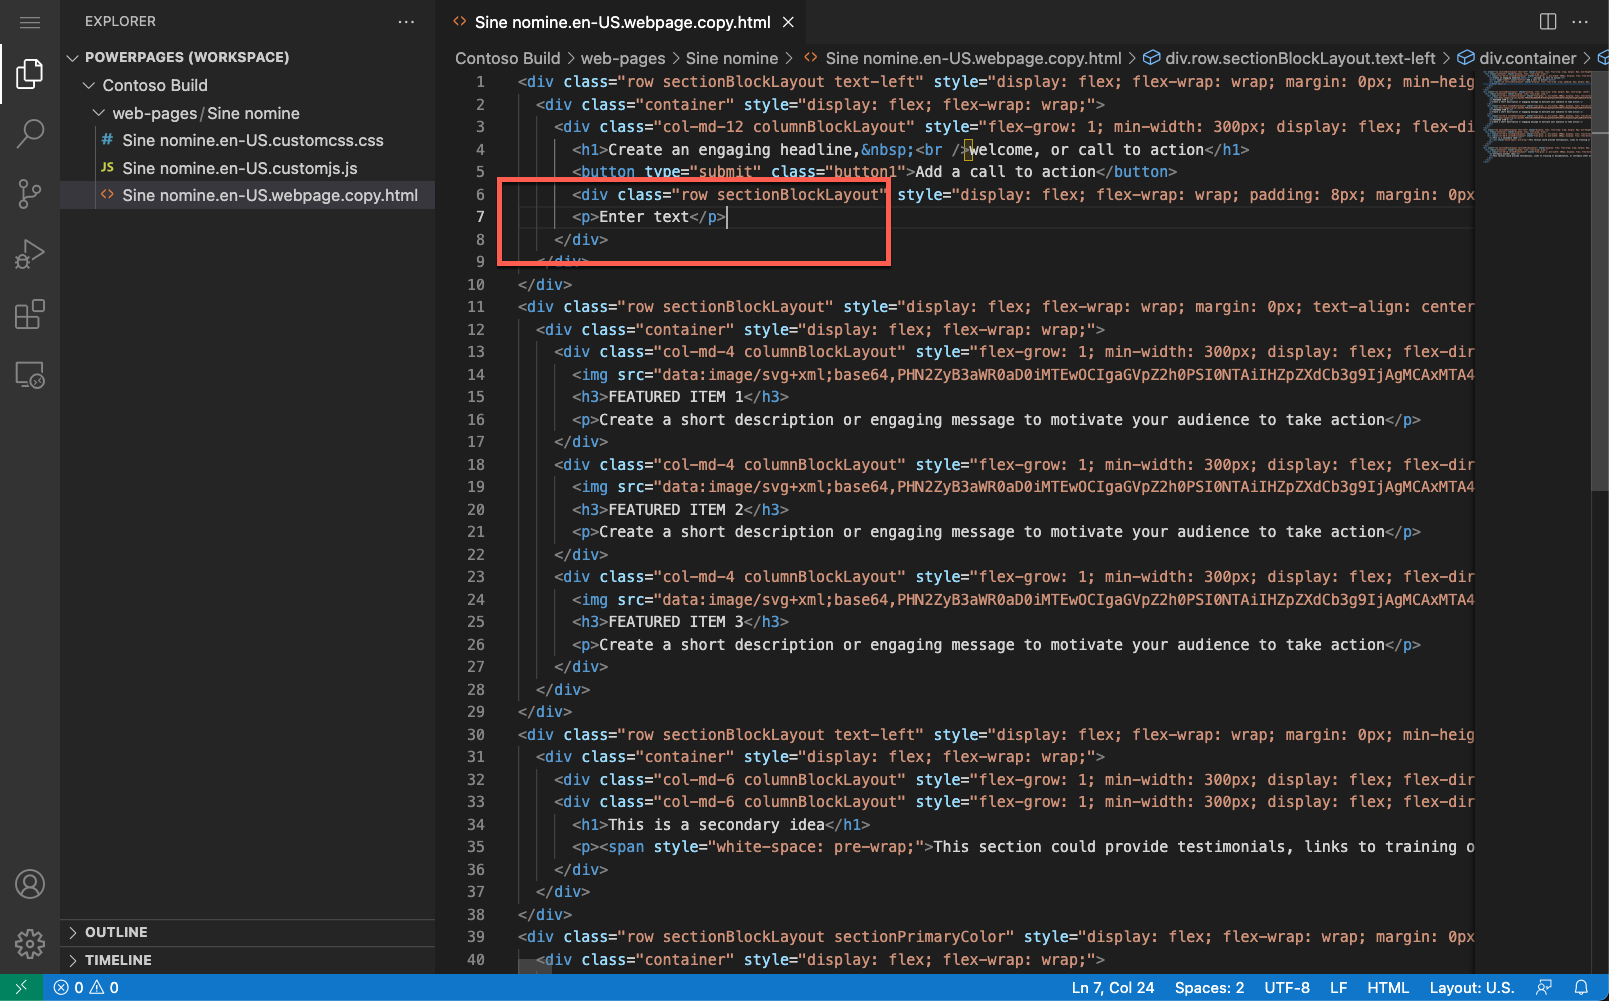
Copy the following code and paste it into the page source, replacing the
<p>Enter text</p>content:<div role="alert" class="alert alert-info alert-dismissible"> <button type="button" data-bs-dismiss="alert" aria-label="Close" class="close"><span aria-hidden="true">×</span></button> <strong>Happy <span>{{ now | date: 'MMMM' }}</span>!</strong> Get your unlimited free education at <a href="https://learn.microsoft.com/">Microsoft Learn</a> </div>Your content should now look like this:

Press Ctrl-S (⌘-S on macOS) to save the file.
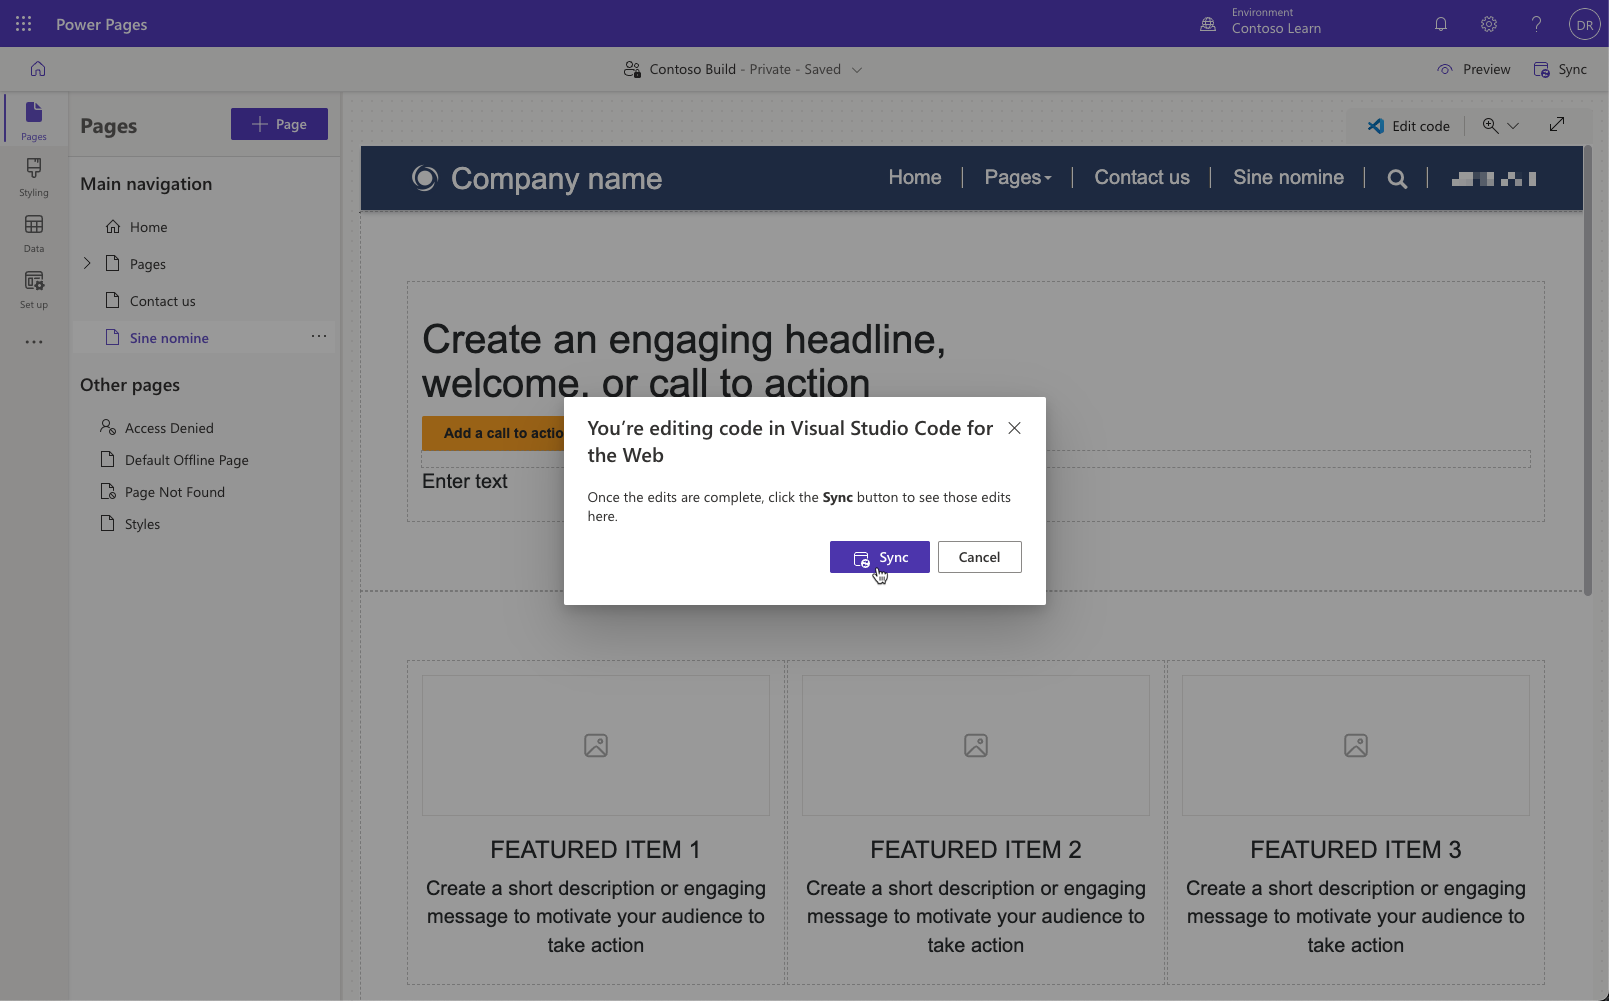
Switch to design studio window. Press Sync button to synchronize the editors and show the updated content on the canvas:
The changes appear on the design studio canvas. Press Preview button in the top right corner, and then select Desktop.
Your custom page with a dismissible alert opens.

Check that the greeting includes current month.
Press cross (x) icon to dismiss the alert.