Add a form to a webpage
In this exercise, you add a form to a webpage.
On the Machine Orders Details page, hover your mouse cursor over the header you added in the previous lab and then select the plus (+) icon beneath the text component. Select the Form option.
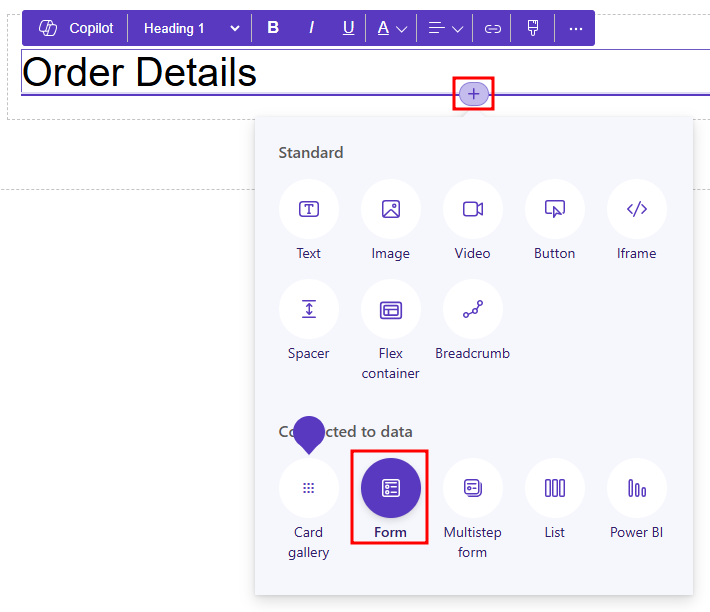
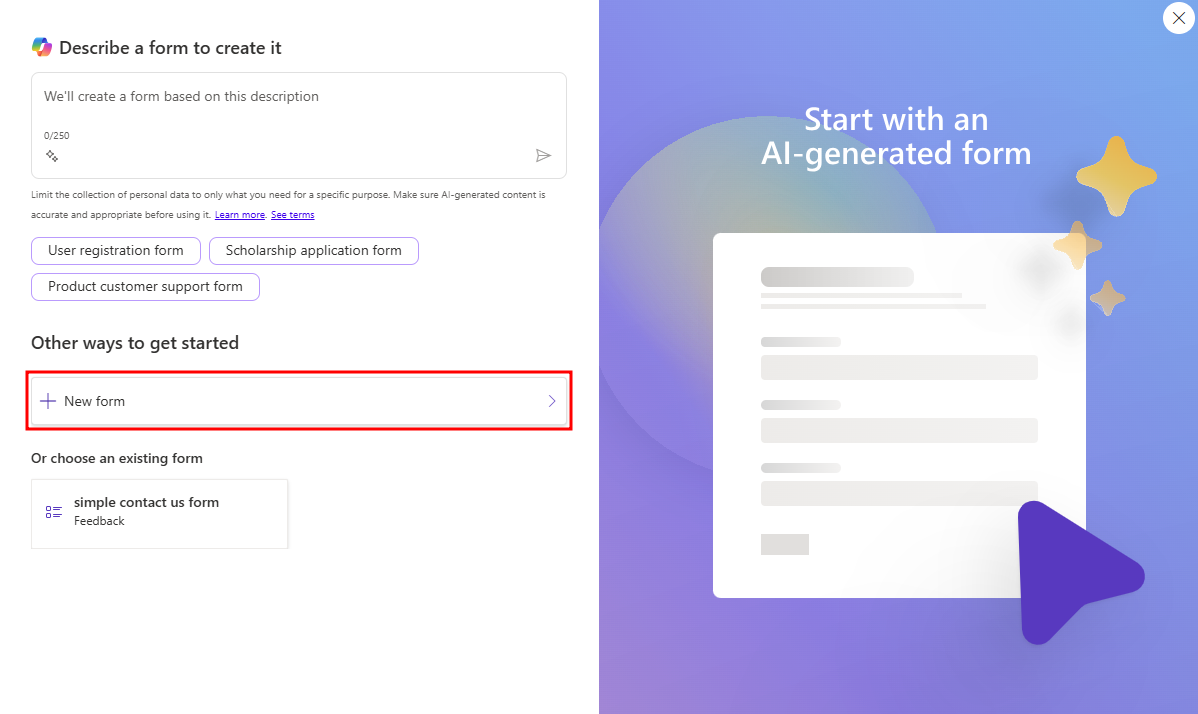
From the modal, select + New form.
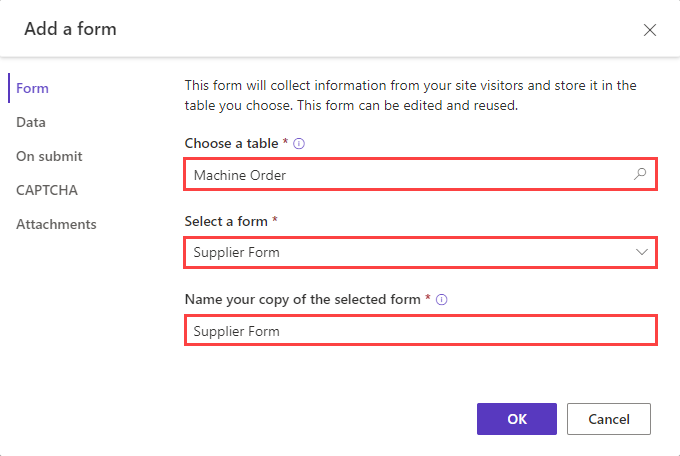
Select the Machine Order table, select Supplier Form from the Select a form dropdown menu, and then name your form Supplier Form.
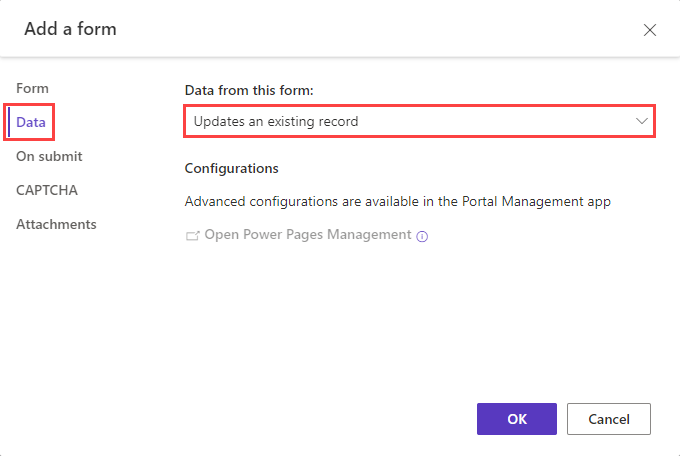
Select the Data tab and then modify the value to Updates an existing record. Suppliers can only update orders, not create them.
Note
In the event that a supplier would need to create a new record, instead, you would select the Creates a new record option. This will allow for authenticated users of your site to create a record.
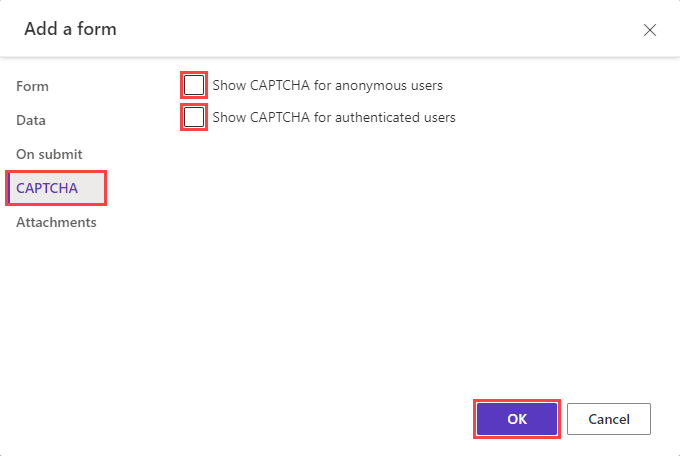
Select the CAPTCHA tab, clear both checkboxes, and then select OK.


The form should load and appear on the webpage as shown in the following screenshot. If a blank form displays, wait 1-3 seconds for the component to finish rendering on the webpage.

Task: (Optional) Create a form with Copilot
Using the Copilot pane in the Power Pages design studio, you can add pages, sections, themes, data forms, and get answers to questions you have about working in the studio. This tool is especially helpful when you're unsure how to solve a problem or want to add content to your Power Page.
In this optional task, we'll demonstrate how to add a form directly from the Copilot pane. In this scenario, you'll create a form to collect information about available conference rooms, including details such as the requester's name, number of attendees, and the date the room is needed.
To the right side of the design studio, you should see a Copilot panel. If you don't see one, select the Copilot logo in the top right of the studio.

At the bottom of the pane, where it says Choose a starter prompt..., type the following prompt into the dialog box:
Add a form that collects information about available rooms at a conference, include details such as the requester's name, number of attendees, and the date the room is neededthen press enter.
After submitting your prompt, Copilot should build a new form on the current page with fields for the requester's information, the number of attendees, and the date the room is needed.
Note
Generative AI creates different content for different users, the information in these screenshots may be slightly different than the results you receive.
If you look back to the Copilot pane, you should receive a message from Copilot explaining the form preview. The form preview is for you to review the form before adding it to your page.
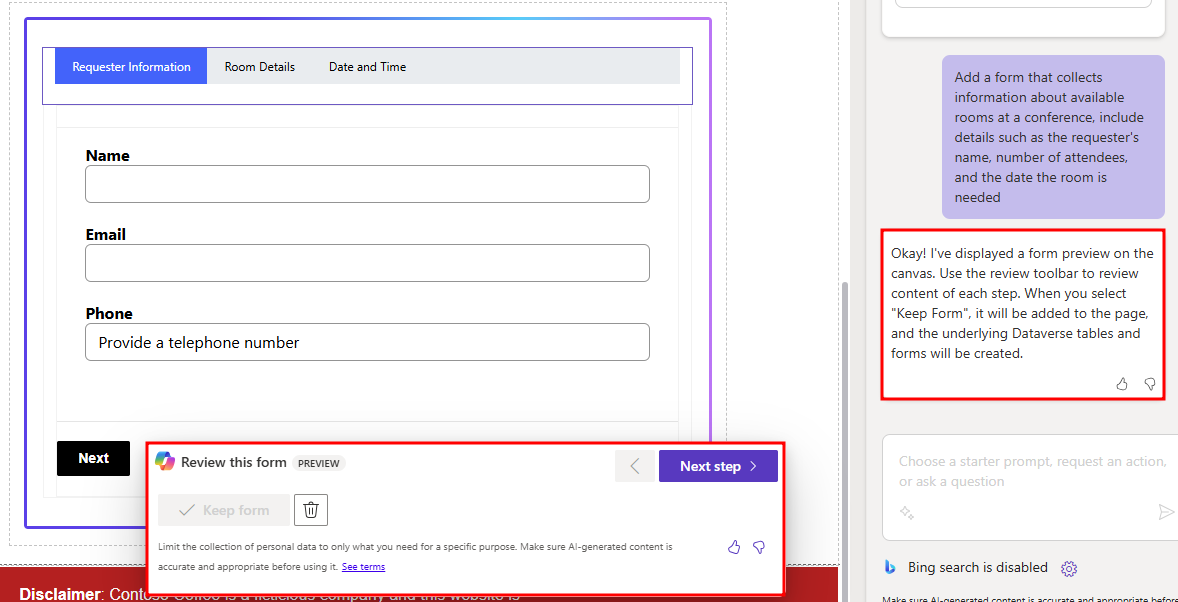
Review the generated form and select Next step in the Review this form window.
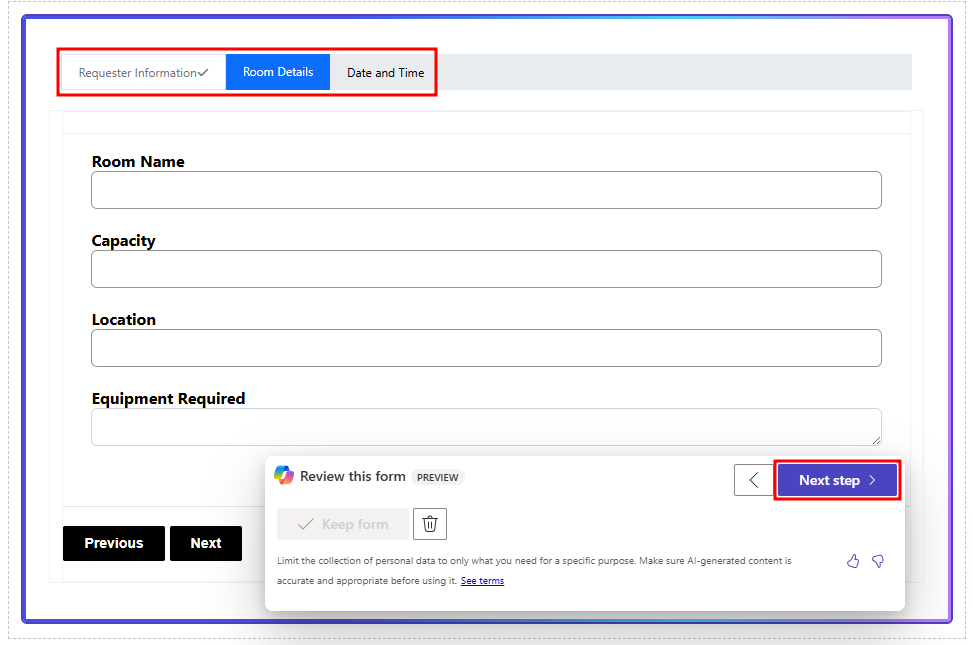
After selecting Next step you'll be taken to the next step of the form. The form step you already reviewed will have a checkmark next to its name. Continue reviewing and selecting Next step.
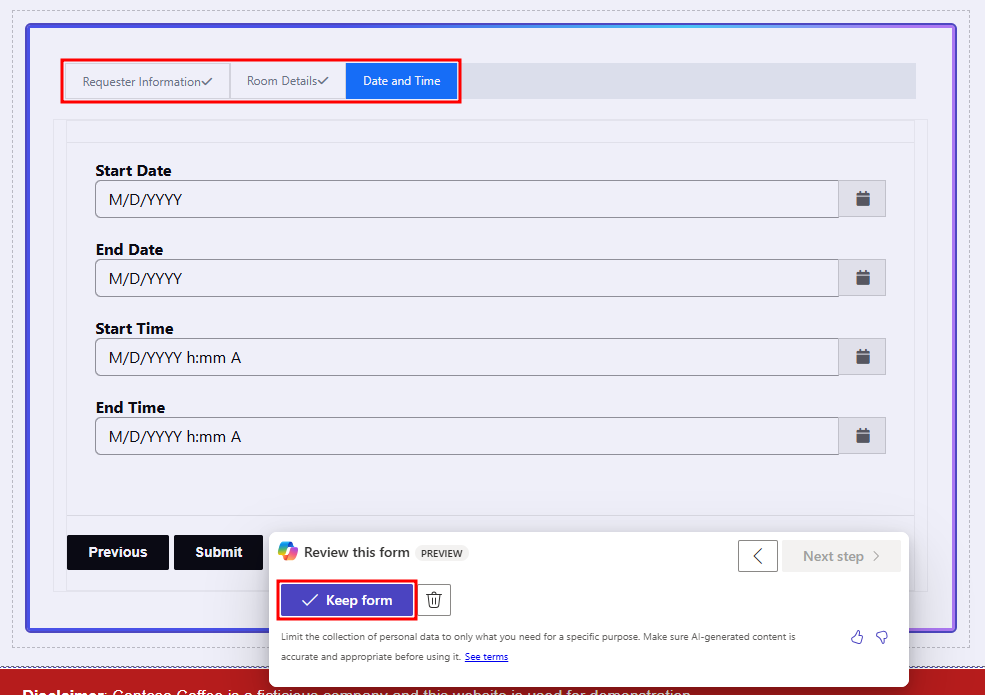
Once you have reviewed all the form steps, select Keep form on the left side of the Review this form window.
This form is for demonstration purposes, and isn't used for the rest of the lab. So let's go through and remove the form. Select the generated form, then select the ellipses next to + Add step and choose Delete.


Now that we built a form manually and with the help of Copilot, in the next unit, we'll go over creating lists in Power Pages.