Modify table permission scope
Contoso Coffee works with several different supplier accounts. Your site's users are part of different companies, so you need to ensure that a supplier from Account A can't view orders for Account B. However, employees of Account A must be able to view all orders for Account A. In the previous task, you set up the Machine Order table permission to be set to global, meaning that users can view all orders, regardless of the account.
An example of this scenario would be three separate Contoso Coffee Suppliers.
Contoso Supplier A
Employees:
Miles Abolrous
Jelena Vojnovic
Contoso Supplier B
Employees:
Henrikas Martinkus
Isioma Jidefor
Contoso Supplier C
Employees:
Petra Balciunas
Yashita Krishnamurti

Each supplier group should only see the records related to them, and not records related to another supplier group.
We also want to prohibit any anonymous or unauthorized users from viewing records that aren't associated with them. These images show a detailed diagram displaying what permissions each group would have in relation to records for a given supply group.
Supplier Group A

Supplier Group B

Supplier Group C

Your first task in this exercise is to set up a few components to enable this granular control over data.
From Power Pages design studio, go to the Data workspace. Under Tables in this site, select Machine Order > Forms > Supplier Form.
From the ribbon at the top, select + Add field. Scroll down and select the Supplier column to add it to the form.
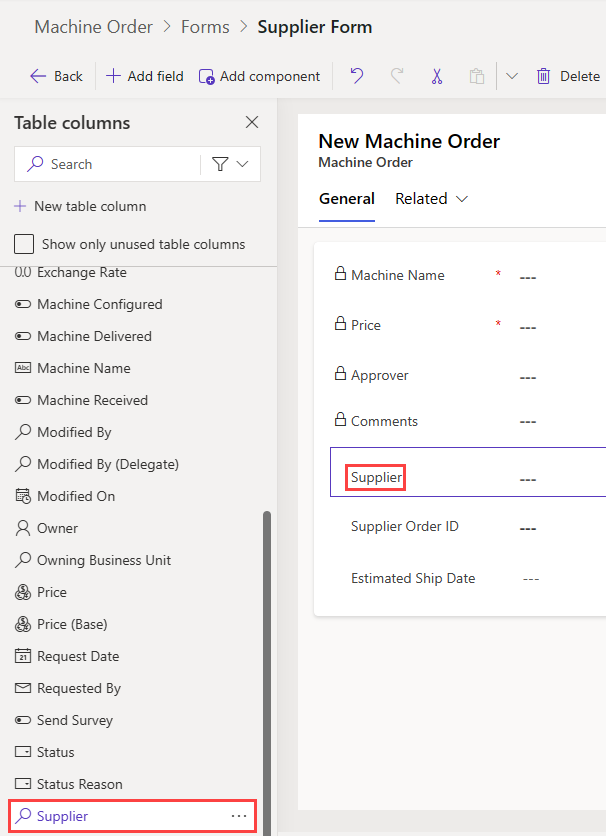
Select Save and Publish in the upper-right corner of the screen.

By creating the Supplier/Account lookup field, you create a relationship with the Machine Orders table.
Go to the Security workspace and then select Table permissions.

Locate the Active Machine Orders permission.
Deactivate the permission by selecting the ... next to the permission name, then selecting Deactivate.
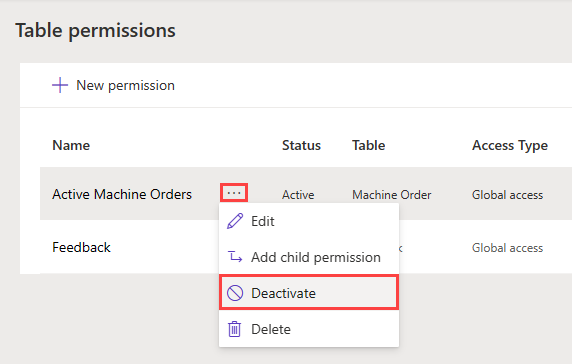
Select Yes to deactivate the permission.

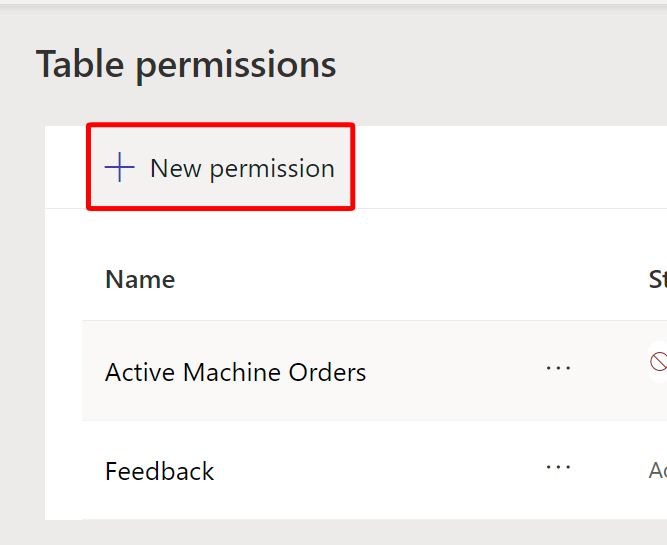
The Active Machine Orders permission should now be inactive. Select + New Permission at the top of the list of table permissions.
Create a new permission with the following settings:
- Name: Active Account Orders
- Table: Machine Order
- Access Type: Account Access
- Relationship: ppcat_ppcat_machineorder_Supplier_account
- Permissions: Read, Update, Append to
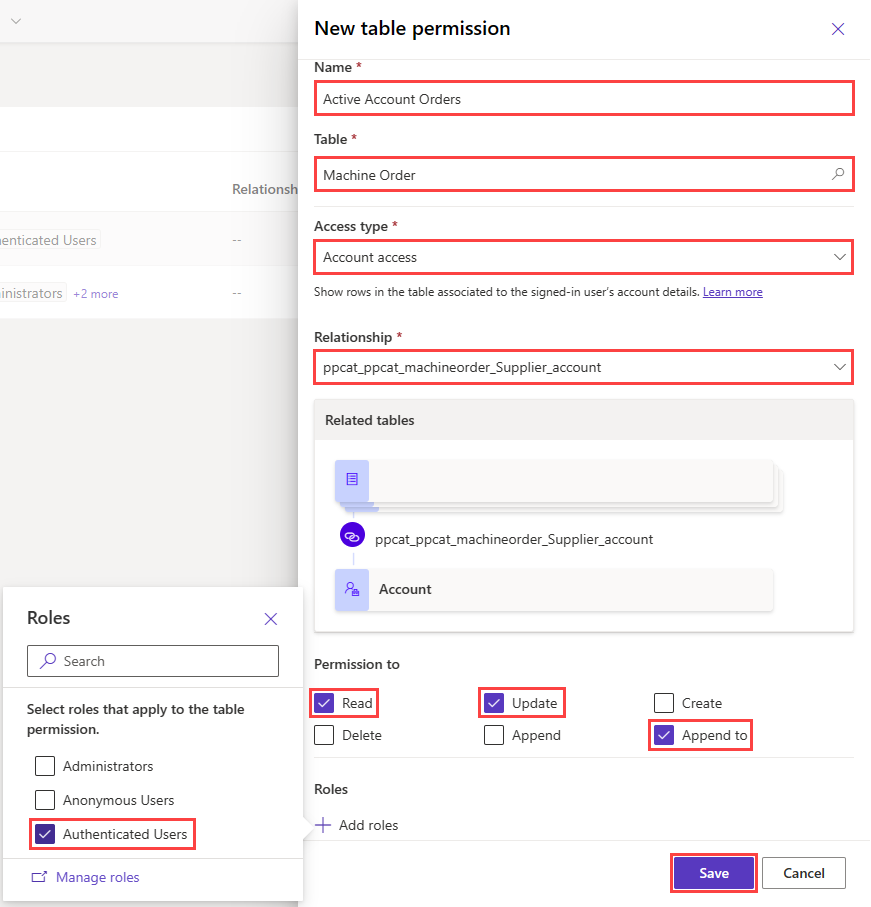
Select Save.
Select Preview > Desktop.
Returned records are no longer visible in the Machine Orders list because your contact record isn't related to accounts that have machine orders associated with them.

Return to the Power Pages home page.
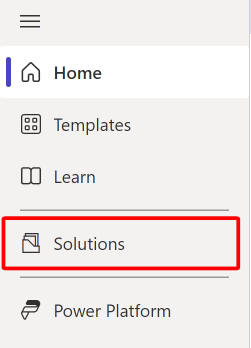
Select Solutions.
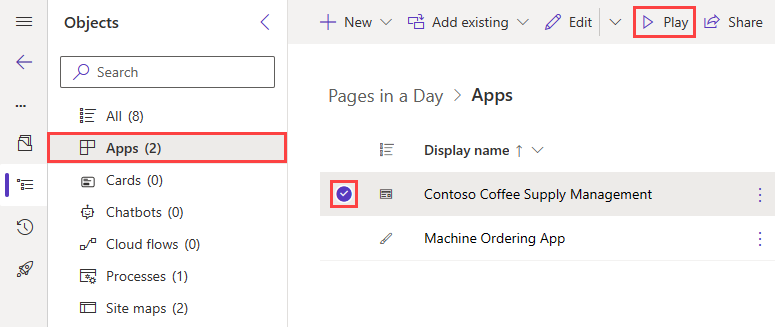
Open the Pages in a Day solution.
In the Apps node, select Contoso Coffee Supply Management and then select Play to open the model-driven app.
A new tab opens in your browser, where you can view a list of records that you created from the canvas app.
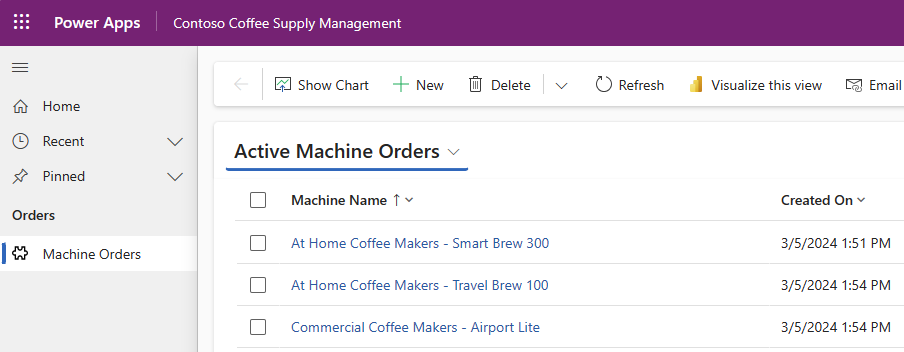
From the Machine Name list, select a machine name to open its record and view its form.
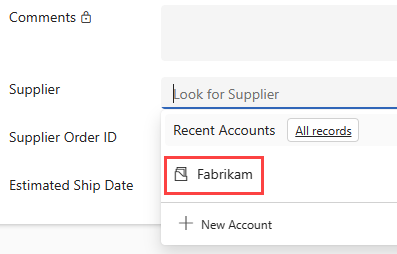
On the Supplier form, go to Supplier, put your cursor into the field, and then select + New Account. Because you don't have Account records yet, you need to create one.

On the Quick Create: New Account form, enter a fictitious supplier name in the Account Name field then select Save & Close.

You're returned to the Machine Order form. If the Supplier field isn't already filled in, go to Supplier, select the field, and then press the Enter key on your keyboard. Select the name of the account that you created.
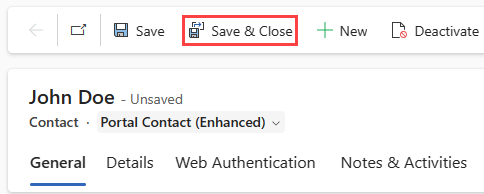
Select Save & Close.

Return to the Power Pages home page and then edit your site to return to the design studio.
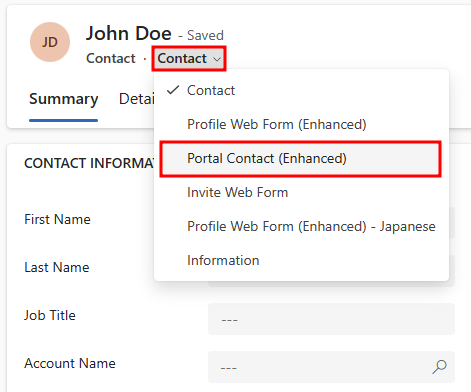
Go to the Data workspace. Search for the Contact table and then select your contact record. Select Edit row using form.

In the contact form that appears, change the form source from Contact to Portal Contact.
Select the Company Name field and assign the supplier account that you created in a previous step.
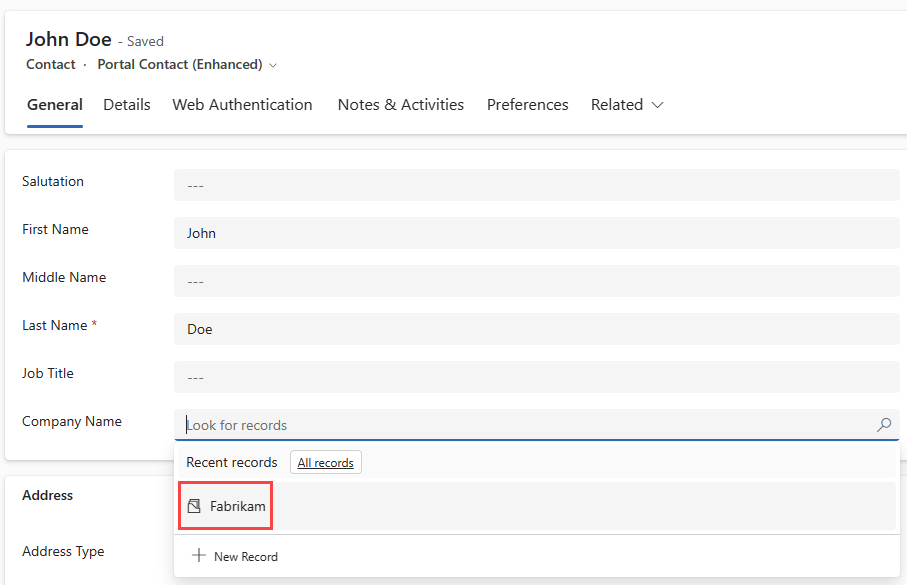
Select Save & Close.
Return to your tab with Power Pages design studio and select Done to sync the changes made.
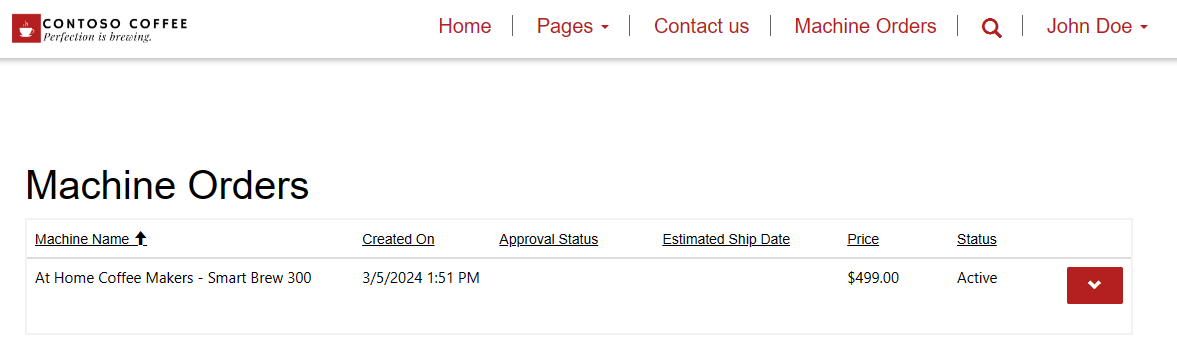
Select Preview > Desktop in the upper-right corner of the studio. A machine order record should now show on the page.
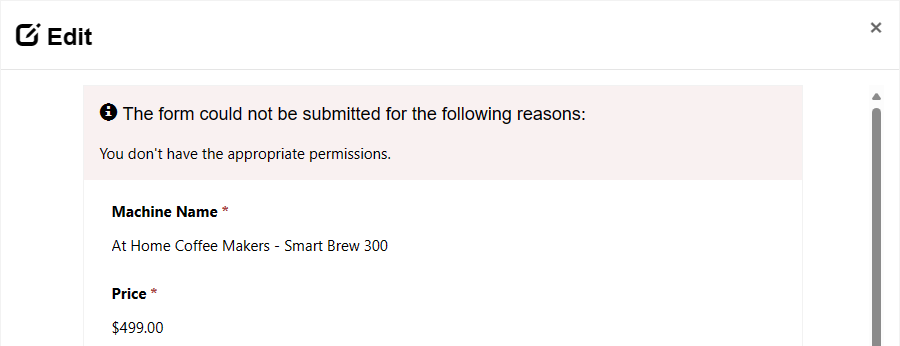
Select the drop-down next to the machine and select update to open its form. Update Supplier Order ID and Estimated Ship Date and then select Submit.

Because you're still missing a permission, you receive an error message. Though you have a table permission for Machine Orders, it now references the Account table on its form. You need to create a permission for the Account table.
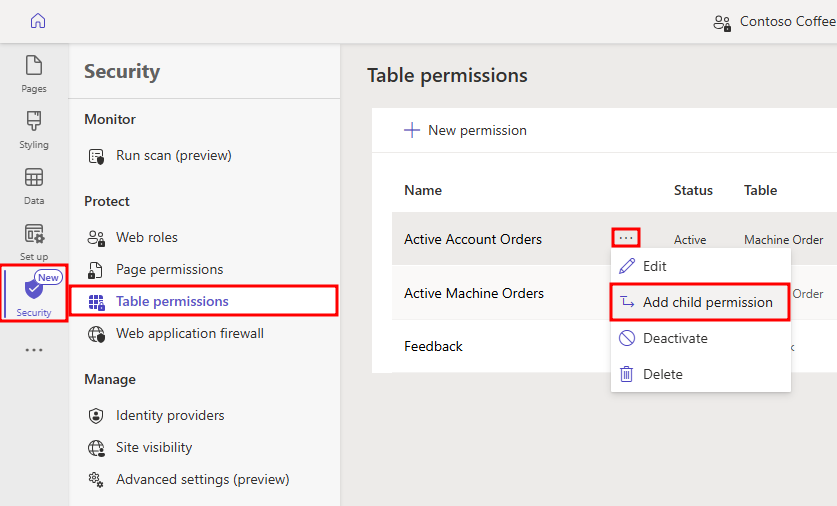
Return to Power Pages design studio. Go to the Security workspace and then select Table permissions, and the ellipses (...) > Add Child Permission next to Active Account Orders.
Add a new child permission and then set the following permission values:
Name - Machine Orders > Supplier
Table - Account
Relationship - Select the available relationship from the dropdown menu
Permissions - Read, Update, and Append
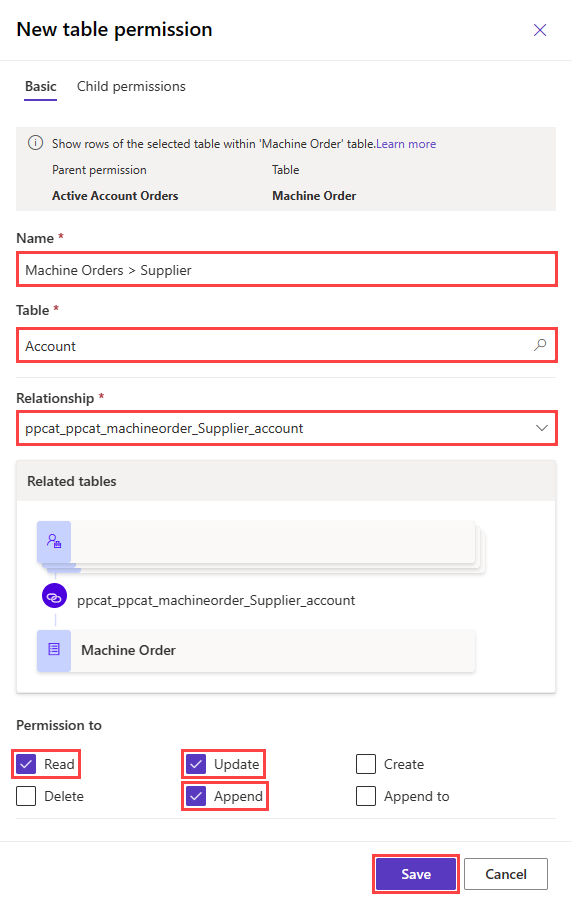
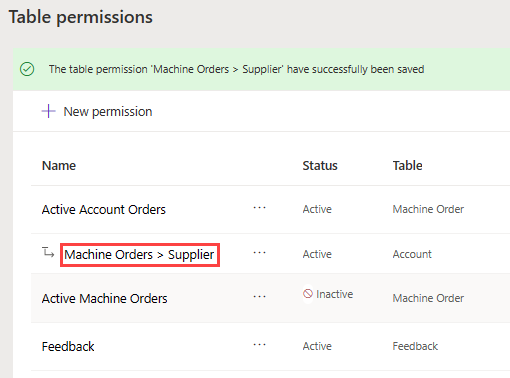
Select Save. You should see the following permission appear once you're finished.
In Power Pages design studio, select Preview > Desktop.
On the Machine Order page, again attempt to update a record's Supplier Order ID and Estimated Ship Date.
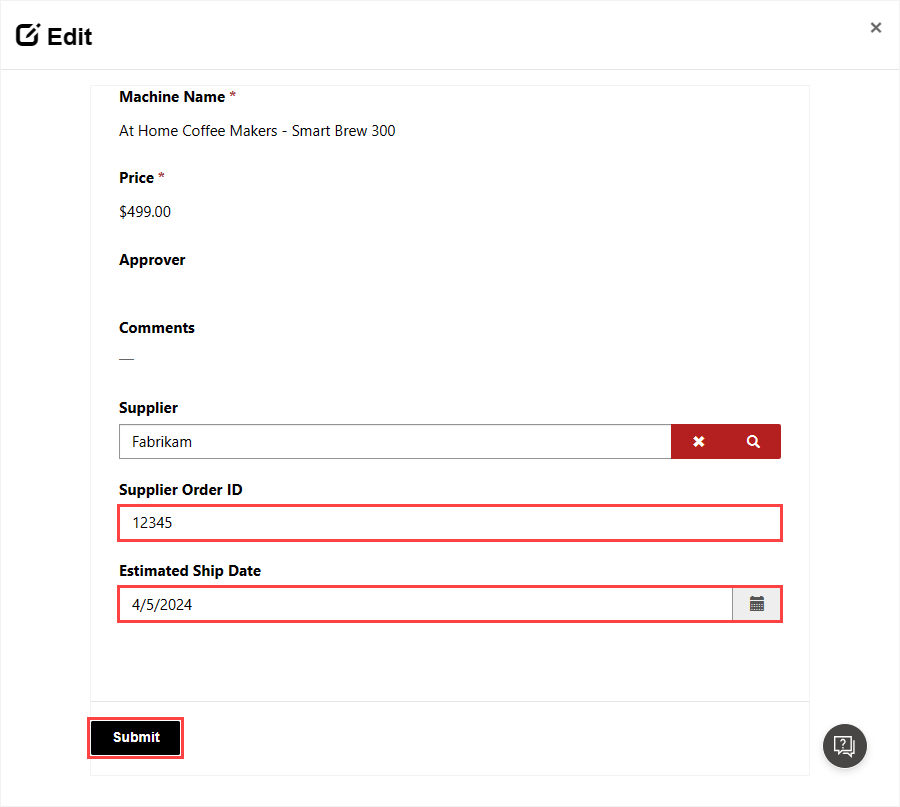


After submitting the form, you'll then be redirected back to the Machine Orders page.