Exercise - Publish your copilot to the demo site for testing
Microsoft Copilot Studio provides a demo website so that you can invite anyone to test your Copilot by sending them the URL. This demo website is useful for gathering feedback to improve your content before you activate the Copilot for your real customers.
In Microsoft Copilot Studio, at the top right of the Copilot screen is a Publish button.
Select Publish to push the latest topics to the demo website. You'll need to complete this action before you can use the demo site and after you make changes to topics you want tested. When developing your personal Copilot, you'll publish whenever you want to make updated topics available to your users.
Then, select Publish again within the Publish this copilot pop-up dialog.


The publishing process checks for errors in the topics whose Status is On. Publication should take only a few minutes.
After you've selected the Publish option, a green banner notification will show at the top of the screen when publishing is complete.
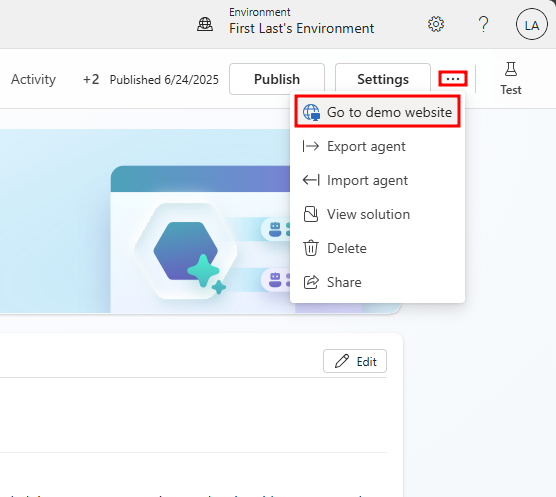
Select the link for the demo website at the bottom of your Copilot's Overview page in the Publish status section, as shown in the following screenshot.
Note
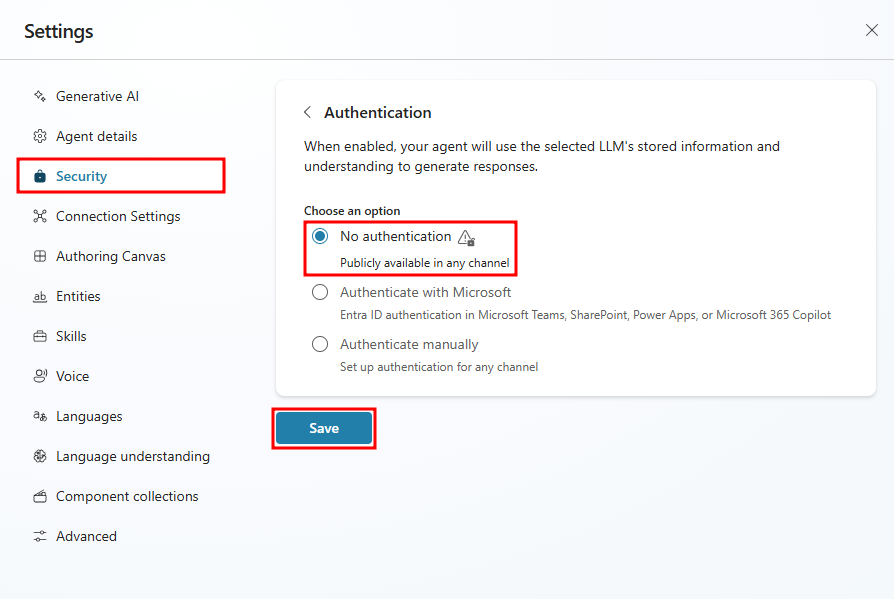
If there is not a demo website link, you will need to change your security settings to No authentication. To do this, select the Settings menu, and go to the Security tab, then select Authentication on the Security page, choose No authentication in the panel that opens and select Save.
When the demo site window opens, you can interact with the Copilot by typing at the Type your message prompt or by selecting a starter phrase from the provided options.

Share the URL of the demo website with your team.


Congratulations, you've now built and published your first Copilot!