Exercise - Create an Azure Notebook and Import Data
The first order of business is to create a new Azure notebook. Azure notebooks are contained in projects, whose primary purpose is to group related notebooks. In this unit, you'll create a new project and then create a notebook inside it.
Navigate to https://notebooks.azure.com in your browser
Sign in using your Microsoft account.
Click My Projects in the menu at the top of the page.
Click the + New Project button at the top of the "My Projects" page.
Create a new project named "ML Notebooks" or something similar. You may uncheck the "Public" box if you'd like, but making the project public allows the notebooks in it to be shared with others through links, social media, or e-mail. If you're unsure which to choose, you can easily change a project to public or private later on.
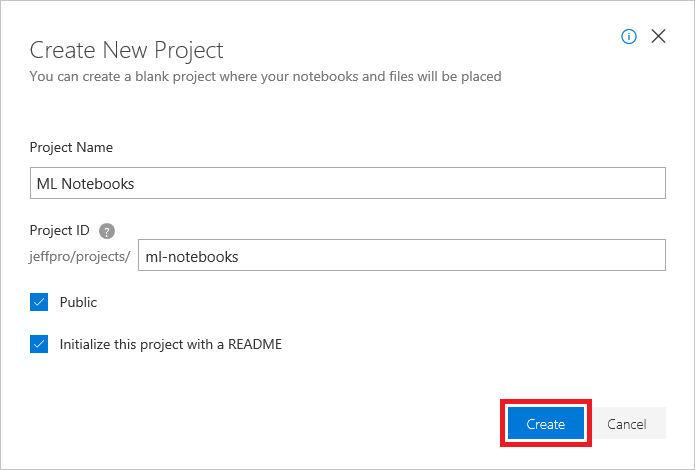
Creating a project
Click + New and select Notebook from the menu to add a notebook to the project.
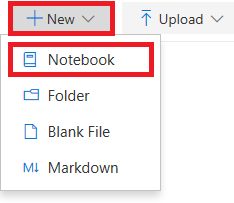
Adding a notebook to the project
Give the notebook a name such as "On-Time Flight Arrivals.ipynb," and select Python 3.6 as the language. This will create a notebook with a Python 3.6 kernel for executing Python code. One of the strengths of Azure notebooks is that you can use different languages by choosing different kernels.
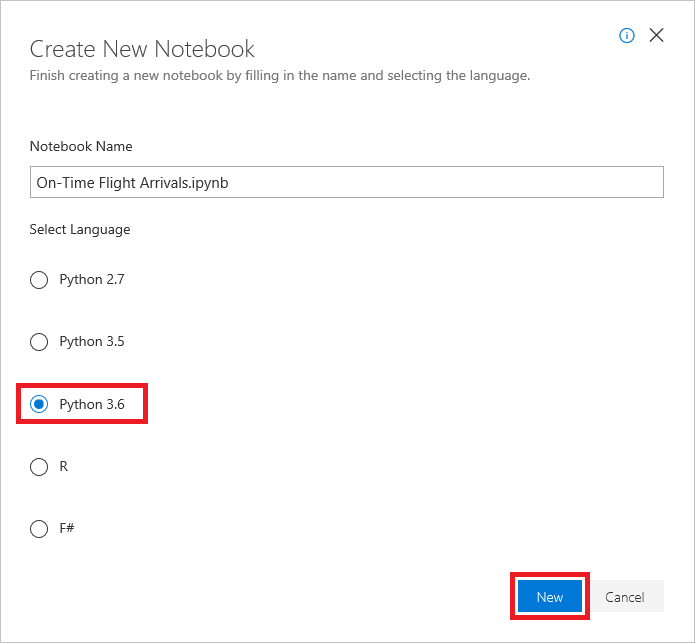
Creating a notebook
If you're curious, the .ipynb file-name extension stands for "IPython notebook." Jupyter notebooks were originally known as IPython (Interactive Python) notebooks, and they only supported Python as a programming language. The name Jupyter is a combination of Julia, Python, and R — the core programming languages that Jupyter supports.
Click the notebook to open it for editing.
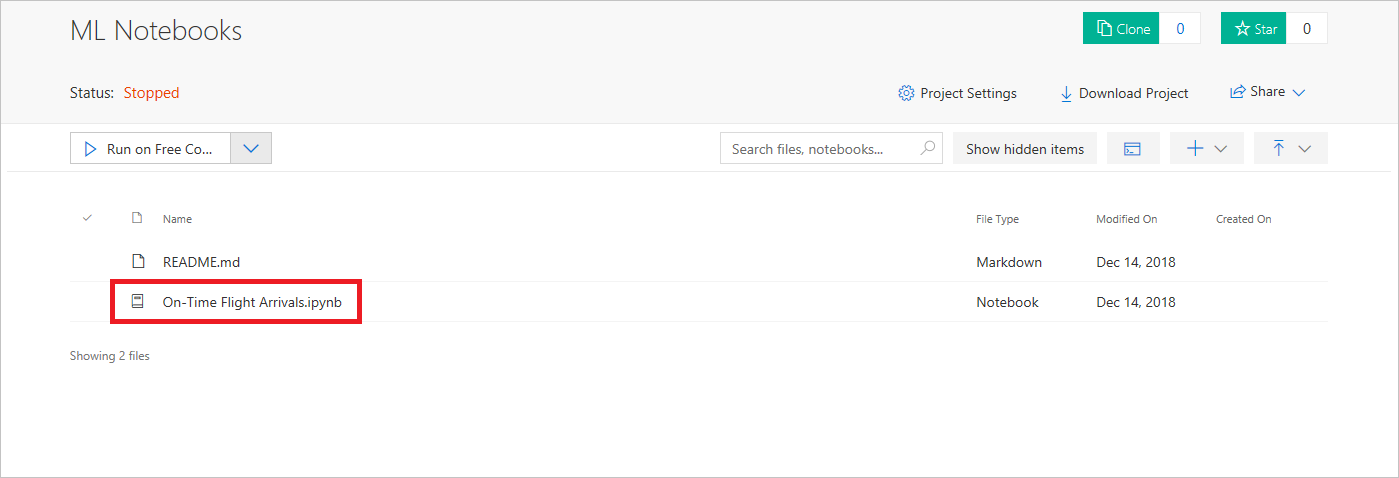
Opening the notebook
You can create additional projects and notebooks as you work with Azure Notebooks. You can create notebooks from scratch, or you can upload existing notebooks.
Jupyter notebooks are highly interactive, and since they can include executable code, they provide the perfect platform for manipulating data and building predictive models from it.
Enter the following command into the first cell of the notebook:
!curl https://topics.blob.core.windows.net/public/FlightData.csv -o flightdata.csvTip
curlis a Bash command. You can execute Bash commands in a Jupyter notebook by prefixing them with an exclamation mark. This command downloads a CSV file from Azure blob storage and saves it using the name flightdata.csv.Click the Run button to execute the
curlcommand.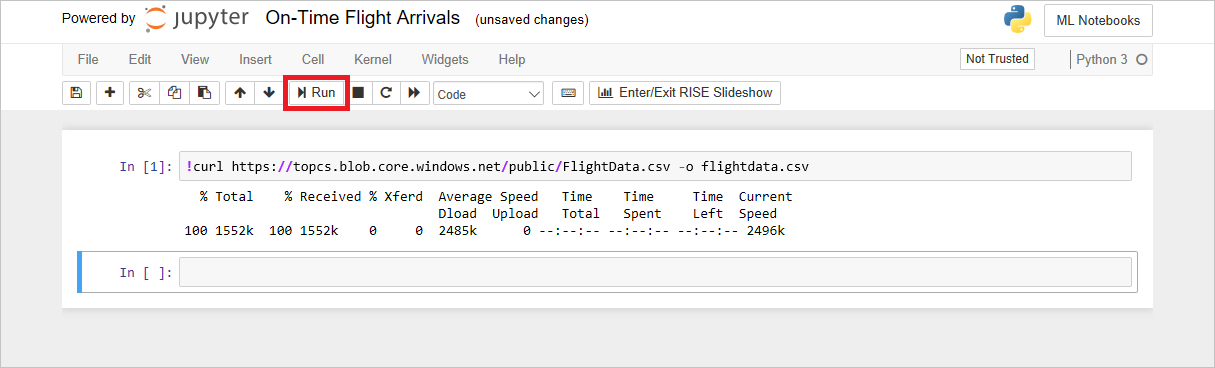
Importing a dataset
In the notebook's second cell, enter the following Python code to load flightdata.csv, create a Pandas DataFrame from it, and display the first five rows.
import pandas as pd

df = pd.read_csv('flightdata.csv')
df.head()
Click the Run button to execute the code. Confirm that the output resembles the output below.
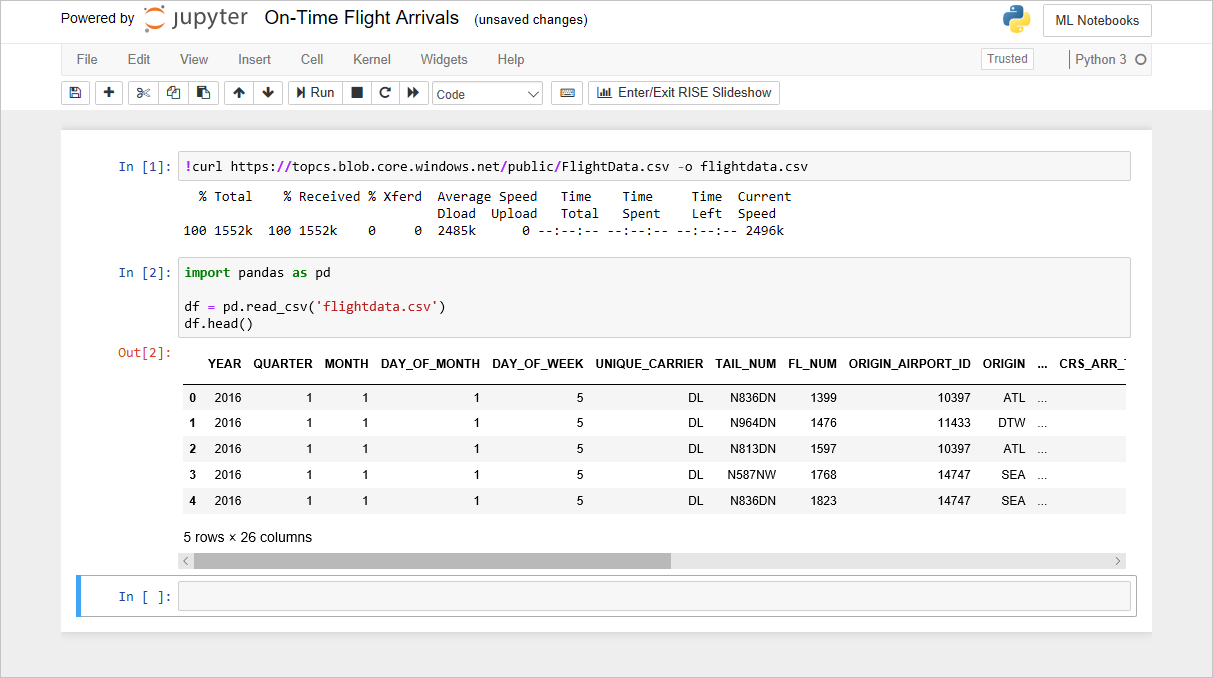
Loading the dataset
The DataFrame that you created contains on-time arrival information for a major U.S. airline. It has more than 11,000 rows and 26 columns. (The output says "5 rows" because DataFrame's head function only returns the first five rows.) Each row represents one flight and contains information such as the origin, the destination, the scheduled departure time, and whether the flight arrived on time or late. We'll look at the data more closely a bit later in this module.
Use the File -> Save and Checkpoint command to save the notebook.
Use the horizontal scroll bar to scroll left and right and view all the columns in the dataset. How many columns does the dataset contain? Can you guess what each column represents from the column names?