Lab - Work with credit and collections
Read this first - before you start the lab!
Important
For this lab, you CANNOT sign in with your own credentials. Use the following steps to sign in to your lab environment with the correct credentials.
Ensure that you are signed in to Microsoft Learn.
Select Launch VM mode or Sign in to launch VM mode in this unit.
In the Resources tab on the lab side bar, select the T icon next to Password in the MININT box, to have the administrator password for the Virtual Machine entered for you.
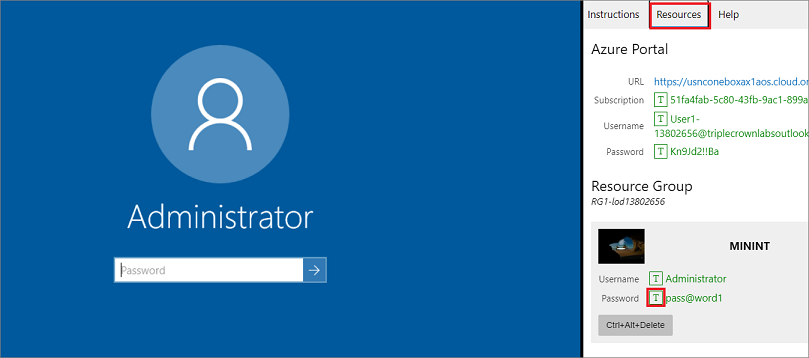
Select Enter.
Microsoft Edge will open. Wait for it to navigate to the Sign in page for finance and operations.
On the Microsoft Sign in page in finance and operations, place your mouse cursor into the Username field.
On the Resources tab of the lab side bar, below the Azure portal heading, select the T icon next to Username, then press Enter.
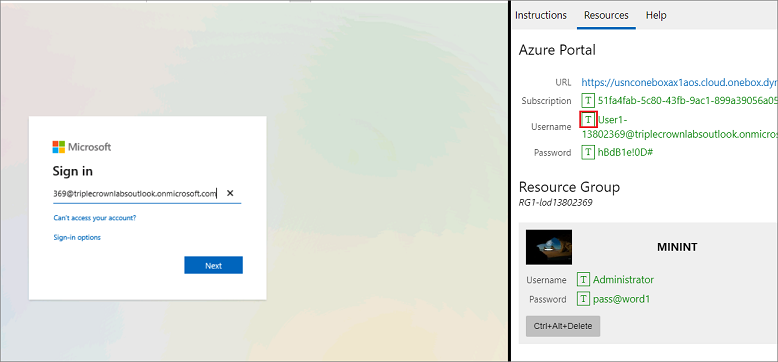
Your mouse cursor will now be in the Password page.
On the Resources tab of the lab side bar, below the Azure portal heading, select the T icon next to select Password, then press Enter.
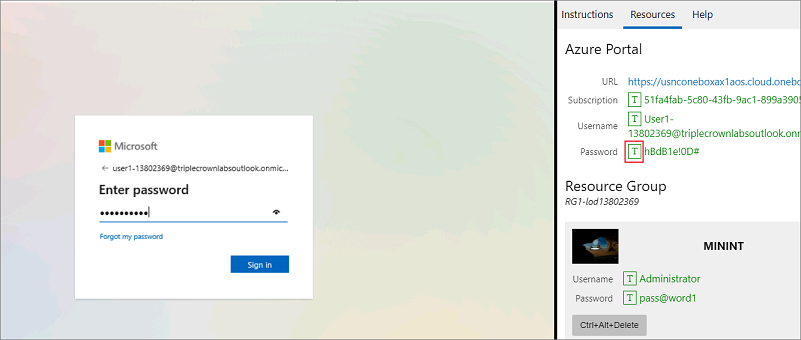
Don't stay signed in or store the password on the virtual machine.
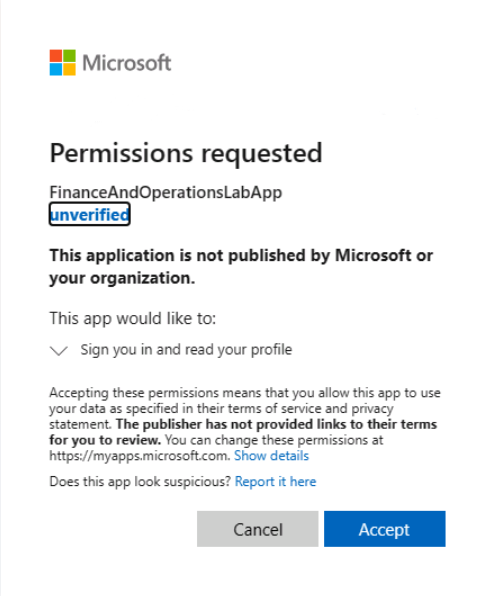
Select Accept in the Permissions requested page.
To see the lab instructions, select the Instructions tab on the lab side bar.
You can now begin your work on this lab.
Scenario - Perform write-offs
This scenario contains several methods to perform write-offs for customers.
Write off a customer balance from the Aged balances page
As a collection agent in company USMF, you need to create a write-off journal because the Birch company is not going to pay the balance due to defect with the products that were shipped to them.
- Go to company USMF
- Go to Credit and collections > Collections > Aged balances.
- Select the row for the customer that you want to write off. For example, select the line with Birch Company on it.
- In the Collect Action Pane, select Write off.
- Select OK.
- Close the page.
- Go to General ledger > Journal entries > General journals.
- Select the journal batch number for the journal that contains your write-off. One line is created to reverse the customer balance. One or more lines are created to post the write-off to the write-off account.
- Close all pages.
Write off an invoice using the Open customer invoices page
- Go to Accounts receivable > Invoices > Open customer invoices.
- Select the line for an invoice. For example, select the line for CIV-000715.
- On the Action Pane, select Invoice > Collect.
- Select Write off.
- Select OK.
- Close the page.
Write off a customer balance using the Customers page
- Go to Accounts receivable > Customers > All customers.
- Select a customer account. For example, select US-001 (Contoso Retail San Diego).
- On the Action Pane, select Collect > Customer balances.
- Select Write off.
- Select OK.
- Close the page.
Scenario - Process a collection letter
The Credit and Collections Manager at Contoso company USMF, must process and post a collection letter for customer Forest Wholesales (US-003). In summary, these are the actions you need to do this.
- Run a collection letter job for the collection letter.
- Use 1st April 2020 as the date.
- Print the letter.
- Post the collection letter.
To run a Collection letter job:
- In company USMF go to Credit and collections > Collection letter > Create collection letters.
- Set the Invoice field to Yes.
- Select the Collection letter drop-down, and then select All.
- In the Collection letter date field, enter 1st April 2020.
- Select the Use posting profile from drop-down, and then click Select.
- Select the Posting profile drop-down, and then select GEN.
- Expand the Records to include FastTab.
- Select the Filter icon.
- Enter US-003 in the Criteria column on the Customer account row, and then select OK.
- Select OK to process the Creation of collection letter job. A message will appear in the Action center that the Collection letter creation process is complete.
- Close the Action center.
Follow these steps to review, print, and post the collection letter:
- Go to Credit and collections > Collection letter > Review and process collection letters.
- Select the collection letter previously created for customer US-003 (you can sort by date to bring it to the top of the list).
- Select the Print button, and then select Collection letter note.
- Select OK in the Collection letter note page.
- Review the collection letter.
- Close the collection letter. The Printed field is now set to Yes.
- While on the collection letter previously created for customer US-003, select the Post button.
- Select today's date in the Posting date field.
- Select OK. Two blue bars appear; one with the message Operation completed. The other message contains the collection letter number, as well as the collection letter code and customer that was processed.
- Close the Review and process collection letters page.
Scenario - Generate accounts receivable aging information
You need to set up an aging period definition, age customer balances, and view balances in the Aged balances list in the Collections page in the USMF company.
Create an aging period definition
- Go to Credit and collections > Setup > Aging period definitions.
- Select New.
- In the Aging period definition field, type a value.
- In the Description field, type a value.
- Select Add below to insert a new aging period.
- In the Period field, enter the description to show on aging reports.
- In the Unit field, enter a number associated with the Interval.
- In the Interval field, select an option. Ledger period matches the period to your ledger calendar. Day, week, month, quarter and years define the size of the interval by date type. Unlimited selects all transactions before or after the previous period, depending on whether it is the first or last period.
- In the Aging indicator field, select the icon, if desired, to associate with the Aging period.
- Select the period at the top of the grid. Update the description to describe the oldest period in the aging period definition
- In the Period field, enter the new description of the aging period.
- Click Save.
- Close the page.
Age the balances
- Go to Credit and collections > Periodic tasks > Age customer balances.
- In the Aging period definition field, select the aging period definition that you created. You can have one active snapshot for each aging period definition. All customers are processed by default. You can use this selection to calculate a single collections pool of customers.
- Select the date from the transaction that you will use for the aging. Select an Aging as of date for aging. The default is today but, if you change this field to Selected date, you will be able to pick the date that you want. For batch processing, use 'Today's date'.
- Expand the Company range. You can select the companies that will be included in the snapshot. The current company is selected by default.
- Select Ok to process the snapshot. It will take some time so wait for the slider to disappear and check the message center for a message.
View the balances on the Aged balances list and the Collections page
- Go to Credit and collections > Collections > Aged balances.
- The list page shows the balances for the customer. The Aging icon shows the aging period for the oldest transaction.
- Select a customer with a balance.
- Expand the Related information tab on the right of the page, and select the Aging FactBox area to view the aged balances.
- The aging period definition is taken from the default aging period definition that you specified in the parameters. You can change this by using the Collect menu.
Run the Customer aging report
- Go to Credit and collections > Inquiries and reports > Customers > Customer aging report.
- In the Aging as of field, select today's date.
- In the Balance as of field, select today's date.
- In the Print aging period description field, select Yes.
- In the Interval field, enter 1.
- In the Day/Mth field, select Month.
- In the Printing direction field, select Backward.
- Select Yes in the Details field.
- Select Yes in the Include amounts in transaction currency field.
- Select Yes in the Negative balance field.
- Select Yes in the Payment positioning field.
- Select OK.
- Close all pages.
Scenario - Set up credit management
As the Credit manager for the company USMF, you have decided to use the features of Credit management in Finance. To get started, you will be getting the system ready by creating Scoring groups, Risk classifications, and Blocking rules.
For these labs, use the USMF company.
Scoring groups
You will set up a new Scoring group tied to the number of sales orders expected from a customer.
Go to Credit and collections > Setup > Credit management setup > Risk > Scoring groups.
Select New.
In the Scoring group field, enter SO_Year.
In the Description field, enter Sales orders per year.
In the Group type field, select User defined.
In the Score type field, select Range.
On the Lines FastTab, select Add.
Set up these ranges:
a. 1-29 - Risk contribution score 5
b. 30-59 - Risk contribution score 10
c. 60-200 - Risk contribution score 15
Save and Close the page.
Risk classification
You will change a Risk classification and add a new one. The existing risk classification has to change to be able to insert a new one. There cannot be overlapping ranges at any time.
- Go to Credit and collections > Setup > Credit management setup > Risk > Risk classification.
- Select Edit.
- On the row where the Risk group is High, change the From number to 80.
- Select New.
- In the Risk group field, enter MediumHigh.
- In the Description field, enter Medium High.
- In the From field, enter 60.
- In the To field, enter 79.
- In the Risk group indicator field, select Orange.
- Save and Close the page.
Blocking rules
You will set up a new rule to add rules for more than the one customer that is there in the base data.
- Go to Credit and collections > Setup > Credit management setup > Blocking rules.
- Select the tab for Overdue amount.
- Select New.
- In the Account code field, select Group.
- In the Account/Group number field select Major.
- In the Risk group field, select High.
- In the Rule type field, select Blocking.
- In the Overdue amount field, enter 50,000.
- In the Threshold field, enter 100.
- Save and Close the page.
Close the lab environment
- Select Done in the Instructions pane in the lab side bar.
- In the Lab is complete window, select Continue, and then select Leave to return to the next unit in the module.