Exercise - Route network traffic through Azure Firewall
In the previous exercise, you deployed Azure Firewall. Now you need to route all network traffic through the firewall, and filter the traffic by using firewall rules. When you're done, Azure Firewall will protect outbound network traffic for Azure Virtual Desktop.
Route all traffic through the firewall
For the subnet the host pool uses, configure the outbound default route to go through the firewall. You'll complete the following three steps:
- Create a route table in the same resource group as your host pool VMs and firewall.
- Associate the route table to the subnet that your host pool VMs use.
- On the route table, add the route to the firewall.
After you complete those steps, all traffic will route to Azure Firewall.
Create route table
First, you'll create a route table named firewall-route.
In the Azure portal, search for and select Route tables.
Select + Create.
Use the following values:
Field Value Subscription Your subscription Resource group learn-firewall-rg Region Select the same location that you used previously. Name firewall-route 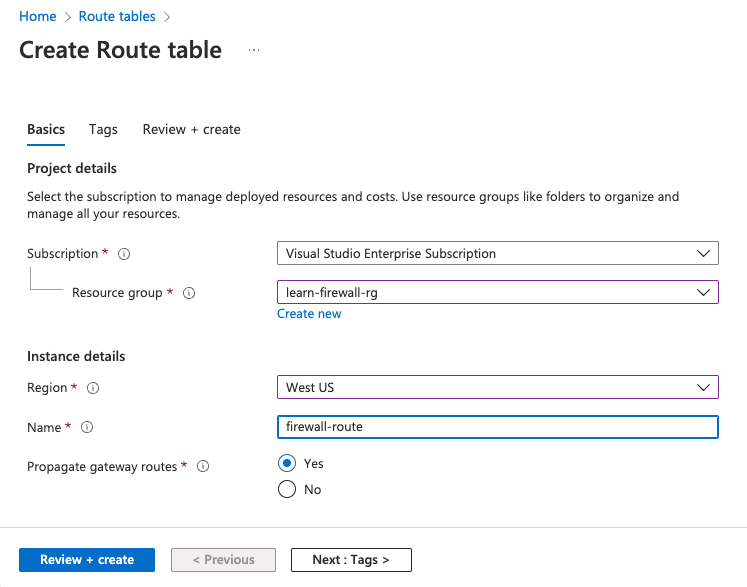
Select Review + create > Create.
After deployment completes, select Go to resource.
Associate route table to the workload's subnet
Now, you'll associate firewall-route to the host pool's subnet.
On firewall-route, under Settings, select Subnets.
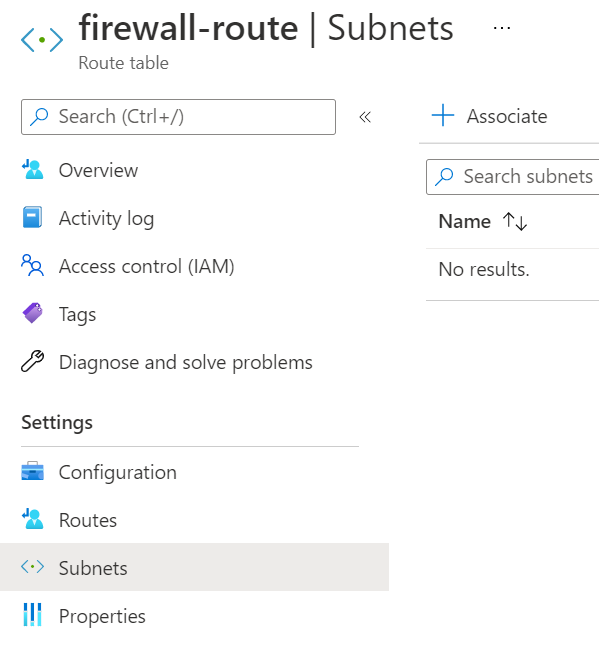
Select + Associate.
Select the following values:
Field Value Virtual network hostVNet Subnet hostSubnet Select OK and wait until the association is added.
Add route to route table
The last step is to add a route to Azure Firewall on the route table. After you complete this step, all network traffic on the host pool virtual network will route through Azure Firewall.
Under Settings, select Routes.
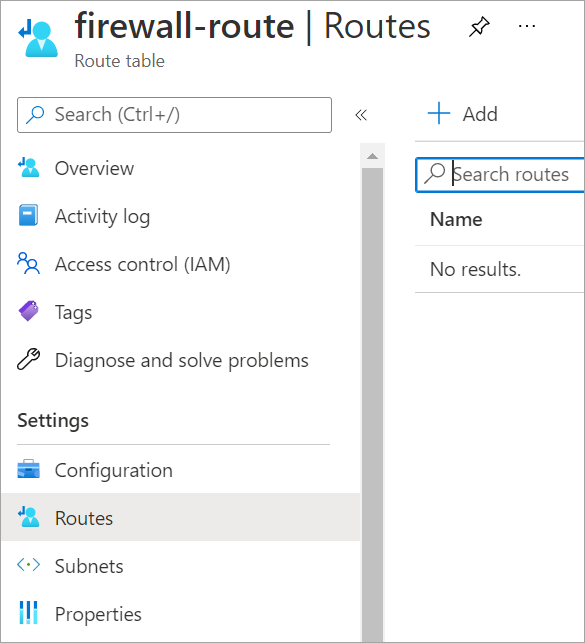
Select + Add.
Enter the following values:
Field Value Route name fw-rt Destination type IP Addresses Destination IP addresses/CIDR ranges 0.0.0.0/0 Next hop type Virtual appliance Next hop address Paste in the Firewall private IP address from the previous exercise unit. This can be found under your Firewall page, listed as Firewall private IP. 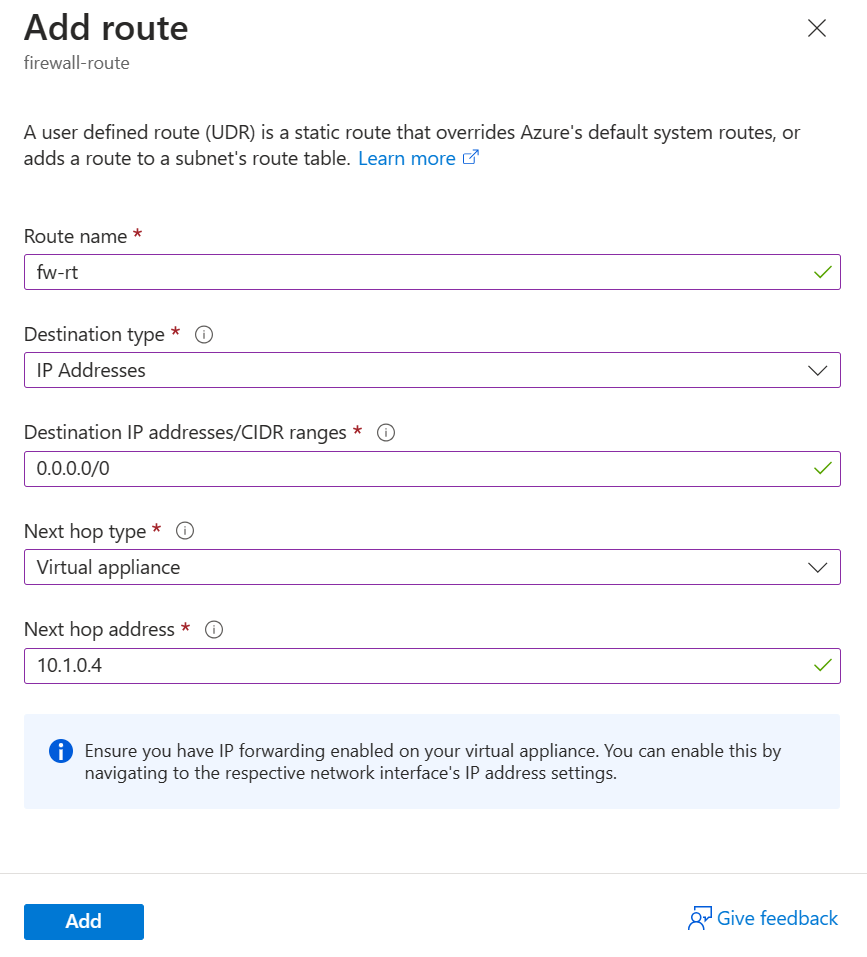
Select Add.
Create an application rule collection
By default, the firewall denies access to everything, so you need to configure conditions under which traffic is allowed through the firewall.
Create an application rule collection with rules to allow Azure Virtual Desktop access to several fully qualified domain names (FQDNs).
In the Azure portal, search for and select Firewalls.
Select the learn-fw firewall.
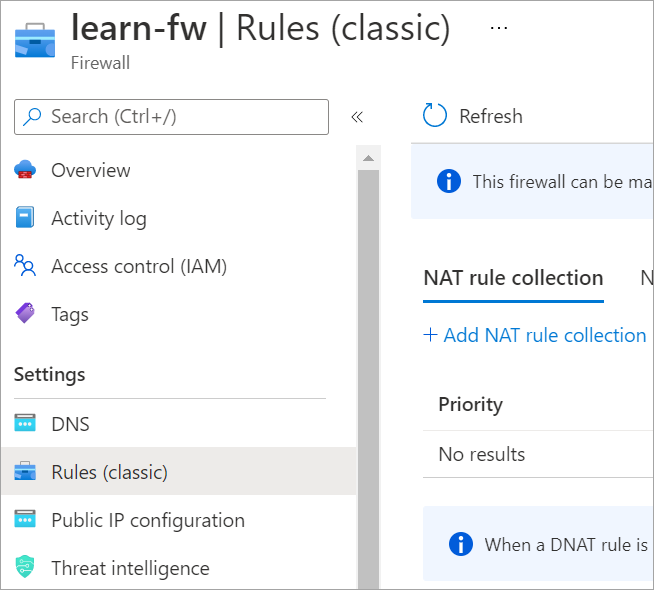
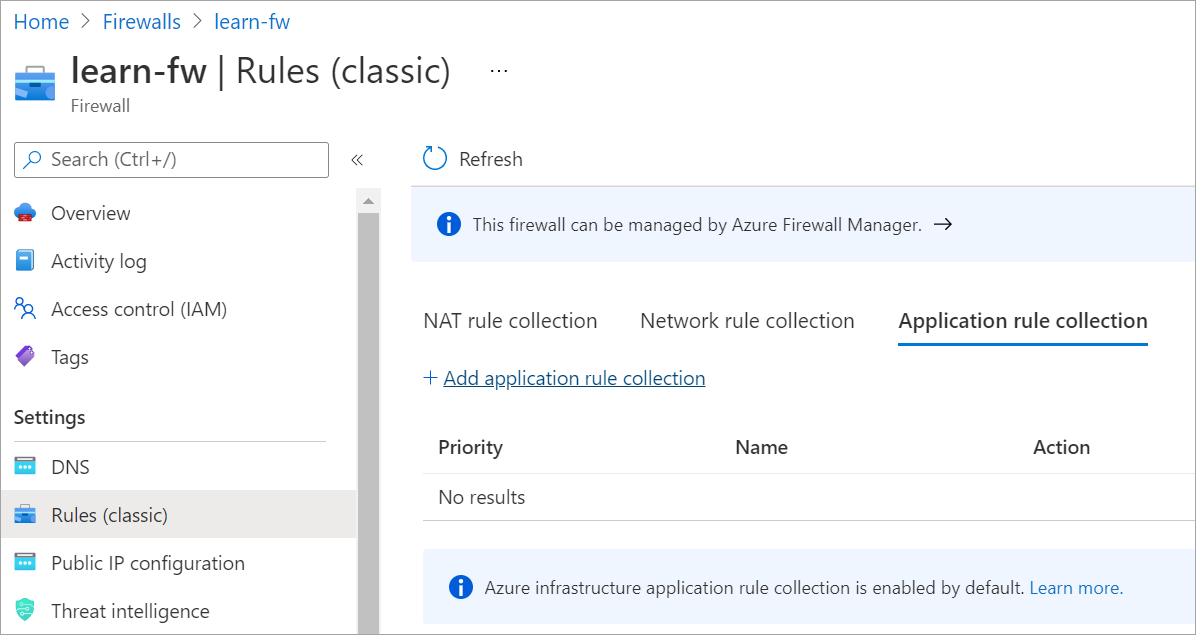
Under Settings, select Rules (classic).
Select the Application rule collection tab, and select Add application rule collection.
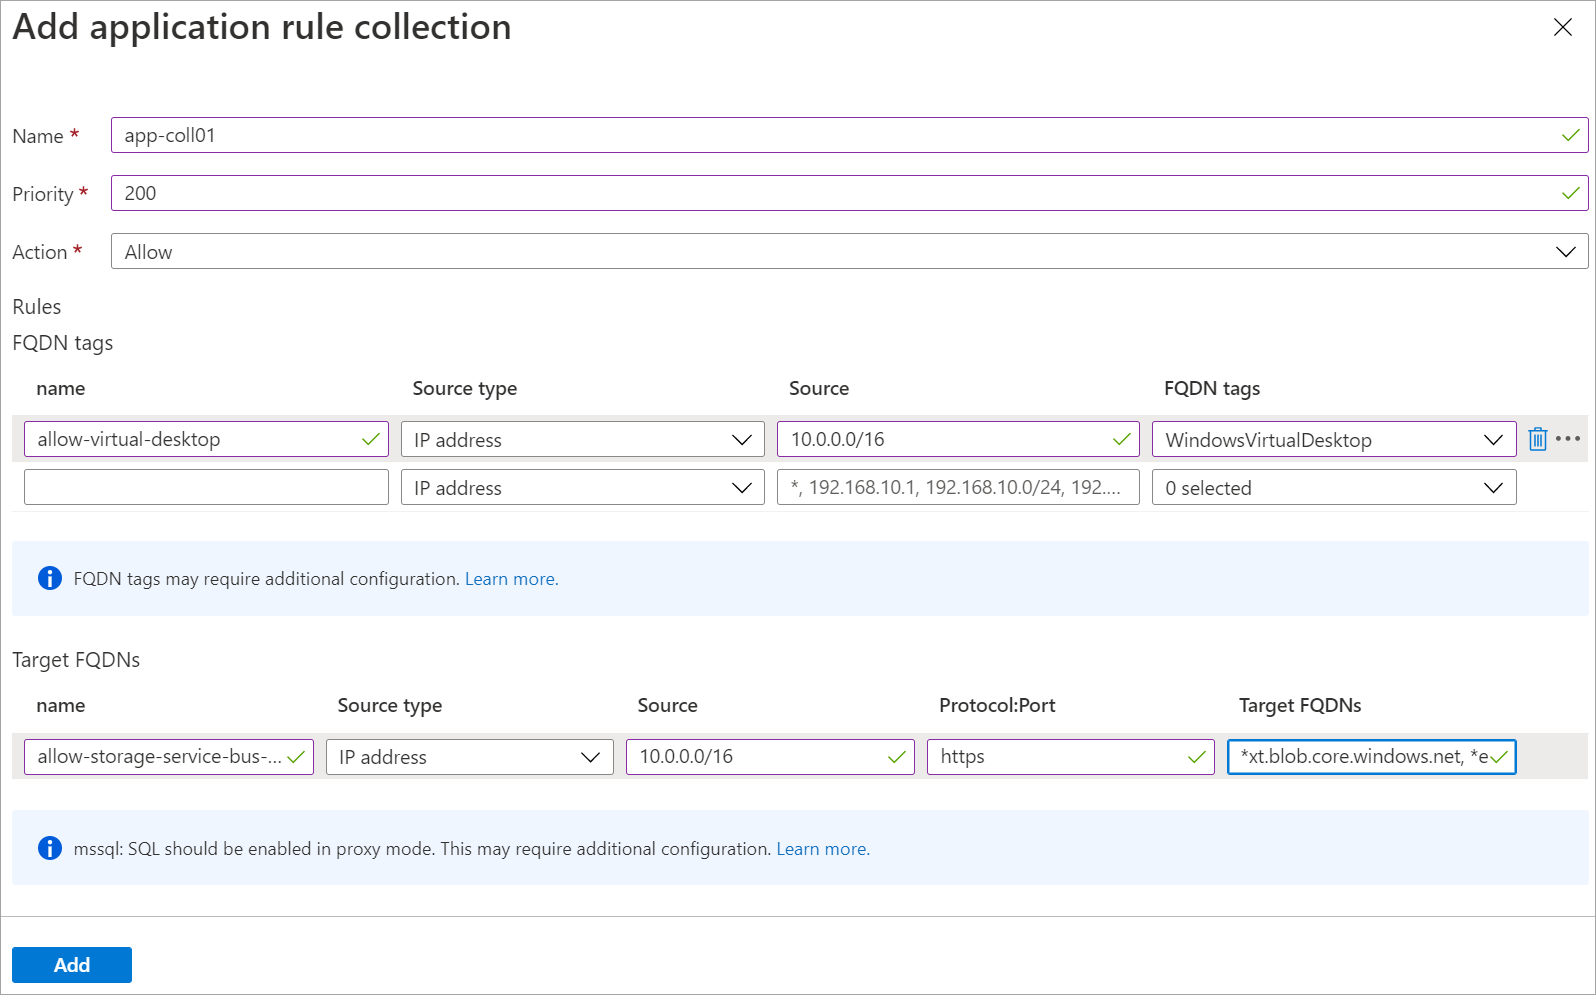
Enter the following information:
Field Value Name app-coll01 Priority 200 Action Allow Under Rules, in the FQDNs tags section, enter the following information:
Field Value Name allow-virtual-desktop Source type IP address Source Address space for hostVNet, like 10.0.0.0/16 FQDN tags Windows Virtual Desktop Under Rules, in the Target FQDNs section, enter the following information:
Field Value Name allow-storage-service-bus-accounts Source type IP address Source Address space for hostVNet, like 10.0.0.0/16 Protocol:Port https Target FQDNs *xt.blob.core.windows.net,*eh.servicebus.windows.net,*xt.table.core.windows.netWhen you're done, the form looks like the following image:
Select Add.
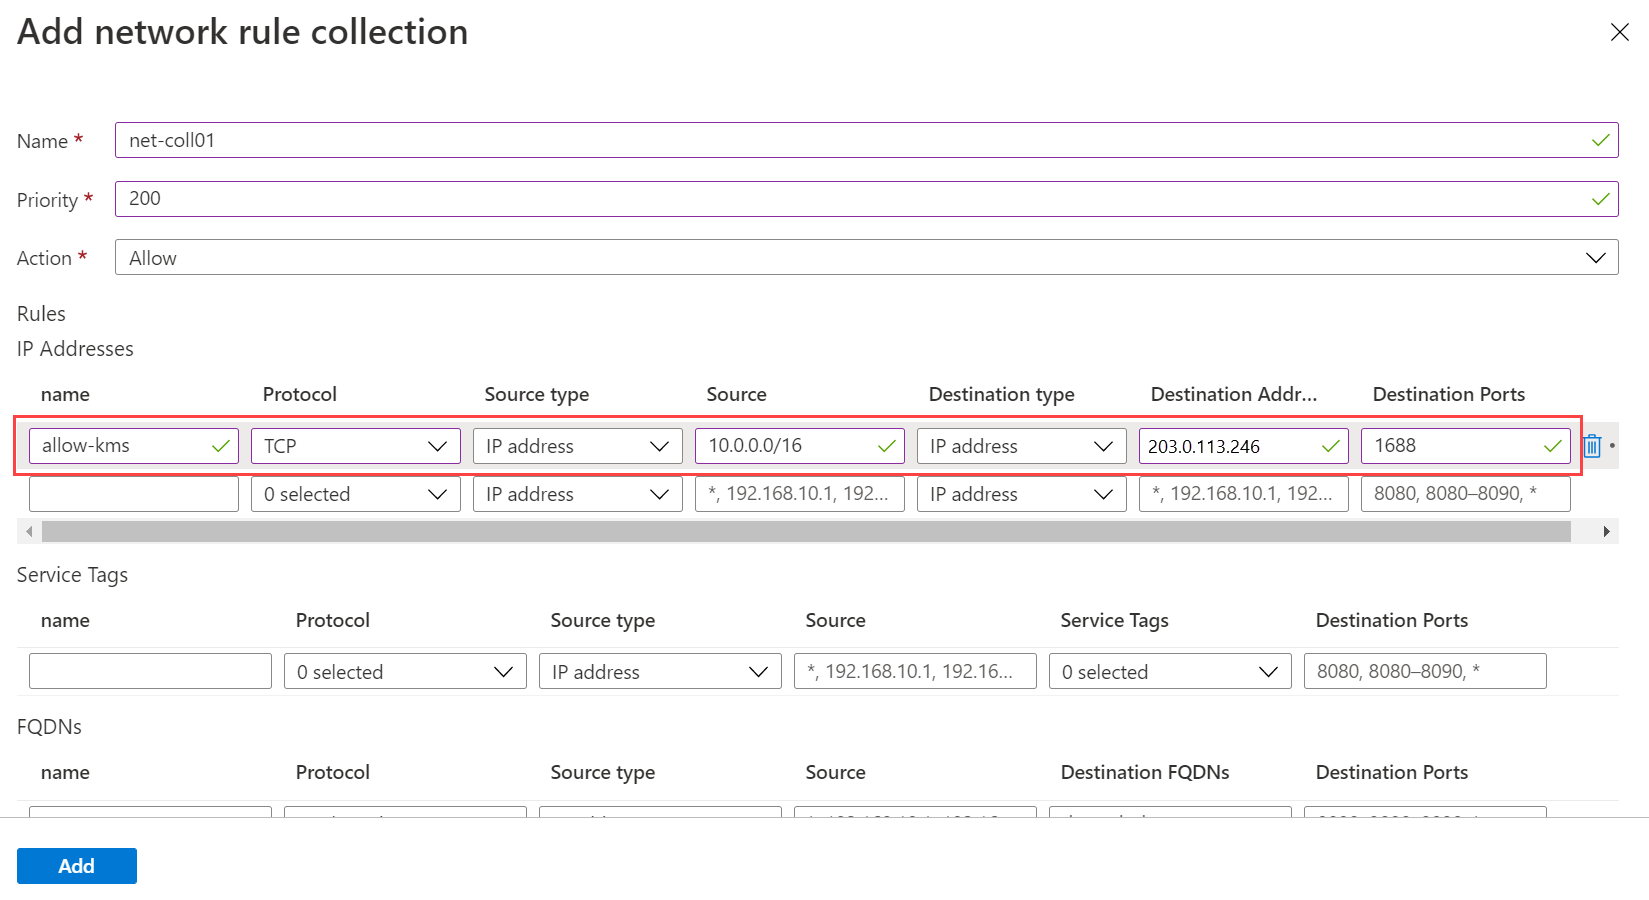
Create a network rule collection
Let's say our scenario uses Microsoft Entra Domain Services (Microsoft Entra Domain Services), so you don't need to create a network rule to allow DNS. However, you do need to create a rule to allow traffic from your Azure Virtual Desktop VMs to the Windows activation service. For our network rule to allow Key Management Services (KMS), use the destination IP address of the KMS server for the Azure global cloud.
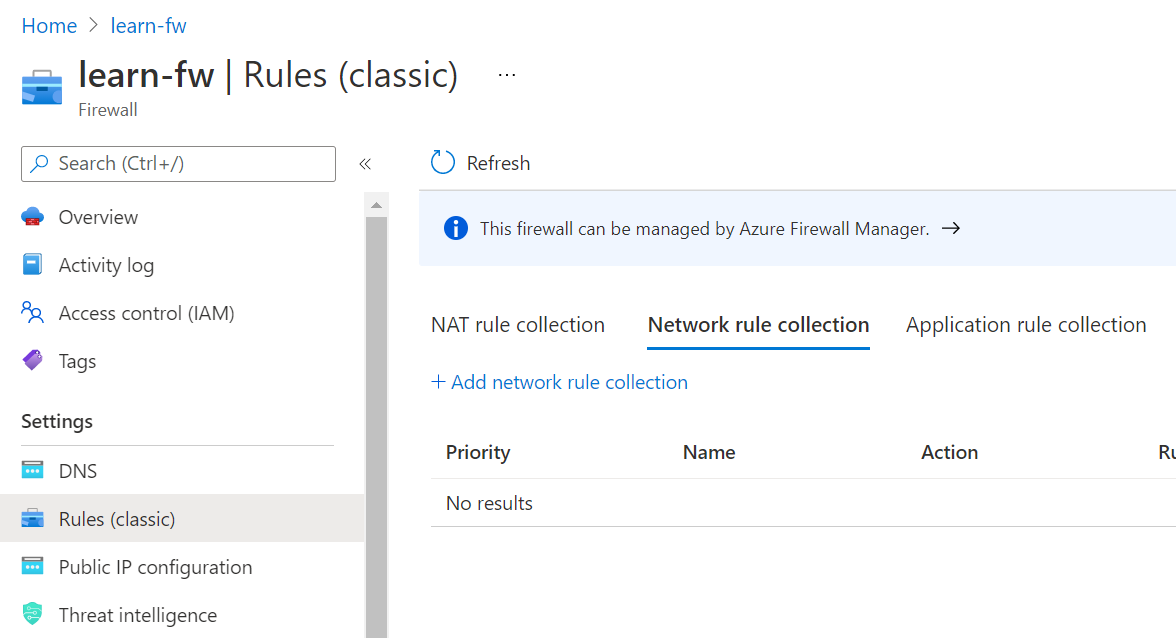
On learn-fw > Rules (classic), select Network rule collection.
Select the Network rule collection tab, and then select Add network rule collection.
Enter the following information:
Field Value Name net-coll01 Priority 200 Action Allow Under Rules, in the IP Addresses section, enter the following information:
Field Value Name allow-kms Protocol TCP Source type IP address Source Address space for hostVNet, like 10.0.0.0/16 Destination type IP address Destination Address 23.102.135.246 Destination Ports 1688 When you're done, the form looks like the following image:
Select Add.
Check your work
At this point, you've routed all network traffic for Azure Virtual Desktop through the firewall. Let's make sure the firewall is working as expected. Outbound network traffic from the host pool should filter through the firewall to the Azure Virtual Desktop service. You can verify that the firewall allows traffic through to the service by checking the status of the service components.
In Azure Cloud Shell, run the following command:
PowerShell"rdgateway", "rdbroker","rdweb"|% ` {Invoke-RestMethod -Method:Get ` -Uri https://$_.wvd.microsoft.com/api/health}|ft ` -Property Health,TimeStamp,ClusterUrlYou should get something like the following results, where all three component services are listed as healthy:
OutputHealth TimeStamp ClusterUrl ------ --------- ---------- RDGateway is Healthy 7/2/2021 6:00:00 PM https://rdgateway-c101-cac-r1.wvd.microsoft.com/ RDBroker is Healthy 7/2/2021 6:00:00 PM https://rdbroker-c100-cac-r1.wvd.microsoft.com/ RDWeb is Healthy 7/2/2021 6:00:00 PM https://rdweb-c100-cac-r1.wvd.microsoft.com/If one or more components are not healthy, the firewall isn't working as expected.
Next unit: Knowledge check
Having an issue? We can help!
- For issues related to this module, explore existing questions using the #azure training tag or Ask a question on Microsoft Q&A.
- For issues related to Certifications and Exams, post on Certifications Support Forums or visit our Credentials Help.