Set up for voice
Now that you have the necessary extensions in place, and you set up the handoff to your preferred customer service application, you're ready to set up the copilot for voice. From a design standpoint, you don't need to do anything differently when you create the copilot. Items such as topics, entities, and other elements are designed the same way. The only real difference is that, because the copilot is enabled for voice, the text is spoken to the customer instead of presented on a screen.
For more information about getting started building Microsoft Copilot Studio copilots, select the following links:
The simplest way to set up a copilot for voice is from the Customer Service admin center or the Omnichannel admin center. The focus of Customer Service admin center is to administer Dynamics 365 Customer Service and omnichannel functionality, while the Omnichannel admin center focuses on administrating omnichannel functionality. Whatever you do in the Omnichannel admin center, you can do in the Customer Service admin center.
To learn more about both administrative experiences, select the following links:
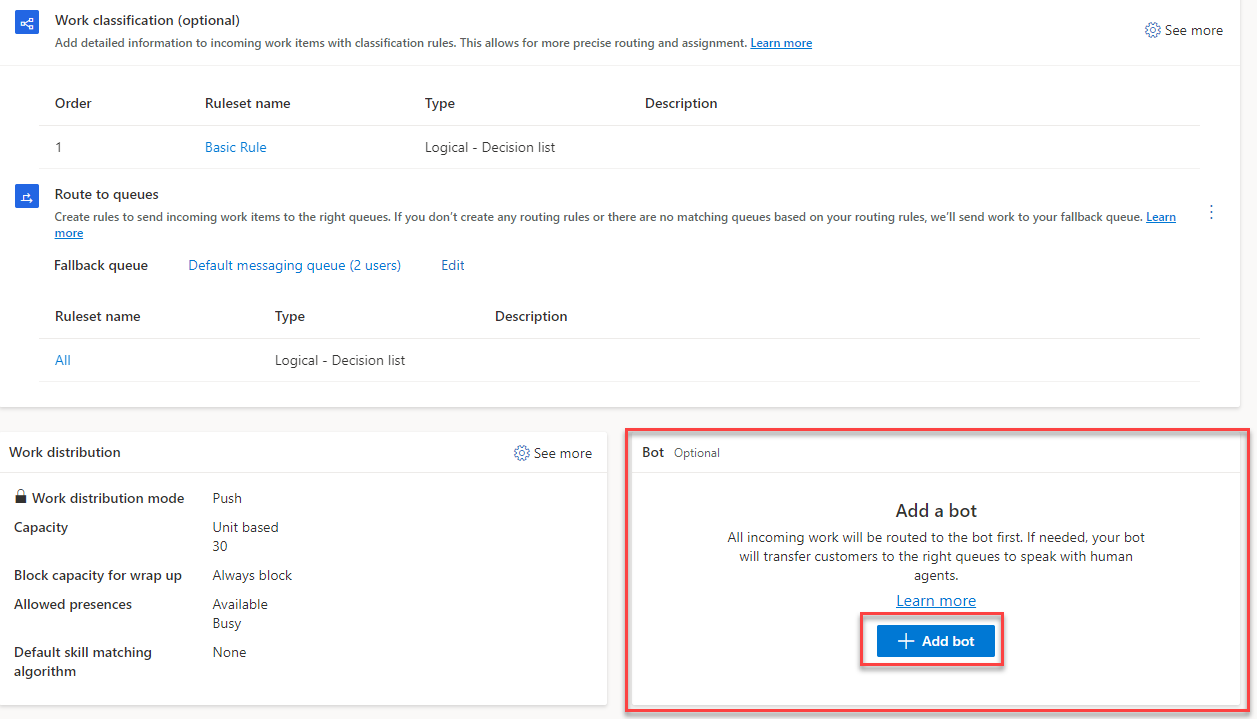
To set up a copilot for voice, open a voice channel workstream that was previously created. For more information, see Deploy a Voice channel in Dynamics 365 Customer Service. In the Add a bot section, select the Add a bot option, where you specify the bot that you want to use.
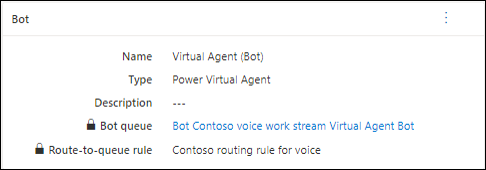
After you specify the bot, detailed information about the bot that's associated with the item displays in the Bot section.

