Set up your environment
There are many ways to run notebooks. You can run them right within this environment, on Microsoft Learn, as you will have experienced in several of this path's modules. In this module, you will learn how to get set up to run notebooks locally by using Visual Studio Code.
To start building your notebook, you need to have the following software available on your computer:
- Python
- Visual Studio Code
- Visual Studio Code Jupyter extension
Install Python
If you don't have Python installed on your computer, you need to download it. On a Mac, go to Python.org to install the latest version compatible with your operating system. On Windows, go to the Microsoft Store to download the most recent version.
If you already have Python installed, you might need to update your installation to the latest version. Make sure you have Python 3 by typing python3 --version in your terminal or command line. If it is installed, the version will be displayed.
Install Visual Studio Code
Next, install Visual Studio Code. When the installation is complete, configure it to your liking. There are several good videos on setting things up in the Visual Studio Code documentation.
Install the Jupyter extension
When these two installations are complete, you'll then need to install a Visual Studio Code extension. This extension allows you to run Jupyter notebooks from within Visual Studio Code by using a kernel. A kernel in Visual Studio Code helps you activate an Anaconda environment, so you can run your notebooks by using your Python installation.
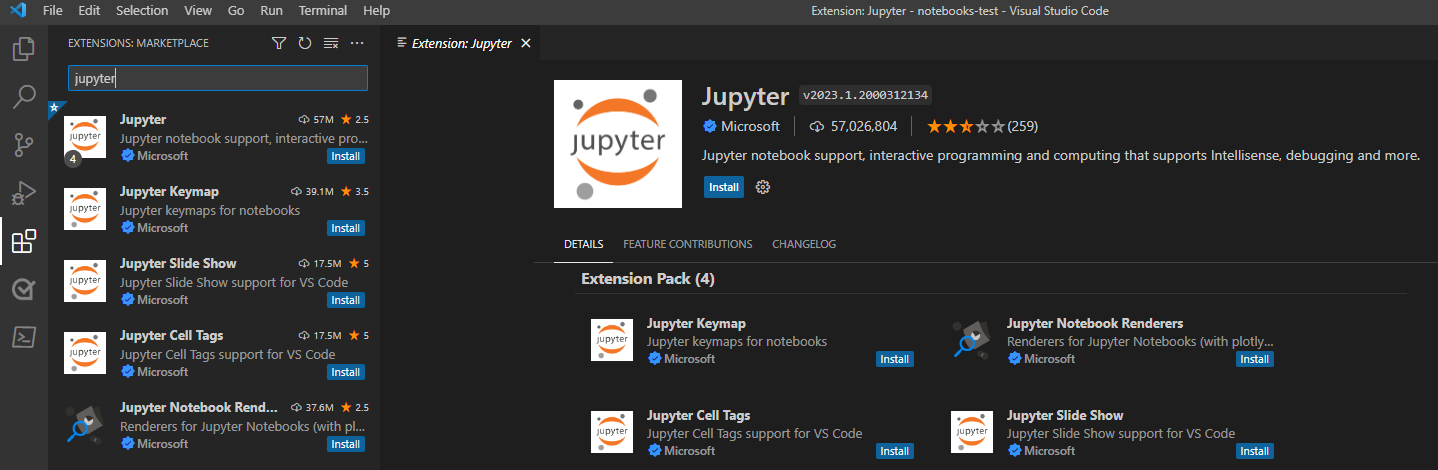
In Visual Studio Code, from extensions panel on the left, search for Jupyter by Microsoft. To install this extension, select Install.
Now that you have the three elements of your workspace set up, you can start working with Jupyter notebooks in Visual Studio Code.