Process vendor invoices
After posting a purchase receipt, you will receive the vendor invoice. After you have matched the ordered total to the invoiced total, you'll need to invoice the purchase order. It's possible to invoice one receipt or multiple receipts at the same time.
Invoice one receipt
This scenario implies that you'll receive one common invoice for the lines of only one purchase order. To confirm the totals and then invoice the order, you'll need to open the purchase order.
On the General FastTab, in the Vendor Invoice No. field, enter the external document number from the vendor invoice. On the Order tab, select Statistics to verify that the order total matches the vendor's invoice.
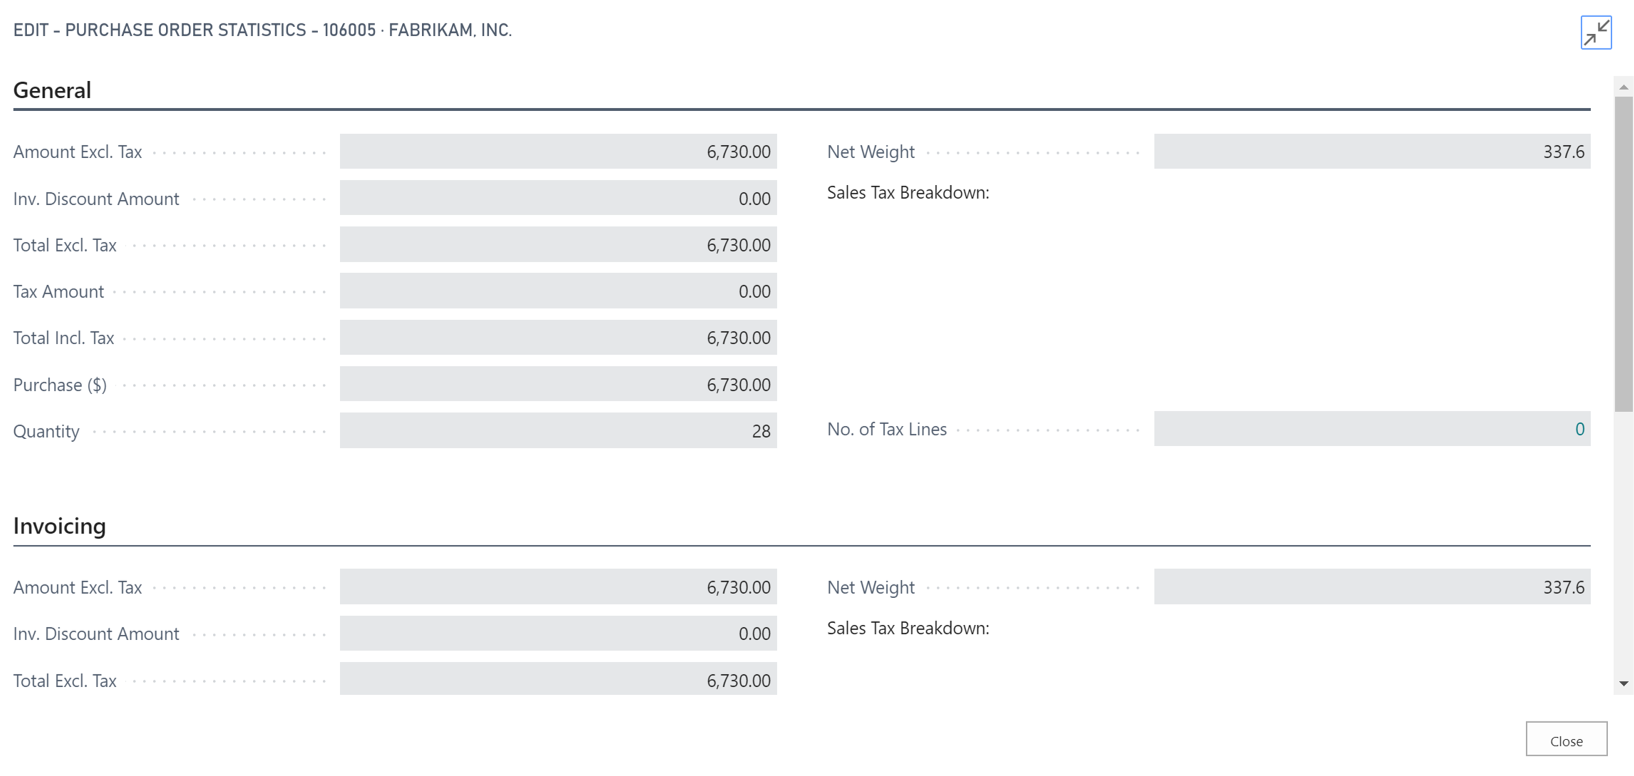
Close the Purchase Order Statistics page. Before you post this document, you might want to preview how this document will be posted before you take this final step. This step can be useful because you can check all details before posting (G/L accounts, amounts, and so on). Finally, on the Posting tab, select the Preview Posting action.

Open the Posting Preview page, select specific entries, and then select the Show Related Entries action to see details about how the invoice will be posted.
After you have verified that all details are acceptable, close the Posting Preview page and then select Post on the Posting tab. Select Invoice > OK.

A Posted Purchase Invoice document is created. If you invoiced all the lines of the purchase order, the order is deleted. When the posting process is finished, you can open the posted purchase invoice now or later.


Invoice multiple receipts
Follow these steps to invoice multiple receipts at the same time:
Select the search for page icon in the top-right corner of the page, enter Purchase Invoice, and then choose the related link.
Select New.
In the Vendor Name field, enter the vendor from whom you are entering the invoice.
In the Posting Date field, enter the posting date.
Enter the vendor invoice number.
On the action bar of the Lines FastTab, select Line > Functions > Get Receipt Lines. You'll see a list of all items from that vendor that are received but not yet invoiced.
Select all the lines that you want to insert in the purchase invoice and then select OK.
To post the purchase invoice, select Posting and then Post.

