Set up bank statement file import
You can often download various transaction file formats from your bank. If your bank delivers a format that is not supported out of the box in Business Central, you can use the Bank Statement File Setup assisted wizard guide to configure the import of flat file, comma-separated, or semicolon-separated transaction formats.

To start the wizard, follow these steps:
Select the Search for Page icon in the top-right corner of the page, enter assisted setup, and then select the related link.
In the Get ready for business section, select Set up a bank statement file import format.
After reading the welcome text, select Download a sample bank statement file if you want to use a sample file, provided by Microsoft. If you want to use your own bank statement file, select Next. The sample file is a .csv file with a few lines and is perfect to get started and try the function.

In the next wizard step, you can upload a bank statement file. This can be the sample file or your own file. Business Central will display if the upload is successful. You can select the Define the bank statement file layout yourself toggle if you want to configure the import manually. Otherwise, Business Central will try to determine properties like the number of columns and the date format automatically.
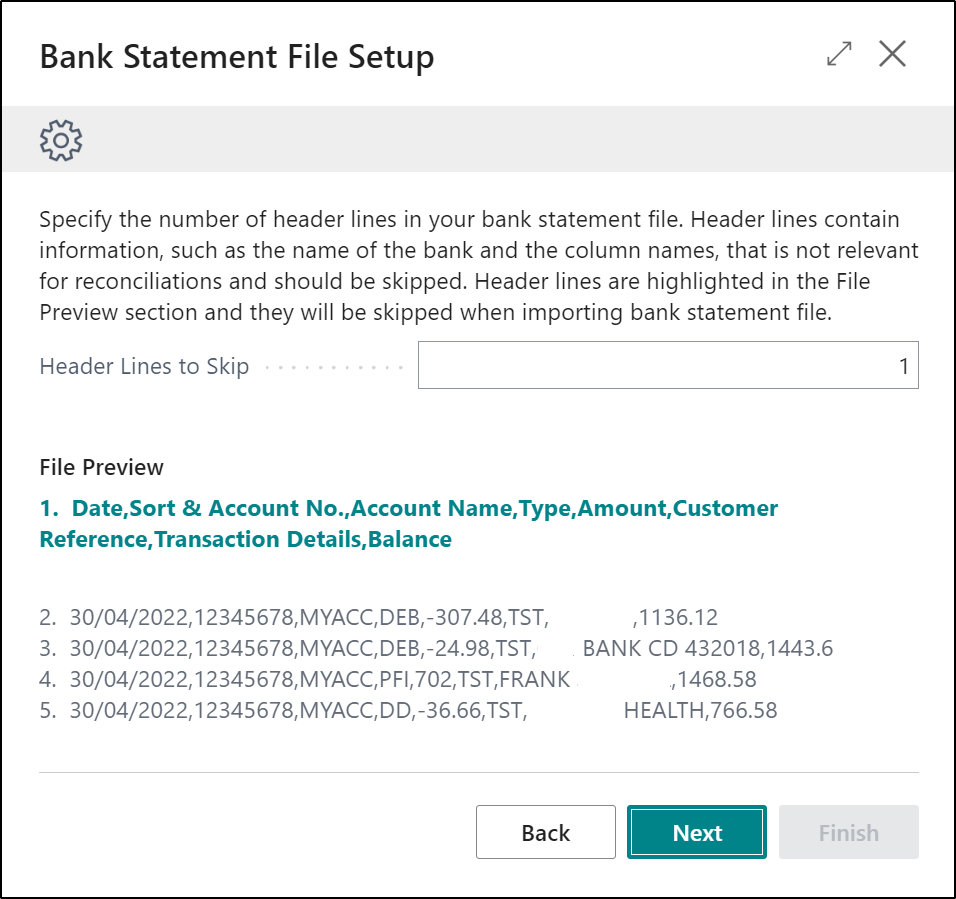
Select Next to proceed to the step in which you can enter the header lines to skip. This is useful to skip header lines that contain information, such as the name of the bank and the column names, that isn't relevant for reconciliations.
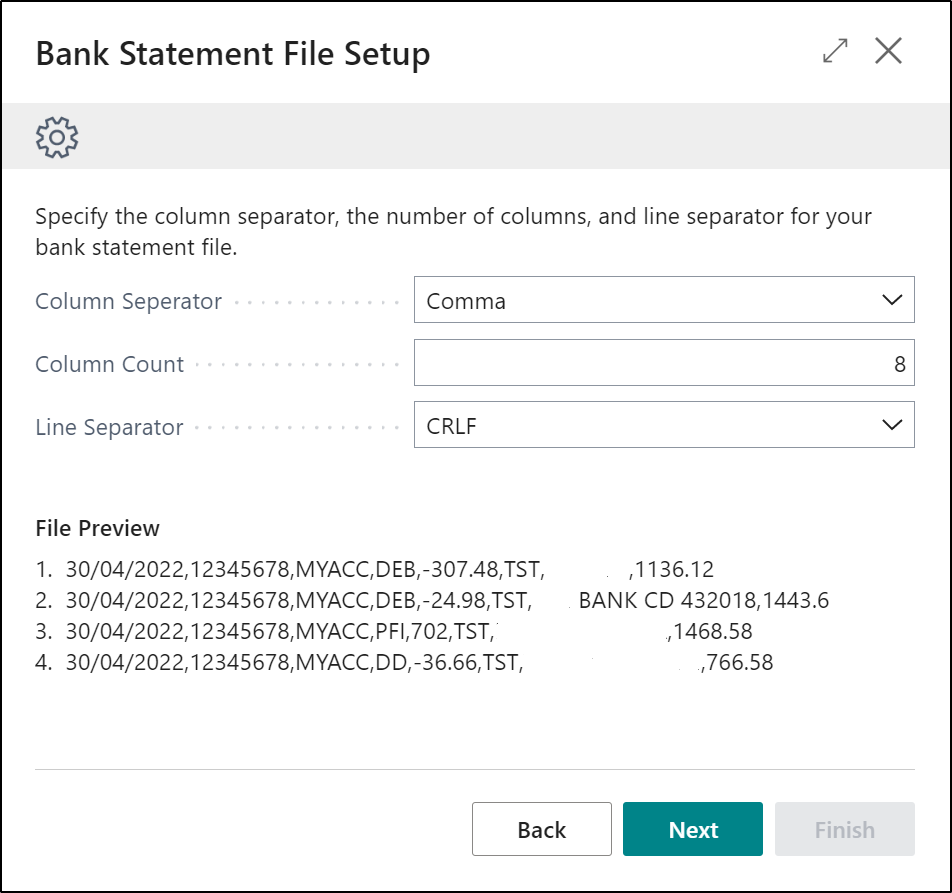
In the next wizard step, you must specify the column separator, the column count, and the line separator. For the column separator, you can choose between a comma and a semicolon. The column count specifies the number of columns in the file.
In the next wizard step, Business Central shows a file preview, and you can review and define the column definitions of your bank statement file.

Select Next to go to the step where you can check and update the date format and decimal separator.

Select Next to try out the file and test if your new format is correct. By selecting Test the bank statement file format, Business Central displays an overview of the information in the file you have uploaded.

If the information in the preview appears to be correct, select Next to go to the last wizard step. You can attach your new format to a bank account.


From now on, when you import bank statements in the payment reconciliation journal or on the bank account reconciliation page for this bank account, this format will be automatically used.