Exercise - Set up reference data
In this exercise, you set up organizational reference data for Contoso Retail. You assume the role of Jessie, the retail data manager, and perform the following tasks:
Task: Access Store Operations Assist from Microsoft Teams
In this task, you access Store Operations Assist Admin from Microsoft Teams.
Go to Microsoft Teams.
Microsoft Teams opens in your browser tab page. Select Use the web app instead.
Sign in with your Microsoft Cloud for Retail Manager credentials (MCR IAD Manager).
Note
For instructor-led training, use the credentials that your instructor has provided; for self-paced learning, use the credentials that have been generated in the Training Environment preparation module.
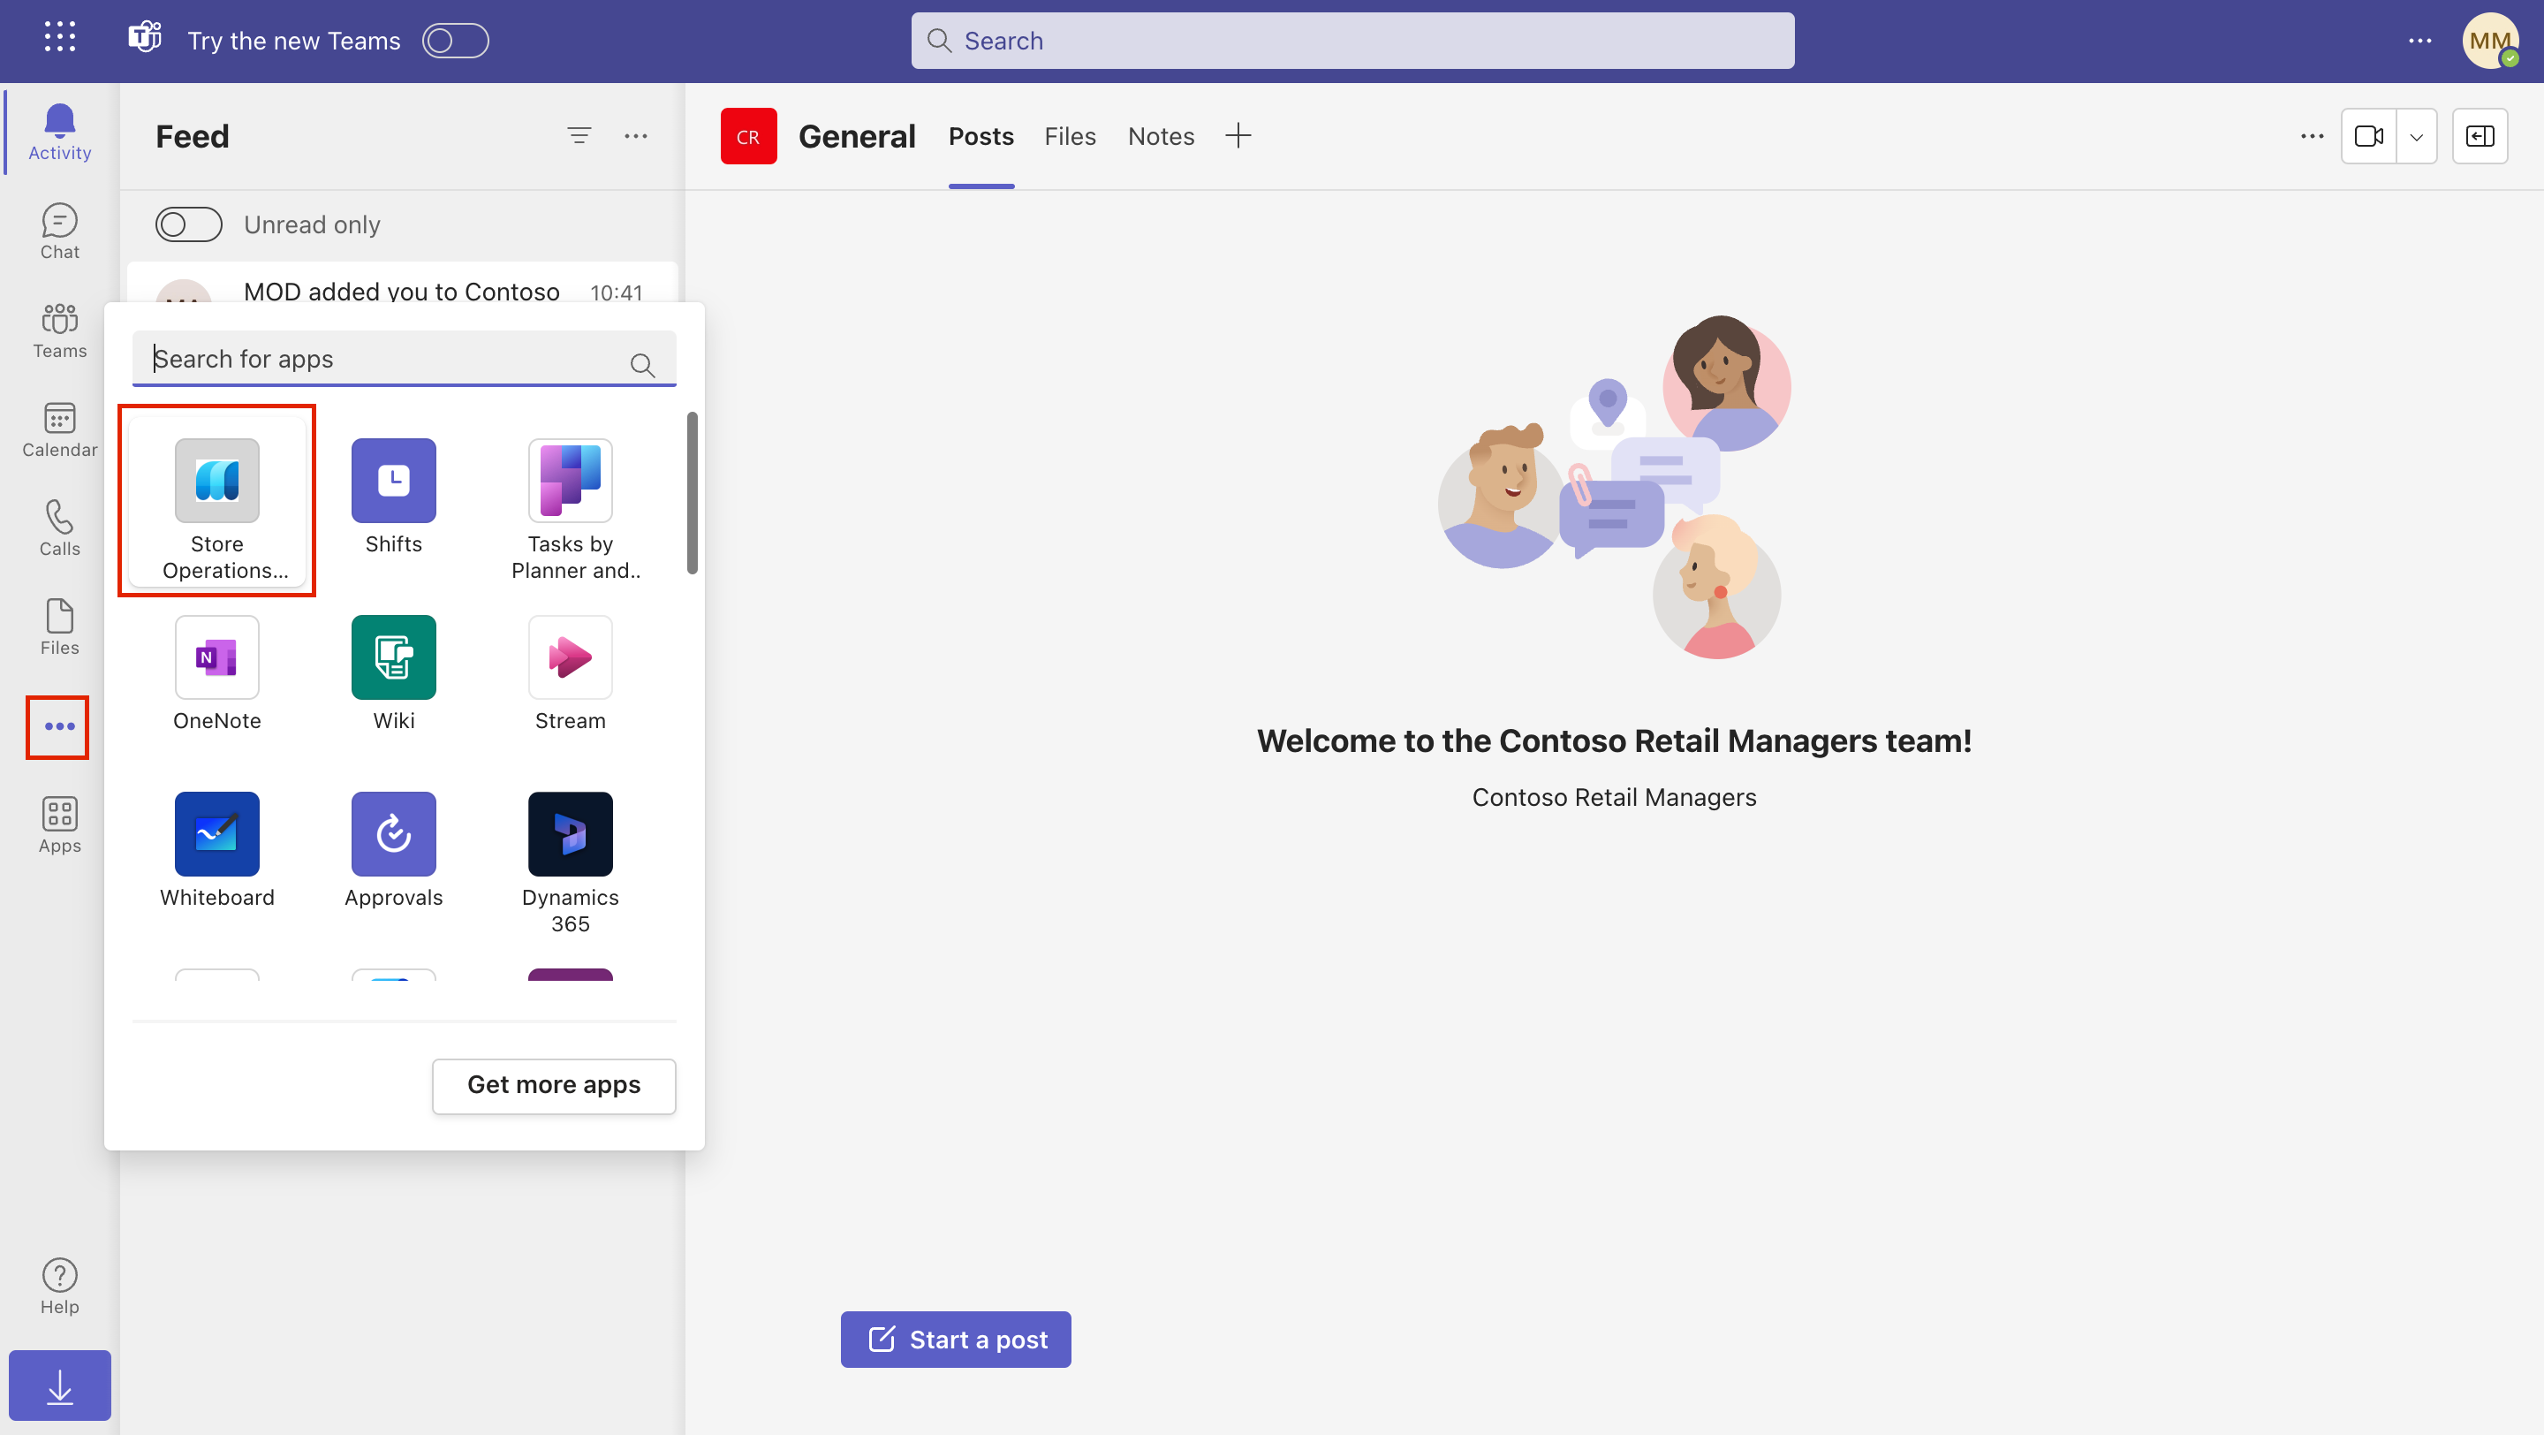
On the Home page, select the ellipsis (...) menu and select Store Operations Assist app.
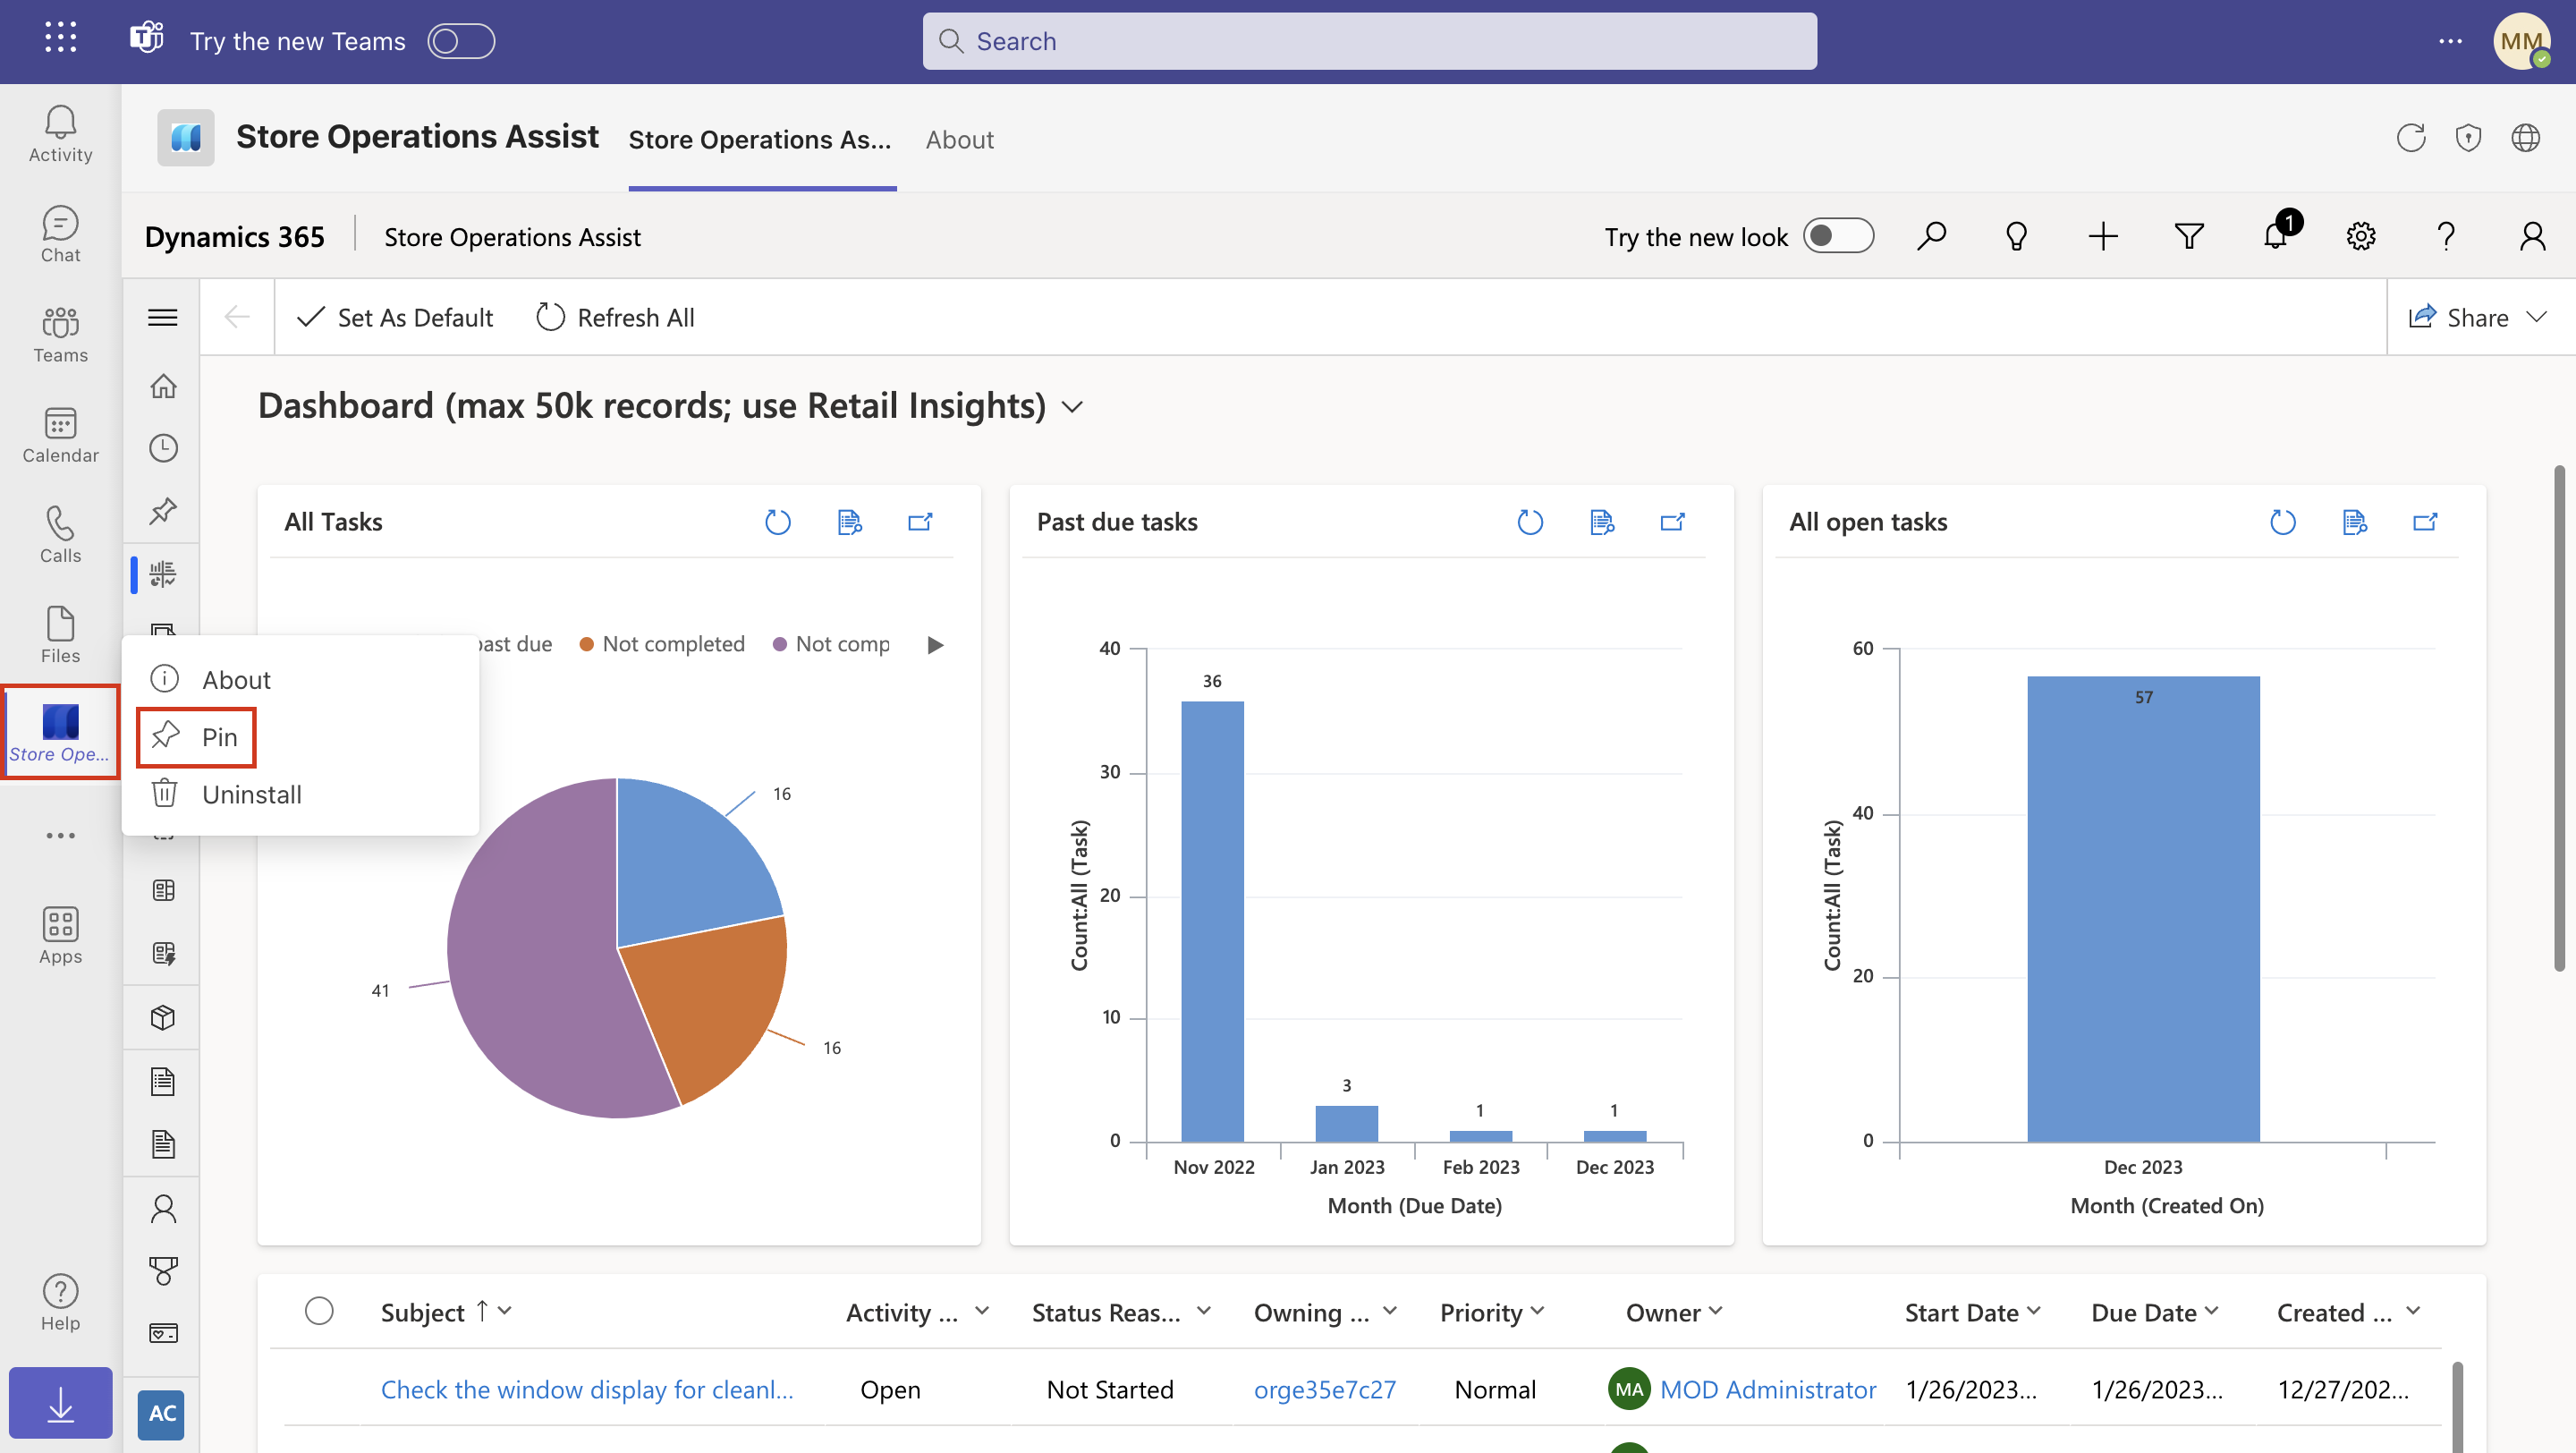
Right-click the Store Operations Assist icon on the left pane and then select Pin to pin Store Operations Assist Admin on Microsoft Teams navigation.
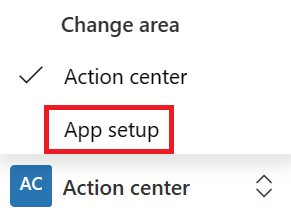
In the lower-left corner, select Action center.
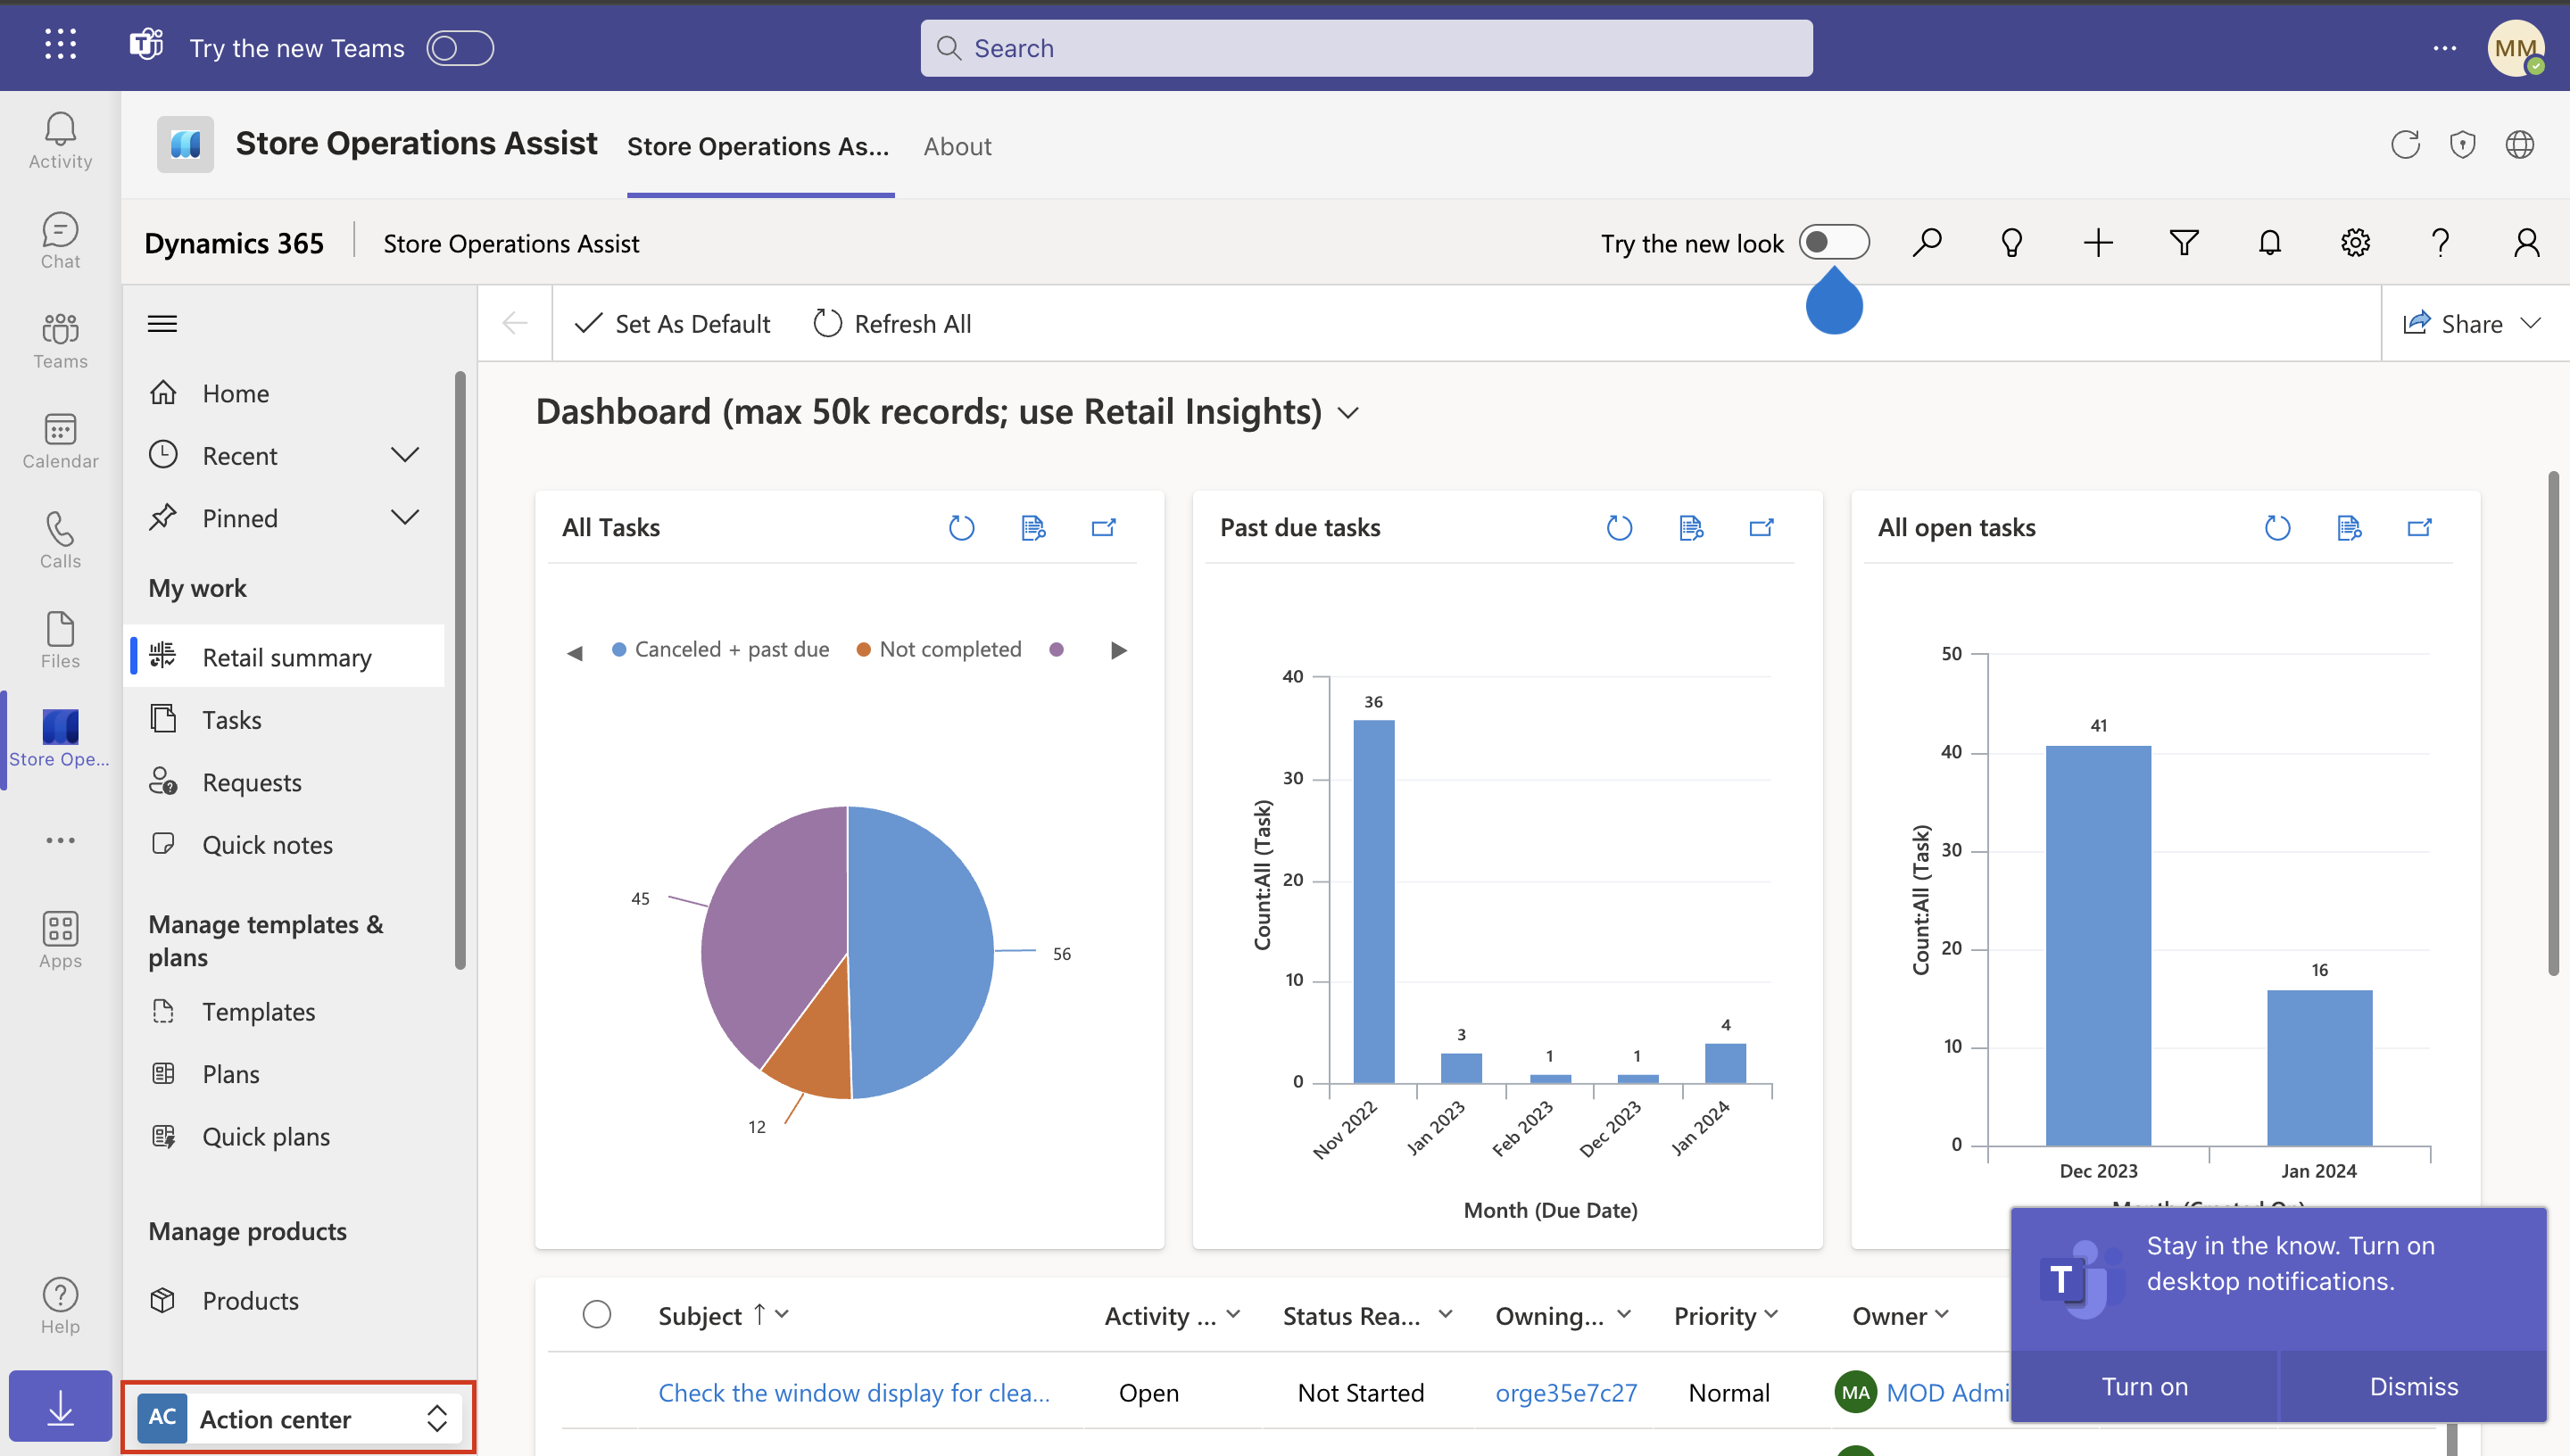
Change the area to App setup.


Task: Define target groups
Target groups help you group retail stores that usually perform the same tasks. A target group can consist of any combination of retail stores. However, in most cases, we recommend that you group retail stores that share similar characteristics so that you can implement the same tasks in those retail stores.
In this task, you create target groups and assign retail stores to the respective target groups.
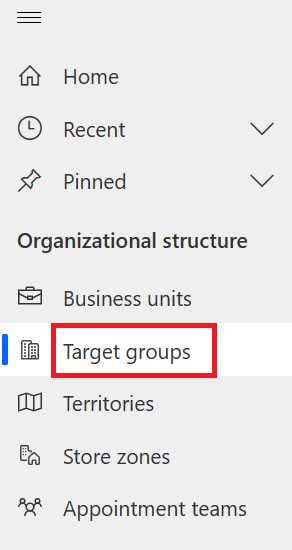
On the left pane, select Target groups.
Select New on the upper command bar to create a new target group.
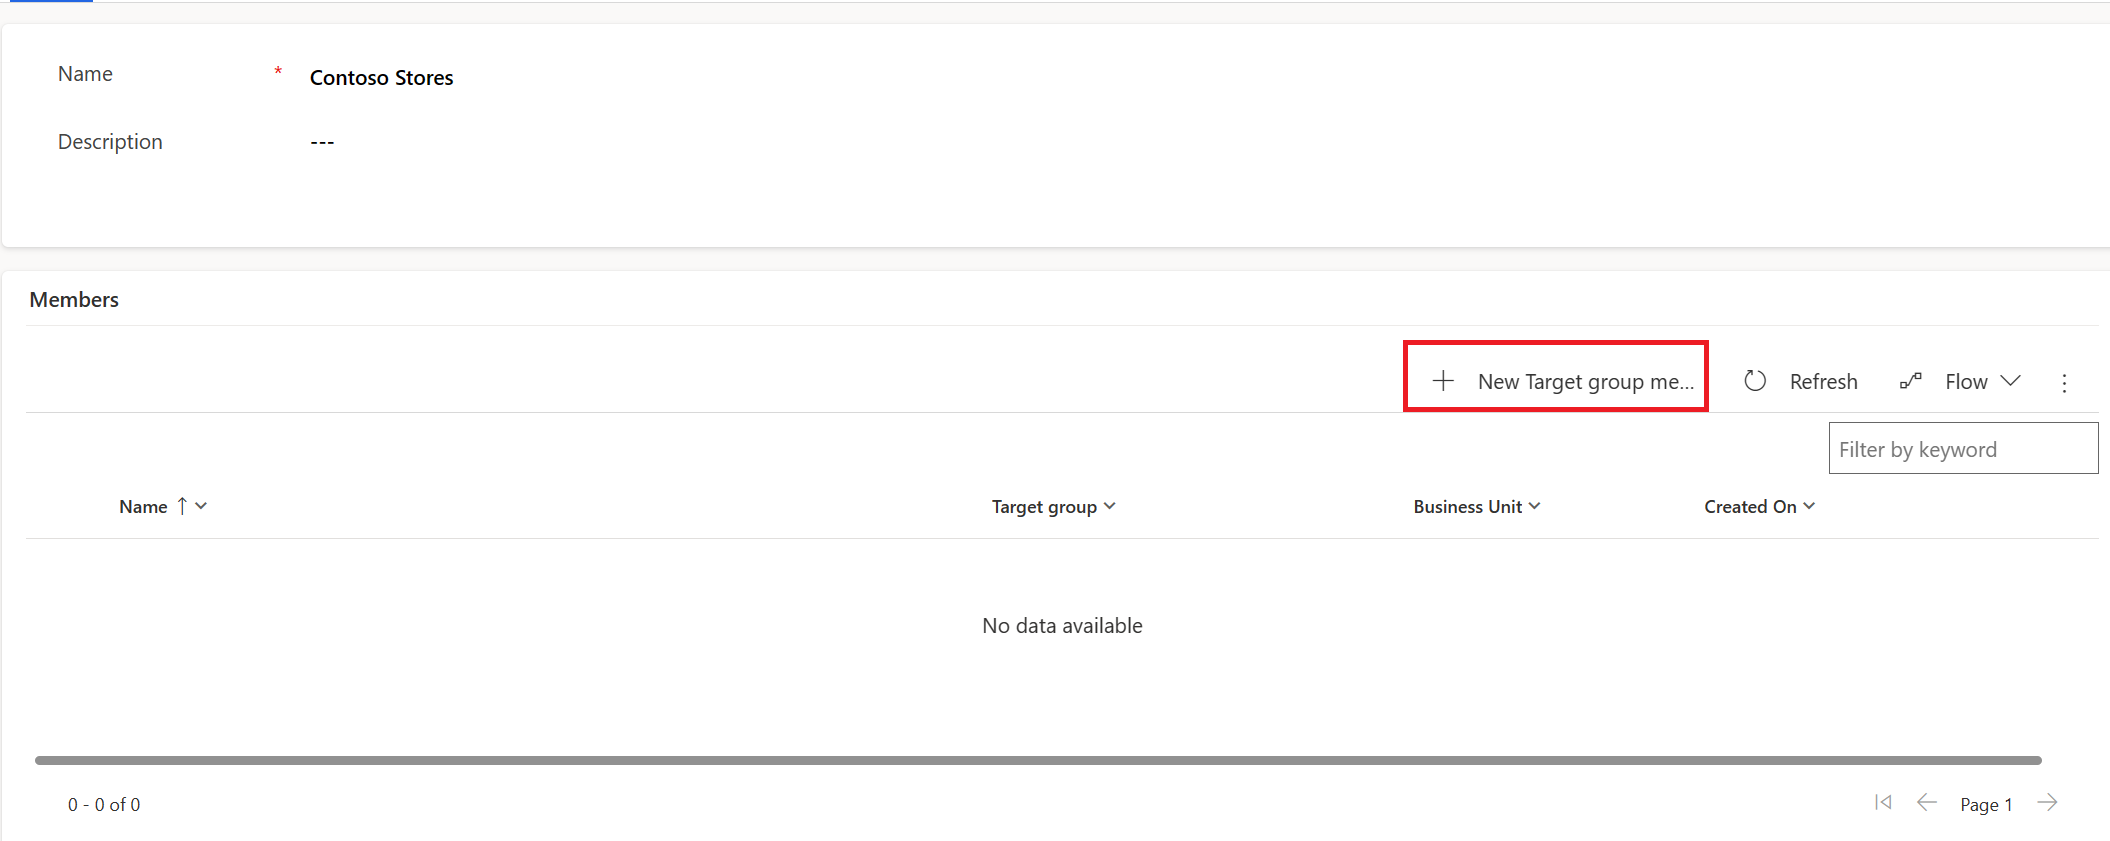
In the Name field, enter Contoso Stores and then select Save on the upper command bar to save the record.

On the lower grid (Members tab), select New Target group member to assign a business unit to the target group.
Select Contoso Store 101 as the Store/Department and then select Save & Close.

Repeat steps 4 and 5 to add other Contoso stores to this target group. Also, repeat steps 2 to 6 to create a new target group, Fabrikam Store, and add the respective Fabrikam stores to that target group.
Note
You can use Excel import to perform a bulk import and add stores to a target group. Alternatively, you can create new target groups by following the Excel import steps in the first task of this exercise.


Task: Set up store zones
Store zones are specific locations in the store that are demarcated for a specific purpose. In this task, you set up the store zones.
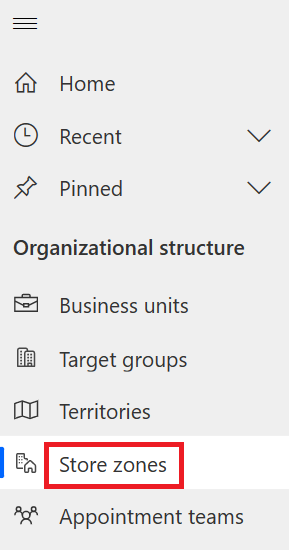
On the left navigation pane, select Store zones.
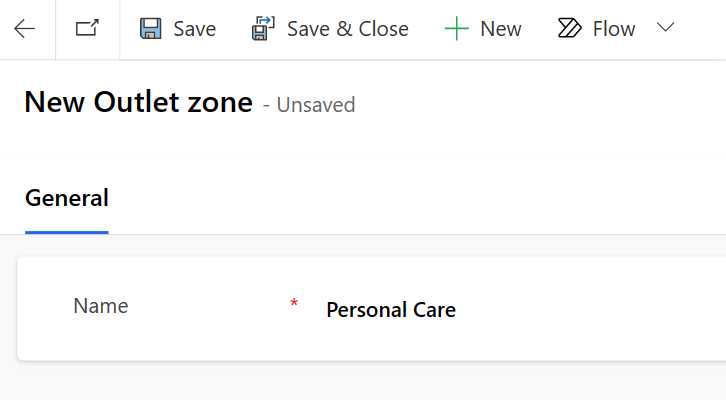
Select New on the upper command bar to create a new store zone.
Enter Personal Care as the name and then select Save.
Repeat the previous two steps to create the following store zones:
Men's Clothing
Women's Clothing
Kids Clothing
Checkout
Back Aisle
Footwear


Task: Define task types
You can use task types to segment various types of store tasks in groups, such as store walk, promotion setup, visual merchandising, or inventory spot count. In this task, you set up task types for Inventory spot count and Product price update.
On the left navigation pane, select Task types.
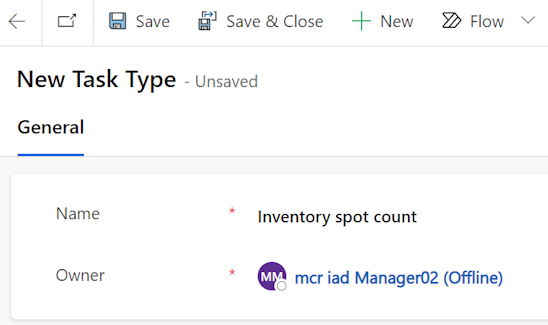
Select New on the upper command bar to create a new task type.
Enter Inventory spot count as the name and then select Save on the command bar.
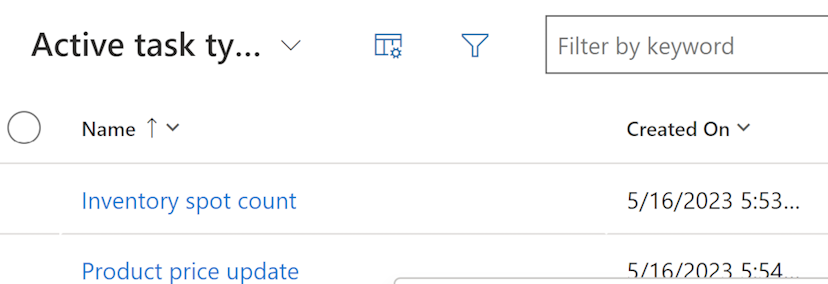
Repeat the two previous steps to create the Product price update task type. The result should be as shown in the following screenshot.


Task: Create request types
Store associates use request types when they create a new request in Store Operations Assist Mobile; however, it's optional. This field segments the various types of tasks in groups, such as clean-up, repairs, and asset support. The store manager can filter or sort by the request type when they view and approve requests. In this task, you create a request type for Asset support.
On the left navigation pane, select Request types.
Select New on the upper command bar to create a new request type.
Enter Asset support as the name and then select Save & Close on the command bar.


Task: Create cancellation reasons
Cancellation reasons specify the reasons that store associates can provide for canceling a task. In this task, you set up a cancellation reason named Obsolete.
On the left navigation pane, select Cancellation reasons.
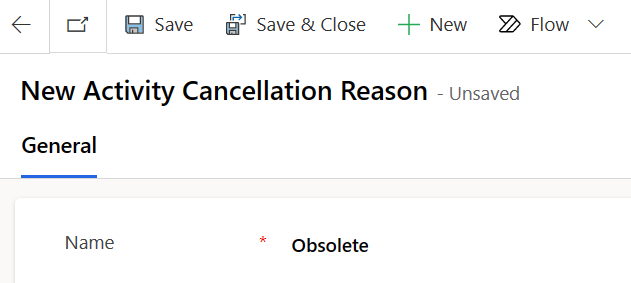
Select New on the upper command bar to create a new cancellation reason.
Enter Obsolete as the name and then select Save & Close on the command bar.

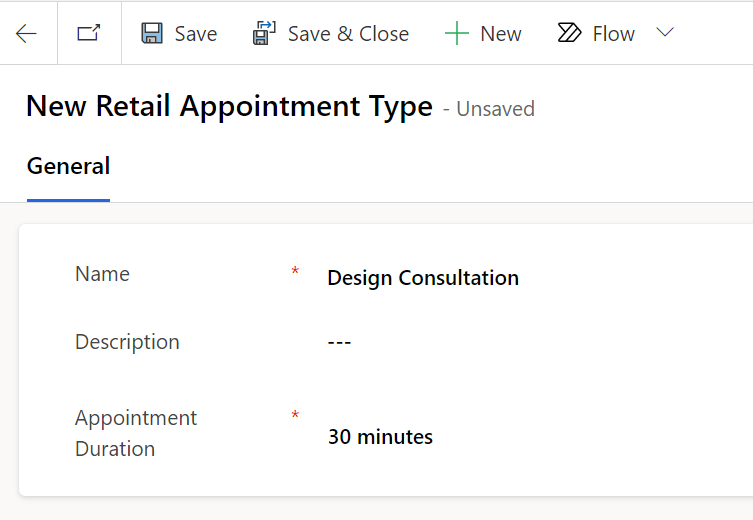
Task: Set up appointment types
You can use appointment types to categorize an appointment. In the Store Operations Assist solution, you can set up virtual and in-store appointment types. A virtual appointment happens online between the customer and the retail associate or expert over Microsoft Teams (video/audio). An in-store appointment happens offline between the customer and the retail associate or expert in the store. In this task, you set up a new appointment type for Design Consultation.
On the left navigation pane, select Appointment types.
Select + New on the upper command bar to create a new appointment type.
Enter Design Consultation as the name, select 30 minutes from the Appointment Duration dropdown menu, and then select Save & Close on the command bar.

Task: Set up appointment teams
You can use appointment teams to add users who can take an appointment with customers. In this task, you assign the virtual stylists to take an appointment.
On the left navigation pane, select Appointment teams.
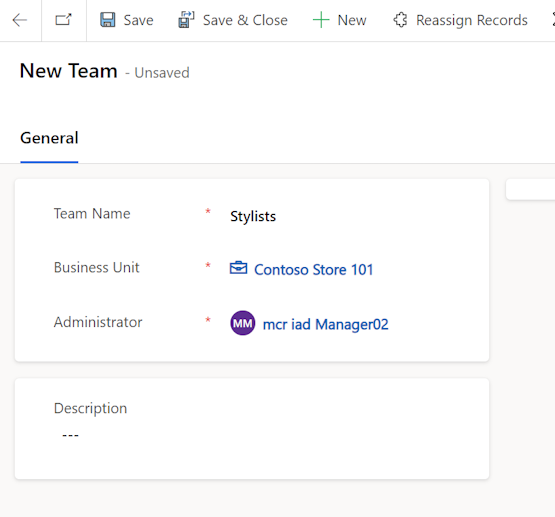
Select + New on the upper command bar to create a new appointment team.
Provide the following values:
- Team Name - Stylists
- Business Unit - Contoso Store 101
- Administrator - Provide your manager user ID
Note
For this task, consider the manager user ID to be the Virtual Stylist’s user.
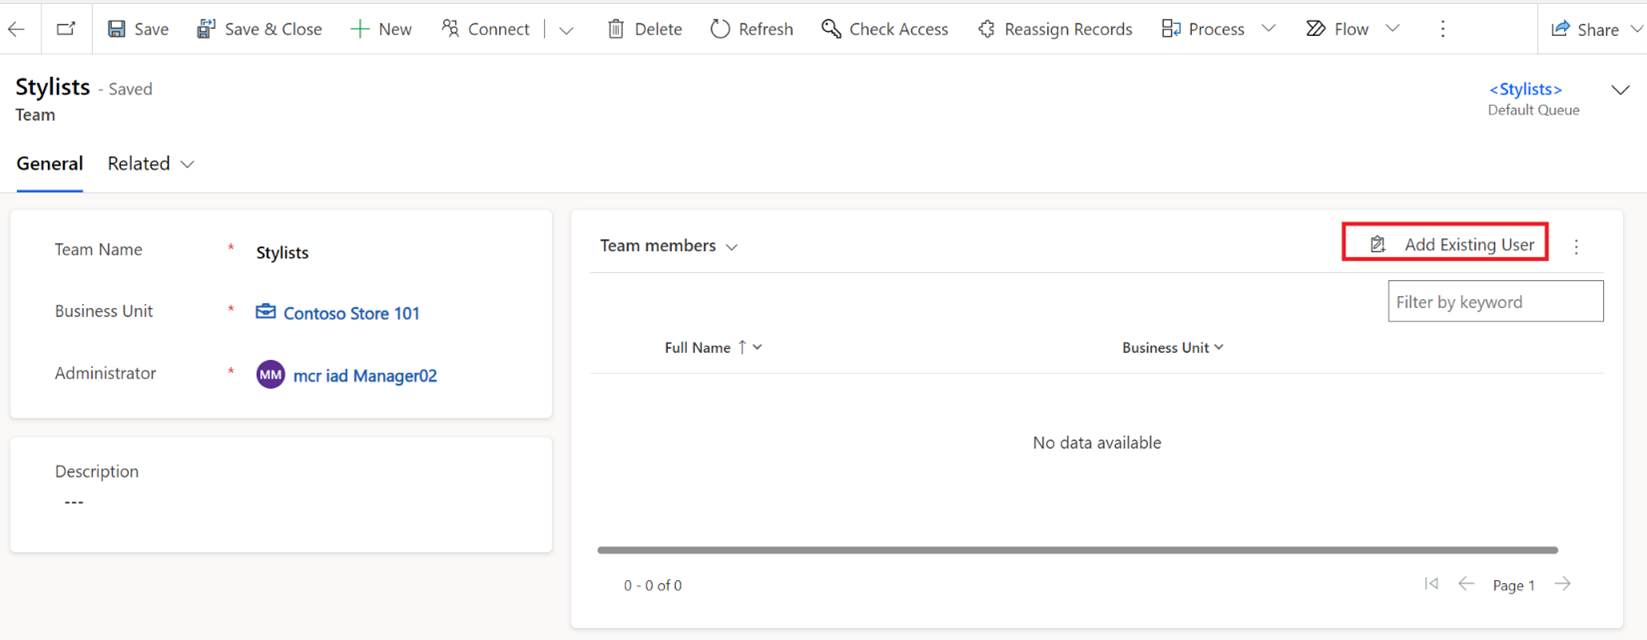
Select Save on the command bar. The Team members section displays on the right-side of the screen.
Select Add Existing User.
Select the manager user ID and then select Add to add your user to the team members list so that you can set up the appointment with the same manager user ID.
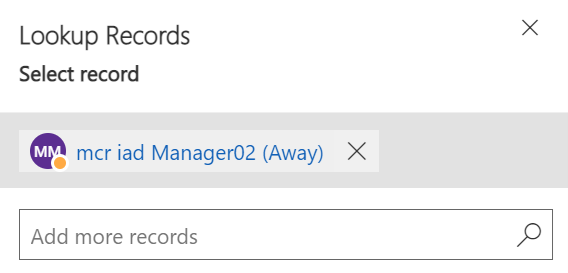
Select Save & Close on the command bar.


