Exercise - Interact with reports and export data
In this exercise, you will review the survey response report for a survey within a project, and then you will filter and export the survey results.
Important
You can complete this exercise in a trial or sandbox environment. Make sure that you have access to a project that has already had survey responses submitted.
Task 1: Review the survey response report
To review the survey response report, follow these steps:
Go to Dynamics 365 Customer Voice and sign in with your credentials.
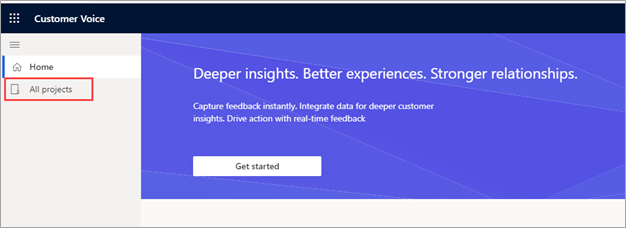
Select All projects.
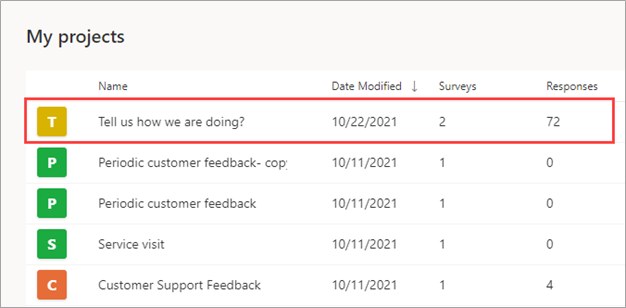
Select the name of a project that you have access to.
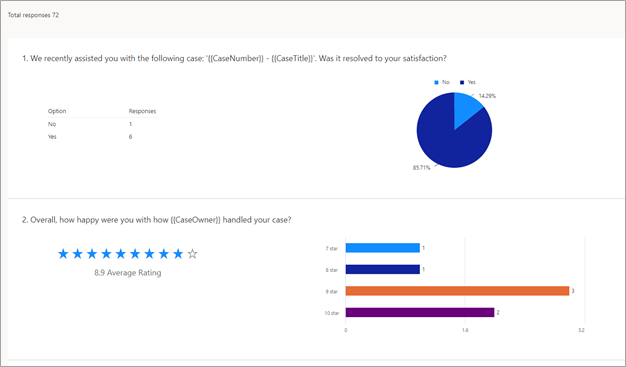
From within the project, select the name of the report that matches a survey that has responses.

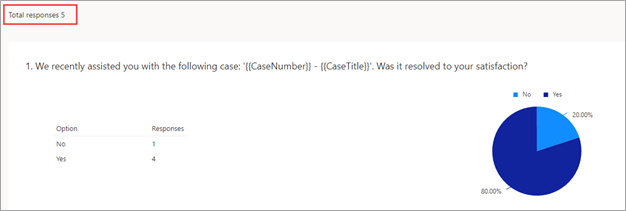
Review the report. Each question on the survey will show a different chart that provides a visualization of the results.
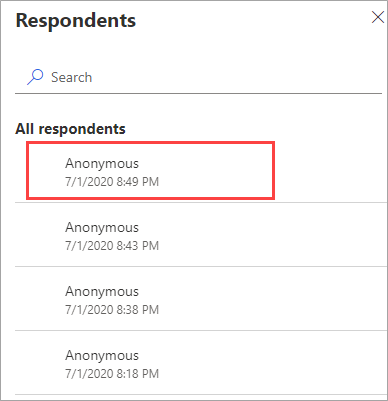
From the right side of the survey response report, select the Respondents menu.

A list will display, showing all received responses for the survey that's related to the survey response that you're viewing. Double-click one of the responses from the list.
Scroll through the provided answers from the Response tab.
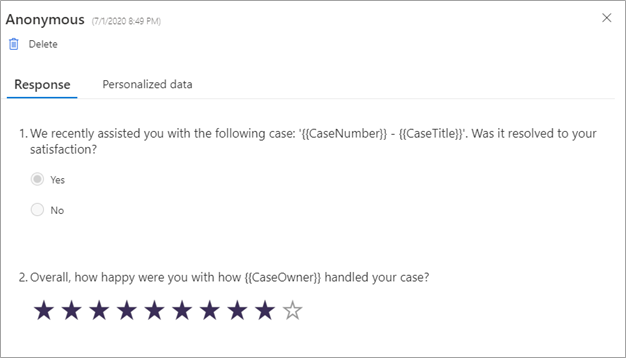
If the survey responses contained variables, access the values from the Personalized data tab.


Task 2: Filter survey results
To filter survey results, follow these steps:
In the project that you accessed in task 1, select the corresponding report for one of your surveys with survey responses.
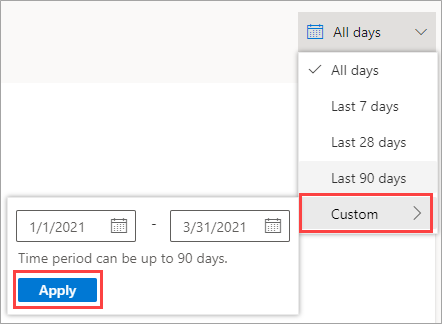
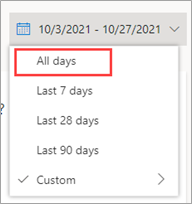
From the upper-right corner of the report, select the calendar control where it shows All days.

Select Custom and then select a date range of up to 90 days. Select Apply.
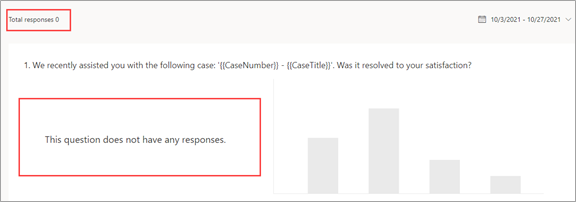
Depending on the number of responses for this survey, you might not have returned responses. In this case, the total responses will show as zero, and the questions will show that they don't have responses.
When survey responses are present, the total number of responses will change, and the visualizations for each question will adjust to reflect the filtered responses.
Select the date filter and then select All days to return the survey responses to the report.
Select the Respondents panel to the right of the report.
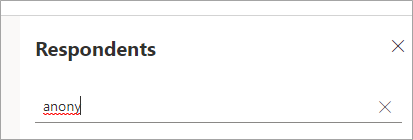
Search for survey responses by using the respondent's name or email address. If you have responses with a name, enter the first few letters of their name or email address. If all responses are anonymous, start typing the word Anonymous. The results will begin filtering on their own, or you can press Enter.
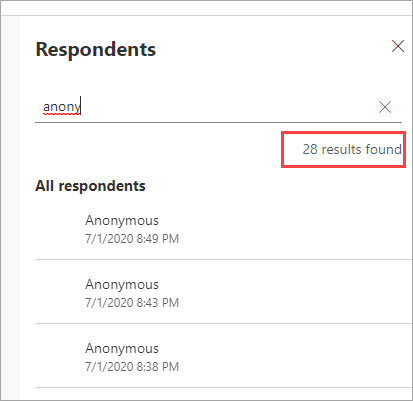
The list will filter and display all matching survey responses. The number of results found will change to match the number that you filtered.


Task 3: Export survey results
To export survey results, follow these steps:
In the project that you accessed in task 1 and task 2, select the Export all button in the upper-left corner of the survey response report.
Note
Regardless of the filters that you have applied, the export feature will export all survey responses for the survey.

A notification will appear in the upper right indicating that the responses are exporting. You don't need to select the notification message.
After the export has completed, a new notification message will appear, indicating that the responses have been exported. Close this notification message.
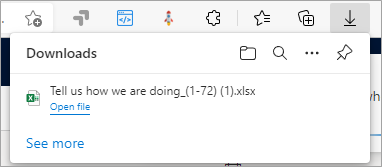
The Excel file will be available for download. Open and review the file.