Exercise - Configure IoT Edge to IoT Hub
Using Azure Cloud Shell
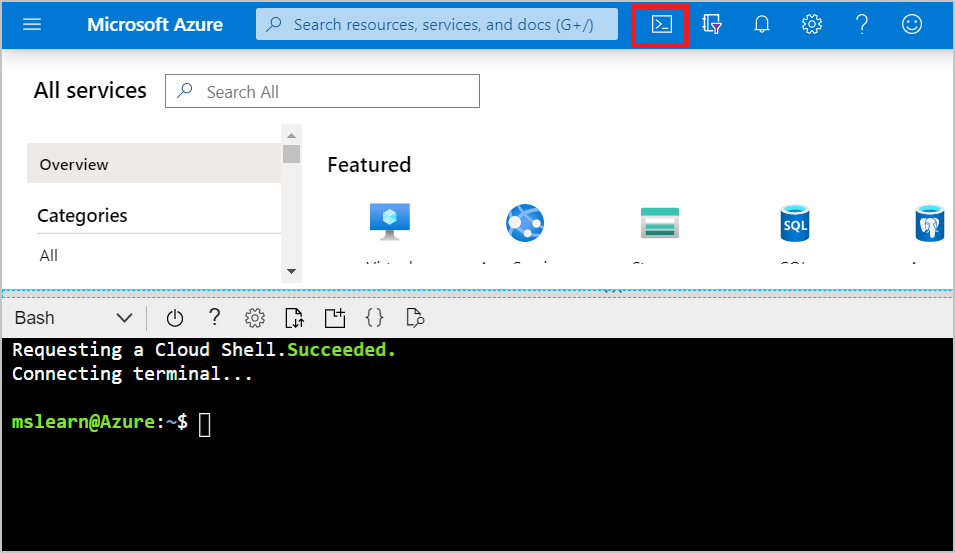
To start Azure Cloud Shell, launch Cloud Shell from the top navigation of the Azure portal.
You need to install the Azure IoT extension for Azure CLI using the following command. This extension manages Azure resources such as IoT Hub.
az extension add --name azure-iot
Note
This article uses the newest version of the Azure IoT extension, called azure-iot. The legacy version is called azure-cli-iot-ext.You should only have one version installed at a time. To see what extensions you have installed, use az extension list.
Use az extension remove --name azure-cli-iot-ext to remove the legacy version of the extension.
Use az extension add --name azure-iot to add the new version of the extension.
Creating a resource group
Create a resource group in eastus2 using the following command. Give a name to your resource group.
az group create --name <resource-group> --location eastus2
Create an IoT hub
The following code creates a free F1 hub in the resource group. Replace {hub_name} with a unique name for your IoT hub, and replace <resource-group> with your resource group name.
az iot hub create --resource-group <resource-group> --name {hub_name} --sku F1 --partition-count 2
Registering an IoT Edge device to the IoT hub
Create a device identity for your IoT Edge device.
Since IoT Edge devices behave and can be managed differently than typical IoT devices, declare this identity to be for an IoT Edge device with the --edge-enabled flag.
Note
If you get an error because there's already one free hub in your subscription, change the SKU to S1. Each subscription can only have one free IoT hub. If you get an error that the IoT hub name isn't available, it means that someone else already has a hub with that name.
In Azure Cloud Shell, enter the following command to create a device named myEdgeDevice in your hub.
az iot hub device-identity create --hub-name {hub_name} --device-id myEdgeDevice --edge-enabled
Retrieving the connection string for your device
To retrieve the connection string for your device, which links your physical device with its identity in IoT Hub, use the command:
az iot hub device-identity connection-string show --device-id myEdgeDevice --hub-name {hub_name} --output table
The resulting output should be similar to this:
HostName={YourIoTHubName}.azure-devices.net;DeviceId=MyNodeDevice;SharedAccessKey={YourSharedAccessKey}
Copy the value of the connectionString key from the JSON output and save it. This value is the device connection string. You use this to configure the IoT Edge runtime in the next section.
Deploy the IoT Edge device
Use the following CLI command to create your IoT Edge device based on the prebuilt iotedge-vm-deploy template. Copy the following command into a text editor, replace the placeholder text with your information, then copy into your bash or Cloud Shell window:
az deployment group create \
--resource-group IoTEdgeResources \
--template-uri "https://aka.ms/iotedge-vm-deploy" \
--parameters dnsLabelPrefix='<REPLACE_WITH_VM_NAME>' \
--parameters adminUsername='azureuser' \
--parameters deviceConnectionString=$(az iot hub device-identity connection-string show --device-id myEdgeDevice --hub-name
<REPLACE_WITH_HUB_NAME> -o tsv) \
--parameters authenticationType='password' \
--parameters adminPasswordOrKey="<REPLACE_WITH_PASSWORD>"
Make sure that your password(adminPasswordOrKey) must be at least 12 characters long and have three of four of the following: lowercase characters, uppercase characters, digits, and special characters.
It may take a few minutes to create and start the new virtual machine. Once the deployment is complete, you should receive JSON-formatted output in the CLI that contains the SSH information to connect to the virtual machine. Copy the value of the public SSH entry of the outputs section.
Important
The IoT Edge language detection module requires your virtual machine to have at least 8 GB of memory and 16 GB of disk storage. The module fails if you use the default VM size defined in the deployment template. Resize of your virtual machine to at least size D2s_v3. For information resizing virtual machines, see Change the size of a virtual machine. For more information expanding disk storage, see How to expand virtual hard disks attached to a Windows virtual machine.
Viewing the IoT Edge runtime status
Use the following command to connect to your virtual machine. Replace azureuser if you used a different username than the one suggested during the deployment of the VM. Replace {DNS name} with your machine's DNS name.
ssh {admin username}@{DNS name}
To find your DNS name:
- Go to the resource group you created
- Select on the virtual machine resource
- In the Overview page, you'll find your DNS name
Checking if the IoT Edge device is configured
You'll check to see that the IoT Edge security daemon is running as a system service by using iotedge commands. You need elevated privileges to run iotedge commands.
Important
You need elevated privileges to run iotedge commands.
Run the following commands to test the status of the IoT Edge device:
sudo systemctl status iotedge
The resulting output should be similar to this:
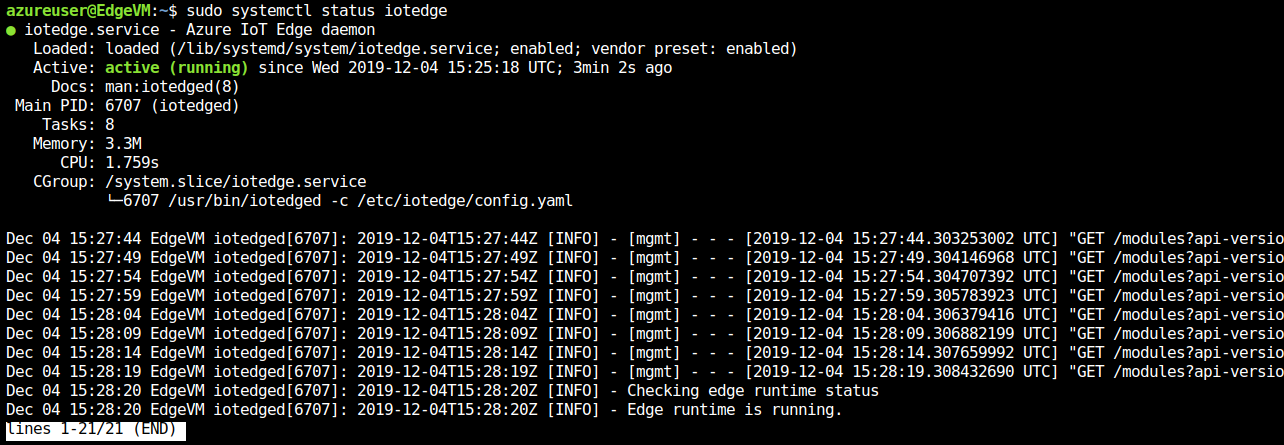
Your IoT Edge device is now configured. It's ready to run cloud-deployed modules.
If you need to troubleshoot the service, retrieve the service logs.
journalctl -u iotedge
View all the modules running on your IoT Edge device. Since the service just started for the first time, you should only see the edgeAgent module running. The edgeAgent module runs by default and helps to install and start any additional modules that you deploy to your device.
sudo iotedge list