Get started with Unity
We've prepared a complete Unity project for you to assist with this learning path. Download the code from the GitHub repository and extract the Zip file to your destination Unity project path of choice.
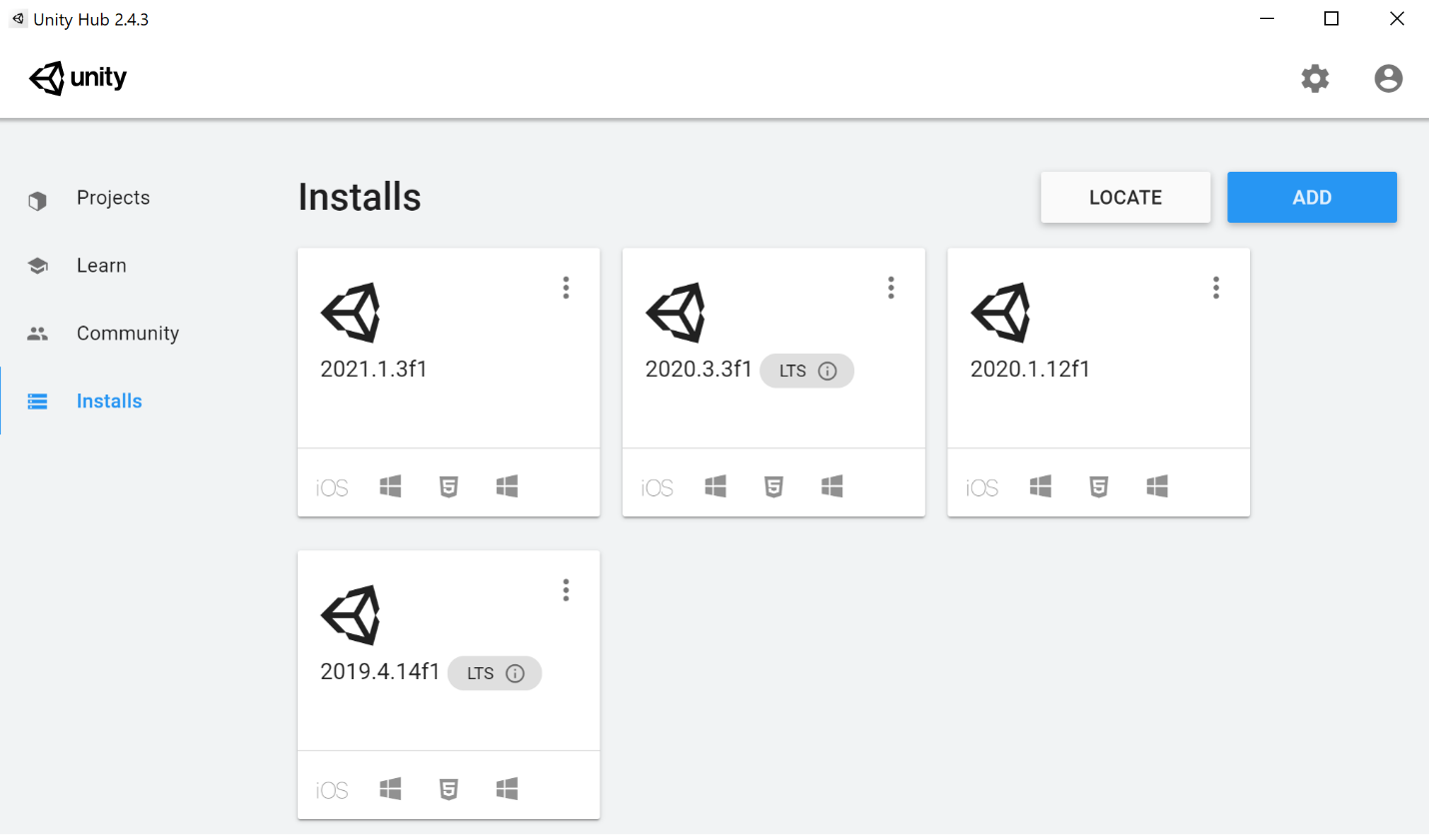
To build Mixed Reality solutions in Unity, you'll require a number of different development tools. You can have multiple versions of Unity on your computer, managed within the Unity Hub.
Download and Unzip the compressed folder from GitHub and take note of the folder location to where you extracted the project.
From within the Unity Hub, select Installs from the panel on the left side.
Important
Unity 2020.3.0f1 LTS is used for this learning path. If you do not see it installed already, you must download the file from Unity Download Archive, directly download an .exe installation file, or install from Unity Hub. The LTS stands for Long Term Support. Depending on your PC and your Internet connection, this can take 10-15 minutes.
Install MRTK components
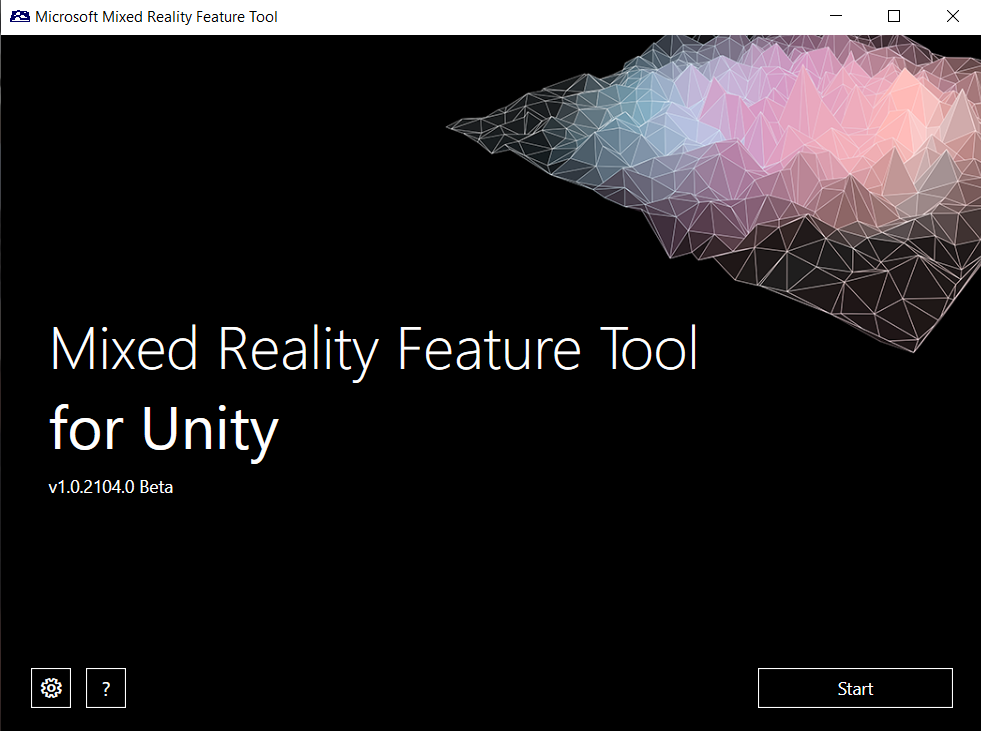
Launch the Mixed Reality Feature Tool (MixedRealityFeatureTool.exe) and select Start to begin installing MRTK components to your Unity project.
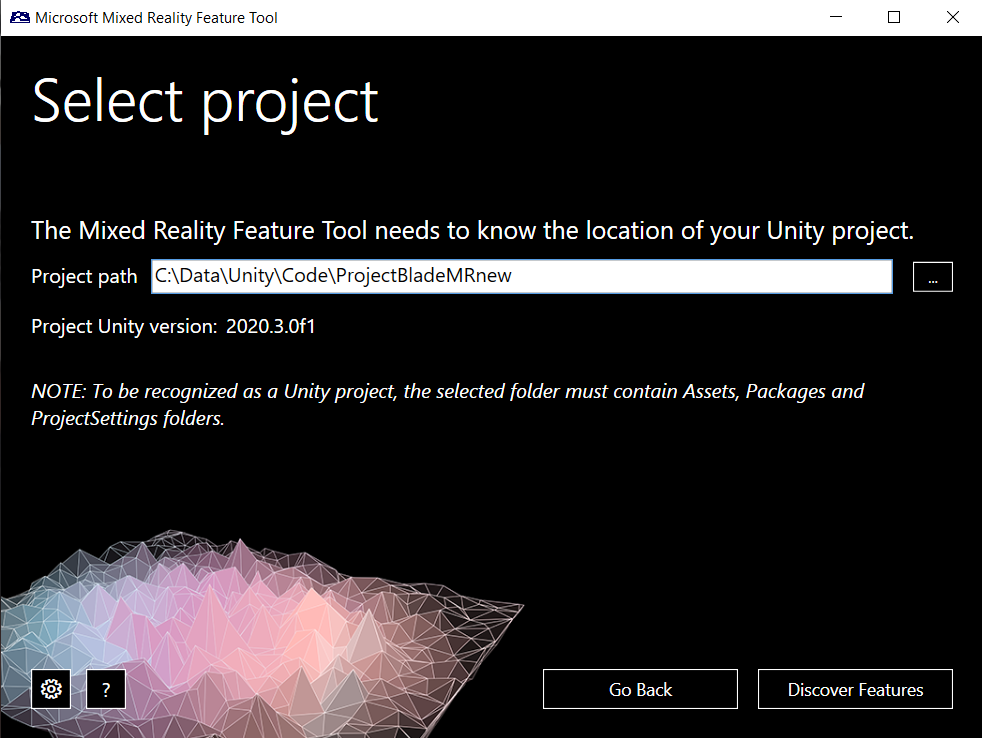
Select \the three ellipses ... button to browse for the folder where you downloaded and extracted the Unity project. The folder you select here must be immediately above the Asset folder, which contains the entire Unity project.
Select Discover Features.
Ensure you select the following versions to ensure compatibility with the supplied Unity project:
- Mixed Reality Toolkit Extensions 2.5.4
- Mixed Reality Toolkit Foundation 2.5.4
- Mixed Reality Toolkit GPU Stats 1.0.3
- Mixed Reality Toolkit Plane Finding 1.0.0
- Mixed Reality Toolkit Standard Assets 2.5.4
- Mixed Reality Open XR Plugin 0.1.3
- Microsoft Spatializer 1.0176
- Mixed Reality Input 0.9.2006
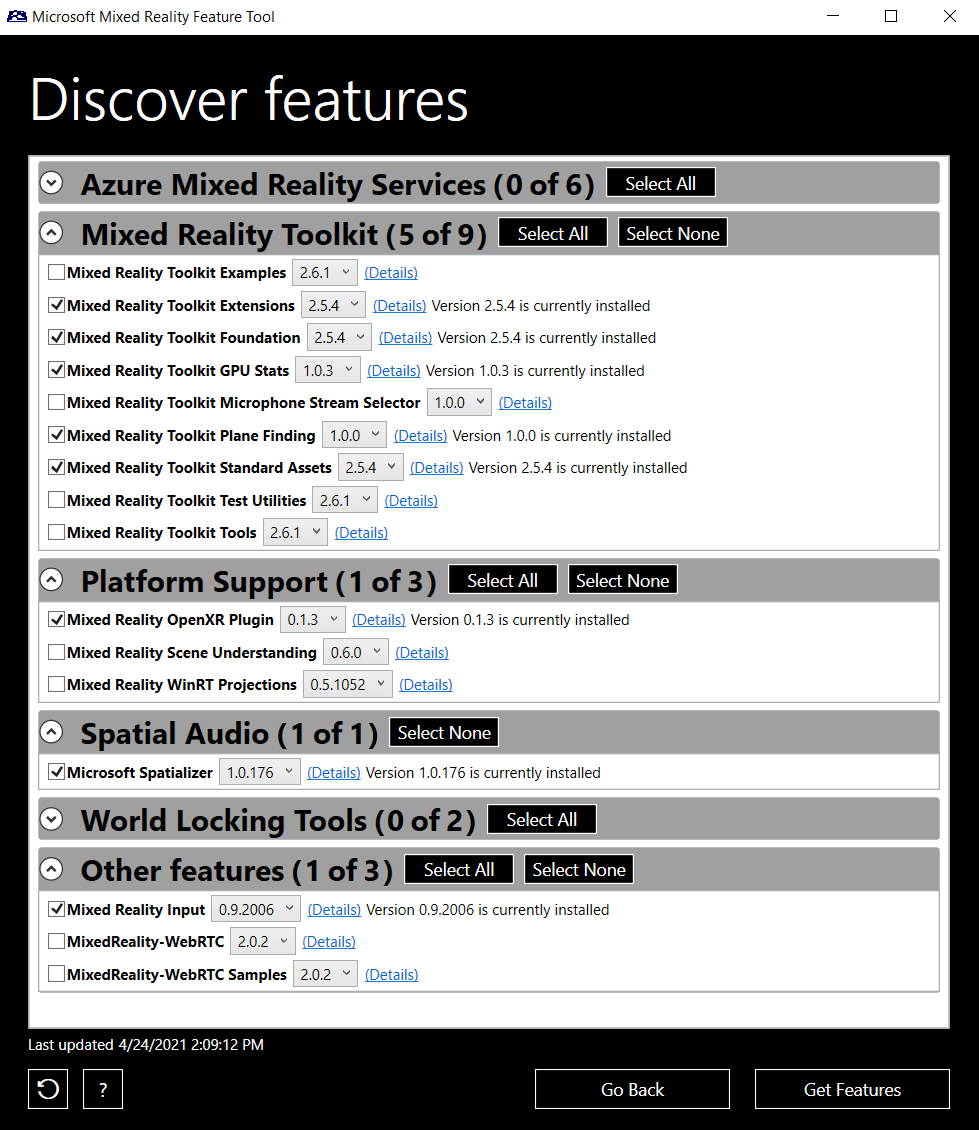
Select Get Features. This will download the corresponding packages and keep them in a temporary location (i.e., package cache).
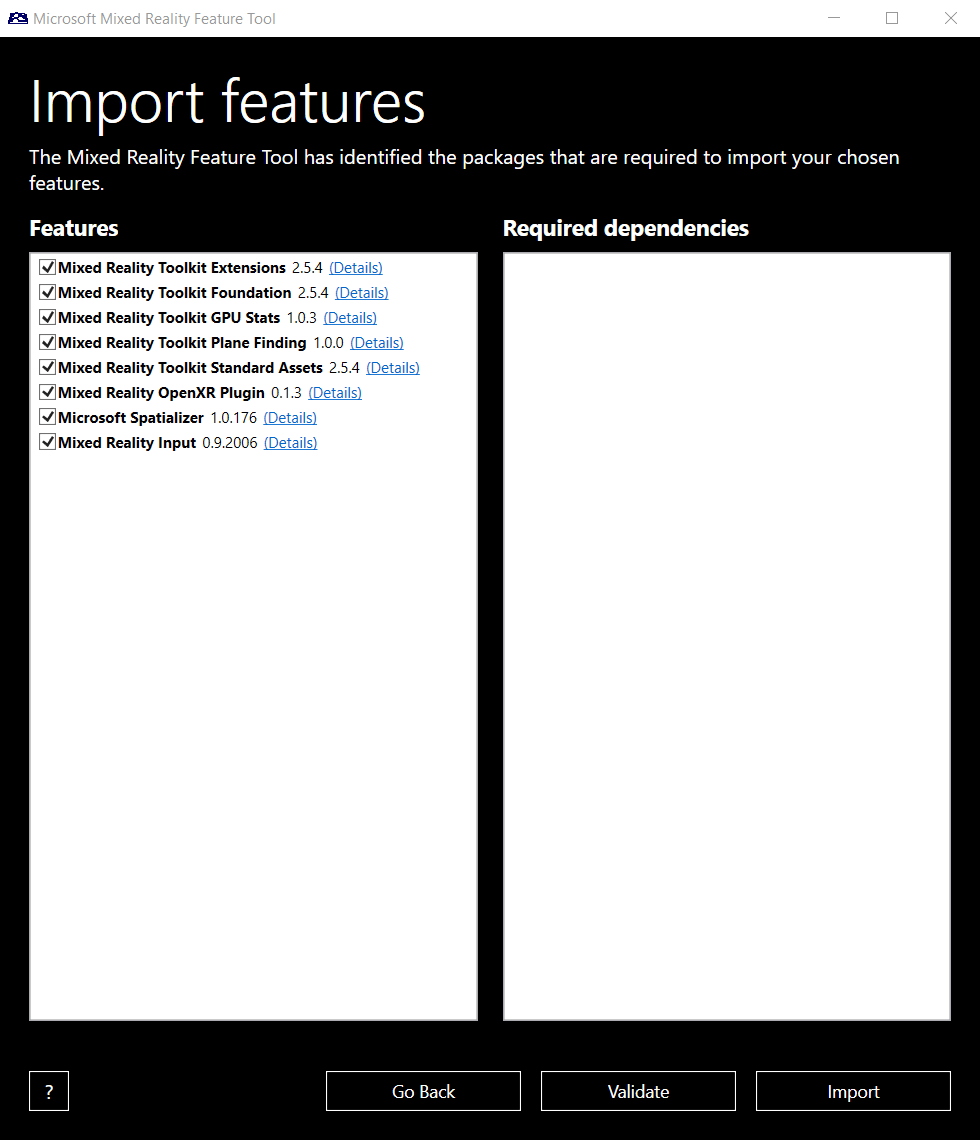
Validate your package selection and select Import. The packages will be copied into the Unity project and the necessary modifications in the project’s package manifest are made.
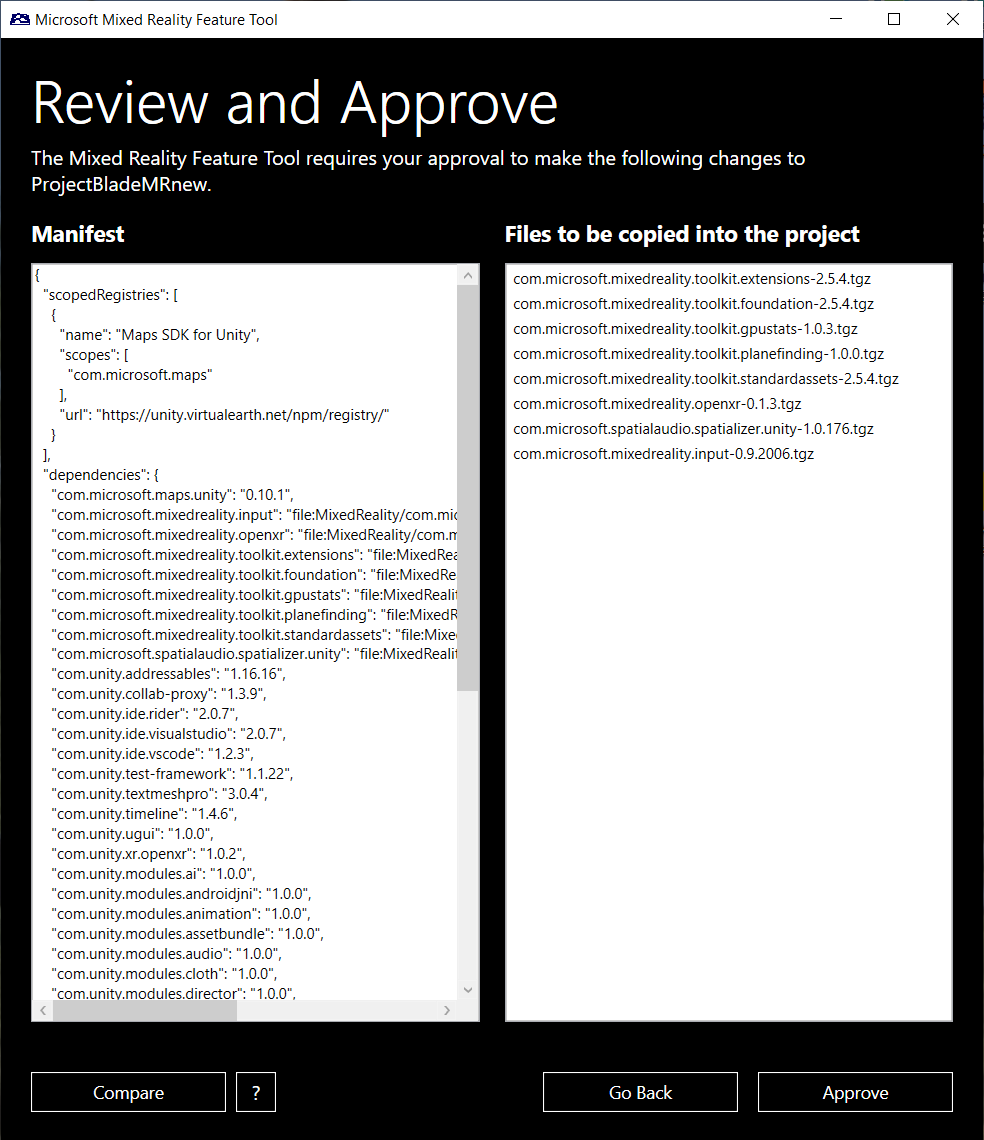
You might see the following screen if you've imported the same MRTK components previously. It's safe to select Approve.
When the Tool completes, select Exit to leave the Mixed Reality Feature Tool.
Verify Unity project dependencies
Open and verify your Unity project has the required dependencies and settings.
Open the Unity Hub and select Projects from the upper left of the window. Add your project to the list using the Add button.
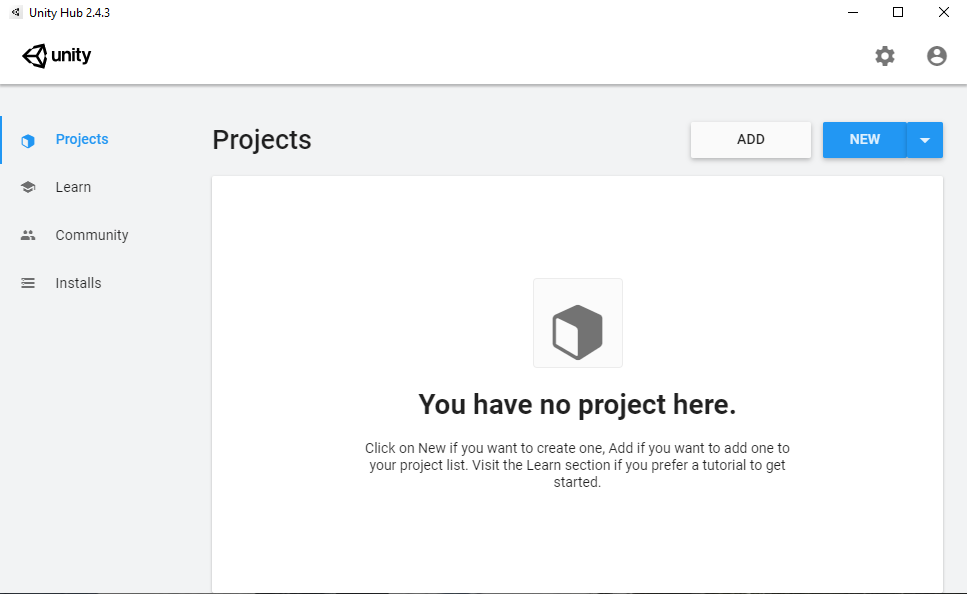
Browse to the folder where you extracted the project contents from the Zip file obtained from GitHub and Select Folder.
Note
If an orange exclamation mark shows under the project name, hover over it for a more detailed description of the message, including suggested actions (e.g., incorrect Unity version, install)
Open the project by selecting the project name. This can take several minutes while Unity imports and compiles the associated packages.
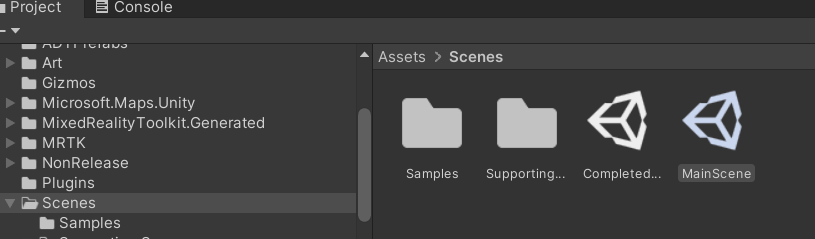
Locate the Main scene in the Project panel in Assets > Scenes > MainScene and double-click it.

If no error messages appear, your project is ready to be configured and developed. You might notice warning messages, which are acceptable and will not interfere with your project's functionality.
Finalize project settings
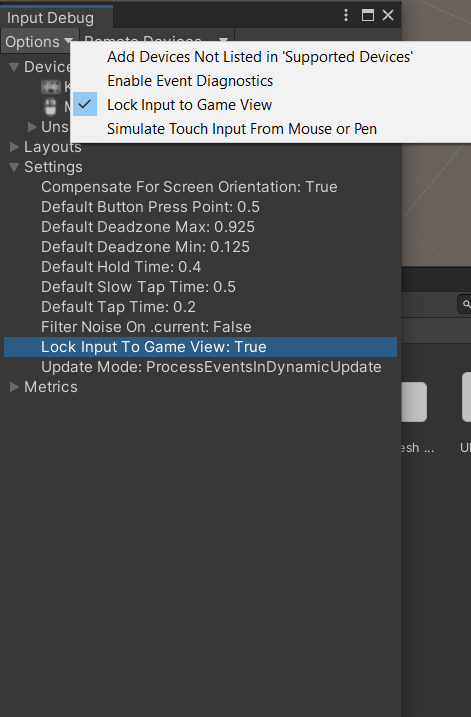
This project uses the OpenXR plug-in. OpenXR is an open, royalty-free standard developed by Khronos that aims to simplify AR/VR development by allowing developers to seamlessly target a wide range of AR/VR devices. This new plug-in requires a minor configuration change to support input that interfaces with OpenXR in the Unity Editor.
Before running the project in Unity using the Play button, enable the Lock Input to the Game View option. You can find this in the Window > Analysis > Input Debugger > Options drop-down menu. This setting persists in your editor, so you only need to do this once.