Pricing dimensions overview
The two dimensions that human resources use to set up pricing and costs are People and Planned work. As a result, two types of pricing dimension values exist:
Option sets - Dimensions that are fixed enumerations for a set of values.
Entity-based values - Dimensions that can be a varied set of values.
Pricing dimensions
Project Operations has a default set of pricing dimensions. To view these pricing dimensions, follow these steps:
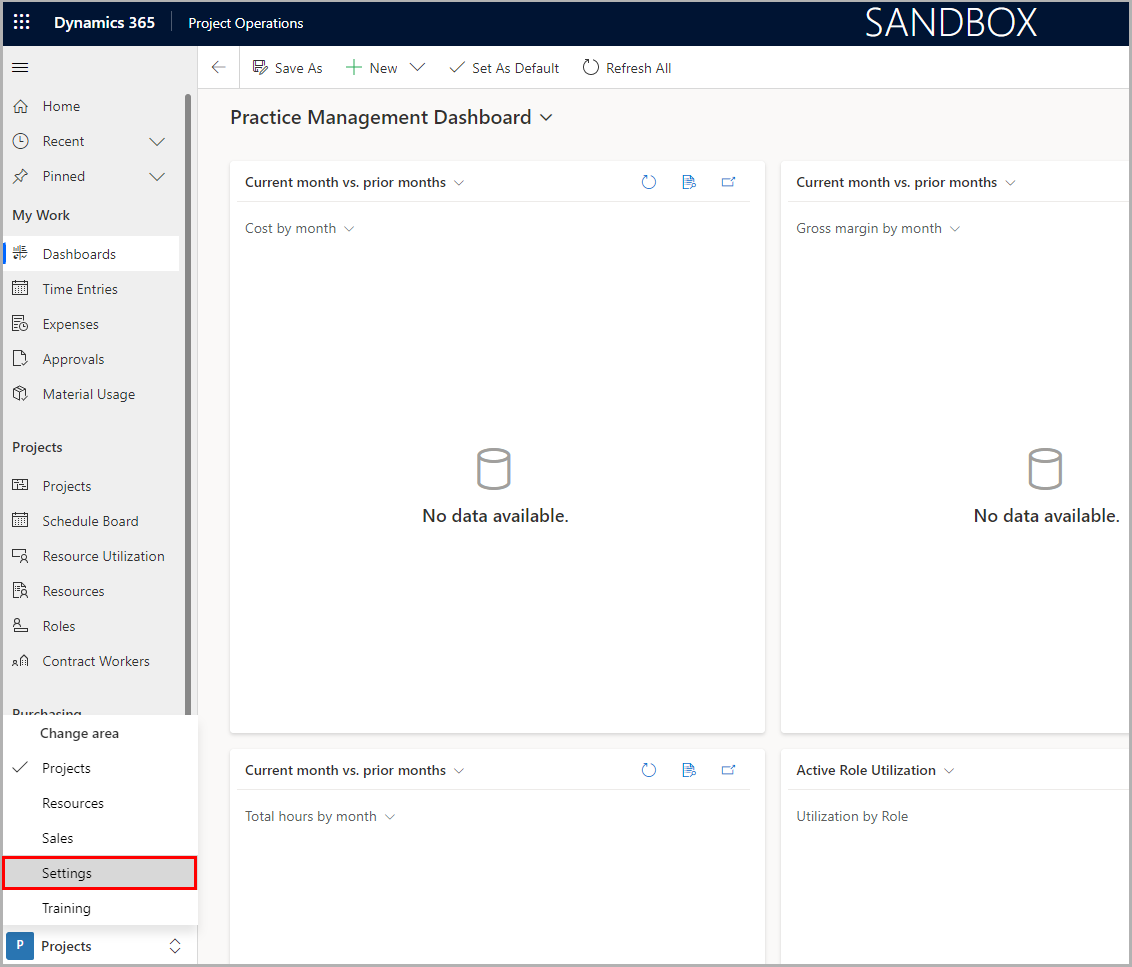
Go to Project Operations. In the left navigation pane, select the Projects dropdown menu and then select Settings.
When you're on the Settings page, select Parameters on the left navigation pane, and then select the organizational unit that you want to view.
On the Organizational Unit page, expand the Related dropdown menu and then select Project Parameters.
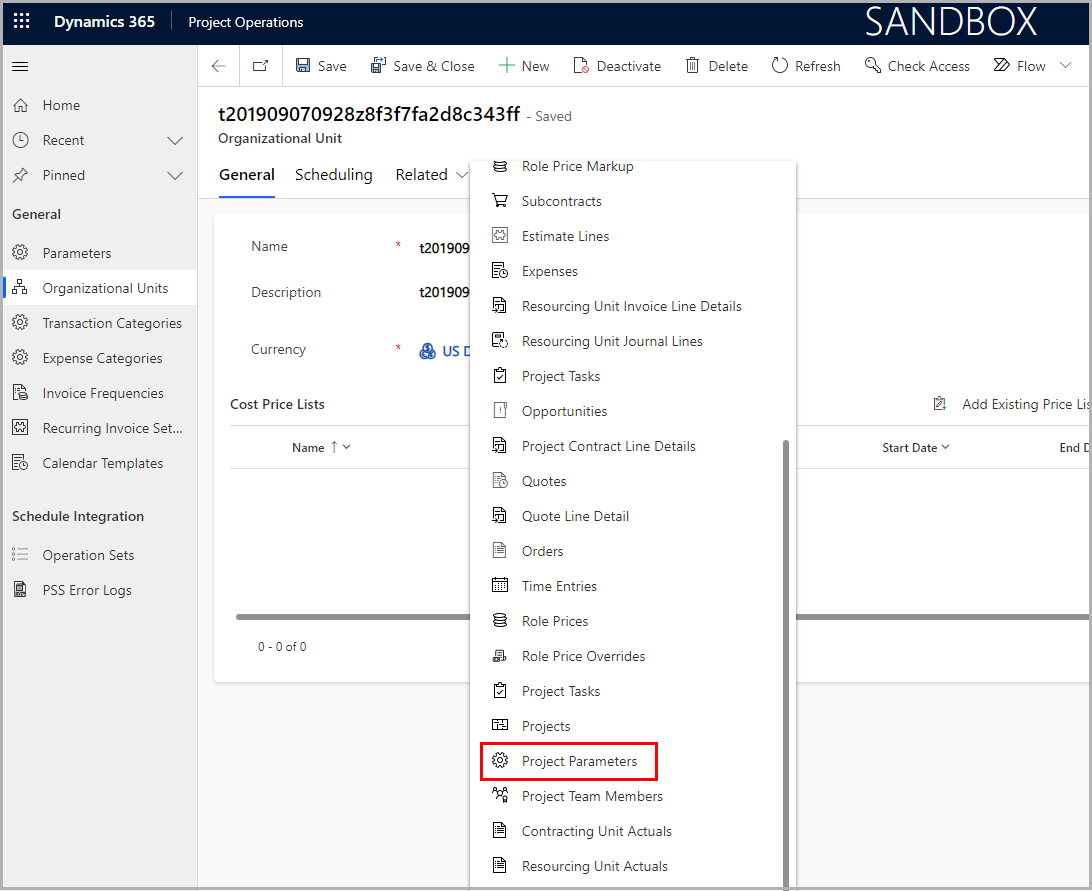
On the Project Parameters page, select the Parameter object.
Go to the Amount Based Pricing Dimensions tab and make sure that the msdyn_resourcecategory role and the msdyn_organizationalunit organizational unit have the Applicable to Sales and Applicable to Cost fields set to Yes.
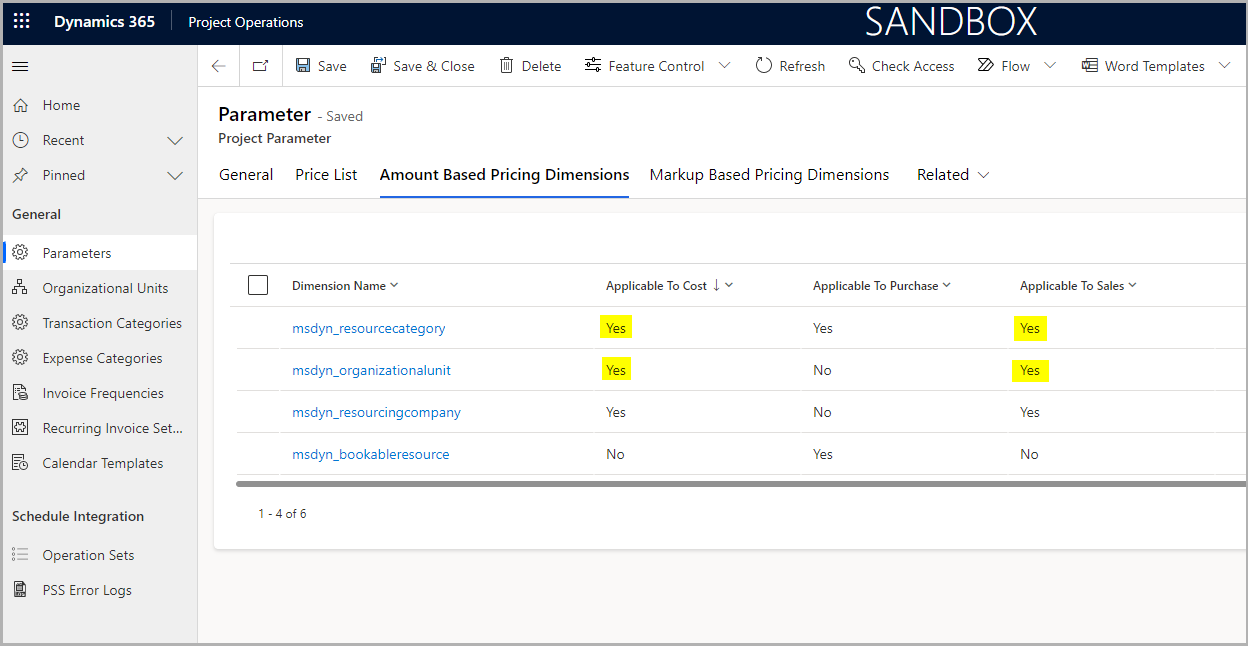

If you set these fields to Yes, you can set up the price and cost for each role and organizational unit combination. To set up price and cost for your resources by using other attributes, you can create your own customized fields, entities, and dimensions. The following units in this module explain the steps for setting up price and cost for your resource. Make sure that you complete the steps in this order:
Create custom fields and entities as pricing dimensions
Add custom fields to price setup and transactional entities
Set up custom fields as pricing dimensions
Update plug-in attributes to include a new pricing dimension
Price human resource time
The way that an organization prices human resource time is an important strategic consideration that has direct influence on your company's profitability. By working with your finance teams and practice leads, you can identify how your organization wants to set up bill and cost rates for human resource time.
Another consideration for pricing is whether you want to reuse fields or entities that aren't currently pricing dimensions but that your organization needs, such as the Transaction Category (msdyn_transactioncategory) and Bookable Resource (bookableresource) fields.
Also consider whether your pricing dimension needs to be a table or an option set. You can create an entity instead of an option set if you know that:
A certain dimension's value changes by more than 10 or 12.
You also need extra attributes on these values.
Adding rows to a table is a functionality that most users can access, whereas adding or changing values of an option set requires admin/developer access.
Create a solution for custom pricing dimensions
To create a solution for custom pricing dimensions, follow these steps:
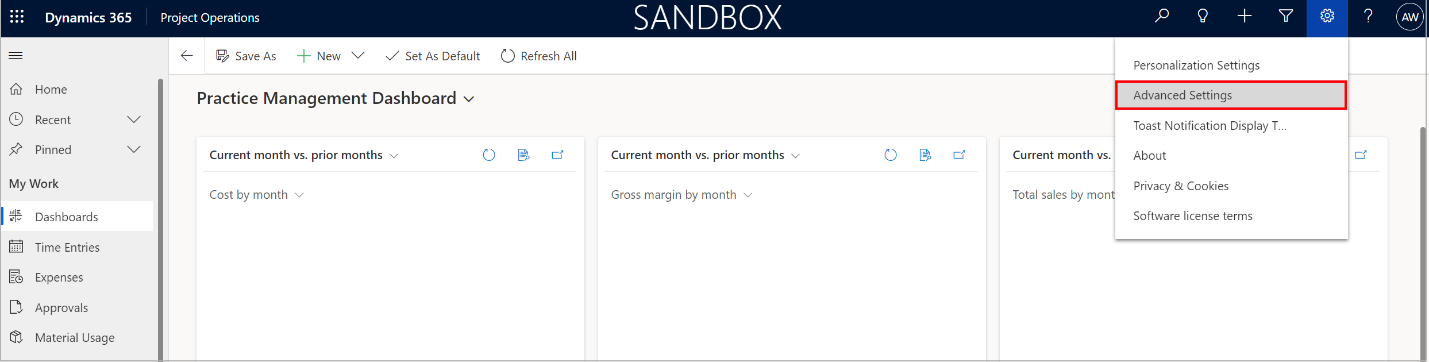
Go to Settings in the upper-right corner and then select Advanced Settings.
The Business Management page opens. Go to the top bar and then select the dropdown arrow next to Settings.

Select Solutions, which opens the list of all your existing solutions.
Select New.
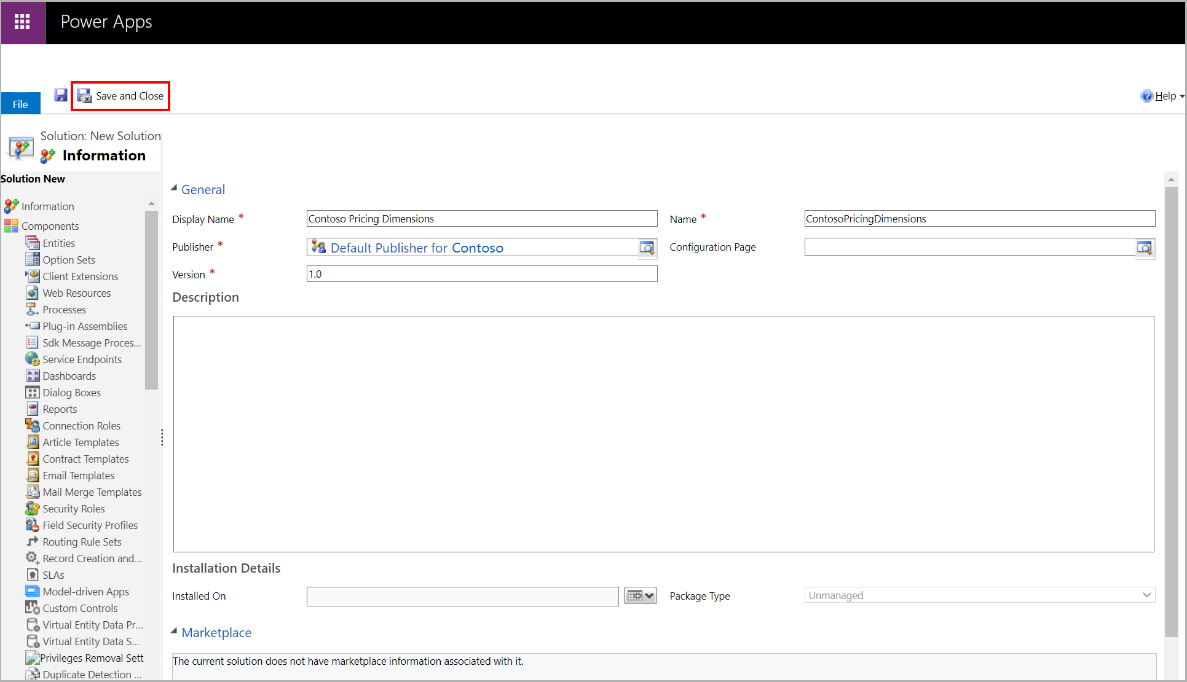
Choose a name for your solution. We recommend that you name it your company name pricing dimensions.
Fill in the remaining required information and then select Save and Close.


Add all required entities and related components to the Pricing Dimension solution
To make schema changes in the pricing solution, you need to add the following Project Service entities. After doing so, the entities should recognize the new pricing dimensions that you created.
To add Project Service entities to your pricing solution, follow these steps:
Go to Settings in the upper-right corner and then select Advanced Settings.
Go to the top bar and select the dropdown arrow next to Settings.
Select Solutions, which opens the list of your existing solutions.
Select your company name pricing dimensions.
On the left navigation pane, select Entities > Add Existing.
In the Solution Components dialog, select the listed entities:
Actual
Bookable Resource
Estimate Line
Invoice Line Detail
Journal Line
Project Contract Line Detail
Project Task
Project Team Member
Quote Line Detail
Role Price Markup
Role Price
Time Entry
You should have 12 entities selected when you finish. For each entity, review the components added and the final list of its entity assets. When you finish, select Next.
When prompted about including dependent entities, select No, do not include required components.