Set up cash flow forecasts by using Azure AI
If you want help with deciding what to do with your cash, you can use the Cash Flow Forecast chart on the Accountant Role Center.

The Accountant Role Center is a dashboard with activity tiles that show you real-time key figures and give you quick access to data. In the ribbon at the top of the page, you have access to more actions, such as opening the most-used financial reports and statements in Microsoft Excel. All businesses must do their bookkeeping and sign off on the accounting. Some businesses employ an external accountant, while others have an accountant on staff. Regardless of the type of accountant that you are, you can use the Accountant Role Center as your home page in Business Central. From this page, you can access all pages that you need in your work.
If you are new to Business Central, you can launch a list of videos directly from your Role Center. You can also launch a Getting Started tour that points out key areas.
Cash flow forecasts can use Azure AI to predict future documents. The result is a more comprehensive forecast. The connection to Azure AI is already set up for you; you only need to turn it on. When you sign in to Business Central, a notification displays in a blue bar and provides a link to the default cash flow setup. The notification displays only once. If you close it, but then decide later to turn on Azure AI, you can use the assisted setup guide or a manual process.
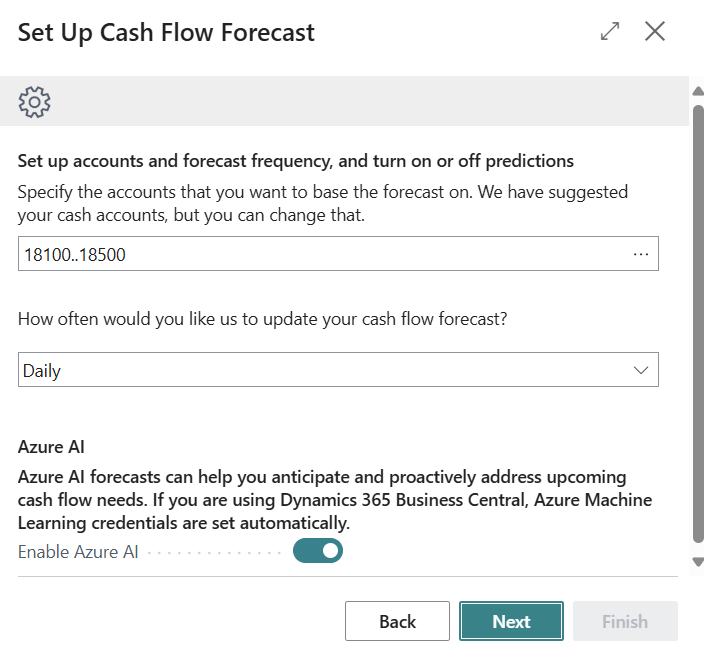
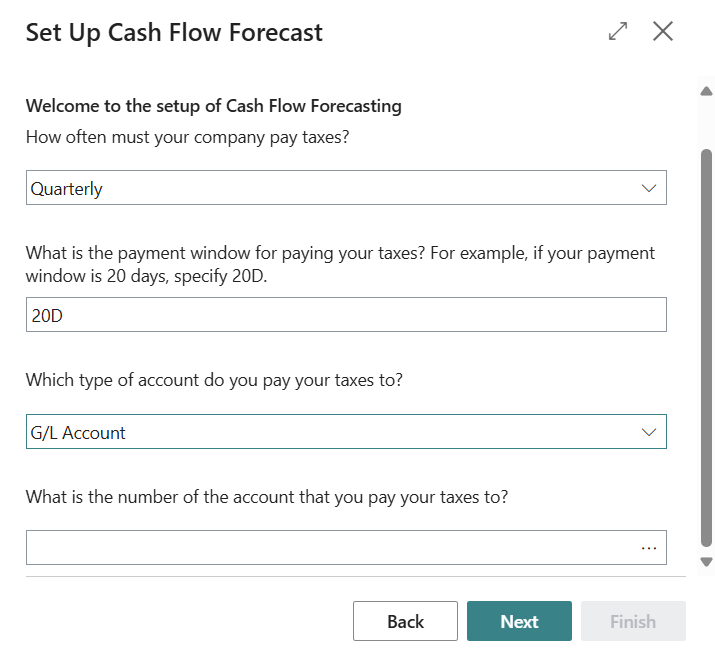
The Cash Flow Forecast chart uses cash flow accounts, cash flow setups, and cash flow forecasts. Some cash flow forecasts are provided; however, you can set up your own forecast by using an assisted setup guide. The guide helps you specify factors such as how often to update the forecast, the accounts to base it on, information about when you pay taxes, and whether to turn on Azure AI.
To use the assisted setup guide, follow these steps:
In the Accountant Role Center, at the top of the screen, in the menu, select Settings > Assisted Setup.
In the Assisted Setup window, look for the Set up cash flow forecast chart link.
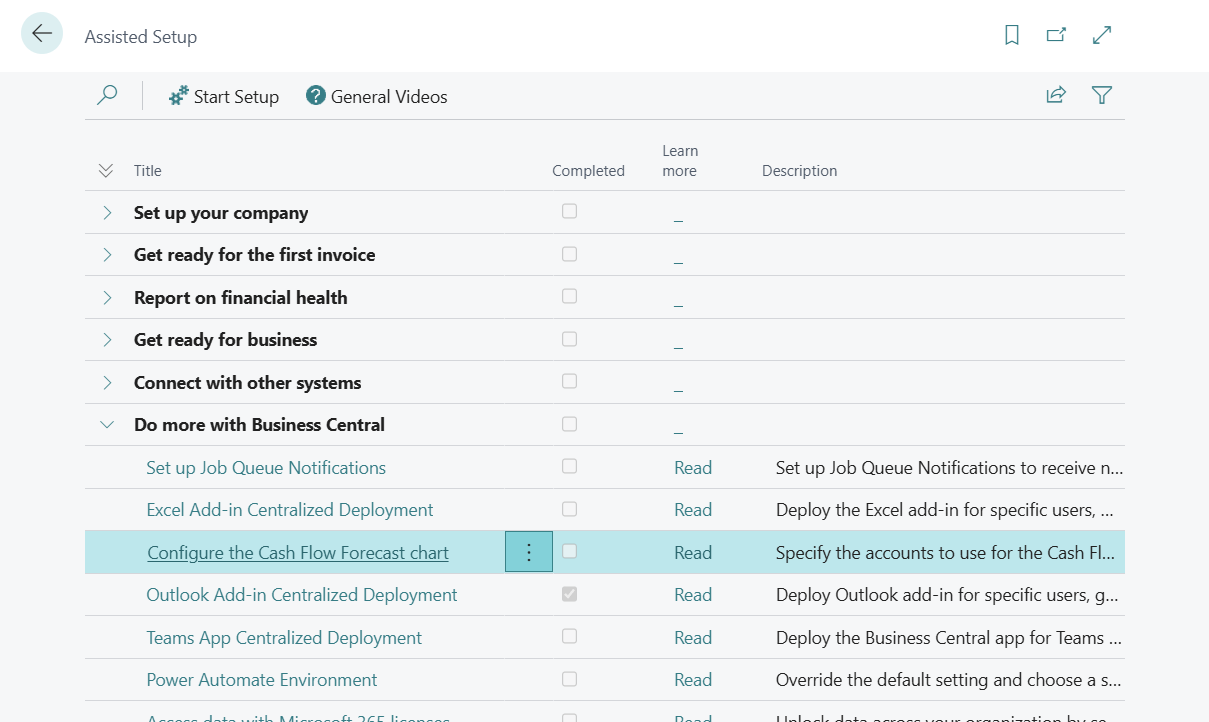
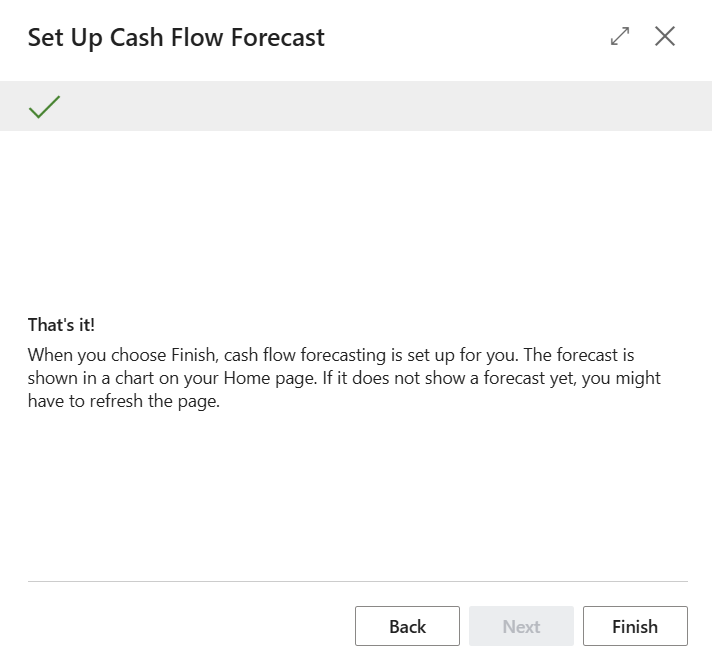
Select the link, and then fill in the fields in each step of the guide.

Select the Search for Page icon (lightbulb), which opens the Tell Me feature, enter Cash Flow Forecast, and then select the related link.
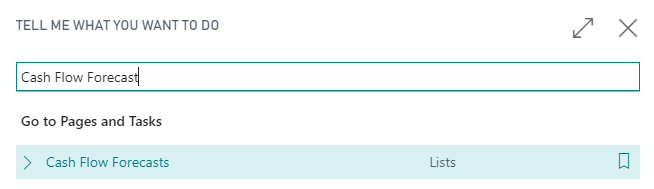
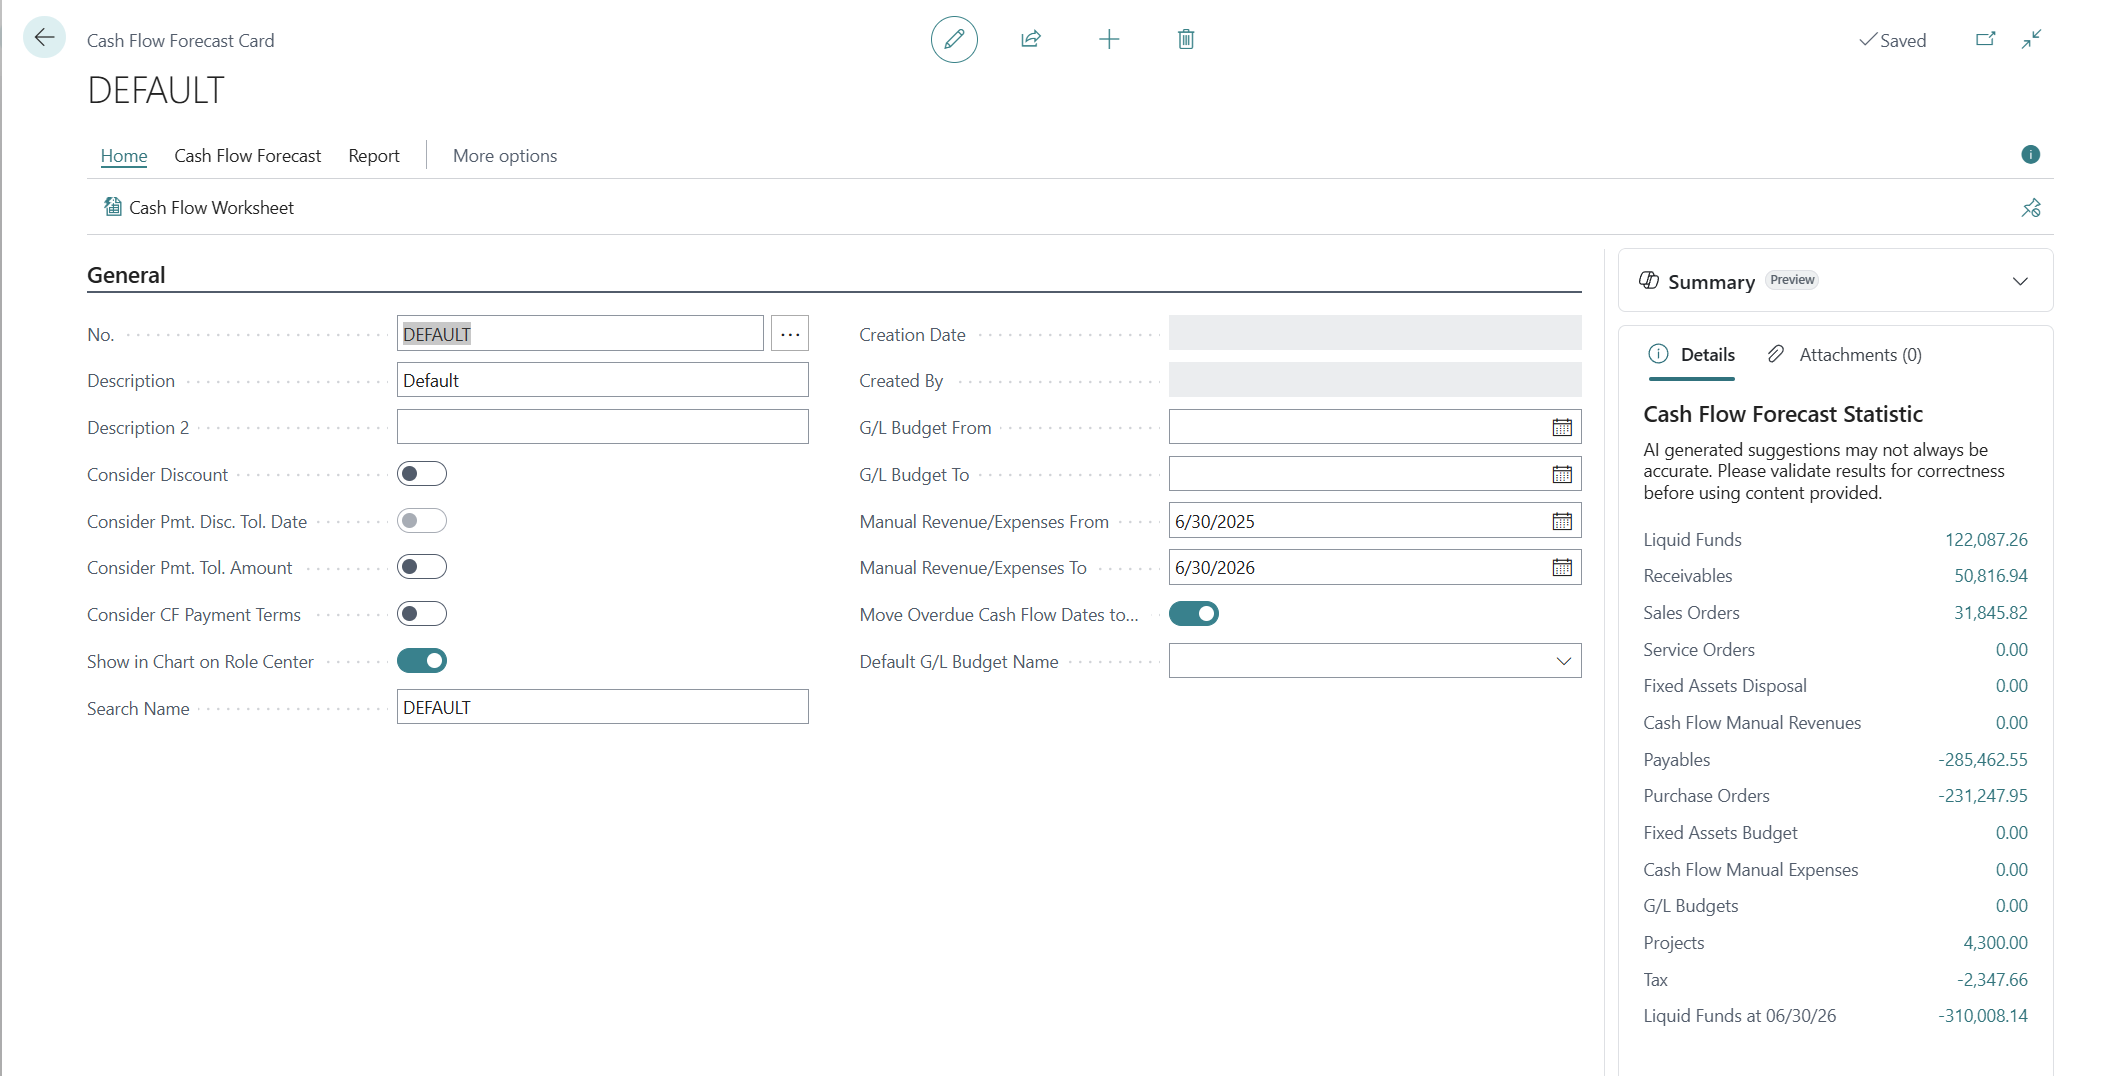
The next page shows the details of the cash flow forecast.
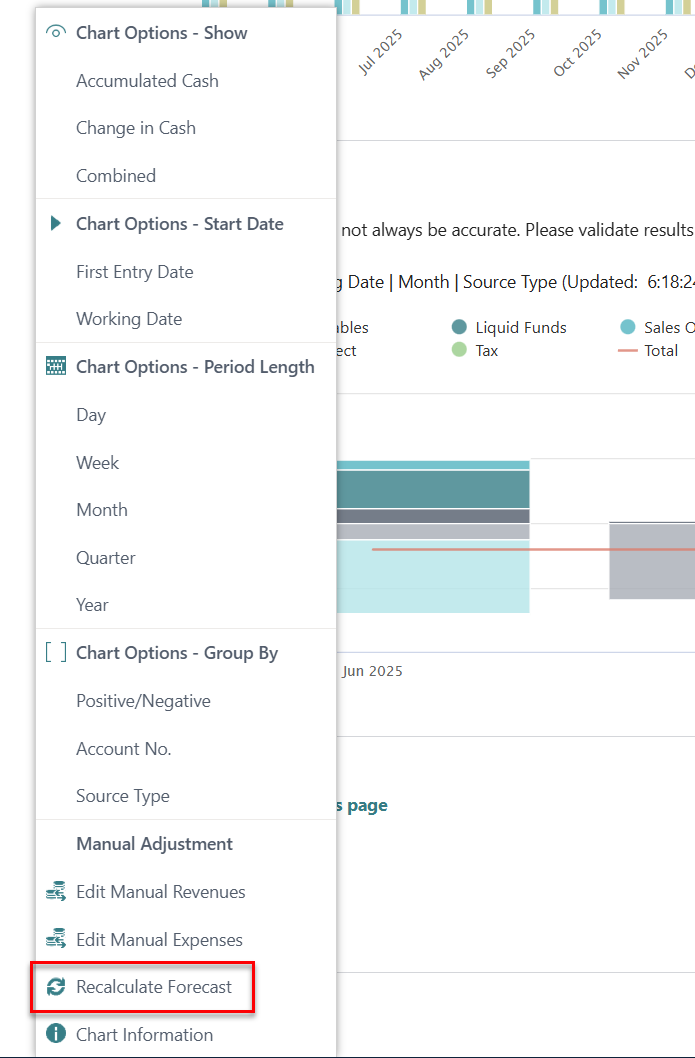
In the Accountant Role Center, on the Cash Flow Forecast chart, select the Recalculate Forecast action.


To use a manual process, follow these steps:
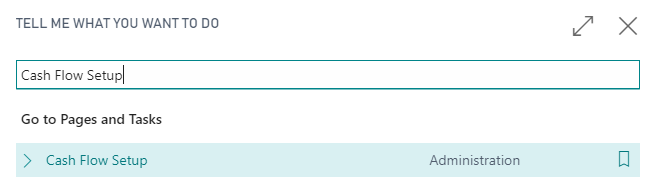
Select the Search for Page icon (lightbulb), which opens the Tell Me feature, enter Cash Flow Setup, and then select the related link.
Expand the Azure AI FastTab and then select the Azure AI Enabled option.
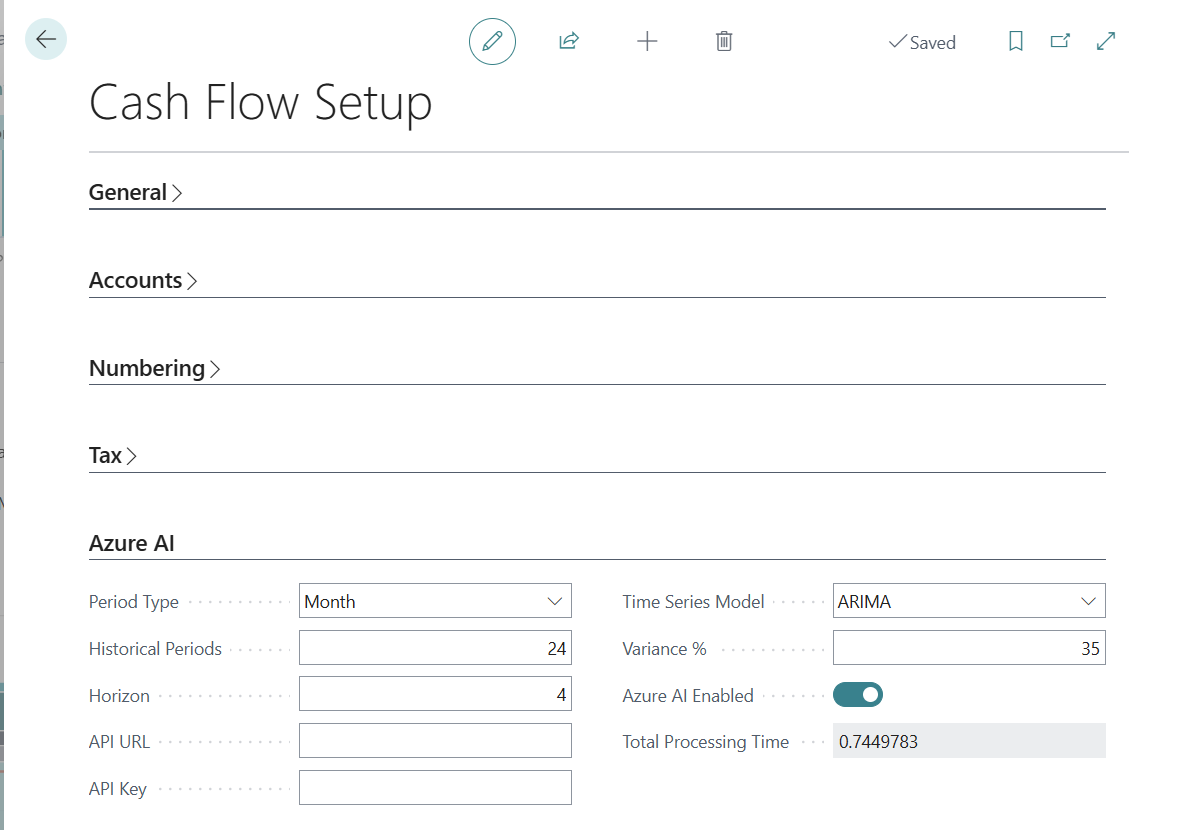
Return to the Accountant Role Center, and on the Cash Flow Forecast chart, select the Recalculate Forecast action.


Consider the period length that the service will use in its calculations. The more data that you provide, the more accurate the predictions will be. Also, watch for large variances in periods. These variances also impact predictions. If Azure AI doesn't find enough data, or the data varies significantly, the service won't make a prediction.
Subscriptions for Business Central come with access to several predictive web services in all regions where Business Central is available. For more information, see the Microsoft Dynamics 365 Business Central Licensing Guide. The guide is available for download from the Business Central website.
These web services are stateless, meaning that they use data only to calculate predictions on demand. They don't store data. To make predictions about future revenue and expenses, web services require historical data from receivables, payables, and taxes.
For receivables, the web service uses the Due Date and Amount (LCY) fields of the Customer Ledger Entries page, where:
The document type is Invoice or Credit Memo.
The due date is between the work date and the date that is calculated based on the values in the Historical Periods and Period Type fields on the Cash Flow Setup page.
Before using the predictive web service, Business Central compresses transactions by Due Date based on the value in the Period Type field on the Cash Flow Setup page.
For payables, the web service uses the Due Date and Amount (LCY) fields on the Vendor Ledger Entries page, where:
The document type is Invoice or Credit Memo.
The due date is between the work date and the date that is calculated based on values in the Historical Periods and Period Type fields on the Cash Flow Setup page.
Before using the predictive web service, Business Central compresses transactions by Due Date based on the value in the Period Type field on the Cash Flow Setup page.
For tax, the web service uses the Document Date and Amount fields on the VAT/Tax Ledger Entries page, where:
The document type is Sales.
The document date is between the work date and the date that is calculated based on values in the Historical Periods and Period Type fields on the Cash Flow Setup page.
Before using the predictive web service, Business Central compresses transactions by Document Date based on value in the Period Type field on the Cash Flow Setup page.