Exercise - Deploy SharePoint Framework solutions to tenant App Catalog
In this exercise, you'll create a SharePoint Framework (SPFx) client-side web part that will be used to try different deployment configurations.
Prerequisites
Important
In most cases, installing the latest version of the following tools is the best option. The versions listed here were used when this module was published and last tested.
- Node.js v18.*
- Gulp-cli v3.*
- Yeoman v5.*
- Yeoman Generator for SharePoint v1.20.0
- Visual Studio Code
Open a command prompt and change to the folder where you want to create the project. Run the SharePoint Yeoman generator by executing the following command:
yo @microsoft/sharepoint
Use the following to complete the prompt that is displayed (if more options are presented, accept the default answer):
- What is your solution name?: DeploymentDemo
- Which type of client-side component to create?: WebPart
- What is your Web part name?: Deployment Demo
- Which template would you like to use?: No framework
After provisioning the folders required for the project, the generator will install all the dependency packages by running npm install automatically. When npm completes downloading all dependencies, open the project folder in Visual Studio Code.
Disable tenant-wide deployment
For the exercises in this module, you'll manually add the app in the SharePoint package to the sites where it will be used. You don't want to give the administrator the option to immediately enable the app and add it to all sites when they upload the package to the App Catalog. This can be done by setting the value of the skipFeatureDeployment property in the ./config/package-solution.json file to false.
Locate and open the ./config/package-solution.json file. Verify the solution object has a property named skipFeatureDeployment and ensure that the value of this property is set to false.
Create a deployment package for the project
Build the project by running the following command on the command line from the root of the project:
gulp build
Next, create a production bundle of the project by running this command from the root of the project:
gulp bundle --ship
Finally, create a production bundle of the project by running this command from the root of the project:
gulp package-solution --ship
Deploy the package to a SharePoint site
In a browser, navigate to your SharePoint tenant's App Catalog site: https://{{YOUR-TENANT}}.sharepoint.com/_layouts/15/tenantAppCatalog.aspx.
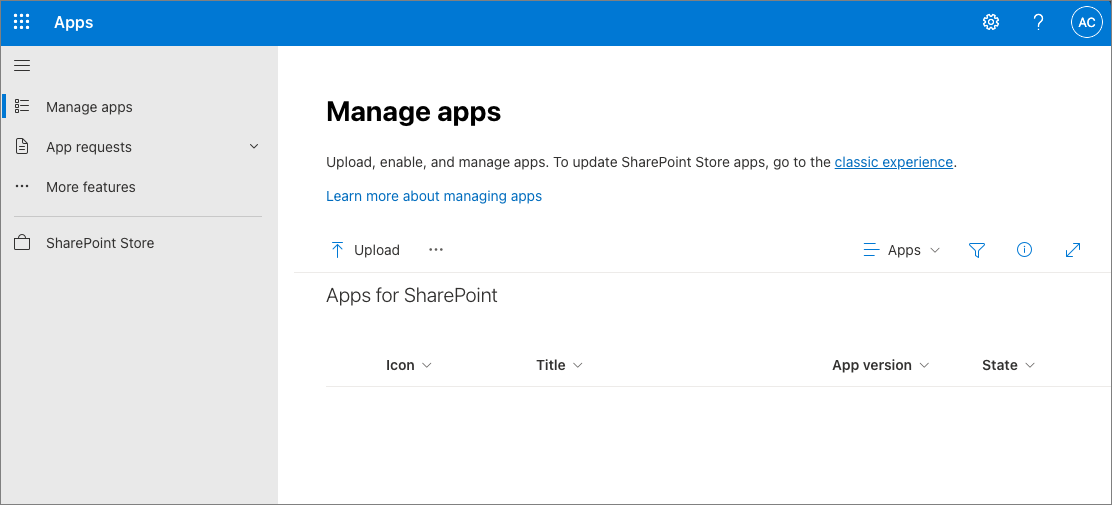
Drag the package created in the previous steps, located in the project's ./sharepoint/solution/deployment-demo.sppkg, into the Apps for SharePoint library.
In the Enable app panel, select Enable app:
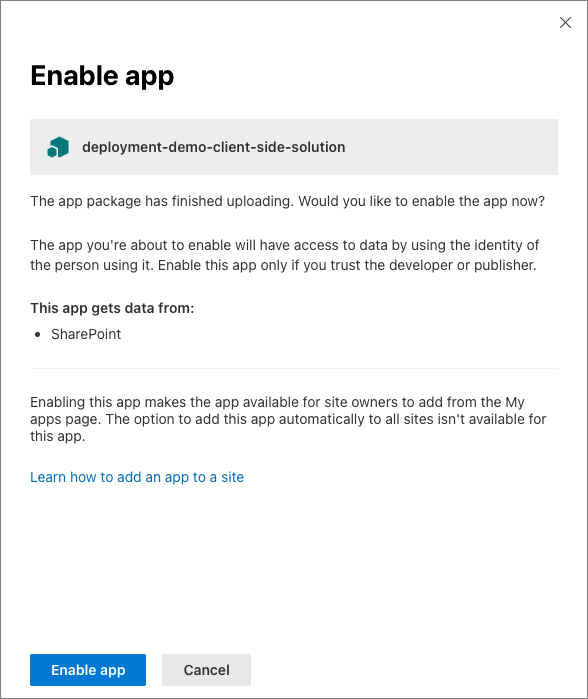
In the This app has been enabled panel, select Close.
Install the SharePoint package in a site collection
Navigate to an existing site collection, or create a new one.
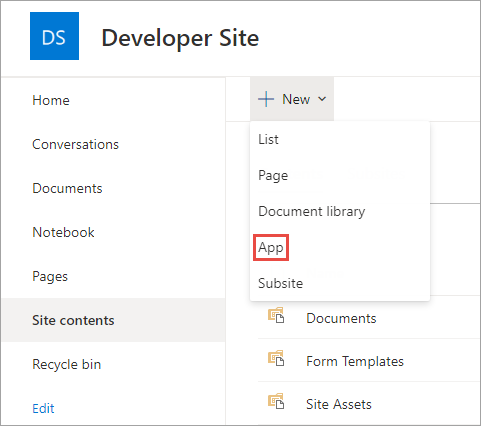
Select Site Contents from the left-hand navigation.
From the New menu, select App.
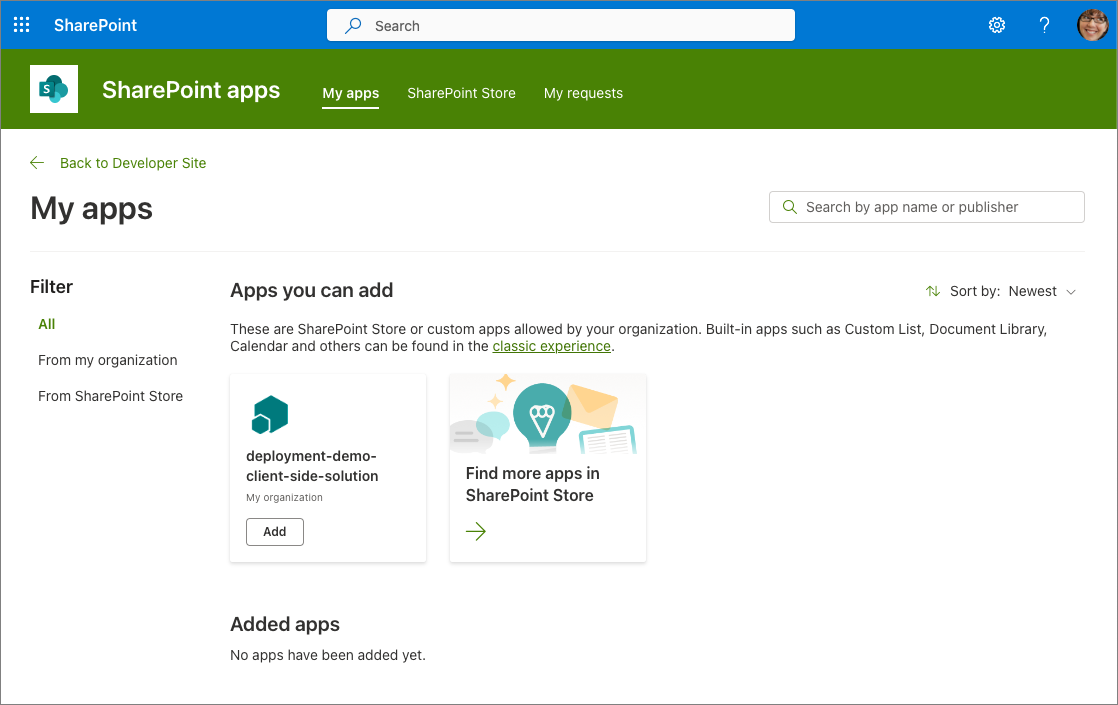
In the filters, select From my organization.
Select the Add button in the deployment-demo-client-side-solution tile to add your web part.
Add the web part to a page
Navigate to a SharePoint page.
Put it in edit mode by selecting the Edit button in the top-right portion of the content area on the page.
Select the web part icon button to open the list of available web parts:
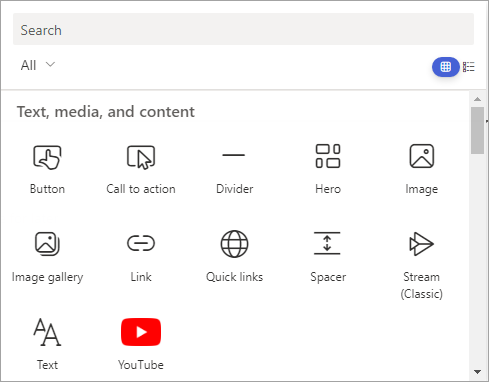
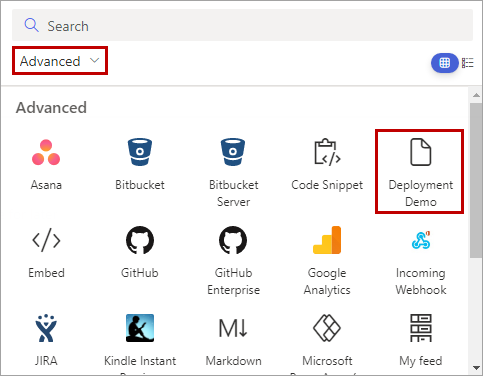
Select the Sort and filter dropdown under the Search box, and select Advanced under Filter by category.
Select the Deployment Demo web part in the Advanced section.
Examine the deployed web part files
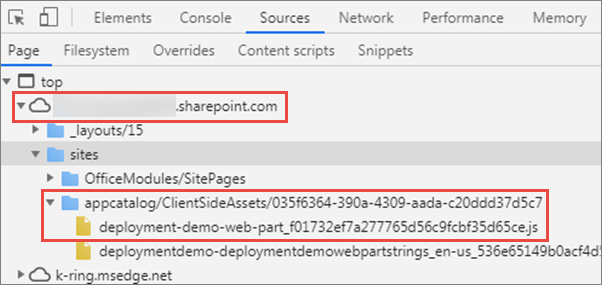
Once the page loads, open the browser's developer tools and navigate to the Sources tab.
Refresh the page and examine where the JavaScript bundle is being hosted.
If you haven't enabled the Office 365 CDN, then the bundle will be hosted from a document library named ClientSideAssets in the App Catalog site.
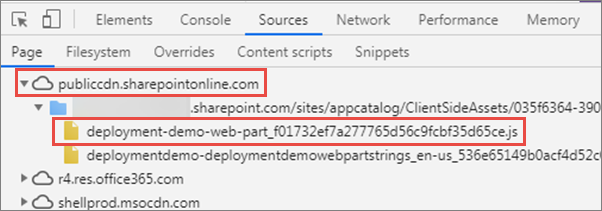
If you've enabled the Office 365 CDN, then the bundle will be automatically hosted from the CDN.
Remove the deployed web part
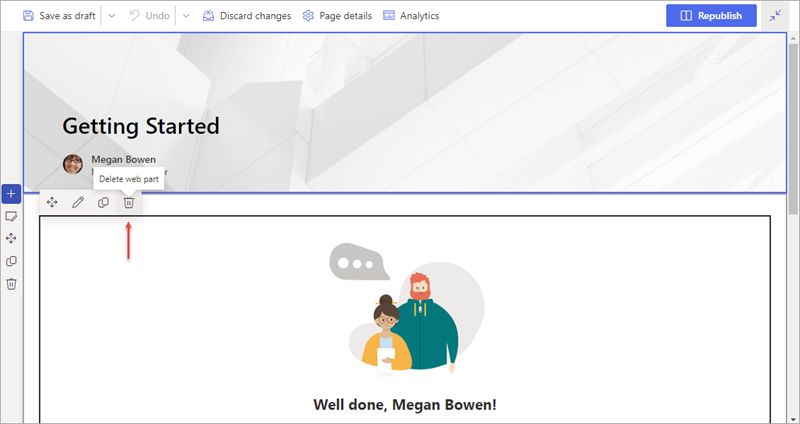
Remove the web part from the page
Select the trash can icon in the toolbar to the left of the web part:
Remove the SharePoint app
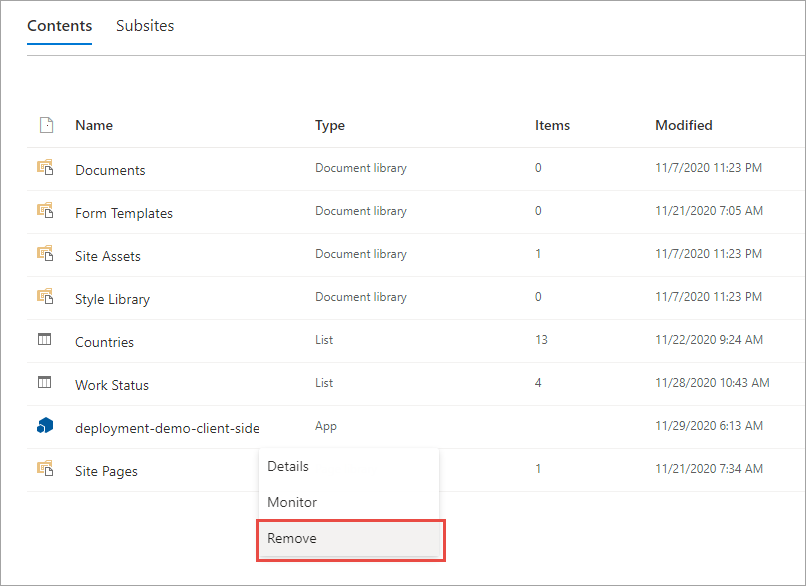
Navigate back to the site's Site Contents page.
Select the context menu for the installed package and select the Remove action:
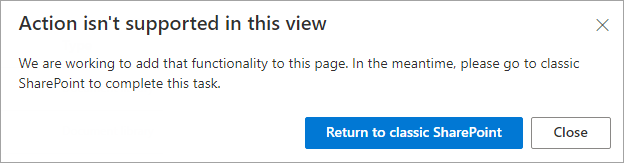
In the Action isn't supported in this view dialog, select the Return to classic SharePoint button:
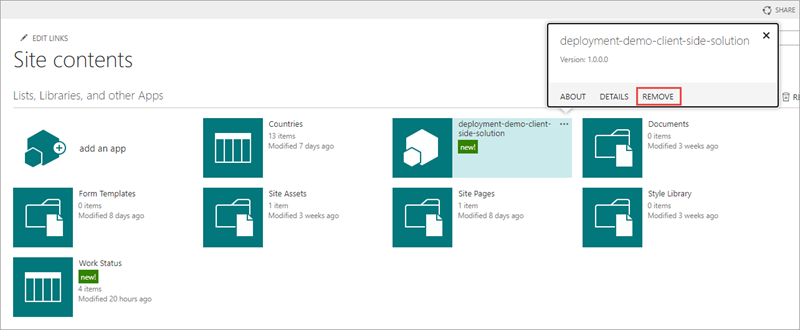
Select the context menu for the installed package and select the Remove action:
In the left-hand navigation menu, select the Exit classic experience link.
Delete the SharePoint app from the recycle bin
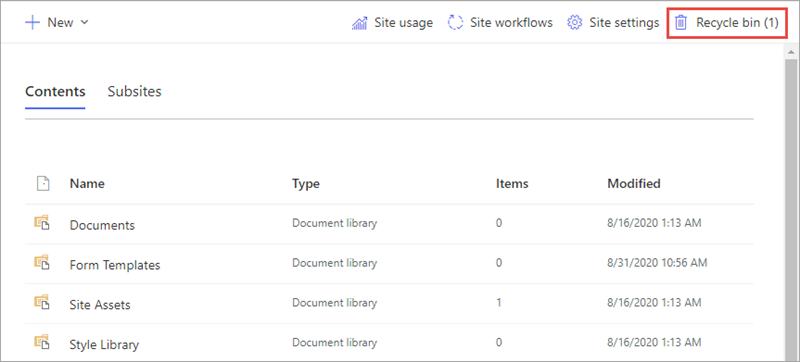
Navigate back to the site's Site Contents page.
Select Recycle bin in the command bar.
Select deployment-demo-client-side-solution and select Delete in the command bar. Select Delete in the pop-up dialog to confirm deleting the file.
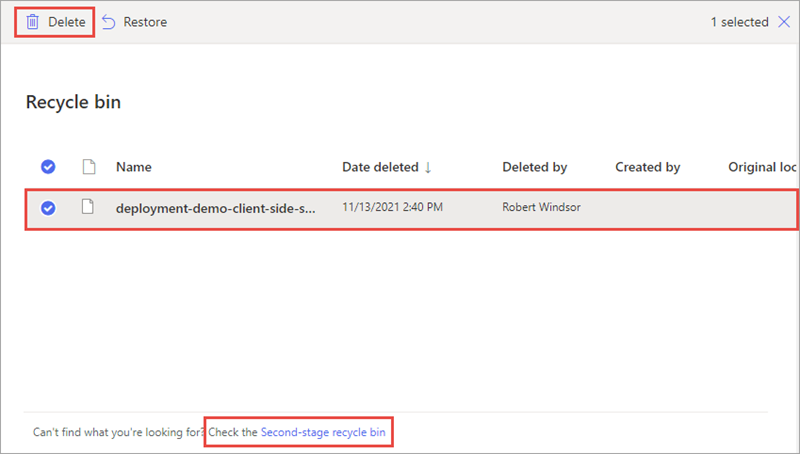
Select Second-stage recycle bin at the bottom of the page to navigate to the second-stage recycle bin.
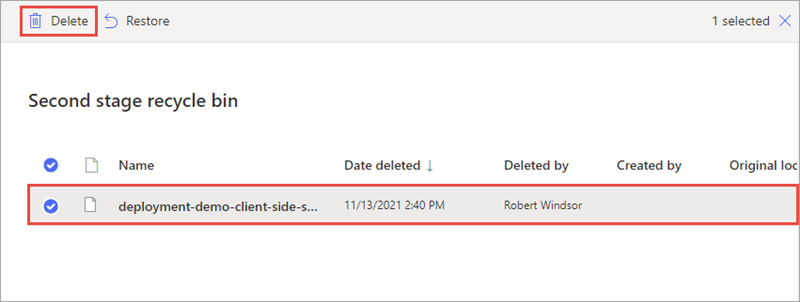
Select deployment-demo-client-side-solution and select Delete in the command bar. Select Delete in the pop-up dialog to confirm deleting the file.
Retract the SharePoint package
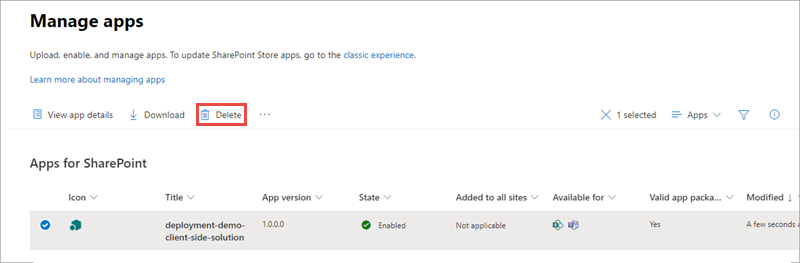
Navigate back to the tenant's modern App Catalog.
Select the deployed package and then select Delete from the command bar:
Delete the SharePoint package from the recycle bin
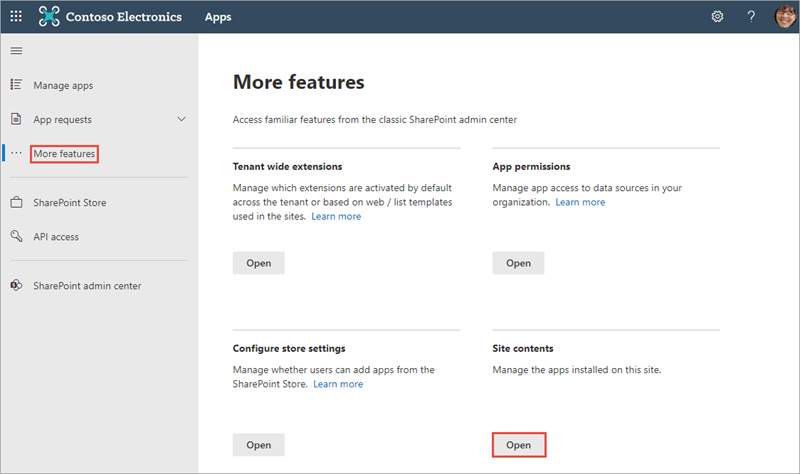
Select More features from the left-hand navigation, then select Open under Site contents.
Select Recycle bin in the command bar. Delete the SharePoint package deployment-demo.sppkg from both the first and second-stage recycle bins using the same steps described previously.
Summary
In this exercise, you created a SharePoint Framework (SPFx) client-side web part that is used to try different deployment configurations.