Invoice customers
Invoicing orders uses the same principles as posting order shipments. An order can be invoiced completely or partially. When posted as invoiced, order information transfers to a separate document that is known as a posted invoice. Additionally, General Ledger (G/L), customer, and VAT entries are created. Several shipments can be combined into one invoice, either for better efficiency or to satisfy a customer requirement.
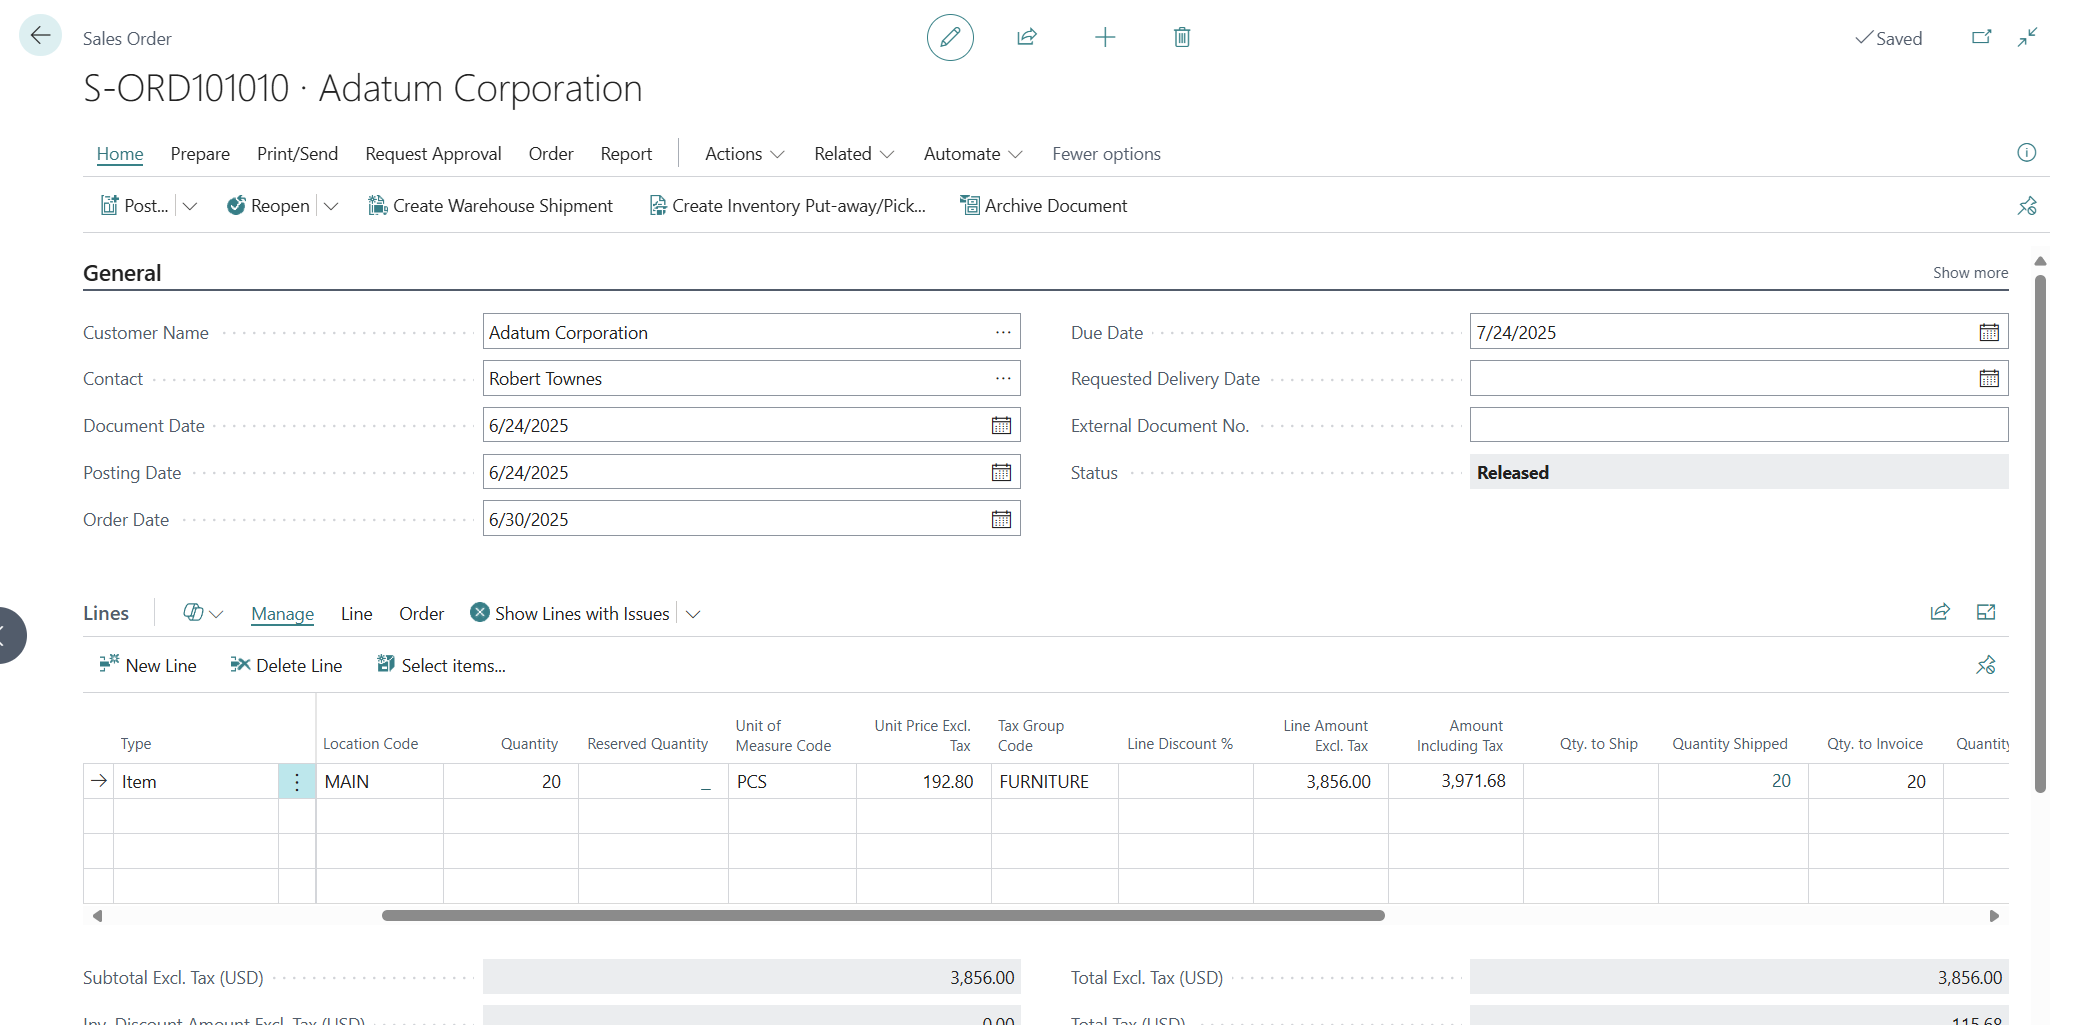
The Qty. to Invoice field on a sales order represent the quantity planned to be posted as posted invoice. The value in this field is automatically populated when the Quantity field is changed on a sales line, unless the location that is specified for the sale requires the posting of shipments from the warehouse. If it's necessary, the order processor can reduce the quantity in the Qty. to Invoice field before posting, and then partially invoice the order.
Note that you can't create an invoice for something that isn't shipped. That is, before you can invoice, you must have recorded a shipment, or you must choose to ship and invoice at the same time.
When the posting is completed, the sales order is removed from the system. The only exception is when an order is invoiced through a combined shipment. A message tells you when the posting is completed. After this, you'll be able to see the posted entries in the various pages that contain posted entries.
Invoice one shipment
To invoice one shipment, follow these steps.
Choose the Search for Page icon in the top-right corner of the page, enter Sales Orders and choose the related link.
Find your sales order where you have completely shipped the quantity (Qty. to Ship = Quantity) and open it.
In the Qty. to Invoice field, fill in the same amount as in the Quantity field.
Before you decide to post the document, maybe you'd like to see how the posted entries will look like after posting. To do this, click Posting on the command bar and select the Preview Posting action.
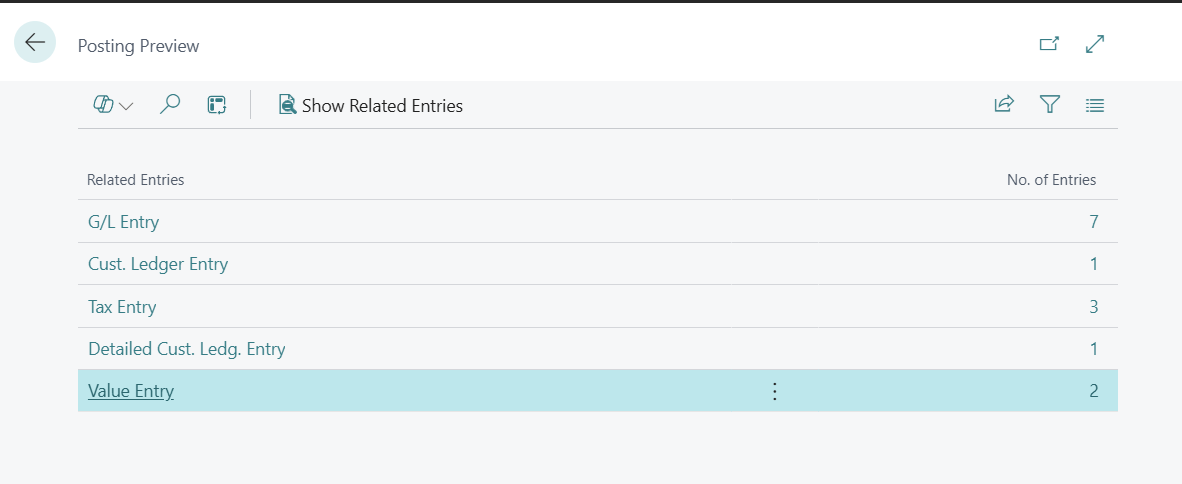
From the Posting Preview page, you can point on any of related entries and by selecting the Show related Entries action, you can open them to check how these entries will look like after you post this document.
If everything is ok, click Back.
Click Posting on the command bar and choose the Post action (or Post and Send if you want to post a document and send using email as an attachment).
Choose Invoice as an option and click OK.
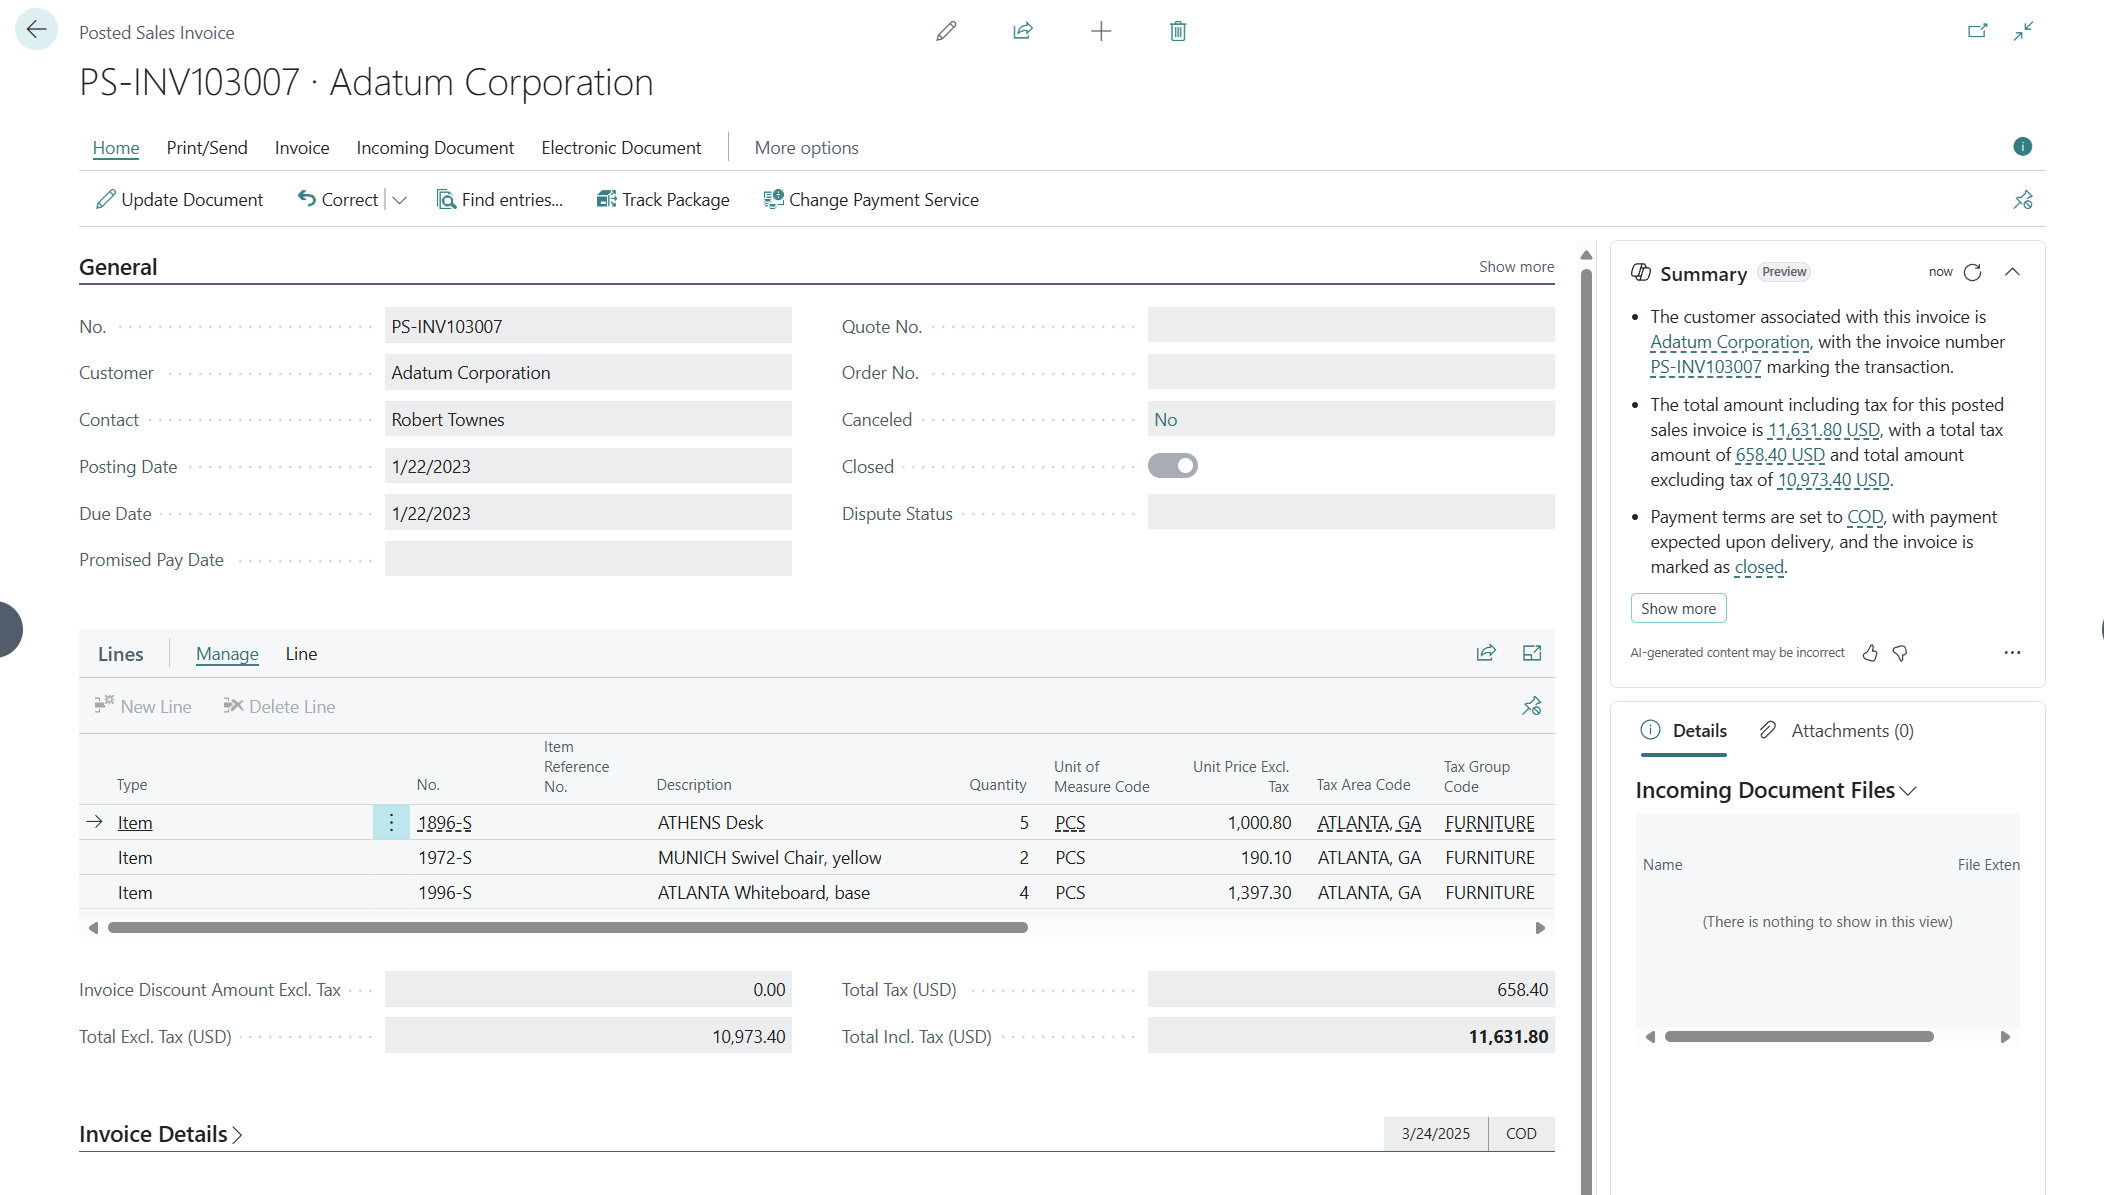
The system will show a dialog box with a message about a new created posted document and will ask the question if you want to open this posted invoice. If you want to see the posted document, select Yes, otherwise select No.
If your choice was No, the system will delete this sales order and close the page. But if your choice was Yes, the system will show the Posted Sales Invoice.


Invoice multiple shipments
If you want to invoice more than one shipment at a time, you can use the combined shipments feature.
Before you can create a combined shipment, more than one sales shipment for the same customer in the same currency must be posted. In other words, you must have filled in two or more sales orders and posted them as shipped, but not invoiced. To combine shipments, the Combine Shipments option must be selected on the Shipping FastTab of the Customer Card.
The following video demonstrates how to invoice sales orders including how you can invoice multiple shipments at the same time.