Exercise - Create deployment slots
A deployment slot is an instance of a web app in which you can test a new app version before you deploy it. By swapping slots, you can deploy a new version of an app without any downtime.
Let's suppose you've decided to use Azure App Service deployment slots in order to streamline the deployment of new versions of your social media web app. You want to set up the web app in Azure and configure one or more deployment slots.
In this exercise, you'll set up a web app, add a new deployment slot for staging, and deploy different versions of the web app to the production and staging slots.
Important
You need your own Azure subscription to run this exercise, and you might incur charges. If you don't already have an Azure subscription, create a free account before you begin.
Create a web app
Start by creating a new web app resource in the Azure portal.
Sign in to the Azure portal.
In the resource menu, or from the Home page, select Create a resource. The Create a resource pane appears.
In the resource menu, select Web, and from the results, select Web App. The Create Web App pane appears.
On the Basics tab, enter the following values for each setting.
Setting Value Project Details Subscription Select the subscription you'd like to use to complete the exercise Resource Group Select the Create new link, and enter mslearn-slots, and select OK. Instance Details Name Enter a unique name. Publish Code Runtime stack ASP.NET V4.8 Operating System Windows Region Select a region near you. App Service Plan Windows Plan Accept default. Sku and size Accept default. Select Next : Deployment.
Select Next : Networking.
Select Next : Monitoring, and enter the following value for the setting.
Setting Value Application Insights Enable Application Insights Toggle to No Select Review + create, and then select Create. Wait until deployment succeeds.
When deployment completes, select Go to resource. The App Service pane for your web app appears.
Configure git deployment
Although you can use many different tools to deploy code to your web app, in this exercise, you'll set up the web app to use a local git repository.
In the App Service menu, under Deployment, select Deployment Center. The Deployment Center pane for your app service appears.
On the Settings tab, for Source, select Local Git, and then select Save on the command bar to set up your deployment.
Select the Local Git/FTPS credentials tab. Under User scope, enter a unique username and password of your choice, and then in the command bar, select Save. Make a note of the username and password for later.
Configure the git client and clone the web app source code
Now, you'll set up the git client in Cloud Shell and use it to clone a sample web app.
In the Azure global controls at the top of the page, select the Cloud Shell icon to launch an Azure Cloud Shell session.

In the Cloud Shell session, when prompted, select the Bash experience and create storage for your subscription.
Note
Cloud Shell requires an Azure storage resource to persist any files that you create in Cloud Shell. When you first open Cloud Shell, you're prompted to create a resource group, storage account, and Azure Files share. This setup is automatically used for all future Cloud Shell sessions.
Enter the following command in the Cloud Shell, replacing <your-username> with your preferred username. This config value isn't associated with any Azure account, so you can use whatever value you like.
Bashgit config --global user.name <your-username>Enter the following command in the Cloud Shell, replacing <your-email-address> with your preferred email address. This config value isn't associated with any Azure account, so you can use whatever value you like.
Bashgit config --global user.email <your-email-address>Enter the following code to create and open a
demoappfolder for the source code.Bashmkdir demoapp cd demoappEnter the following code to clone the source for the web app and open your local copy.
Bashgit clone https://github.com/Azure-Samples/app-service-web-dotnet-get-started.git cd app-service-web-dotnet-get-started
Configure a git remote to deploy the app to production
We're going to use git to deploy the source code to the web app's production slot and then set up your app's git URL as a remote repository.
In the Azure portal, your web app should be active. In the resource menu, select Overview.
In the Overview pane for your web app, the Essentials section has a URL in the Default domain. Note that the URL contains your deployment name for the web app.

Note
If you don't see a git clone URL where it's shown in the preceding screenshot, refresh the portal.
Hover over the Git clone url and select the Copy to clipboard icon. Note that this value also contains your deployment username.
In Cloud Shell, run the following command to configure the git remote with a name "production". Replace <git-clone-url> with the content you copied to the clipboard from the previous step.
Bashcd app-service-web-dotnet-get-started git remote add production <git-clone-url>Run the following command to deploy the web app to the production slot. When you're prompted for the password, enter deployment password you created in the previous task.
Bashgit push productionThe terminal session identifies all the processes that take place as part of the deployment. Wait until deployment completes. You should see a Deployment successful notification.
In the Azure portal, the Overview pane should still be active. Hover over the URL. You can either double-click it to open it in a new browser tab or copy and paste it into a new browser tab.
Close the browser tab that displays the web app.

Create a new staging slot
For your web app, you created one slot, the production slot, and you deployed source code to this slot. Let's create a deployment slot where you can stage new versions of your web app.
On the Azure portal menu, select Home, and in Azure services, select All resources. Filter by Type == App Service, and then select Apply.
Sort the result by Type, and then select the App Service that you created. The App Service pane for your web app appears.
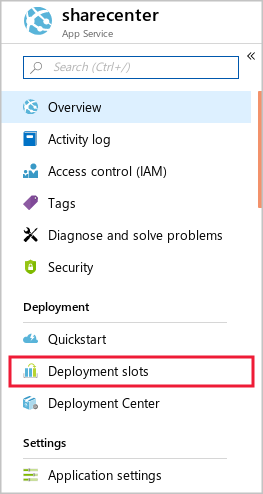
In the App Service menu, under Deployment, select Deployment slots. The Deployment slots pane for your App Service appears.
In the command bar, select + Add Slot. The Add a slot pane appears.
In the Name field, enter Staging, accept the default for Clone settings from, and then select Add.
After the deployment slot is successfully created, select Close.
Set up git deployment for the staging slot
Let's set up the new slot to use git deployment.
On the Azure portal, select Home page, and then from Azure services, select All resources.
Sort the resources by Resource group. for the resource group mslearn-slots, you'll see two App Service types. Deployment slots are represented as separate apps in the portal.
Select the staging slot. The Overview pane for your App Service (Slot) appears.
In the Staging menu, under Deployment, select Deployment Center.
On the Settings tab, for Source, select Local Git, and then select Save in the command bar to set up the deployment for staging.
On the resulting Deployment Center pane, select the Local Git/FTPS credentials tab.
Under User scope, enter a username and password of your choice, and then select Save. Azure updates user credentials. Make a note of the username and password for later.
Set up git to deploy the app to the staging slot
To use the git client to deploy source code to the new slot, let's add an extra remote to the git configuration.
In App Service menu, select Overview. If you are prompted to save the password for the username you created in the previous task, select Save.
On the Overview pane, in the Essentials section, hover over the Git clone url value and select the Copy to clipboard icon. Note that the URL contains your staging deployment username.
Note
If you don't see the git clone URL, refresh the portal. Note that the Git clone url for staging differs slightly from the URL for the production slot, and it includes the slot name.
In Cloud Shell, make sure you are in the ~/demoapp/app-service-web-dotnet-get-started folder, and then run the following command, replacing <git-clone-uri> with the URL you copied in the previous step.
Bashgit remote add staging <git-clone-uri>
Modify the app source code and deploy the app to the staging slot
Next, let's make a small change to the web app files, and then use git to deploy the new version to the staging slot:
In Cloud Shell, run the following command.
Bashcode .In the list of FILES, expand aspnet-get-started > Views > Home folders, and select Index.cshtml.
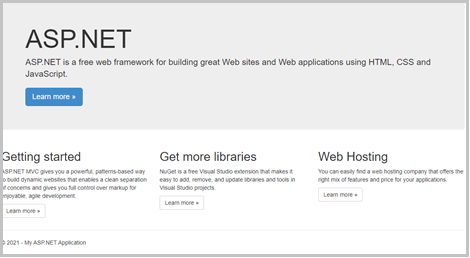
Locate the following HTML.
HTML<h1>ASP.NET</h1>Replace that code with this HTML.
HTML<h1>Web App Version 2</h1>Press Ctrl+S to save your changes, and then press Ctrl+Q to close the editor.
In Cloud Shell, run the following code to commit the new version of the app to git, and deploy it to the staging slot.
Bashgit add . git commit -m "New version of web app." git push stagingWhen prompted, enter your deployment password. Notifications of the operations to create and deploy the staging display in the Cloud Shell session, and should display Deployment successful.
Browse the staging slot
Now you can view the new version of the web app by browsing to the URL for the staging deployment slot.
In the Azure portal, on the Overview pane for the staging slot, select Browse from the command bar, or select the URL in the Default domain. The home page for staging Web App Version 2 appears in a browser tab.
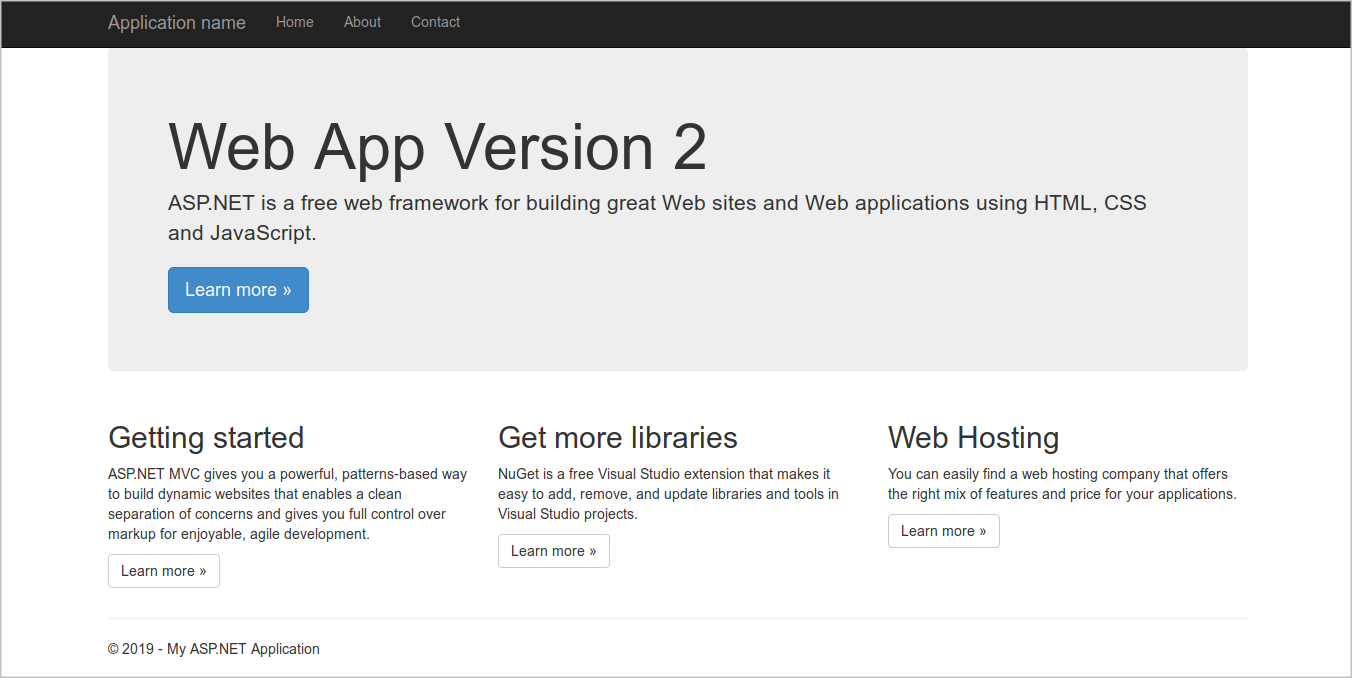
Congratulations, you've created a staging slot that has its own version of the Web App code, and you can run tests on it. Remember that the production slot has the previous web app version, and users can't yet see your new code.
Next unit: Deploy a web app by swapping deployment slots
Having an issue? We can help!
- For issues related to this module, explore existing questions using the #azure training tag or Ask a question on Microsoft Q&A.
- For issues related to Certifications and Exams, post on Certifications Support Forums or visit our Credentials Help.