Exercise - Create Azure Storage resources
After you have an idea about how you're going to store data across storage accounts, containers, and blobs, you can think about the Azure resources you need to support the app.
Storage accounts
Storage account creation is an administrative/management activity that takes place before you deploy and run your app. To create accounts, use a deployment or environment setup script, an Azure Resource Manager template, or set them up manually. Apps other than administrative tools shouldn't have permissions to create storage accounts.
Containers
Unlike storage account creation, container creation is a lightweight activity that makes sense to perform from within an app. It's not uncommon for apps to create and delete containers as part of their work.
For apps that rely on a known set of containers with hard-coded or preconfigured names, you can let the app create the containers it needs on startup or first usage. Letting your app create containers instead of doing it as part of your app's deployment eliminates the need for both your app and your deployment process to know the names of the containers the app uses.
Exercise
You're going to complete an unfinished app by adding code to use Azure Blob Storage. This exercise is more about exploring the Blob Storage API than about designing an organization and naming scheme. Here's a quick overview of the app and how it stores data.
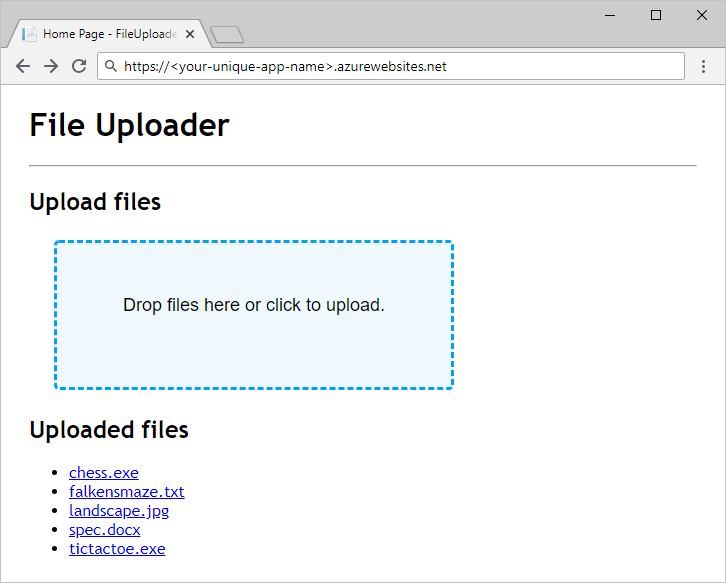
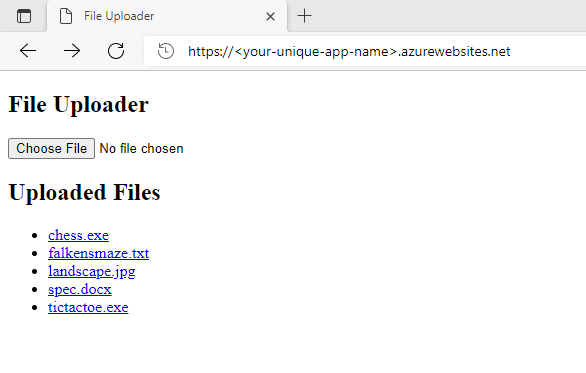
Your app works like a shared folder that accepts file uploads and makes them available for download. It doesn't use a database for organizing blobs. Instead, it sanitizes the names of uploaded files and uses them as blob names directly. All uploaded files are stored in a single container.
The code you start with compiles and runs. The parts responsible for storing and loading data are empty. After you complete the code, deploy the app to Azure App Service and test it.
Storage account
Use Azure Cloud Shell with the Azure CLI to create a storage account. You need to provide a unique name for the storage account. Make a note of it for later. Replace <your-unique-storage-account-name> with a name you choose. Storage account names must be between 3 and 24 characters in length and use numbers and lower-case letters only.
To create the storage account, run this command.
az storage account create \
  --kind StorageV2 \
  --resource-group "<rgn>[sandbox resource group name]</rgn>" \
  --location eastus \
  --name <your-unique-storage-account-name>
Container
The app you work with in this module uses a single container. Follow the best practice of letting the app create the container at startup. However, you can create containers from the Azure CLI. If you'd like to see the documentation, run the az storage container create -h command in Cloud Shell.