Exercise - Build a bot that can send proactive messages to Microsoft Teams
In this exercise, you'll learn how to create, run, and debug your bot. You'll also learn how to trigger the bot to send an adaptive card to Microsoft Teams from the command line.
Create your bot
Open Visual Studio Code.
On the sidebar, select the Microsoft Teams icon to open the TEAMS TOOLKIT panel.
On the TEAMS TOOLKIT panel, select the Create a New App button.
On the New Project menu, select Bot.
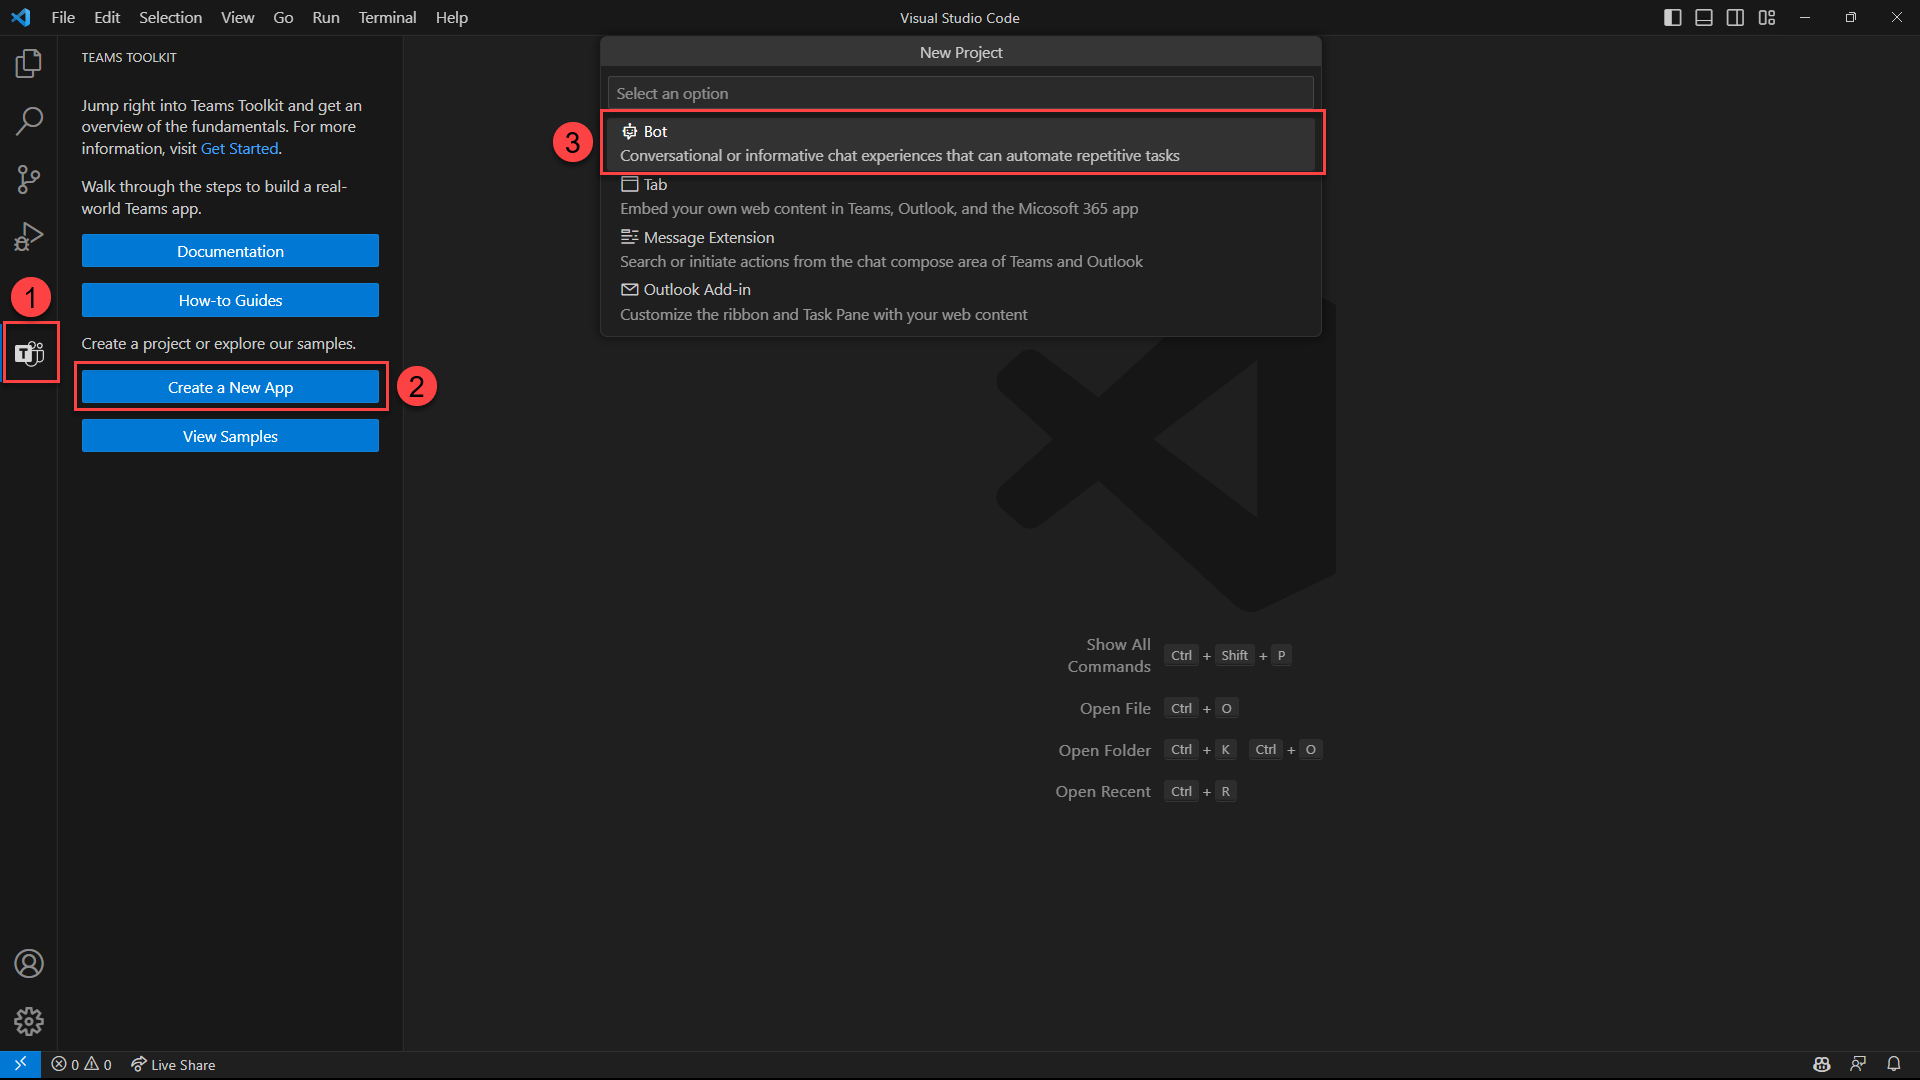
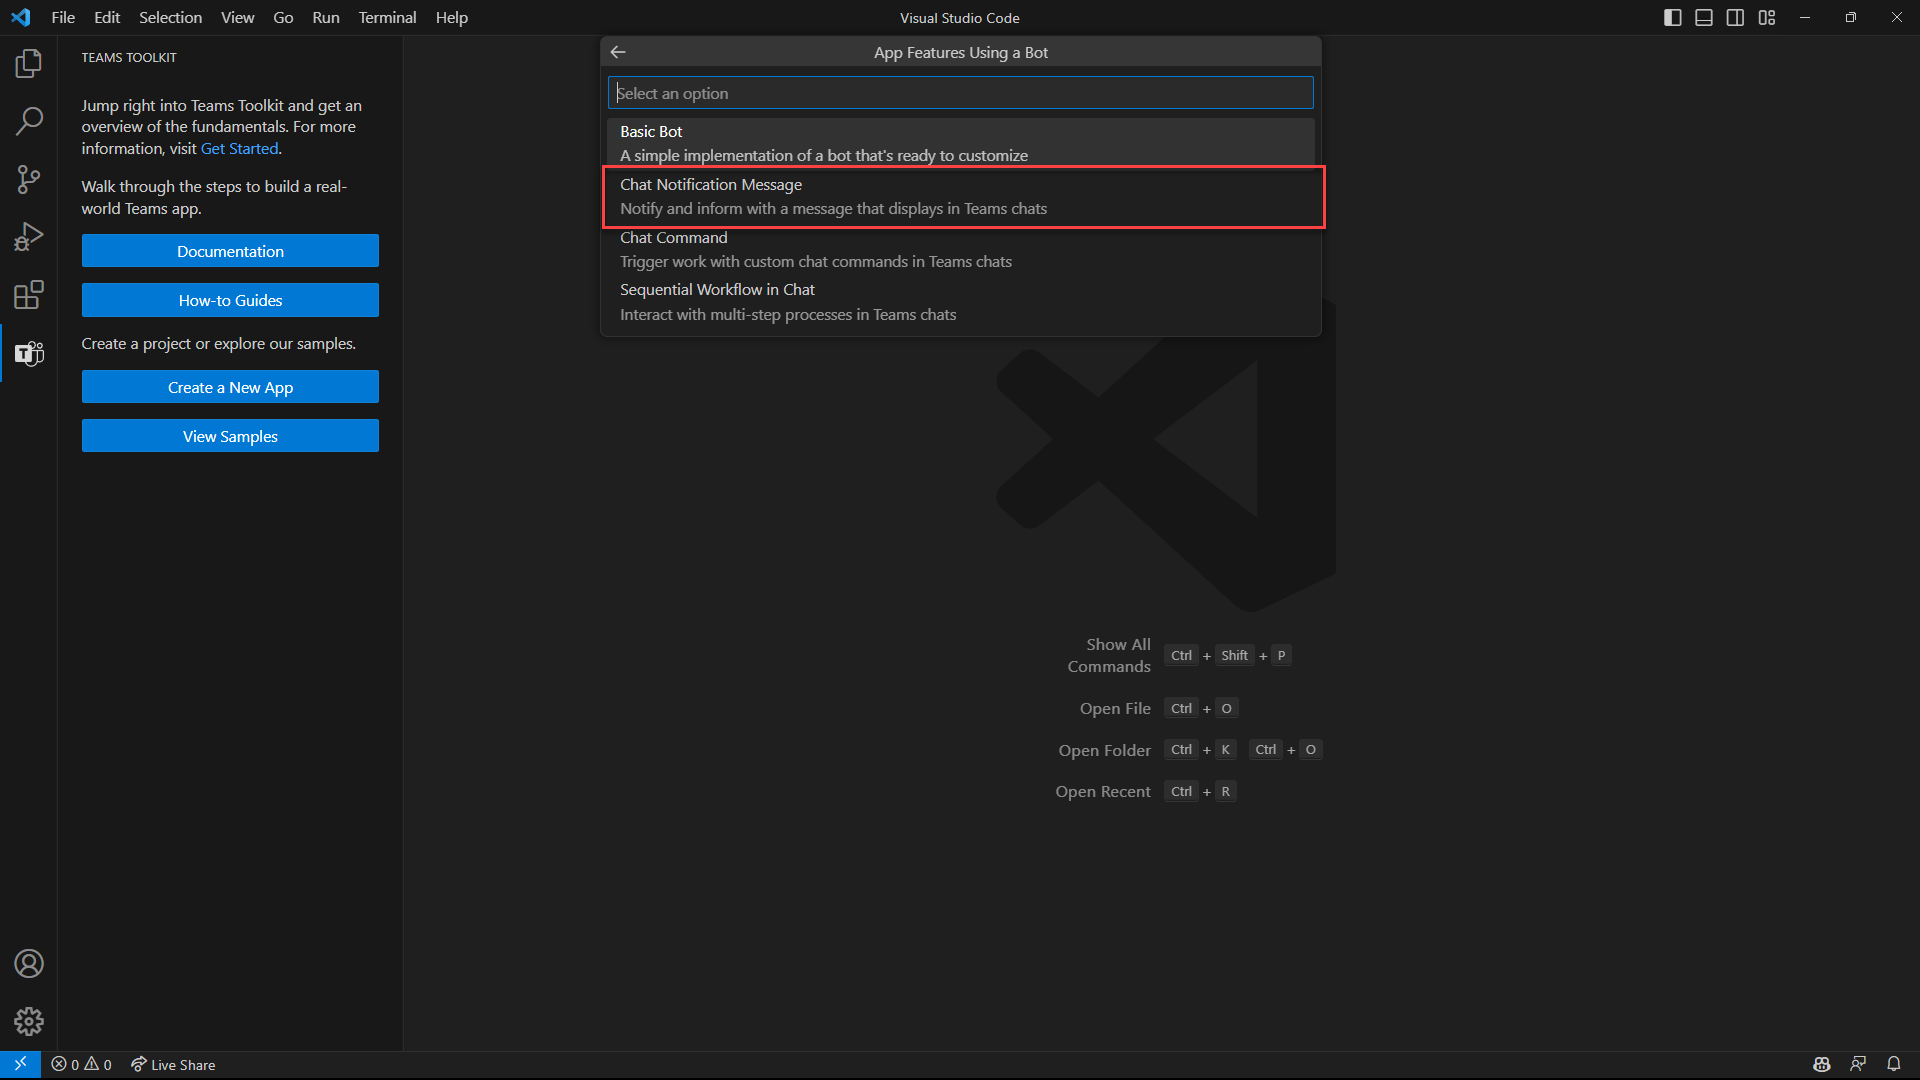
On the App Features Using a Bot menu, select the Chat Notification Message feature.
On the Choose triggers menu, select HTTP Trigger (Azure Functions).
On the Programming Language menu, select JavaScript.
On the Workspace folder menu, select Default folder.
In the Application name field, enter Support Ticket Alerts and then select the Enter key.
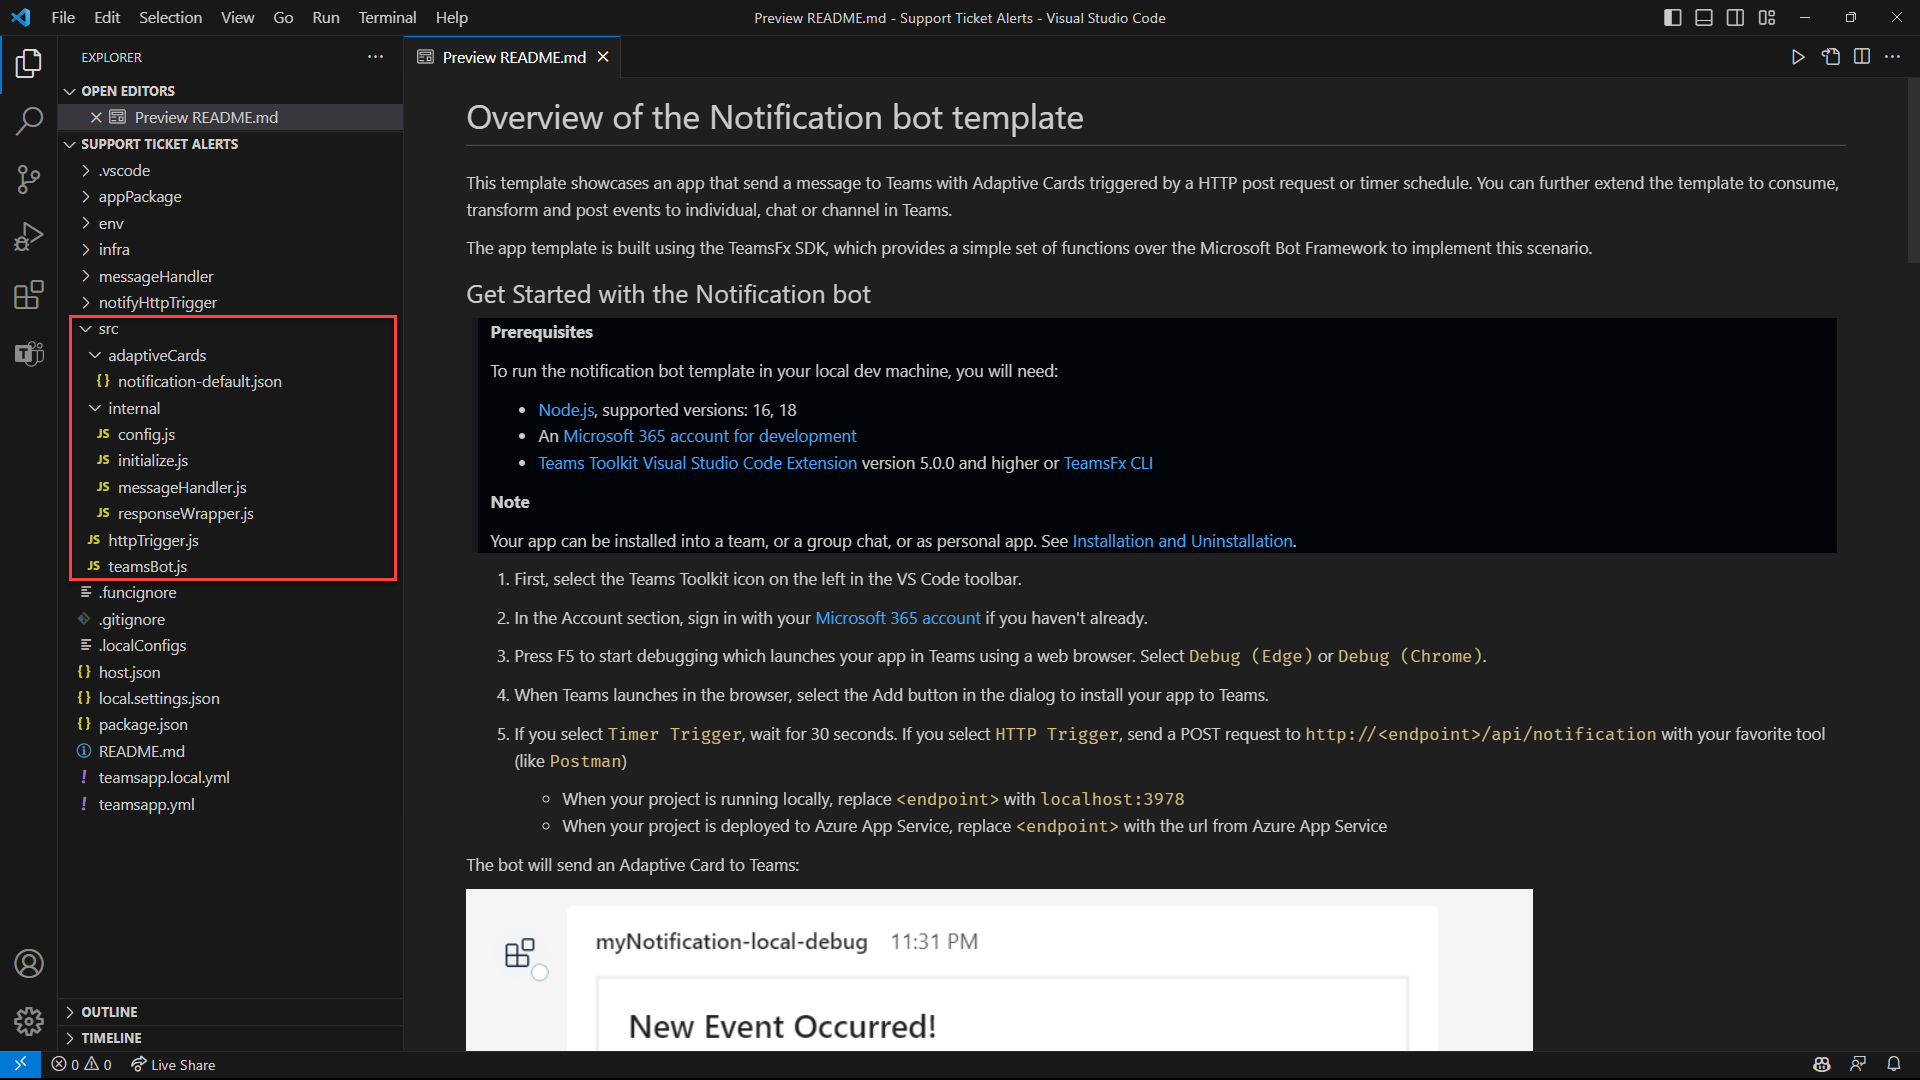
Teams Toolkit creates the project and source code files for you.
Note
You might get a message from Visual Studio Code that asks if you trust the authors of the files in this folder. Select the Yes, I trust the authors button to continue.
Run and debug
Now it's time to run your bot for the first time.
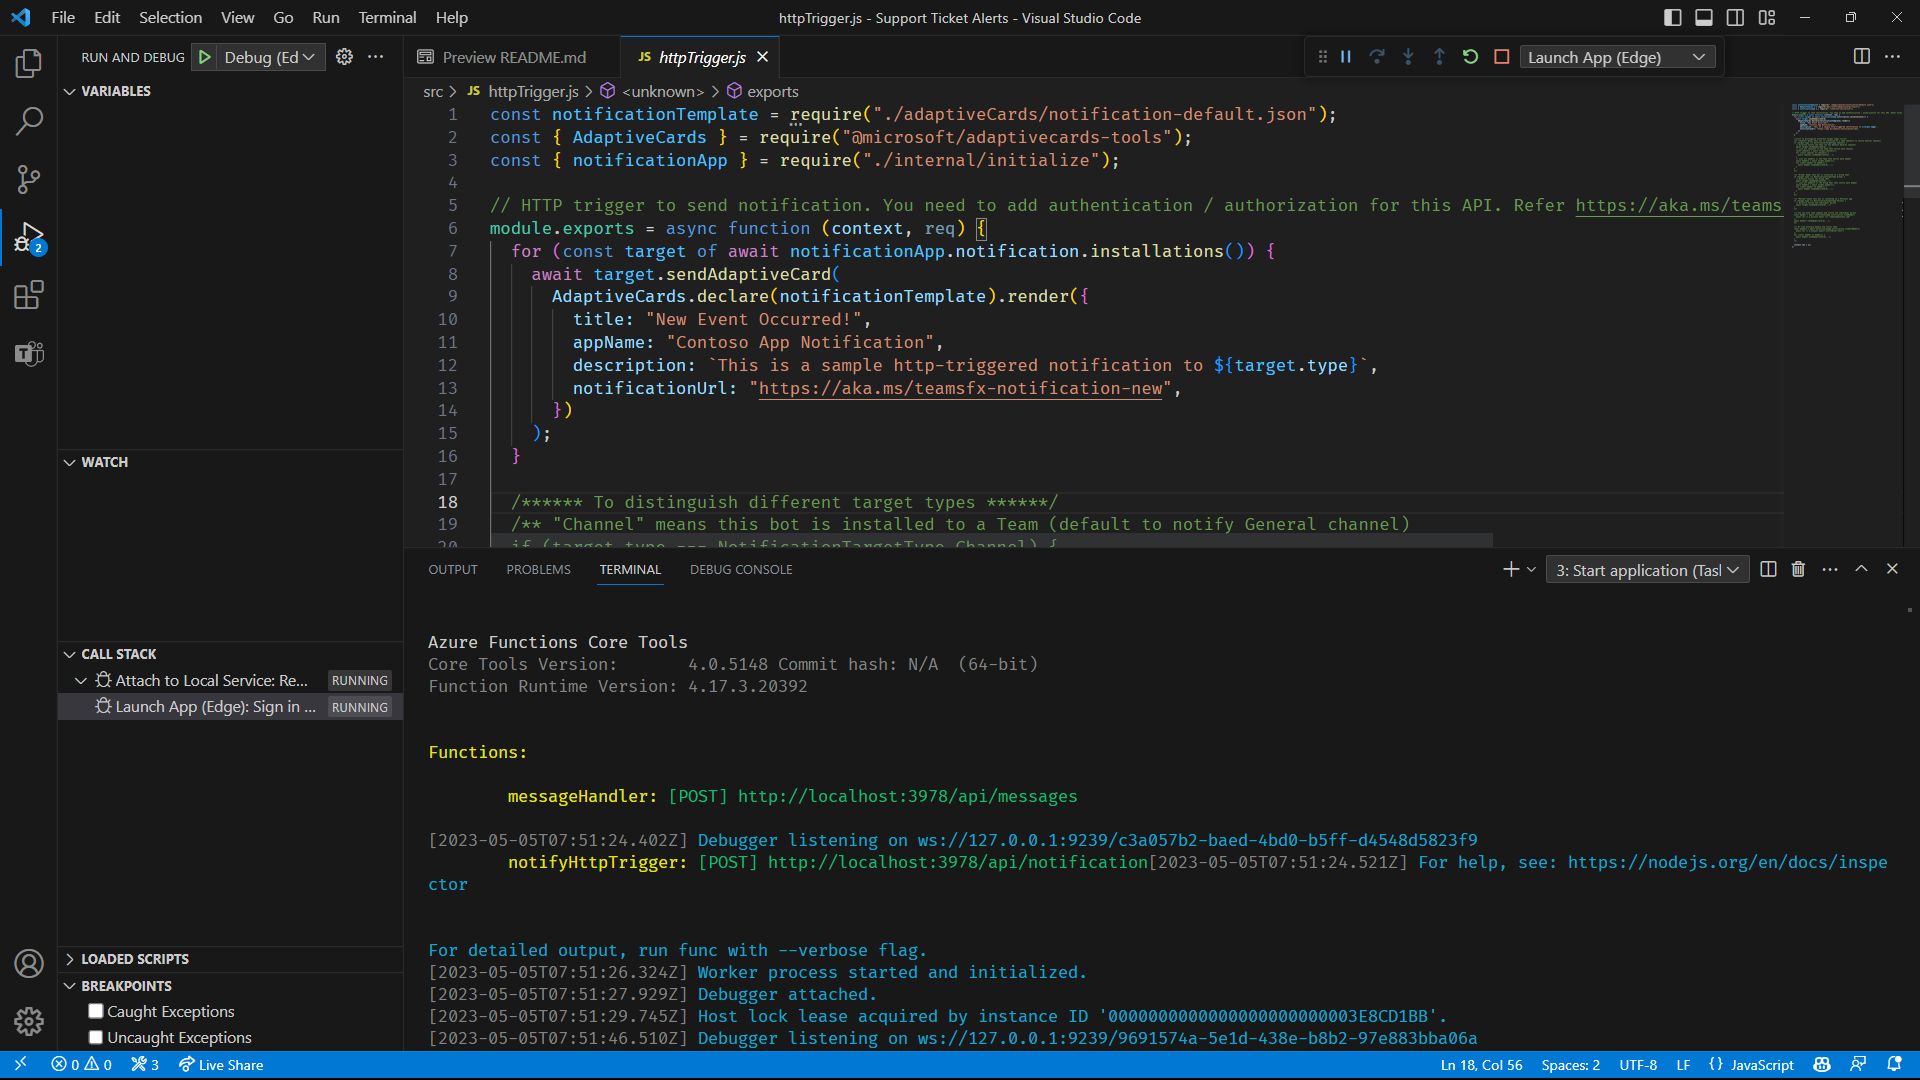
On the sidebar, select the Debug icon to open the RUN AND DEBUG panel.
On the RUN AND DEBUG panel, select either Chrome or Edge in the dropdown list box as the browser that you want to use to debug your bot. Then select the Play button (or select the F5 key) to start the debug session.
Note
If you haven't signed in to your Microsoft 365 tenant, you'll be prompted. Select Sign In and follow the sign-in steps to authenticate Teams Toolkit with your Microsoft 365 tenant.
Teams Toolkit then deploys, configures, and starts all the required components. It also opens a browser window and goes to Microsoft Teams.
In the installation dialog, select the Add button to install the app as a personal app.
That's it. Your bot is installed, running in Teams, and ready to test.
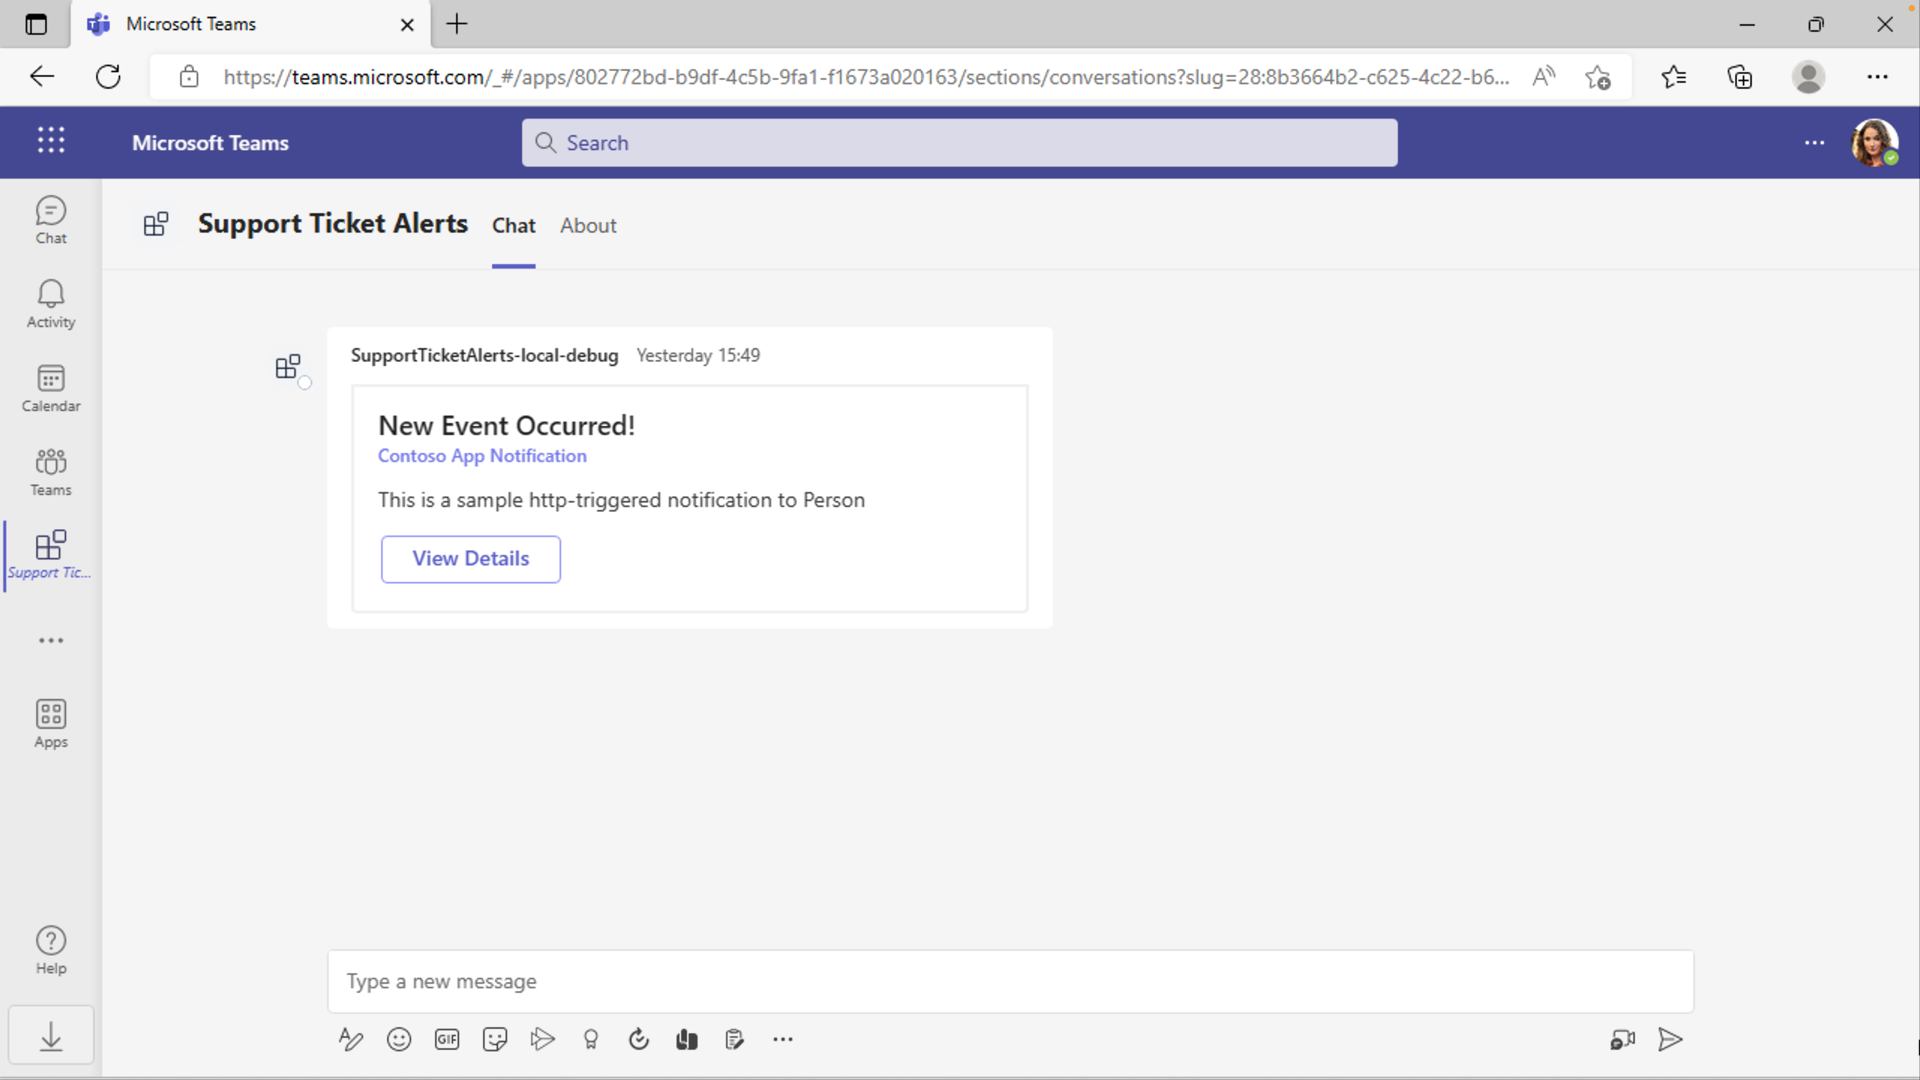
Trigger a proactive message
By using a command-line tool, send an HTTP POST request to the notification endpoint that's hosted on the local web server to trigger the bot to send a message to Teams.
curl -X POST http://localhost:3978/api/notification
The bot sends an adaptive card to the Teams chat.
Close the browser window to stop the debug session.