Exercise - Build a Microsoft Teams tab app
In this unit, you'll create a tab app for Microsoft Teams by using the Teams Toolkit for Visual Studio Code extension.
Note
The exercises in this module use Teams Toolkit v5.0.0.
Create your Teams tab app
Open Visual Studio Code.
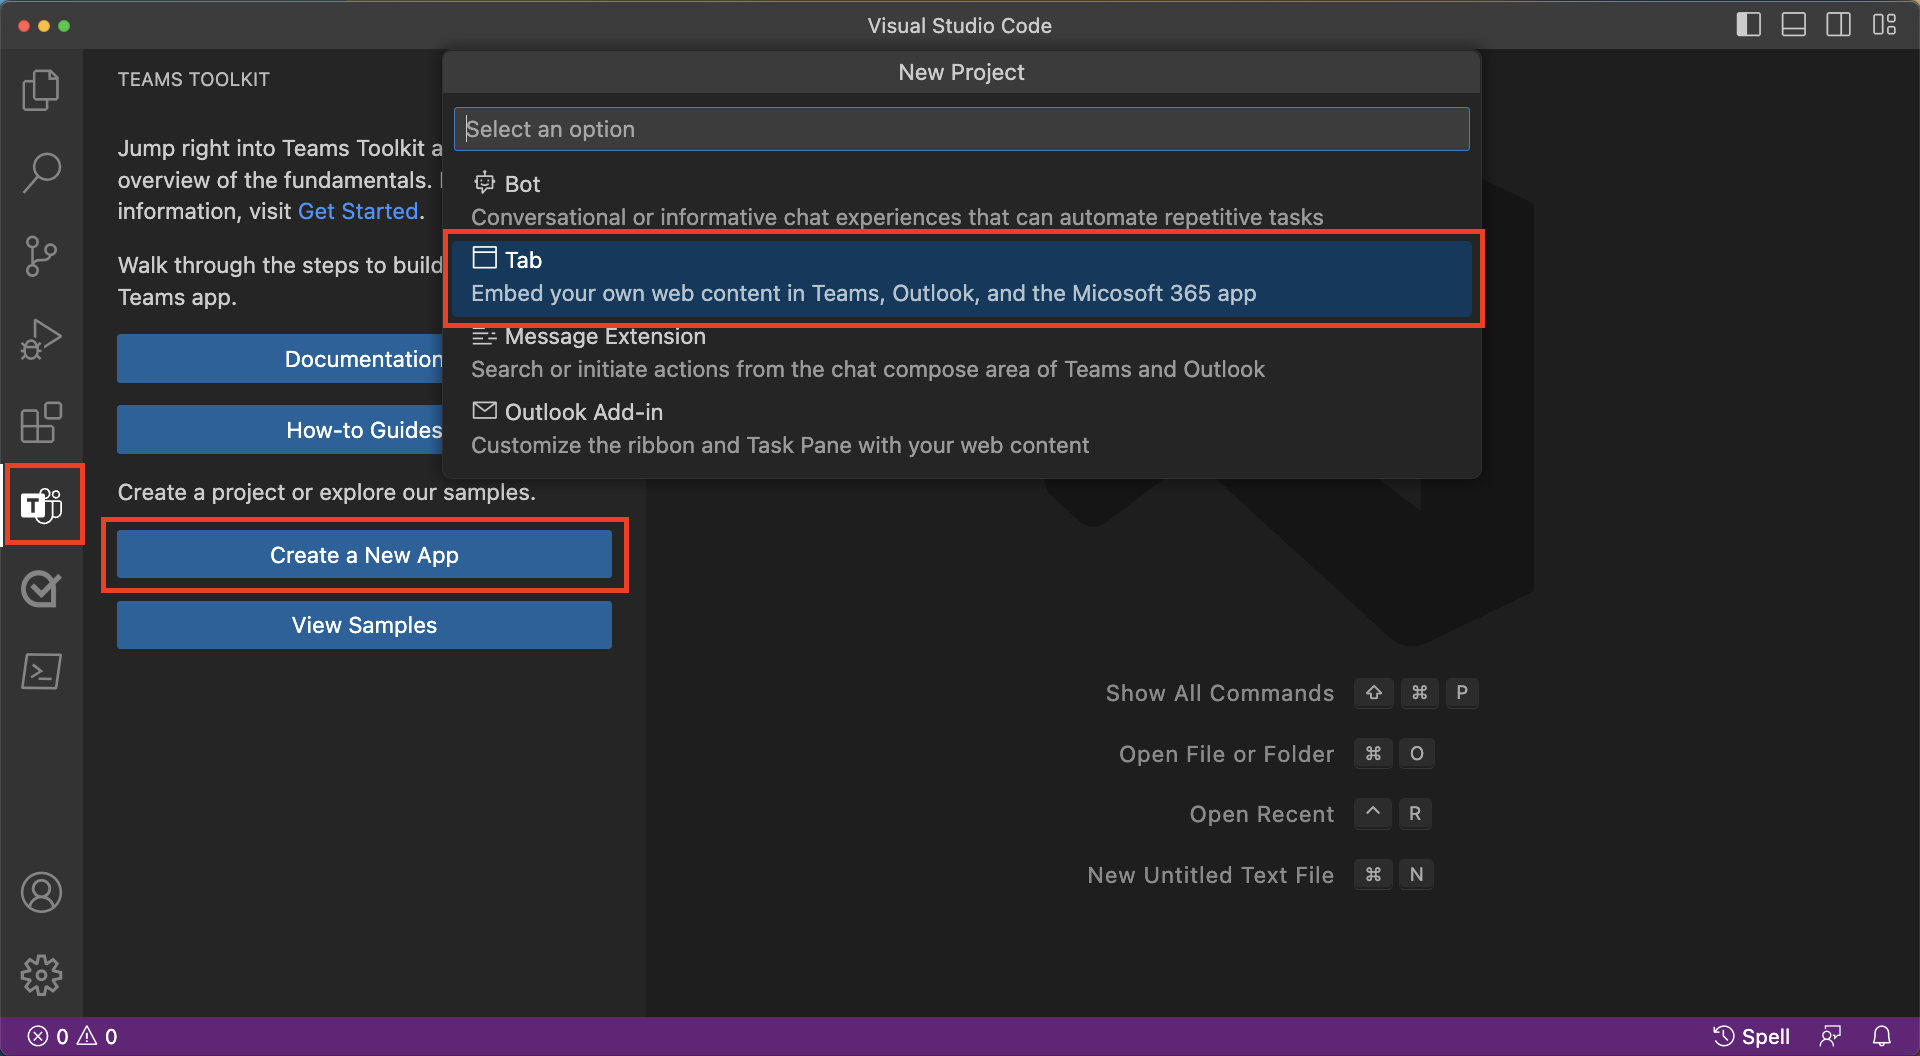
On the sidebar, select the Microsoft Teams icon to open the TEAMS TOOLKIT panel.
Select Create a New app, and then select Tab.
Select Basic Tab from the list of available option.
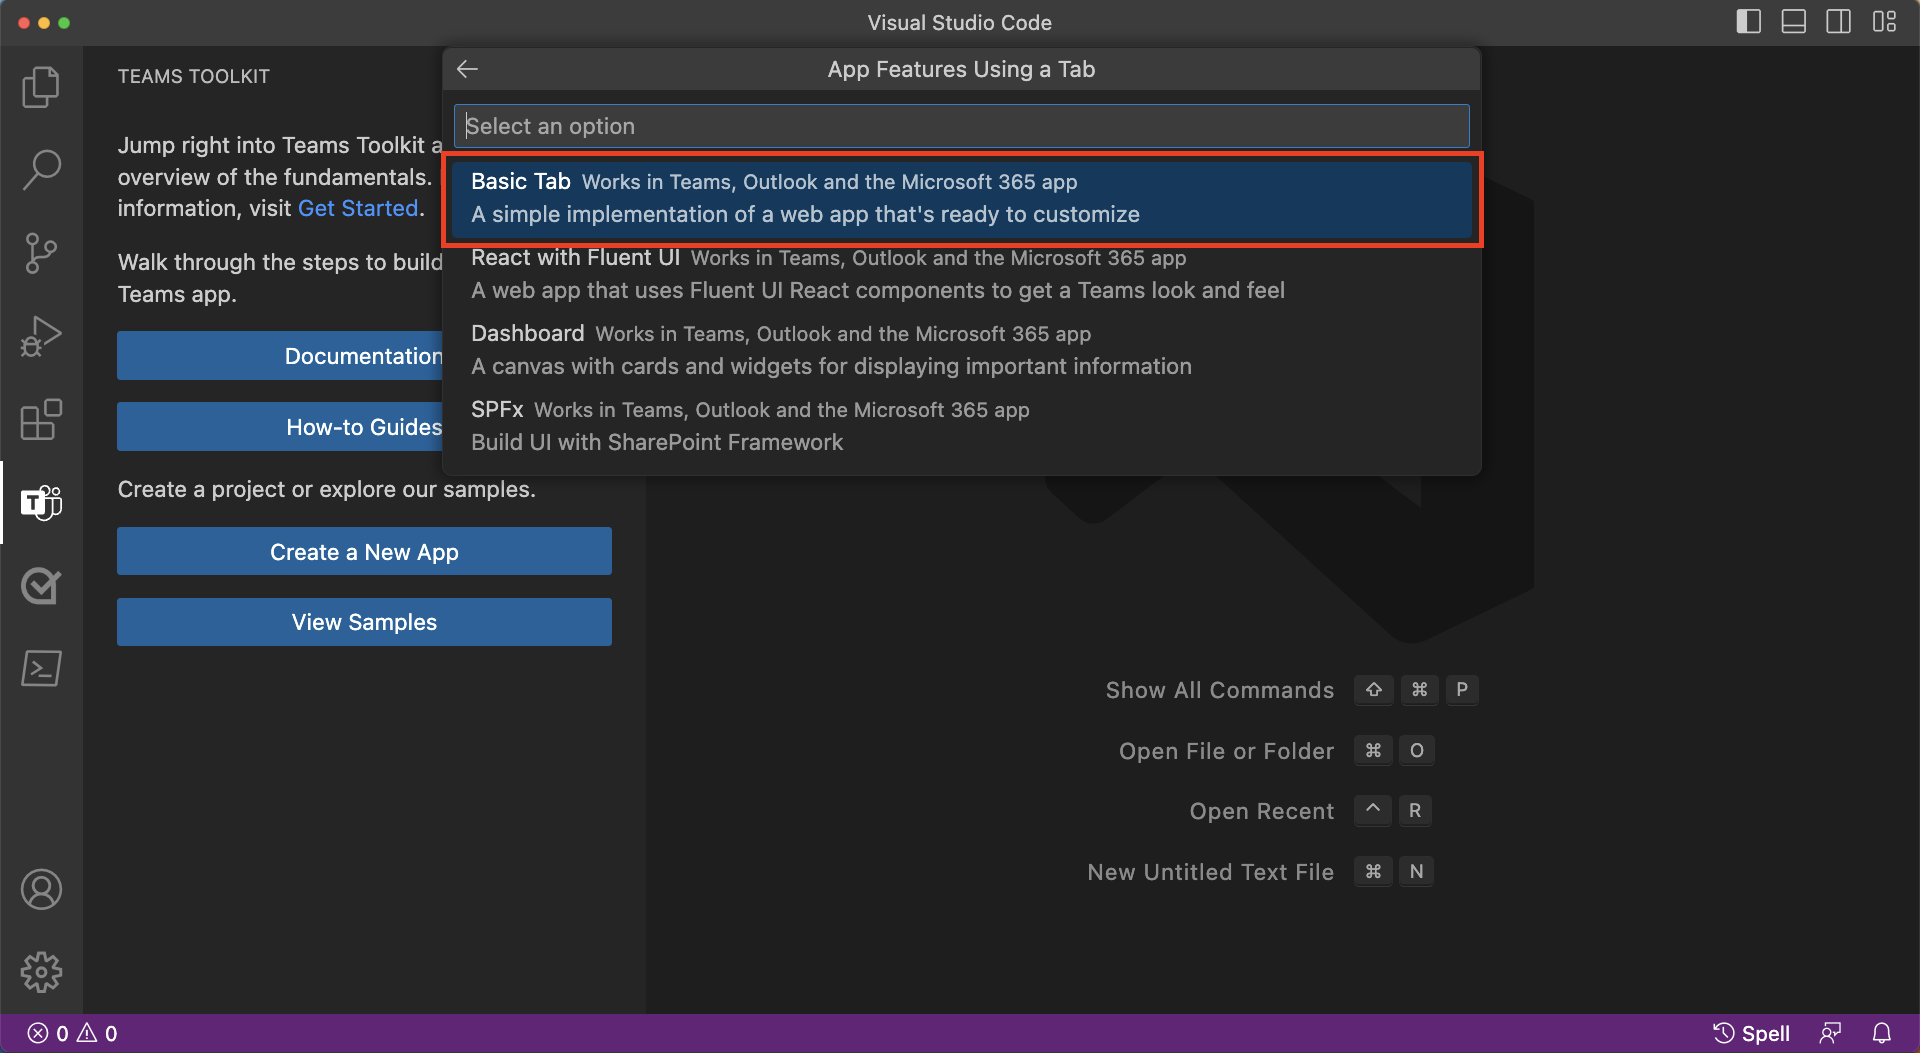
For the programming language, select JavaScript.
On the Workspace folder menu, select Default folder. Teams Toolkit will scaffold the project to this folder.
For Application name, enter CustomerTicketingTool.

A notification appears when all folders and files are scaffolded successfully.
Following the successful scaffolding of the project, a new instance of Visual Studio Code opens to the new project.
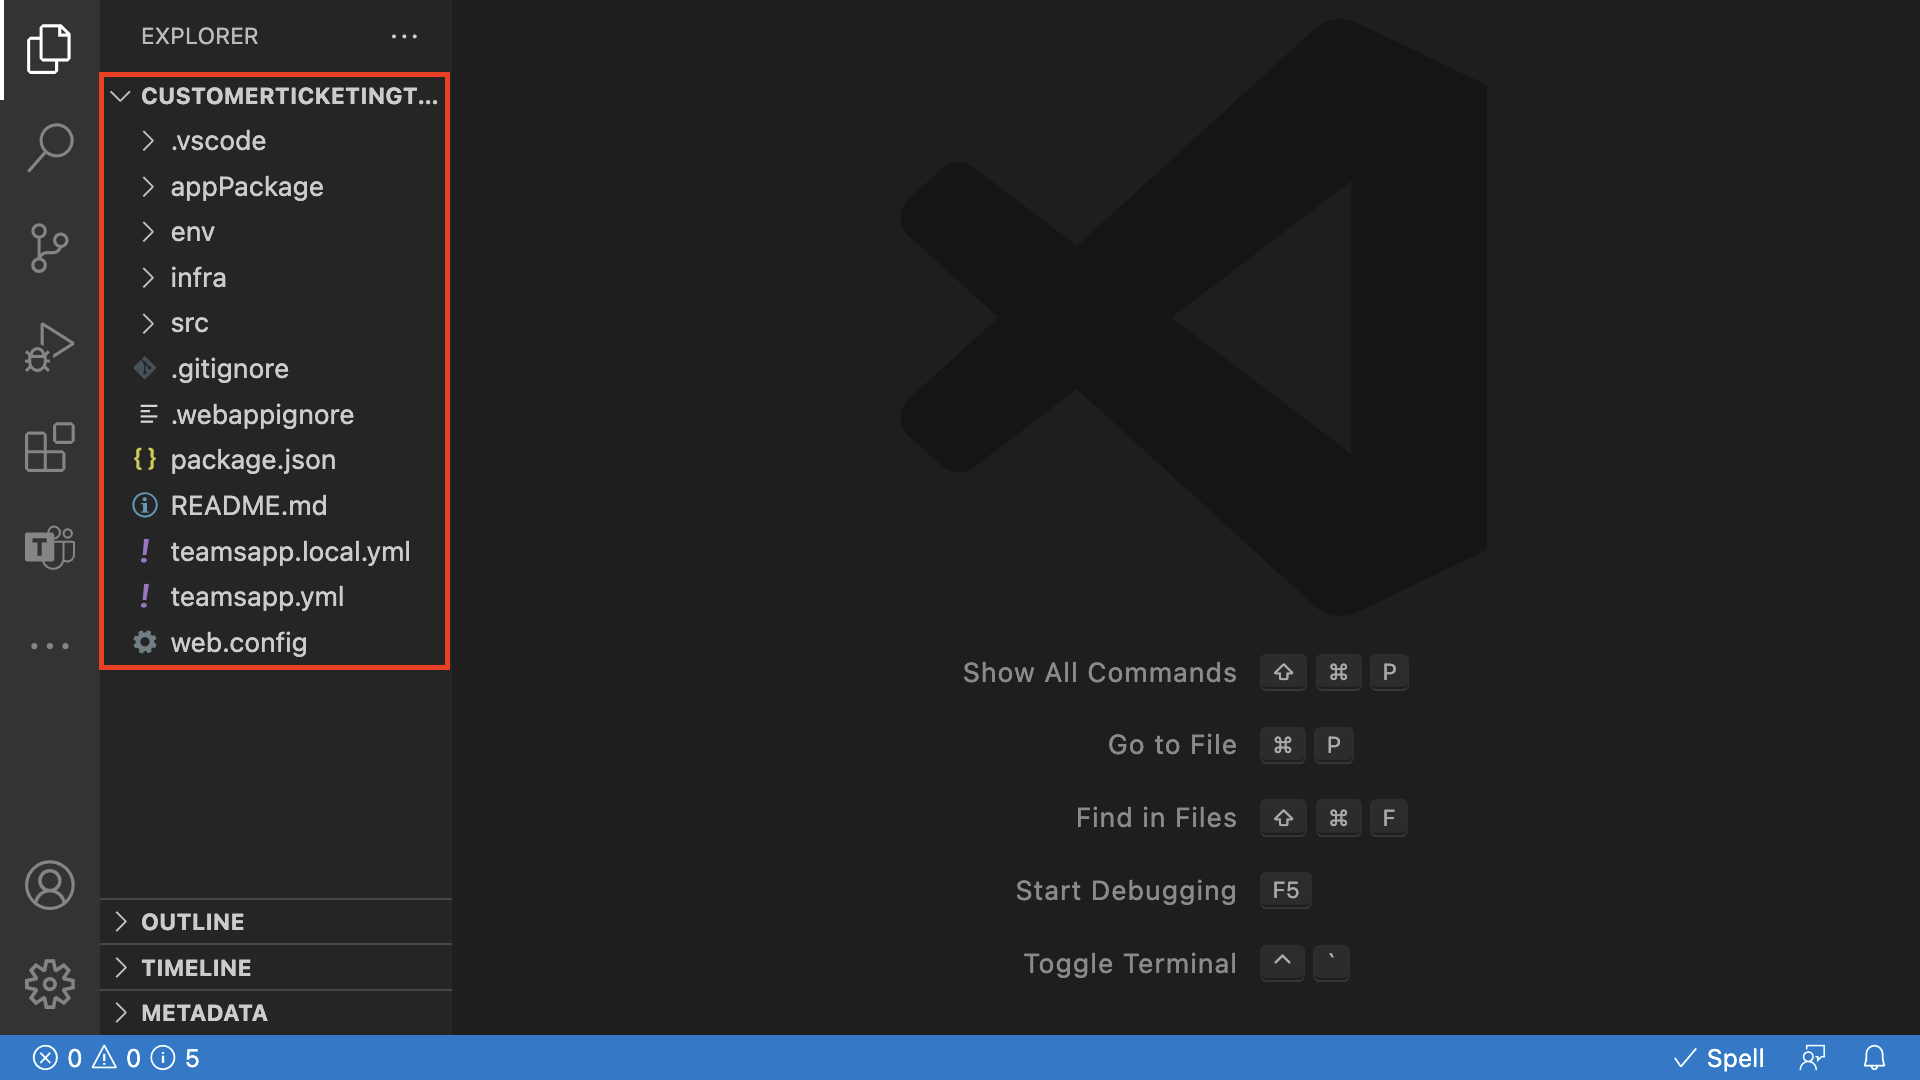
On the EXPLORER panel, the src folder contains the source code for your app. All the folders under the src folder are specific to browser code and serve as entry points for the front-end app. Files outside the src folder are server related, such as the bot.
Test and debug your Teams tab app
In Visual Studio Code, select the Microsoft Teams icon to open the TEAMS TOOLKIT panel.
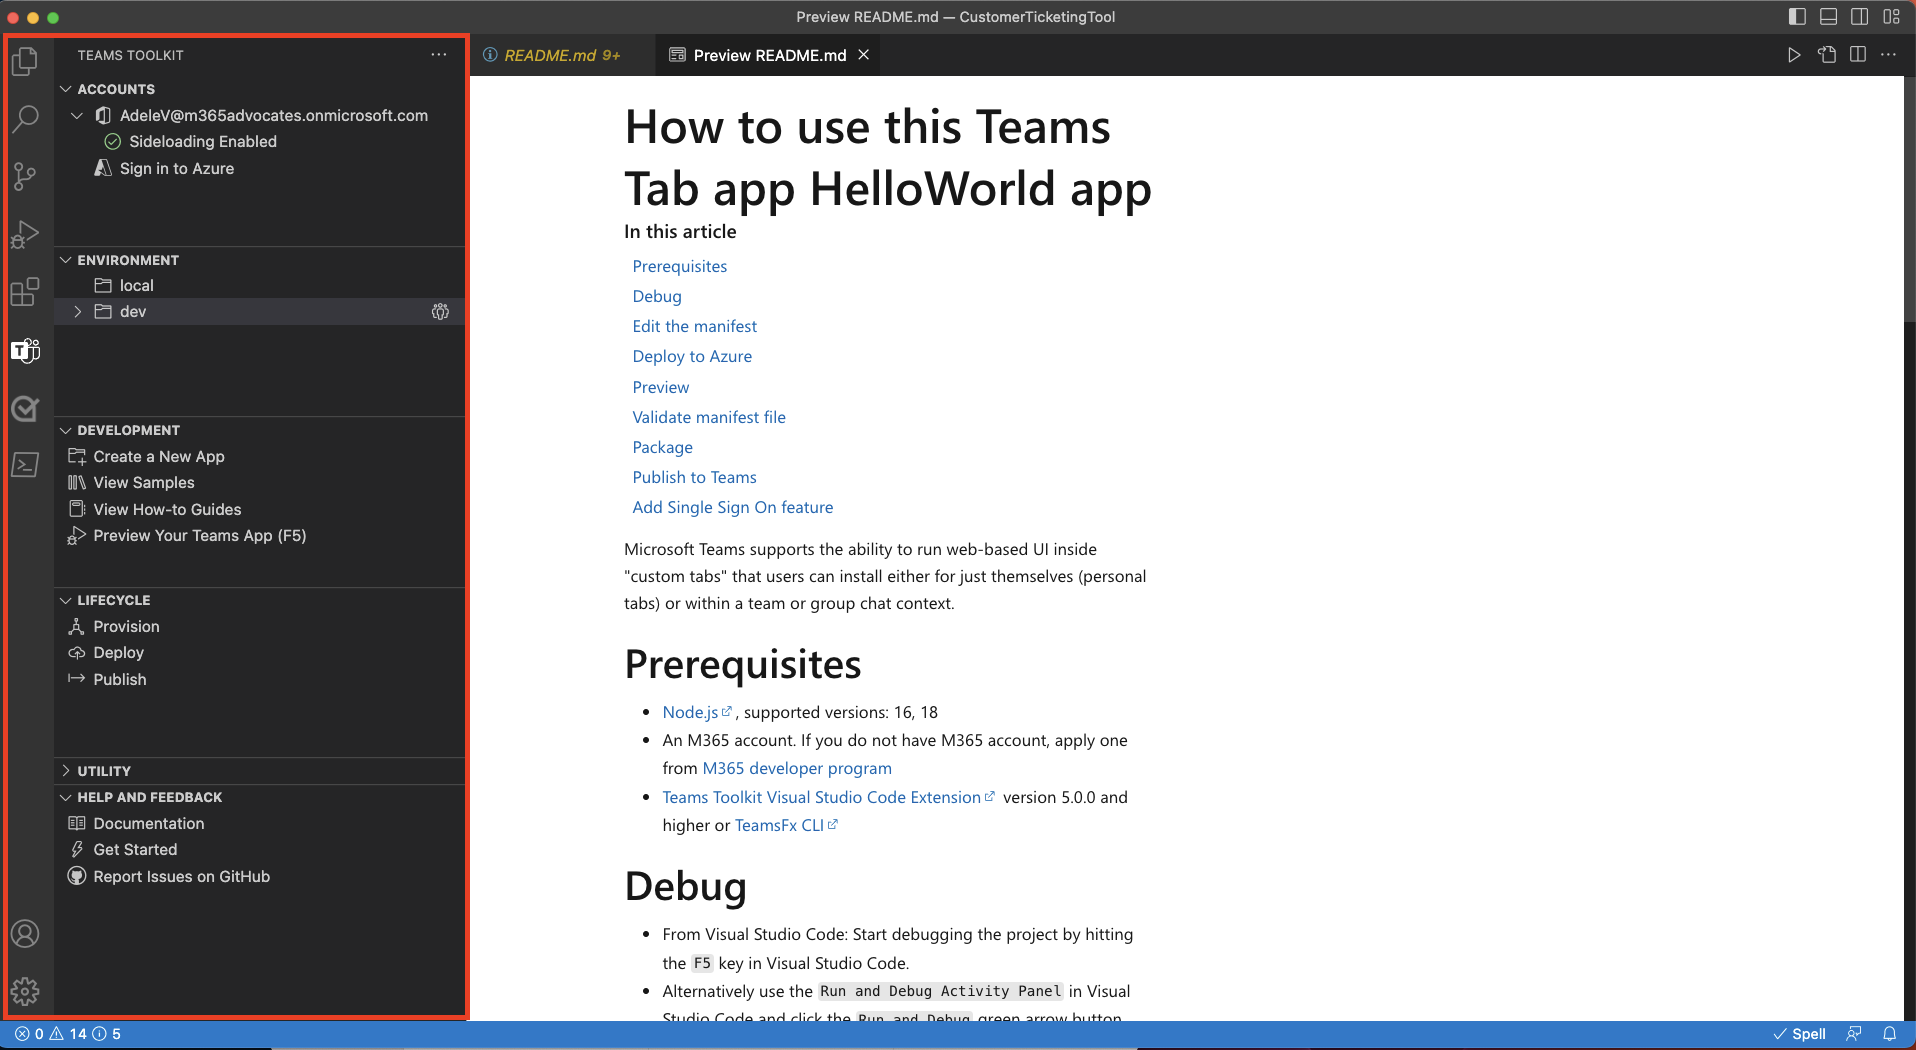
There are multiple sections here. For debugging your tab, you'll focus on the ACCOUNTS and ENVIRONMENT sections.
In the ACCOUNTS section, select Sign in to Azure. In the dialog that opens, select the Sign in button and enter your Microsoft 365 credentials.
Teams Toolkit requires a Microsoft 365 work or school account with Global Administrator privileges.
Start running your app with the debugger attached by using one of these methods:
- Select the F5 key.
- In Visual Studio Code, select Run > Start debugging.
- In the ENVIRONMENT section of Teams Toolkit, open the local folder, and then and select the browser of your choice.
After Visual Studio Code performs some checks, with actions viewable on the Console tab, a new browser window opens. In the CustomerTicketingTool dialog, select the Add button to install the app in Teams for preview.
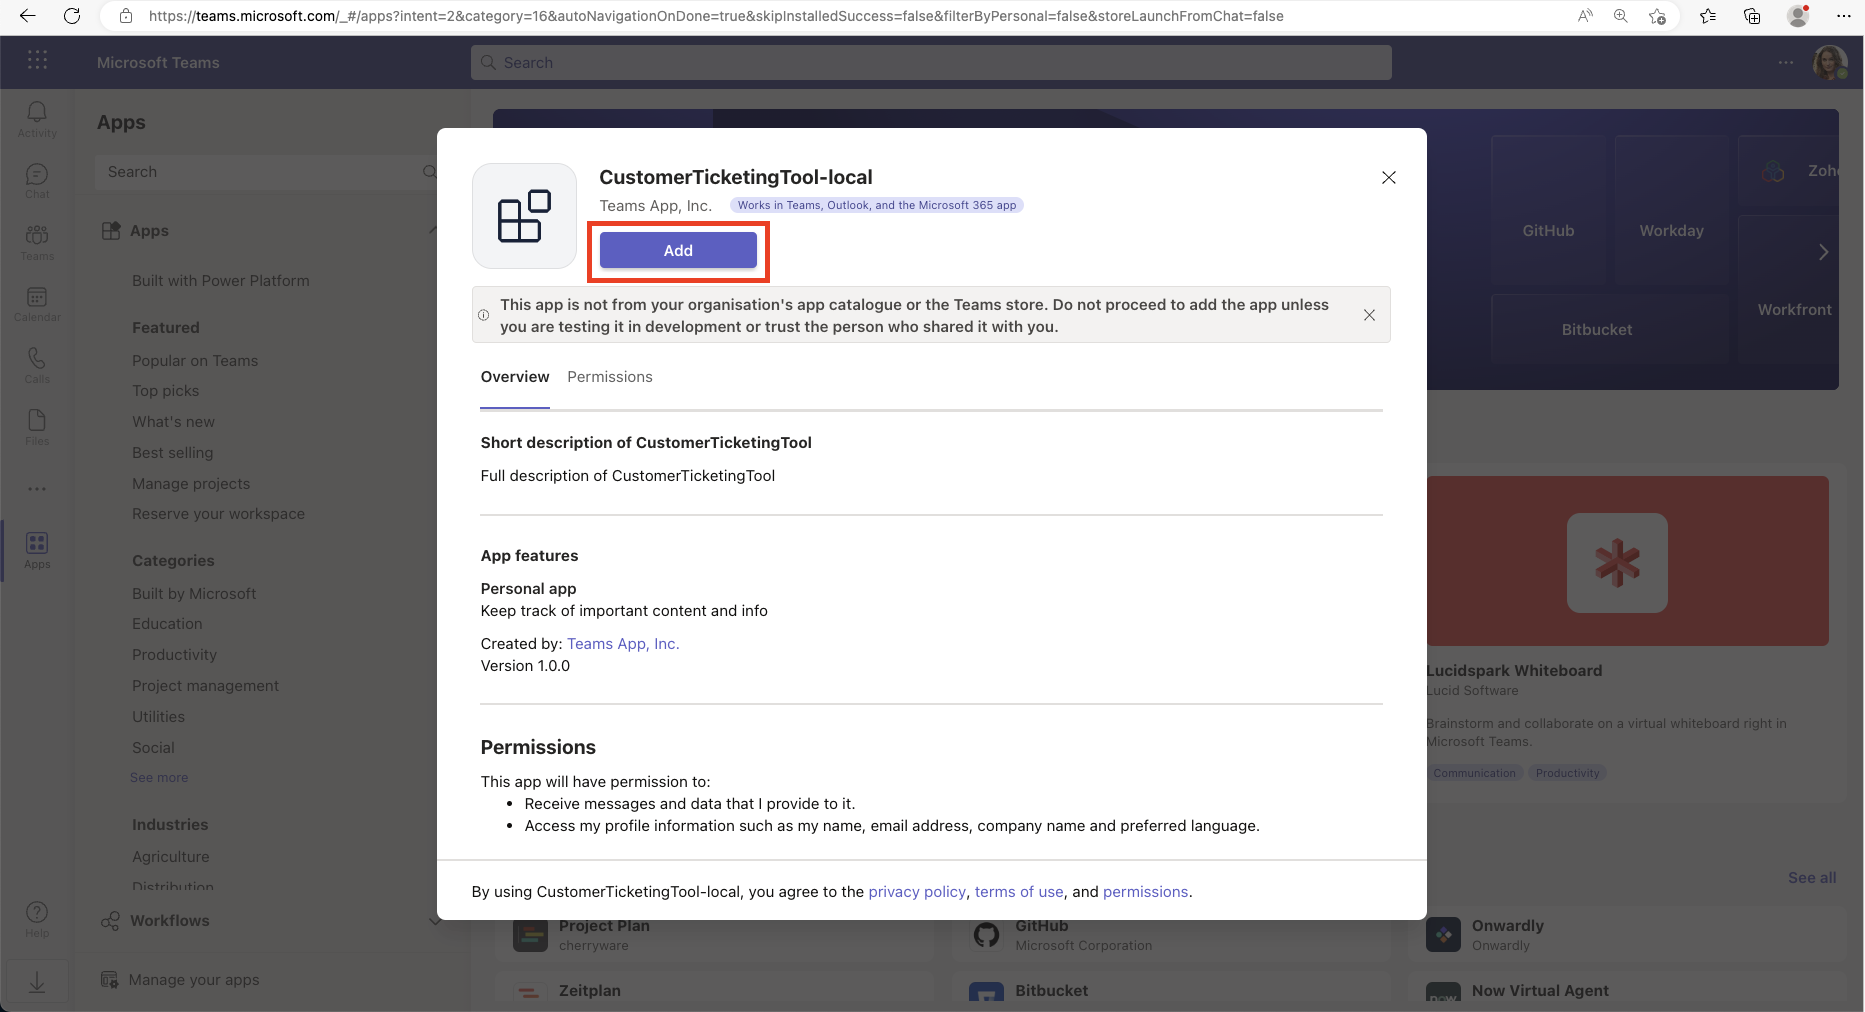
The CustomerTicketingTool app is now viewable on the sidebar. The app is preconfigured with two tabs: Personal Tab and About.
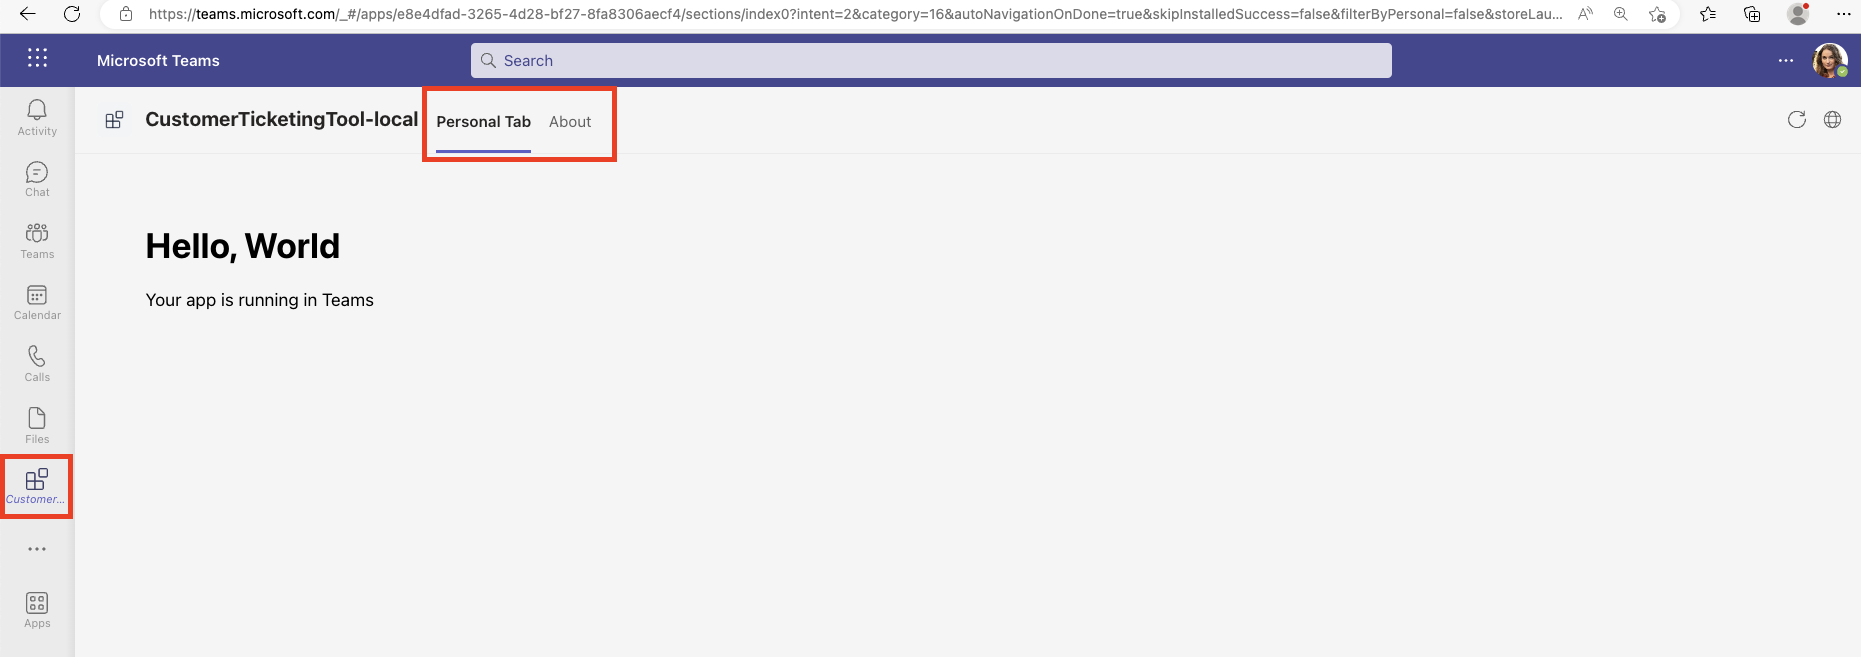
You have successfully added the personal tab to Teams.
Customize your Teams tab
Now, you can customize the text on the personal tab.
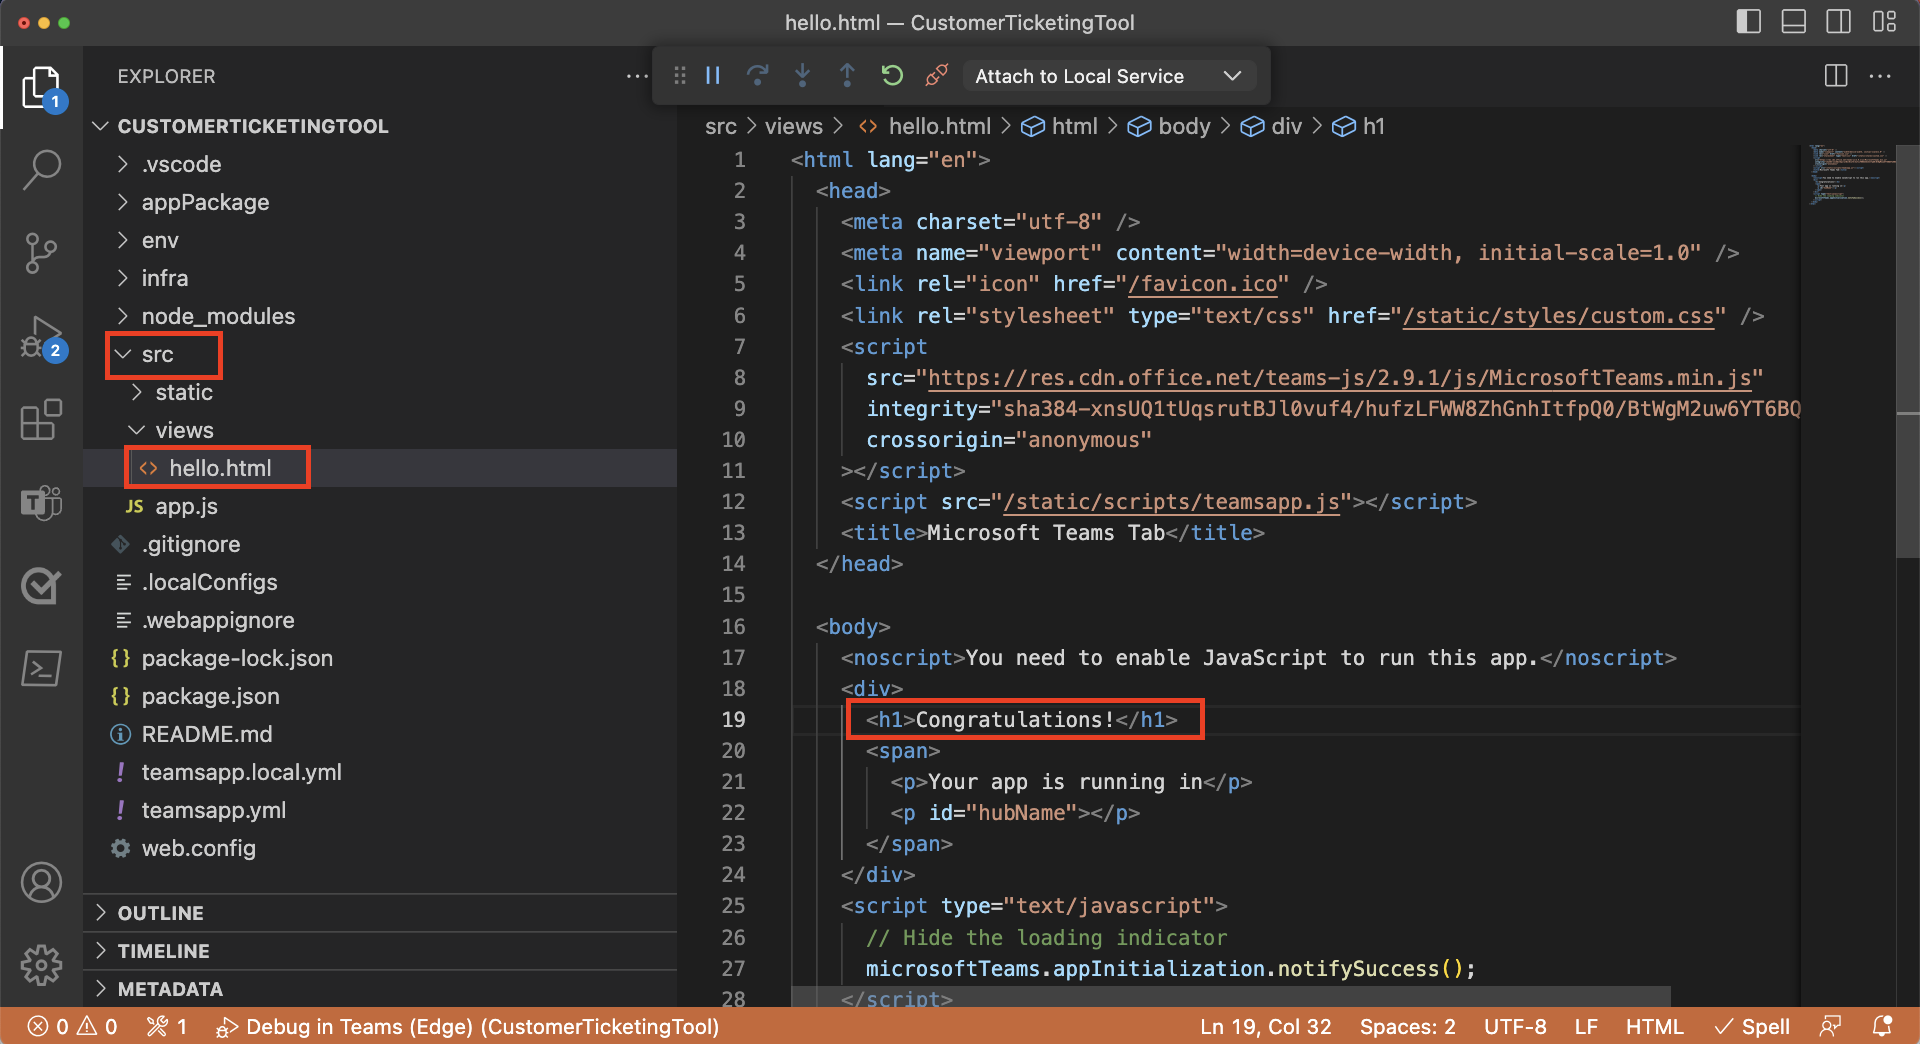
- Open the src > views folder, and then open the hello.html file.
- Search for the Hello, World text and change it to Congratulations.
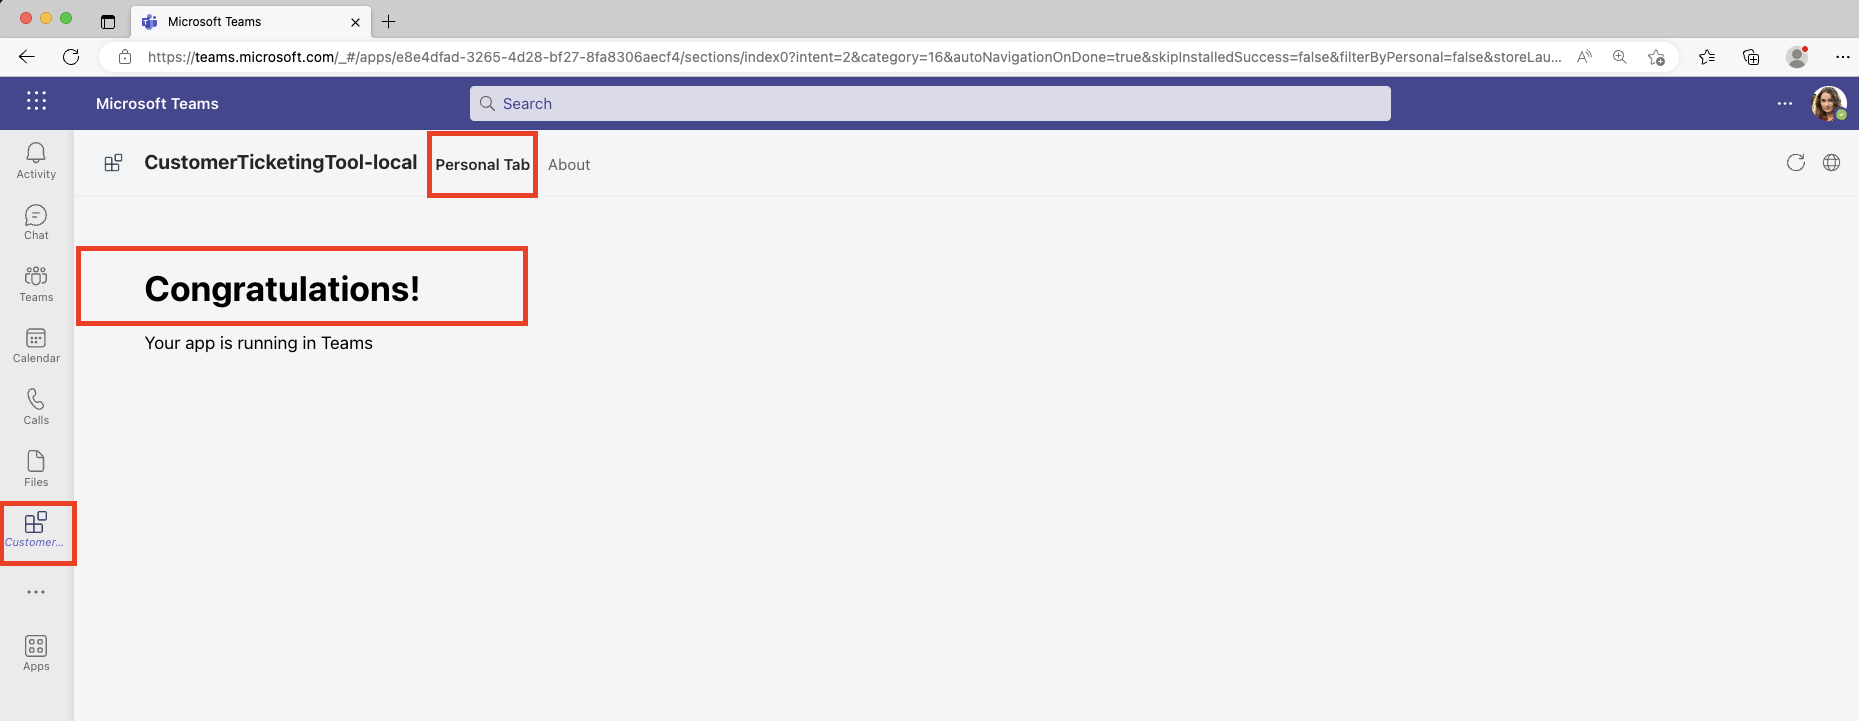
To view the changes on Teams, go back to the browser where your debugger session is running. You didn't need to refresh the browser to see the changes that you made to your code. The text on your personal tab now says Congratulations.
Teams Toolkit for Visual Studio Code provides a hot reload feature, which applies your changes while your app is still running.