Exercise: Troubleshoot routing, traffic control and load balancing issues
You work as a support engineer supporting Azure infrastructure. You've been contacted by your web team about an issue with website performance. The web team has a pool of webservers behind a load balancer and public IP address.

The web team thinks that the internet traffic isn't being distributed equally between all the webservers.
In this exercise, you'll use what you've learned to go through steps to troubleshoot the performance issues with your organizations website.
Check that the issue still exists
Using the Cloud Shell to the right, run this command.
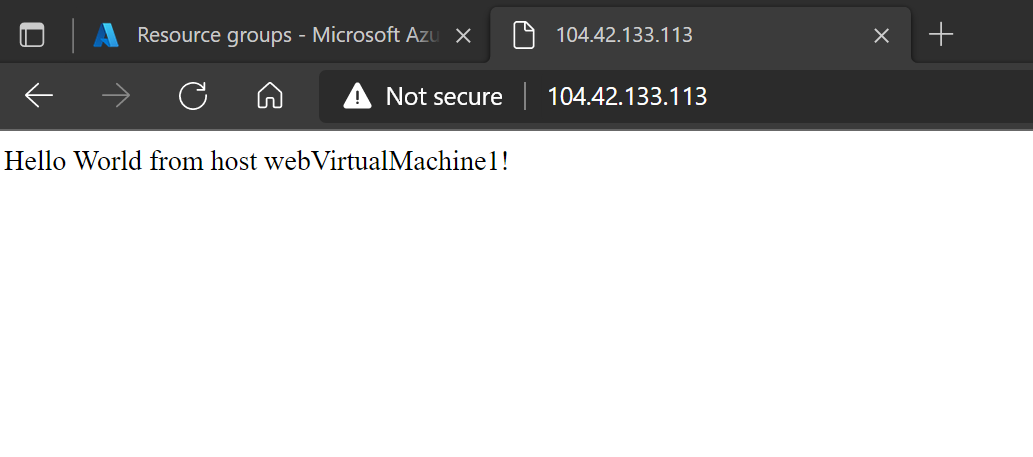
az network public-ip show \
--resource-group <rgn>[sandbox resource group name]</rgn> \
--name webPublicIP \
--query '[ipAddress]' \
--output tsv
Paste the IP address returned into a new browser tab.
Note
Your IP address will be different to the one shown in the screenshot.
Hit refresh in your browser, or on Windows press the F5 ten or twenty times. Notice that you are getting a response from the same webserver every single time.
Leave this tab open to check you resolve the issue in the next exercise.
Check all the virtual machines are responding on port 80
Navigate to the Azure portal in another browser tab.
Select Virtual machines.

Select webVirtualMachine1.
Under Settings, select Networking.

Check that inbound traffic is allowed on port 80.
Repeat the above for webVirtualMachine2.


The current settings appear to be correct.
Check the Load Balancer settings
Select Home.
Search for Load balancers.

Under Services, select Load balancers.

Select webLoadBalancer.
Under Settings, Select the Frontend IP configuration.

Note
There is a correctly configured frontend IP address. Check that it matches the IP address you have in your other tab.
Under Settings, select Backend pools.

Note
The virtual machines are both running.
Under Settings, select Load balancing rules, then select webLoadBalancerRule.

Check all the settings for the load balancer rule.
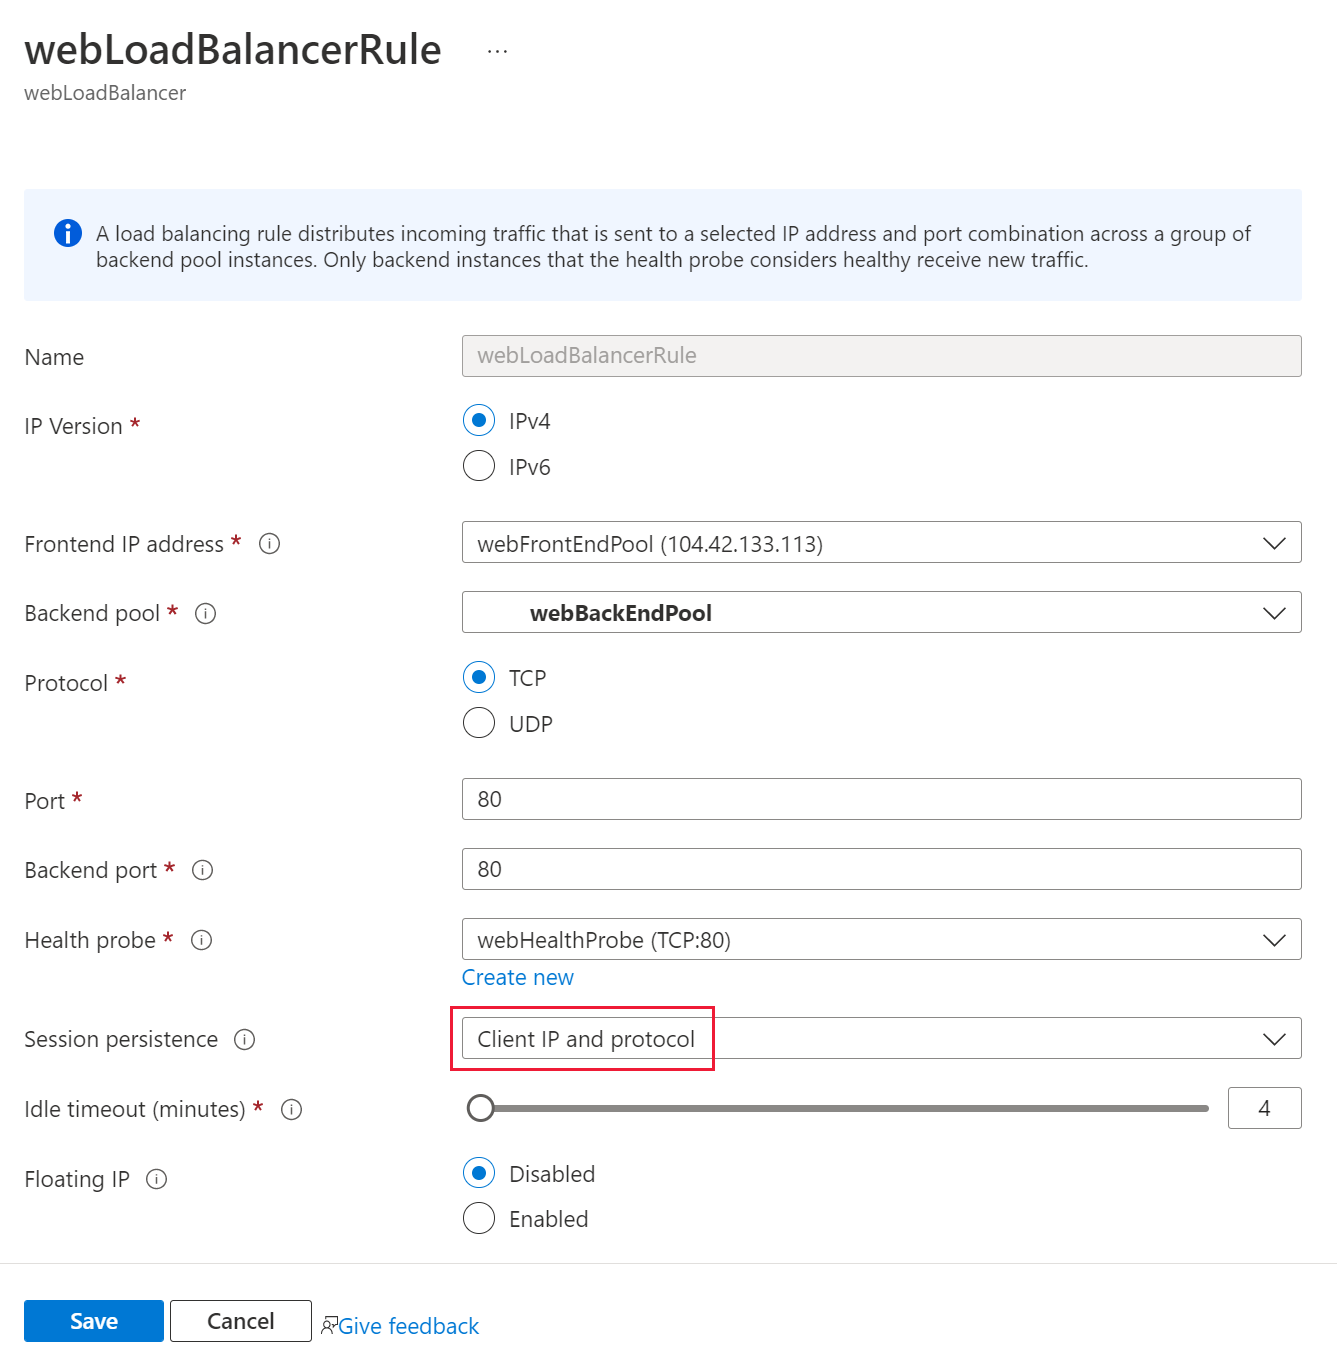


You think you have identified the issue. At the moment once a user visits the website they are routed to one virtual machine. This will persist because of the Session persistence setting.
You'll resolve the issue in the next exercise.