Exercise - Create a processing-only report
This exercise uses the CRONUS sample company from the US version of Business Central. You might need to adjust the steps if you use the sample company from your country or region.
Scenario
You have been asked to create a non-printing report that enables a user to adjust the Name 2 field in the Customer table. On the Request page, the user enters the name by which to adjust the field to. The user can apply the filters on the Request page to filter the data and apply the adjustment to the filtered data only.
Tasks
- Define the data model.
- Add controls to the Request page.
- Test the report.
Steps
Define the data model.
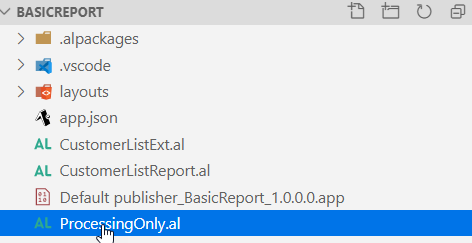
In Visual Studio Code, add a new file to the project and name it ProcessingOnly.al.
Use the following treport snippet to create the report dataset.
report Id MyReport
{
    UsageCategory = Administration;
    ApplicationArea = All;

    dataset
    {
        dataitem(DataItemName; SourceTableName)
        {
            column(ColumnName; SourceFieldName)
            {

            }
        }
    }

    requestpage
    {
        layout
        {
            area(Content)
            {
                group(GroupName)
                {
                    field(Name; SourceExpression)
                    {
                        ApplicationArea = All;

                    }
                }
            }
        }

        actions
        {
            area(processing)
            {
                action(ActionName)
                {
                    ApplicationArea = All;

                }
            }
        }
    }

    var
        myInt: Integer;
}
Change the report properties as follows:
    UsageCategory = ReportsAndAnalysis;
    ApplicationArea = All;
    ProcessingOnly = true;
In the var section, declare the following variables:
- Name2ToApply - Text
- Customer2 - Record Customer
- ReplaceExisting - Boolean
- Counter - Integer
var
        Name2ToApply: Text;
        Customer2: Record Customer;
        ReplaceExisting: Boolean;
        Counter: Integer;
In the dataset section, declare a data item for the Customer table.
    dataset
    {
        dataitem(Customer;Customer)
        {

        }
    }
In the Customer data item, add an OnPreDataItem trigger with the following code:
            trigger OnPreDataItem();
            begin
                clear(Customer);
                clear(Counter);
                if not ReplaceExisting then
                    Customer.SetRange("Name 2", '');
            end;
In the Customer data item, add an OnAfterGetRecord trigger with the following code:
            trigger OnAfterGetRecord();
            begin
                if Customer2.get(Customer."No.") then begin
                    Customer2."Name 2" := Name2ToApply;
                    Customer2.Modify;
                    Counter += 1;
                end;
            end;
In the Customer data item, add an OnPostDataItem trigger with the following code:
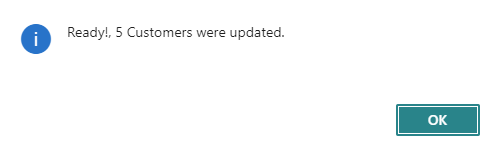
            trigger OnPostDataItem();
            begin
                Message('Ready!, %1 Customers were updated.', Counter);
            end;
The Customer data item should look similar to the following example:
        dataitem(Customer; Customer)
        {
            trigger OnPreDataItem();
            begin
                clear(Customer);
                clear(Counter);
                if not ReplaceExisting then
                    Customer.SetRange("Name 2", '');
            end;

            trigger OnAfterGetRecord();
            begin
                if Customer2.get(Customer."No.") then begin
                    Customer2."Name 2" := Name2ToApply;
                    Customer2.Modify;
                    Counter += 1;
                end;
            end;

            trigger OnPostDataItem();
            begin
                Message('Ready!, %1 Customers were updated.', Counter);
            end;
        }
To add controls to the Request page, in the request page section, add the following code.
    requestpage
    {
        SaveValues = true;
        layout
        {
            area(Content)
            {
                group(Options)
                {
                    Caption = 'Options';
                    field(Name2ToApply; Name2ToApply)
                    {
                        ApplicationArea = All;
                        Caption = 'Name2 To Apply';
                        ToolTip = 'Specifies the Name2 To Apply.';
                    }
                    field(ReplaceExisting; ReplaceExisting)
                    {
                        ApplicationArea = All;
                        Caption = 'Replace Existing?';
                        ToolTip = 'Replace Existing?';
                    }
                }
            }
        }
    }
Test the report.
Deploy the project by pressing the F5 key.
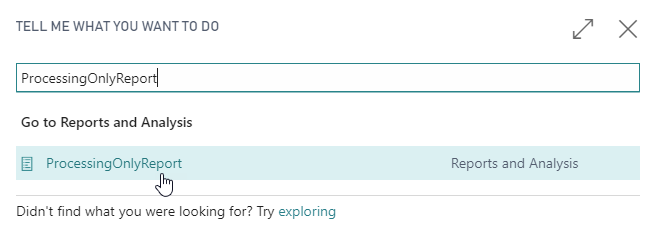
Use Tell Me to search and run the report, as shown in the following screenshot.
The Request page for the report will display and should look similar to the following screenshot:
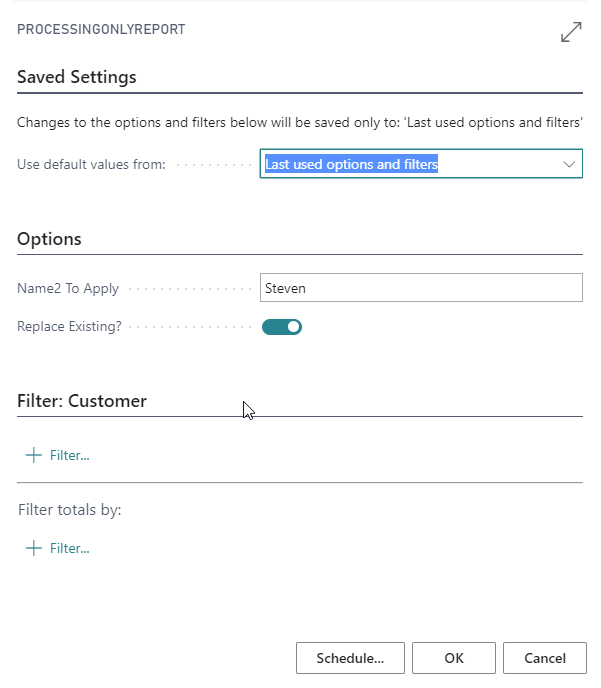
In the Name2ToApply field, enter your name, such as Steven.
Select the Replace Existing option to ensure that existing information in the Name 2 field will be overwritten.
Select the OK button to run the report.
A message similar to the following example should appear.
Select OK and go to the Customer List page.
If you can't see the Name 2 column on the Customer List page, then add it by using the Personalizing page.
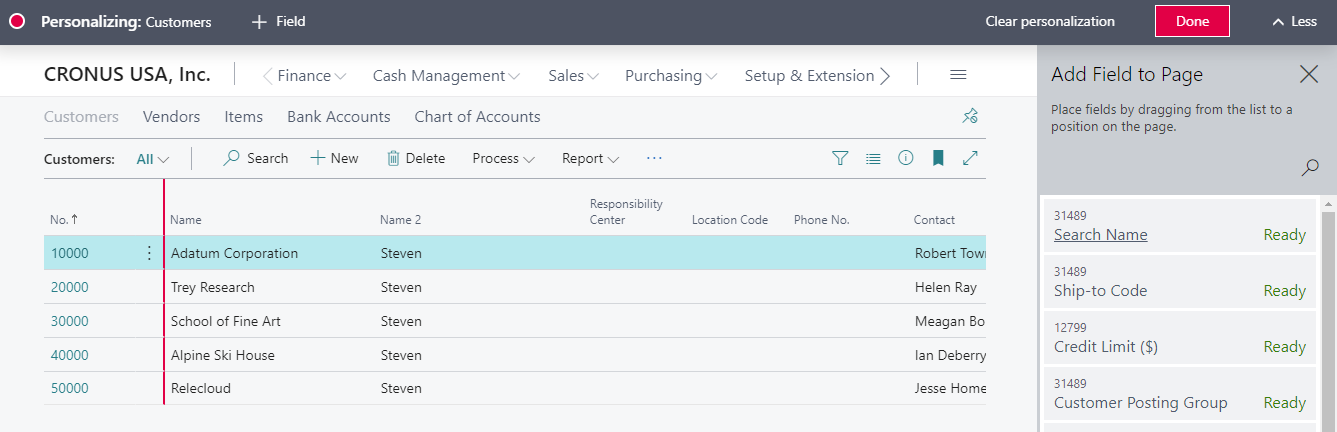


The Name 2 field should now contain the name that you entered in the request page.
