Data upgrade
To perform a sandbox data upgrade, follow these steps.
Choose data upgrade - In Lifecycle Services, go to Environment details > Maintain > Upgrade menu. Select your new application and platform versions.
Prepare - During this time, new infrastructure is being provisioned on your behalf. No downtime occurs on your current sandbox environment.
Apply packages - Apply newly created software deployable packages on your upgrade environment. This package should already have been compiled and tested on a developer environment, and the package should have been produced from a new build environment. No downtime occurs on your current sandbox environment.
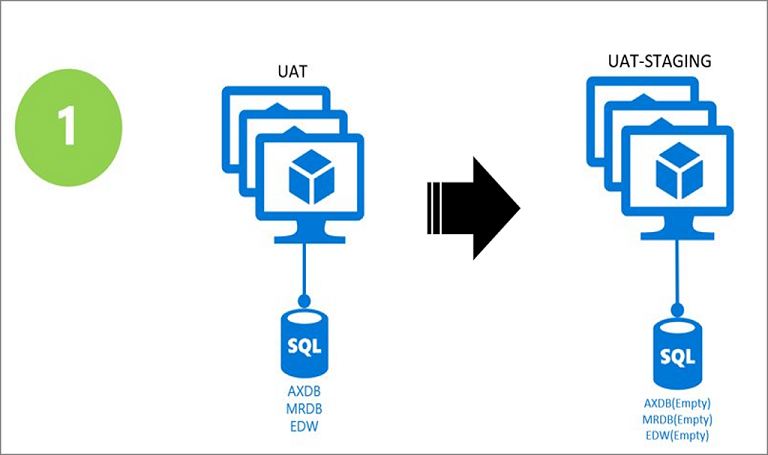
Upgrade data - This step will swap in your upgrade environment and will deallocate your prior sandbox environment. The appropriate data upgrade package will be applied for you based on your original application version and the target.
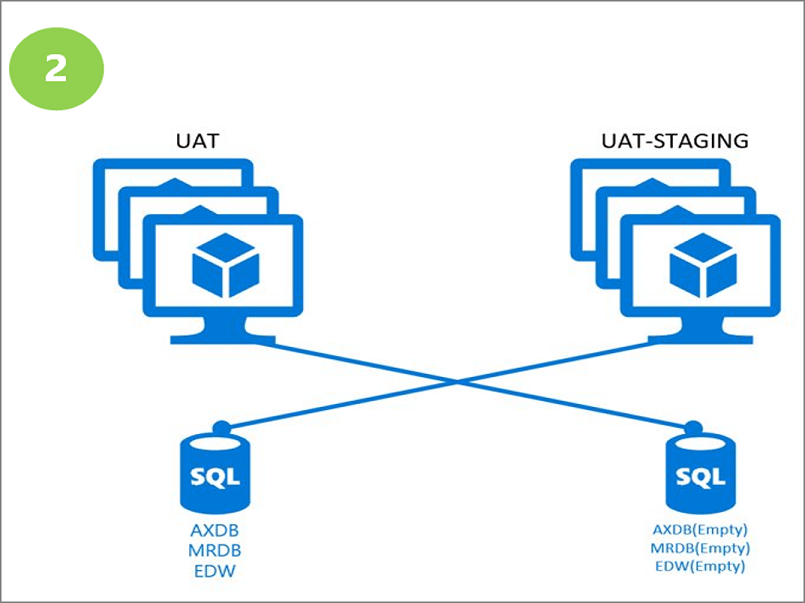
Validate and sign off – Sign in to the environment and ensure that the data and code are working as expected. Sign off on the upgrade, and then the same can be performed in the production environment by using the exact same packages.
The sandbox data upgrade is completely self-service; you can schedule it on your own time. You can have a parallel instance provided to help minimize downtime. In case any issues occur, rollback is supported for the sandbox.
Typically, the sandbox environment has the latest production data, meaning that the production code will be identical to the sandbox.
After upgrading, you will not be required to run more upgrades, only continuous updates.
Next unit: Upgrade from AX 2012
Having an issue? We can help!
- For issues related to this module, explore existing questions using the #Microsoft Power Platform Training tag or Ask a question on Microsoft Q&A.
- For issues related to Certifications and Exams, post on Certifications Support Forums or visit our Credentials Help.