Integrate the model into a cloud flow
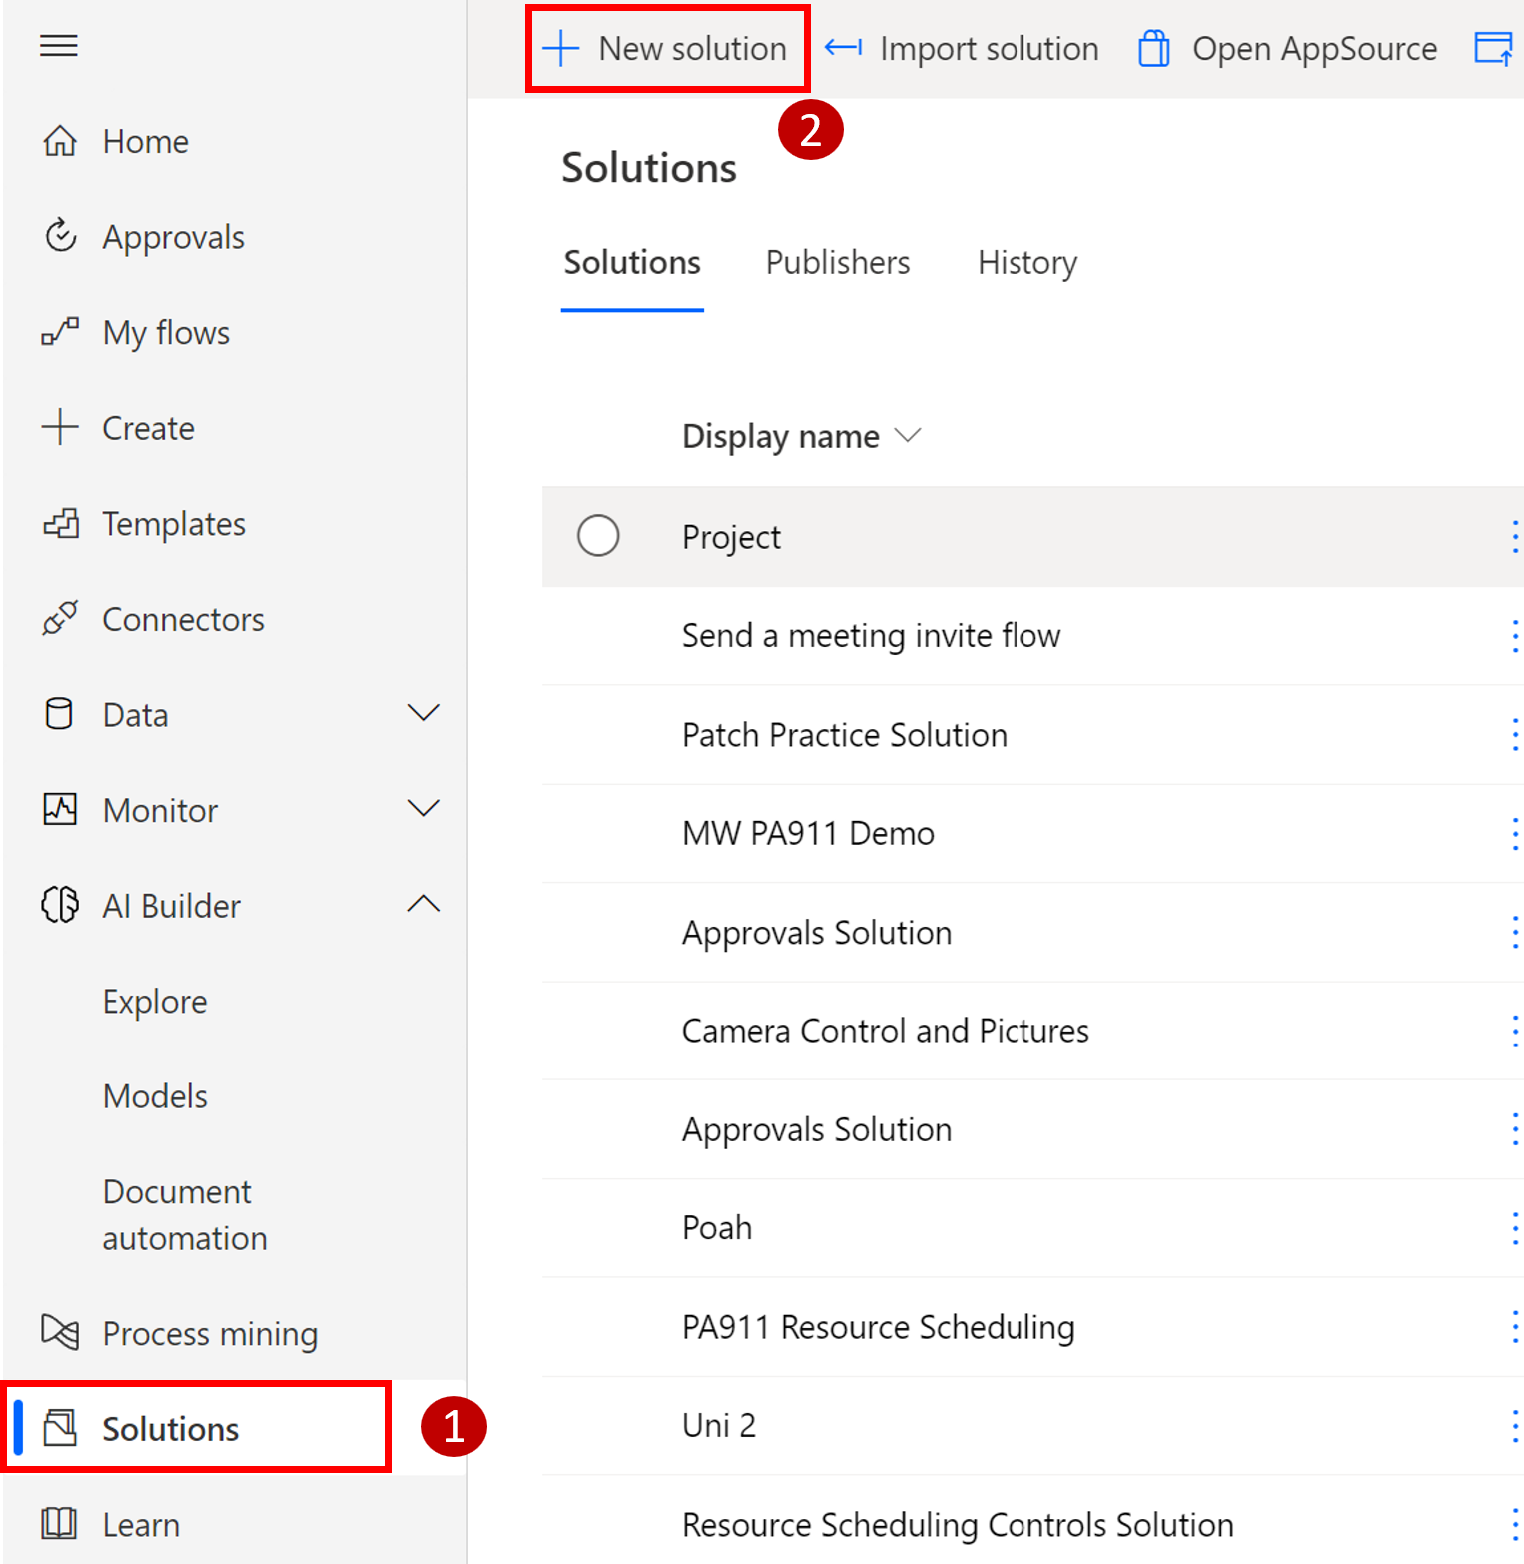
Now that you've created and customized your AI model, you can integrate it into a cloud flow. The flow in this example is a solution-aware cloud flow, meaning that it's packaged in a solution. To create it, select Solutions and then + New solution.
Populate the fields as shown below and then click on Create.

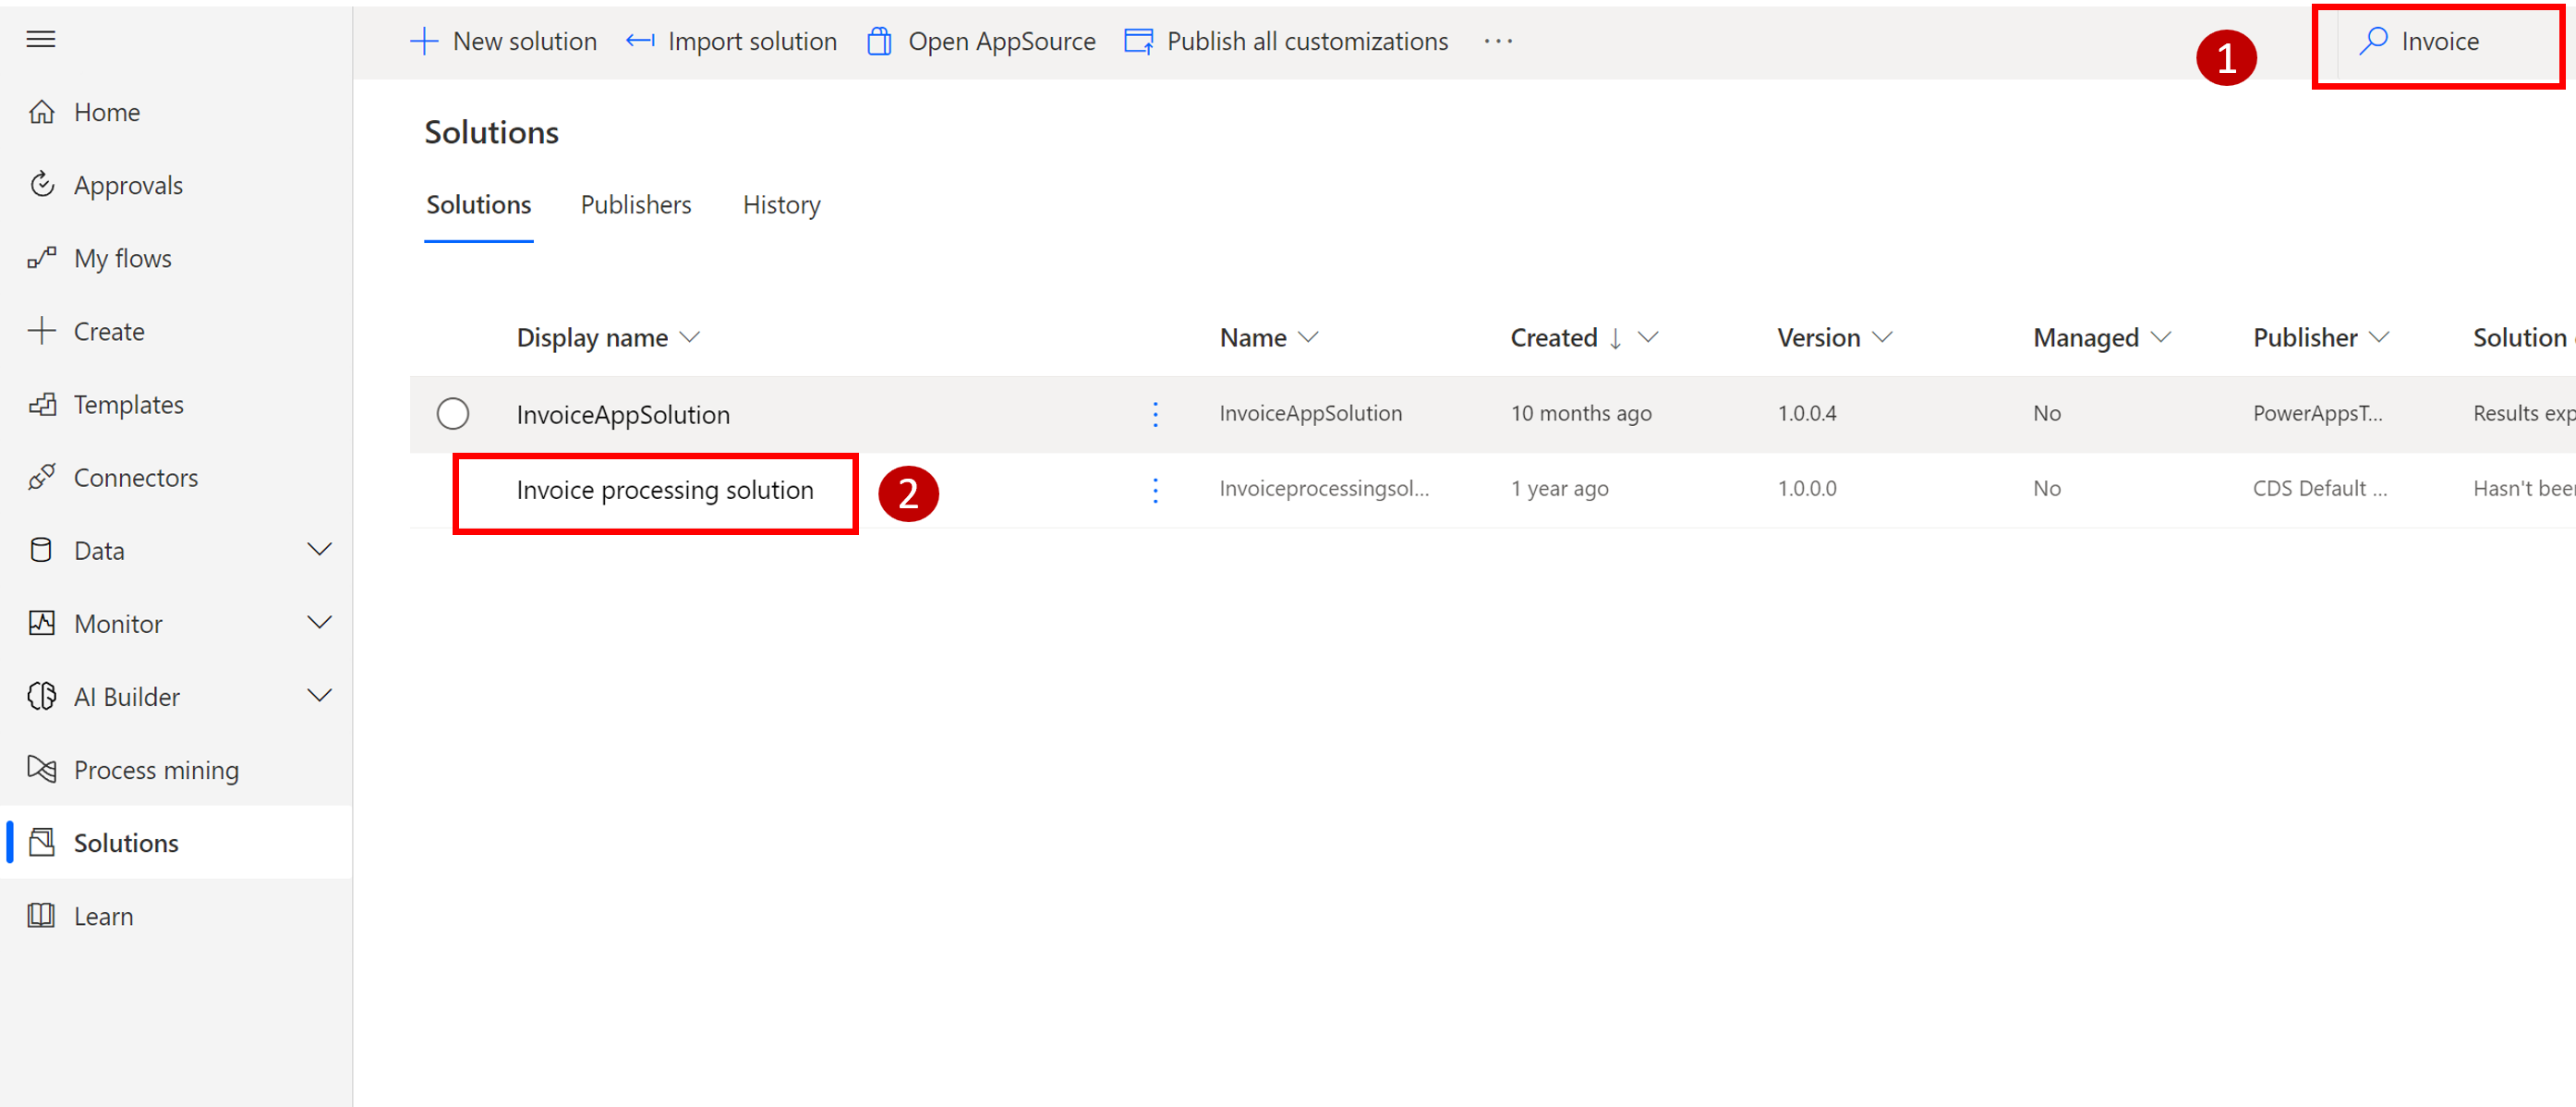
Select the new Solution you have just created. You can use the search function available on the top right to find it.
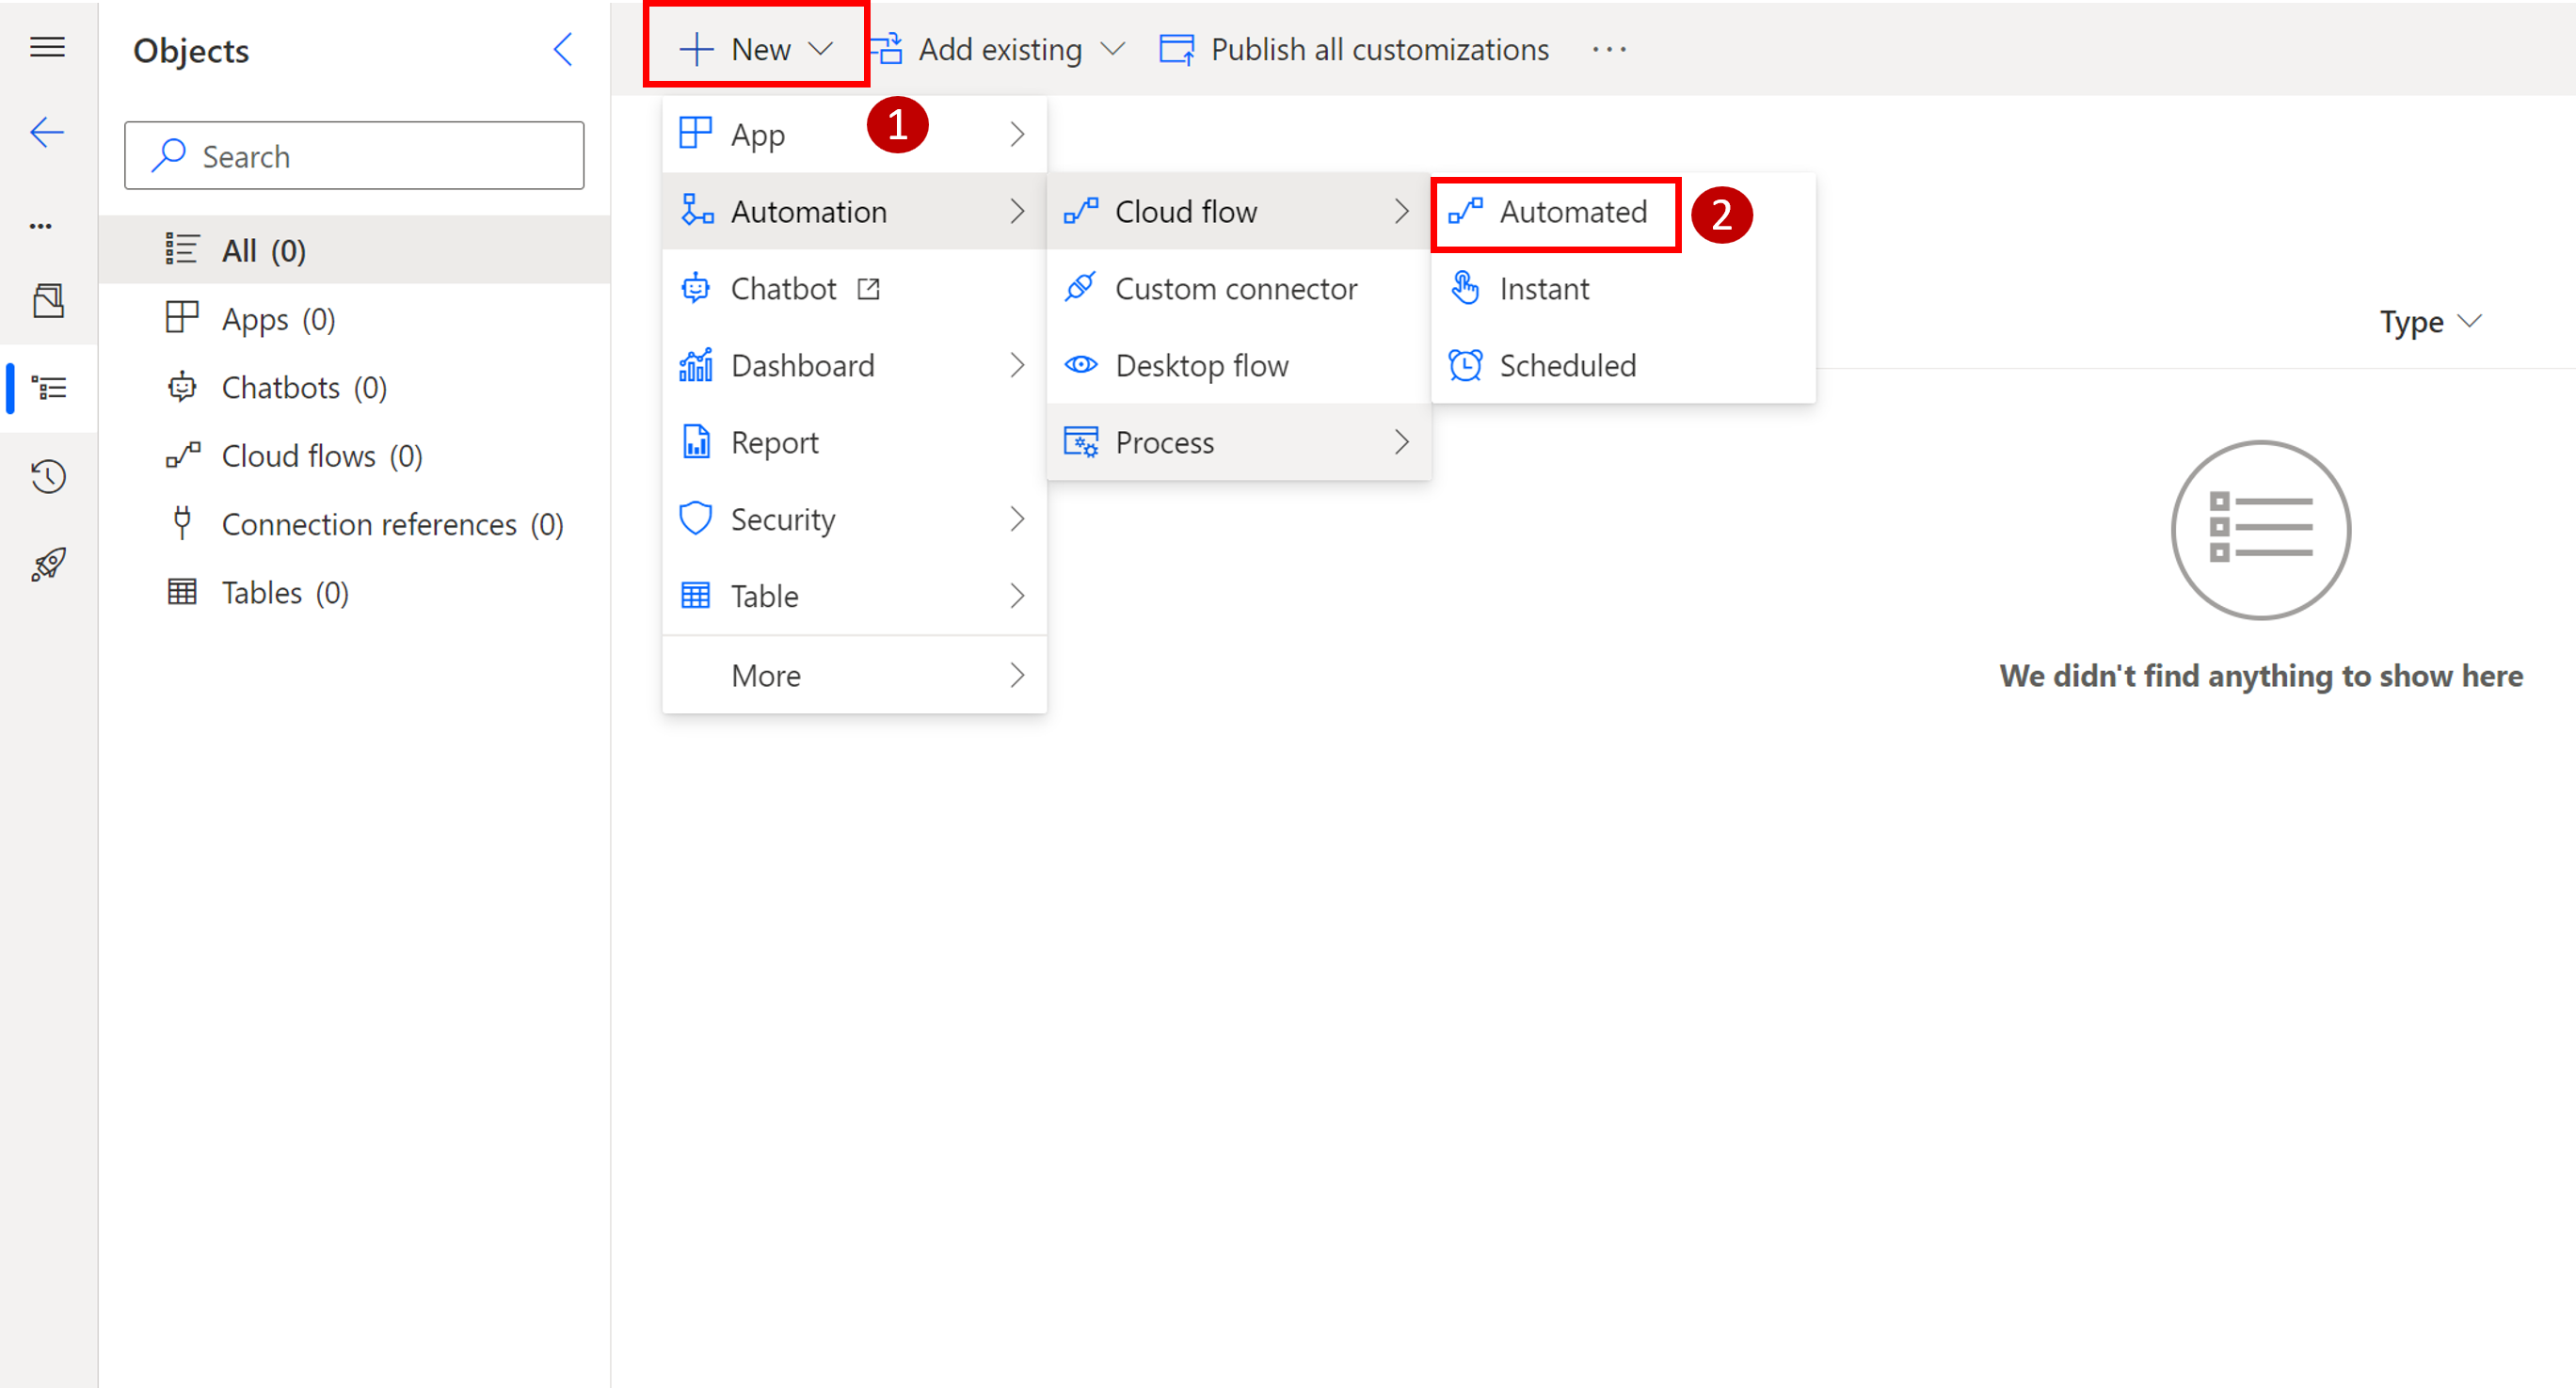
First, click on All (0) then +New. In Automate, select Cloud flow and then select Automated.
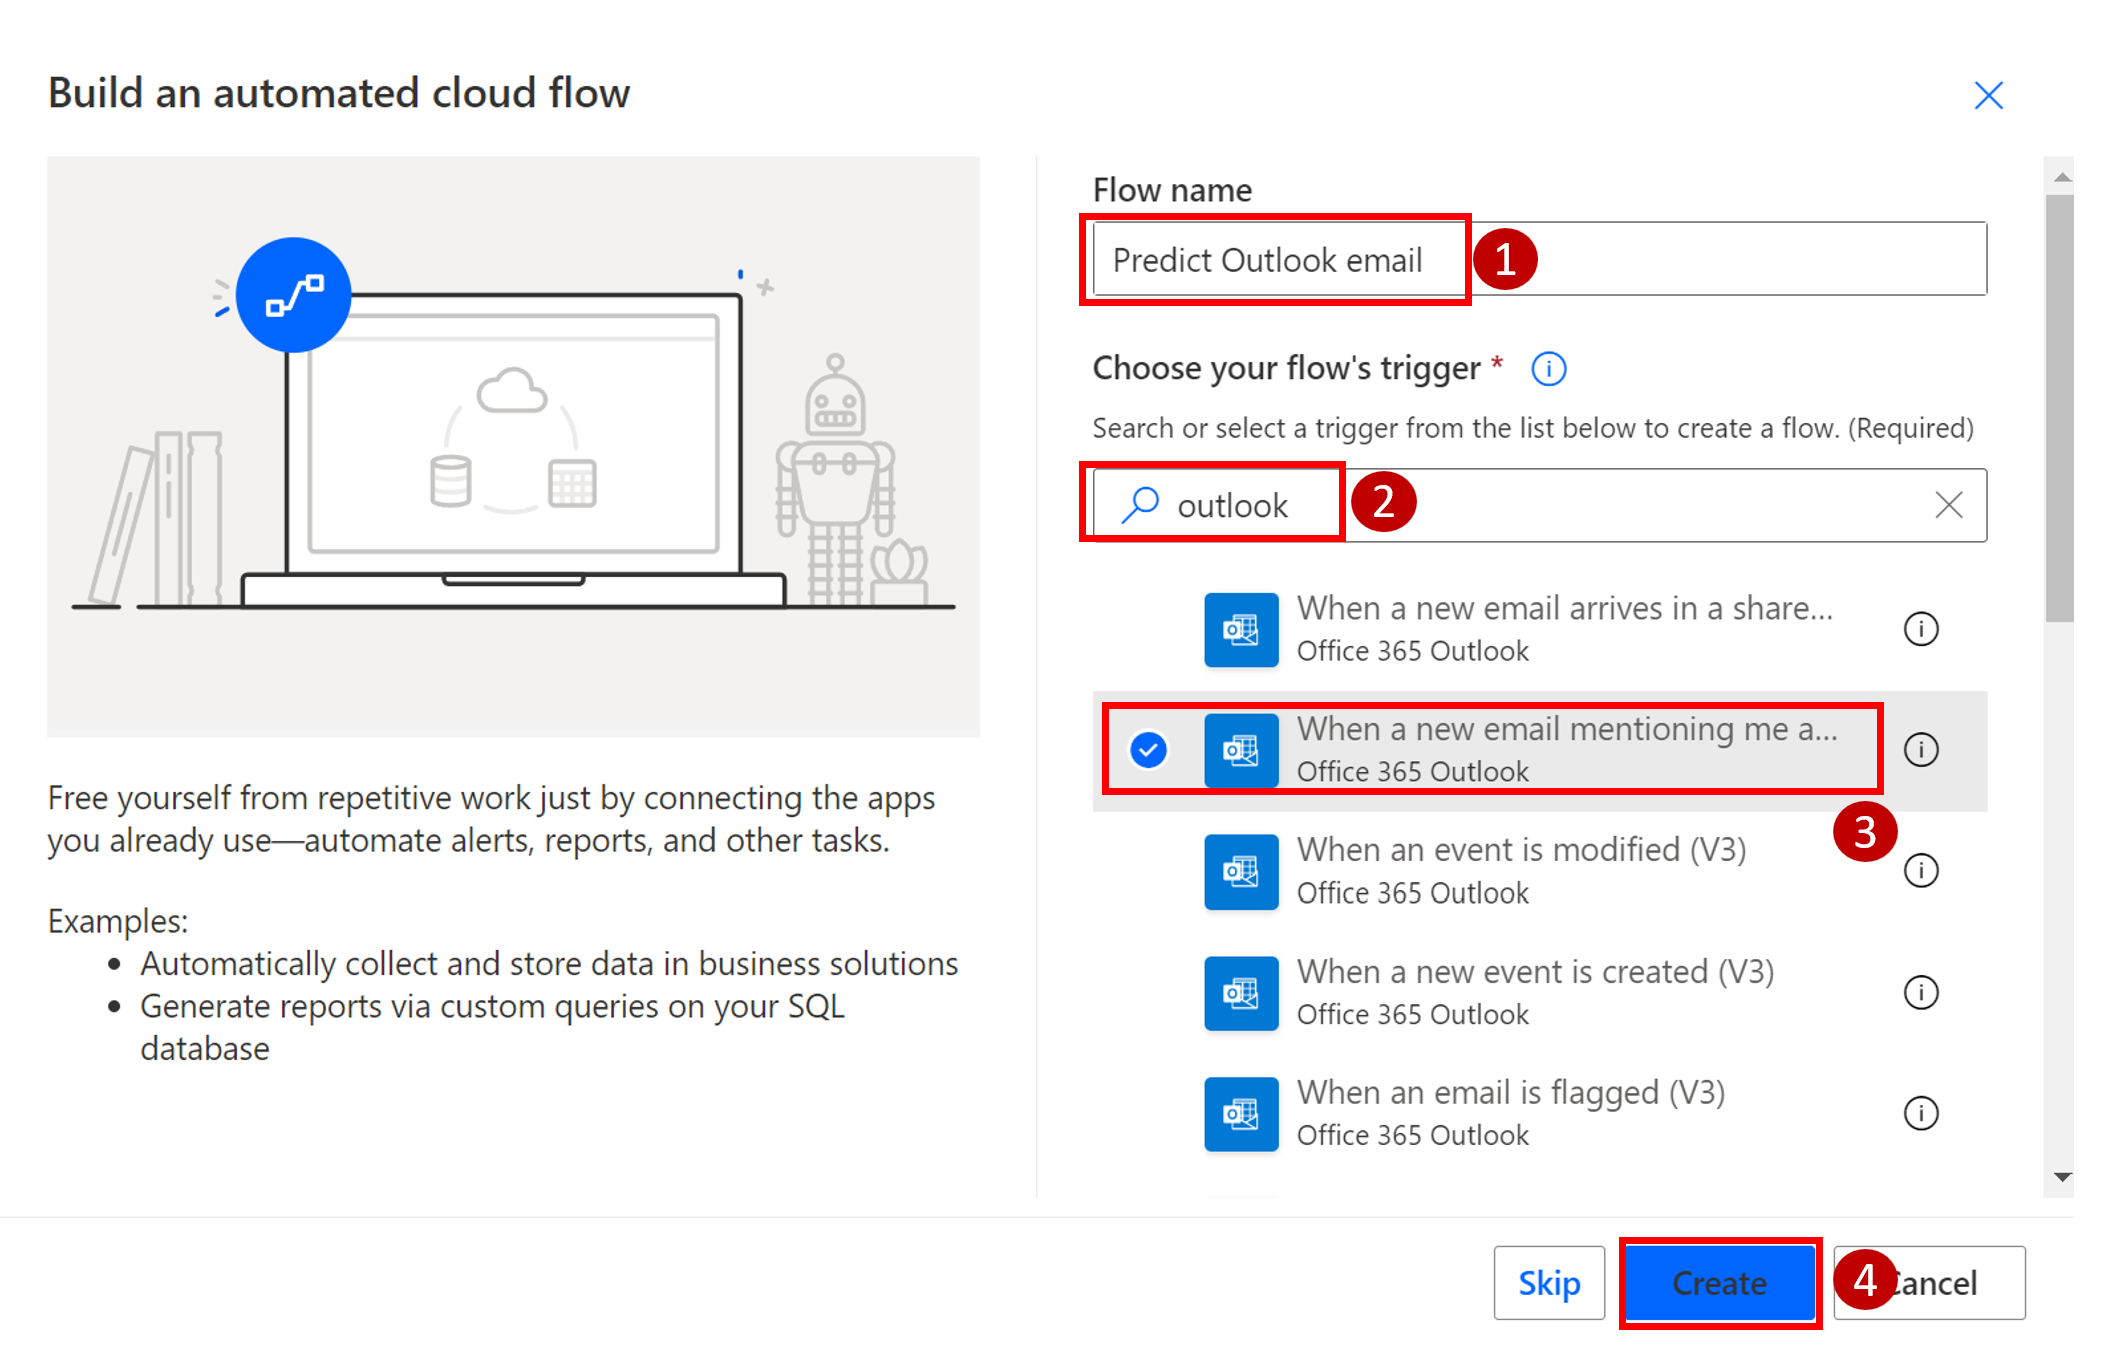
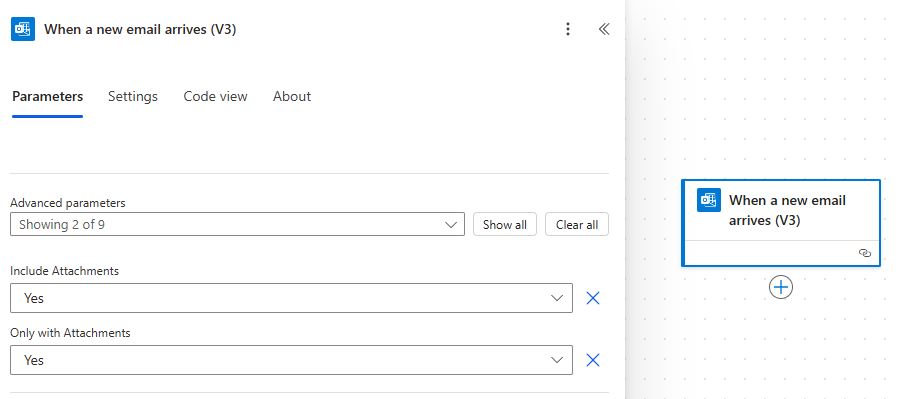
Type Predict Outlook email as the flow name. Then search for Outlook and select When a new email arrives (V3). Click Create.
Click on Show advanced options and for Include Attachments and Only with Attachments select Yes.
Select + New step and then search for and select Predict under AI Builder.

Select the model that you want to use, which in this case is Form Processing. After your model is selected, more fields will appear. For the form processing model, a document is required. Because this flow is triggered by receiving an email with an attachment, you can specify that attachment with dynamic content. For the document type, search for and select Attachments Content-Type in the Dynamic content menu.

This selection will put your Predict action inside an Apply to each action so that the model will run for each attachment, if more than one exists. You might need to open the Predict action again to specify the Attachment Content dynamic content for the document. Select Save in the top right.

While inside the Apply to each action, select Add an action. Search for and add the Send an email (V2) action. Use the Dynamic content tab to set the To field to the email sender by entering From in the search box.

Use Thanks for sending the invoice for the Subject. The body will be a mix of text and dynamic content from the AI model. The following screenshot shows an example of the end result. The model has a display name and a value for each field. Select Save.

Select Test in the upper-right corner of the screen, select the Manually option, and then select Save & Test.

Send yourself an email with an attachment (in either .pdf or .jpg file format) that matches the layout of one of the collections in the model and a subject line of "New invoice." The flow will appear with indications on each step to show you where your flow is in the process. When testing is complete, the following screen will display, indicating that your flow ran successfully.
The email will resemble the following image.
