Set up Dynamics 365 App for Outlook
The Dynamics 365 App for Outlook is a model-driven application that's built to run inside Microsoft Outlook. As an administrator, you can tailor many different aspects of the application. For example, you might create a specific view that you want to use from within the app. You can make changes as needed.
You can modify the tables and views that are used in the application by modifying the application directly. To do so, go to the Power Apps maker portal. From the list of apps in your environment, locate the Dynamics 365 App for Outlook app and then select Edit.

After the app has loaded in the designer, a screen resembling the following image should appear.

Important
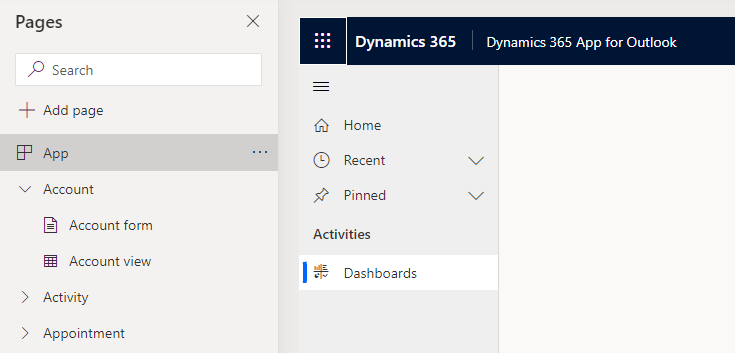
Receiving an error about the Dynamics 365 App for Outlook action not being applicable is expected behavior, so you can select OK on the message. In the Pages panel on the left, all available tables in the application will display. When you expand a table, a Form option and a View option will be available. For example, the following image shows the Account table expanded, showing the Account Form and Account View options.
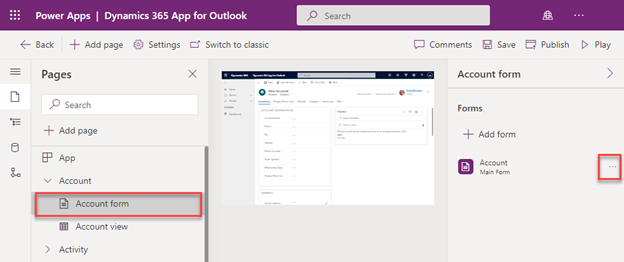
Set up forms
Selecting Account form displays the form that's being used to present account information in the Outlook application. Initially, it tells you that no forms are available. Select Add form and then choose the form that you want to use. Typically, this form is the Account main form. You can edit the fields on the form by selecting the ellipsis (...) next to the form that you want to modify and then selecting Edit.
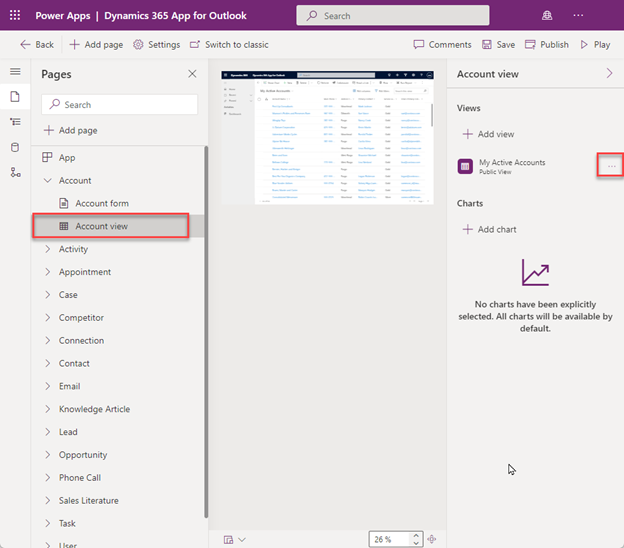
Set up views
To increase the app usability, remove the items that users don’t need or use. Frequently, applications have several available views, but not all make sense in the context of working with the Dynamics 365 App for Outlook. Selecting Account view displays the form that's being used to present account information in the Outlook application. Select Add view and then choose the view that you want to use. Typically, this view is the My Active Accounts view. You can edit the fields on the form by selecting the ellipsis (...) next to the view that you want to modify and then selecting Edit.