Describe how to run Slurm with Azure CycleCloud
After completing this unit, you should be able to use Slurm on Azure CycleCloud.
Enabling Slurm on CycleCloud
You can deploy a High Performance Computing (HPC) cluster using Azure CycleCloud by performing the following steps:
Connect to a deployed Azure CycleCloud Instance and authenticate.
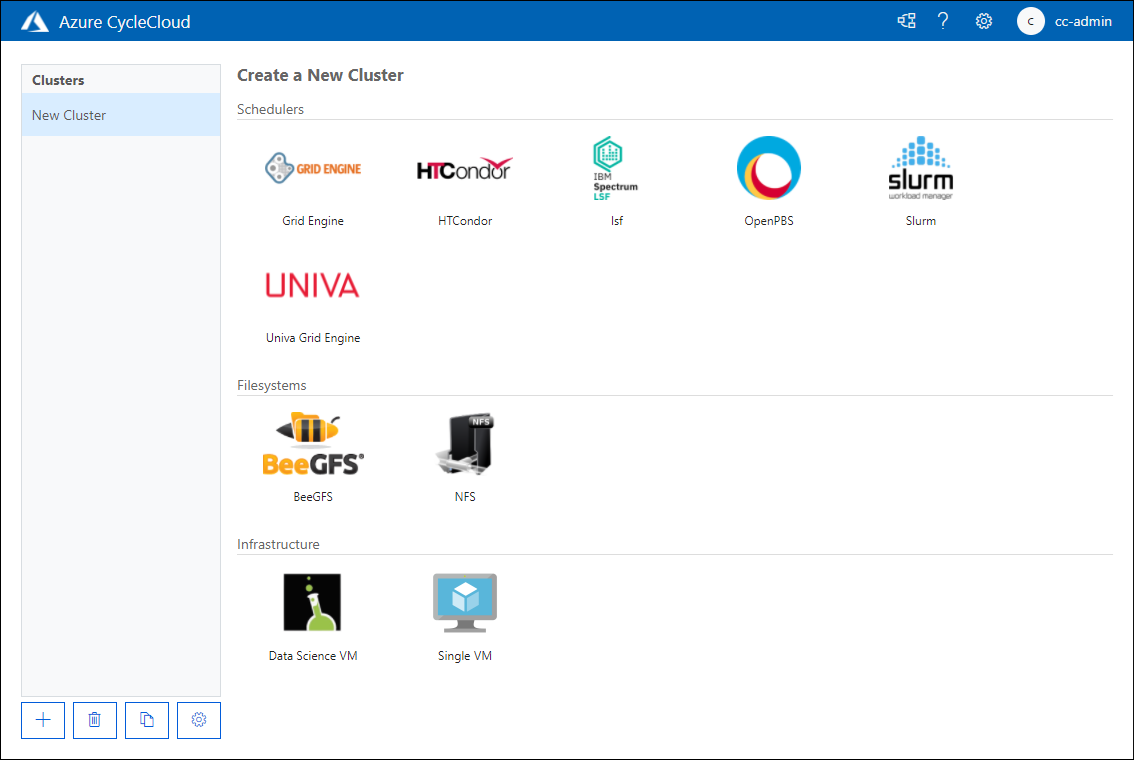
On the Create a New Cluster page, review the available options, and in the Schedulers section, select Slurm.
On the About tab of the New Slurm Cluster page, provide a name for the Slurm cluster in the Cluster Name text box.
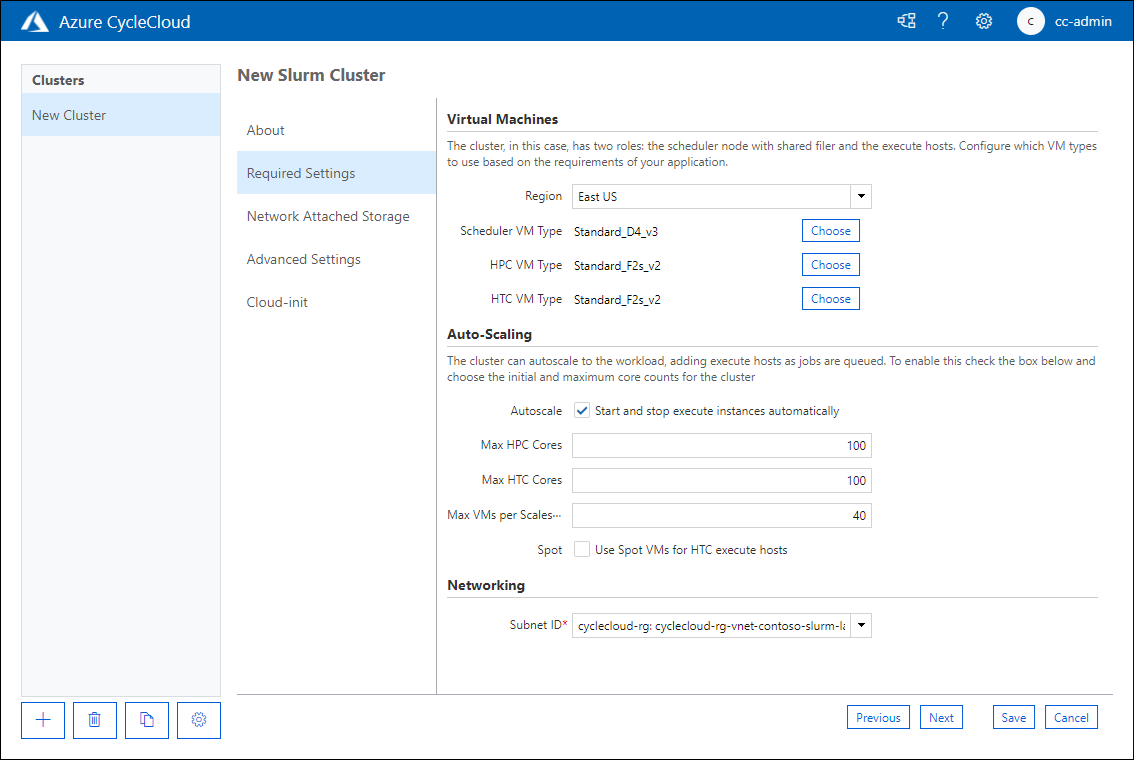
On the Required Settings tab of the New Slurm Cluster page, configure the following settings in the Cluster Name text box:
- Region: Defines which datacenter will host cluster nodes.
- Scheduler VM Type: Allows you to specify the VM SKU of the virtual machine that will host the job scheduler.
- HPC VM Type: Allows you to specify the VM SKU of the virtual machine that will host HPC partition workloads.
- HTC VM Type: Allows you to specify the VM SKU of the virtual machine that will host HTC partition workloads.
- Autoscale: Allows you to enable or disable the starting and stopping of VM instances that host partition nodes when those nodes are required or no longer required.
- Max HPC Cores: The maximum number of CPU cores that can be allocated to HPC partitions when autoscaling.
- Max HTC Cores: The maximum number of CPU cores that can be allocated to HTC partitions when autoscaling.
- Max VMs per Scaleset: The maximum number of VMs that can be used to host partition workloads.
- Use Spot Instances: Determines whether you want to allow using Azure spot instances. Although spot instances are substantially cheaper to run, they can be removed without warning which can impact job execution.
- Subnet ID: The Azure virtual network subnet that will host cluster node VMs.
On the Network Attached Storage page, configure whether you'll use the Builtin or External NFS options for the network attached storage mount. When you select Builtin, the scheduler node is configured as an NFS server that functions as the mountpoint for other nodes. If you specify External NFS, you can then provide the details of a network attached storage device such as Azure NetApp Files, HPC Cache, or a specially configured VM running an NFS server.
On the Advanced Settings page, you can specify the following settings:
- Slurm Version: Choose the Slurm version to be used with the cluster.
- Job Accounting: Specify whether you want to enable job accounting and the settings you'll choose to store accounting data.
- Shutdown Policy: You can choose between terminating the instance or deallocating the instance.
- Credentials: The credentials to connect to the associated Azure subscription.
- Scheduler OS: Choose which Linux operating system is used to host the scheduler.
- HPC OS: Specify which Linux operating system is used to host the scheduler.
- Scheduler Cluster Init: Here, you specify custom instructions to apply to the scheduler VM.
- HTC Cluster Init: Specify custom instructions to apply to HTC nodes.
- Advanced Networking: This option allows you to enable Return Proxy, whether the head node can be accessed from internet addresses, and whether execute nodes can be accessed from the internet.

The Cloud-init page allows you to pass custom configuration settings to virtual machine nodes after they're deployed.


Memory settings
CycleCloud automatically sets the amount of available memory for Slurm to use for scheduling purposes. Because the amount of available memory can change slightly due to different Linux kernel options, and the OS and VM can use up a small amount of memory that would otherwise be available for jobs, CycleCloud automatically reduces the amount of memory in the Slurm configuration. By default, CycleCloud holds back five percent of the reported available memory in a VM, but you can override this value in the cluster template by setting slurm.dampen_memory to the percentage of memory to hold back. For example, to hold back 20 percent of a VM's memory, use:
slurm.dampen_memory=20
Configuring Slurm partitions
The default template that ships with Azure CycleCloud has two partitions (HPC and HTC), and you can define custom node arrays that map directly to Slurm partitions. For example, to create a GPU partition, add the following section to your cluster template:
[[nodearray gpu]]
    MachineType = $GPUMachineType
    ImageName = $GPUImageName
    MaxCoreCount = $MaxGPUExecuteCoreCount
    Interruptible = $GPUUseLowPrio
    AdditionalClusterInitSpecs = $ExecuteClusterInitSpecs

        [[[configuration]]]
        slurm.autoscale = true
        # Set to true if nodes are used for tightly-coupled multi-node jobs
        slurm.hpc = false

        [[[cluster-init cyclecloud/slurm:execute:2.0.1]]]
        [[[network-interface eth0]]]
        AssociatePublicIpAddress = $ExecuteNodesPublic
Editing existing Slurm clusters
If you modify and apply changes to an existing Slurm cluster, you need to rebuild the slurm.conf file and update the existing nodes in the cluster. You can do this using a script that's present on Slurm clusters deployed in Azure cyclecloud using a special script named cyclecloud_slurm.sh. The script is located in the /opt/cycle/slurm directory on the Slurm scheduler node. Once you've made any changes to the cluster, run the following script as root with the apply_changes parameter. For example, use/opt/cycle/slurm/cyclecloud_slurm.sh apply_changes if you make changes that impact nodes that participate in a Message Passing Interface (MPI) partition.
Disabling autoscale for nodes or partitions
You can disable autoscale for a running Slurm cluster by editing the slurm.conf file directly. You can exclude either individual nodes or entire partitions from being autoscaled.
To exclude a node or multiple nodes from autoscale, add SuspendExcNodes=<listofnodes> to the Slurm configuration file. For example, to exclude nodes 1 and 2 from the HPC partition, add the following to /sched/slurm.conf and then restart the slurmctld service:
SuspendExcNodes=hpc-pg0-[1-2]
To exclude partitions, you also modify the /sched/slurm.conf file. For example, to exclude the HPC partition from autoscale, add the following line to slurm.conf and restart the slurmctld service:
SuspendExcParts=hpc